Hey there, neighbor! Ever look at your kitchen scraps and yard trimmings and think, “There’s got to be a better way than just tossing this?” You’re not alone! Many of us in Asia want to do our bit for the planet, but composting can sound complicated, right? Well, I’m here to show you that backyard composting is totally doable, even if you’re starting from scratch. It’s like a magic trick for your garden, turning waste into wonderful plant food. Let’s get started on making your garden — and our planet — a little greener, the easy way.
Backyard Composting in Asia: Effortless Eco-Wins
Hello, TopChooser readers! Troy D Harn here. If you’re like me, you love a thriving garden and a clean home. But sometimes, managing food scraps and yard waste feels like a chore. The good news? Backyard composting is a fantastic way to tackle this, especially here in Asia. It’s not as tricky as it sounds! Think of it as giving your organic waste a new life, creating rich soil that your plants will absolutely love. This guide will break down everything you need to know, step-by-step, to turn your compostables into garden gold without breaking a sweat. Let’s dive in and make some eco-wins happen right in our own backyards!
Why Compost? The Simple Benefits for Your Garden and Beyond
Composting might seem like just another task, but the rewards are huge and they start right at your doorstep. For homeowners and garden enthusiasts in Asia, it’s a remarkably simple yet powerful way to contribute to a healthier environment.
- Nourishes Your Garden: Compost is often called “black gold.” It’s packed with nutrients that feed your plants, making them grow stronger and healthier. Say goodbye to expensive chemical fertilizers!
- Reduces Waste: Think about all the food scraps (like vegetable peels and coffee grounds) and yard waste (leaves, grass clippings) you throw away. Composting diverts a significant amount of this from landfills, which is a big win for our planet, especially in densely populated areas.
- Improves Soil: Compost acts like a sponge for your soil. It helps sandy soil hold onto water and nutrients better, and it loosens up heavy clay soil, improving drainage and aeration. Healthy soil means a healthy garden!
- Saves Money: Less waste going to the landfill means potentially lower waste disposal fees. Plus, you’re creating your own free fertilizer!
- Eco-Friendly Living: Backyard composting is a satisfying way to live more sustainably. It’s a hands-on contribution to reducing greenhouse gas emissions and promoting a circular economy.
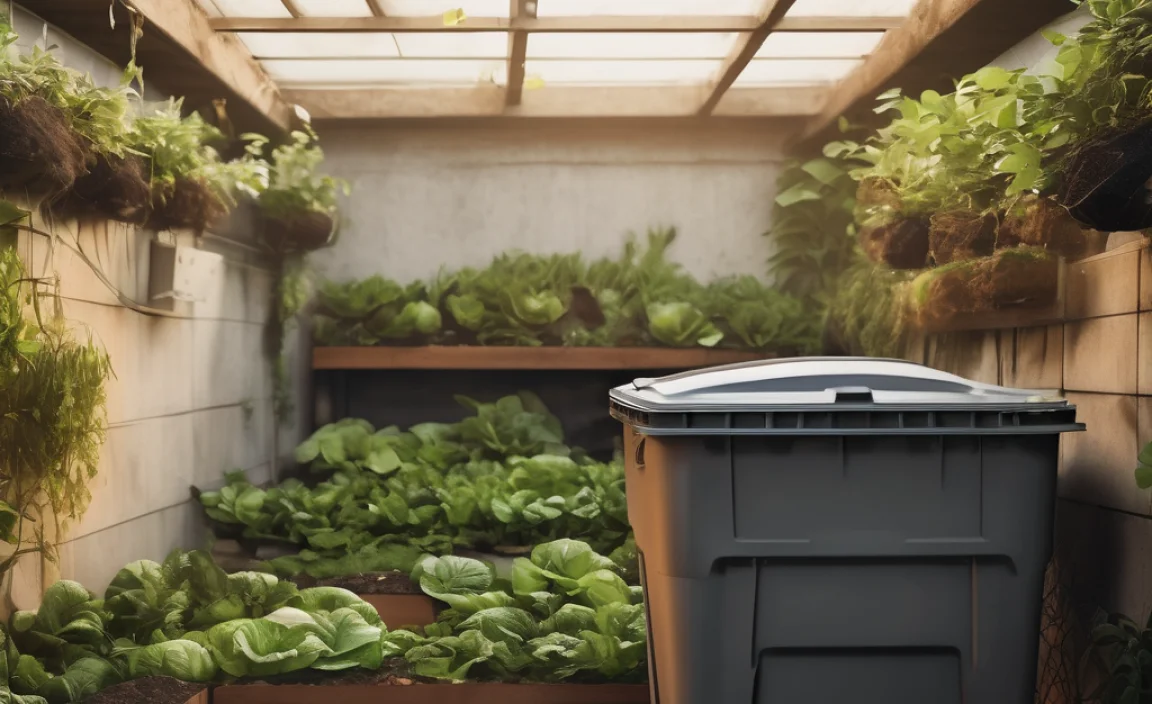
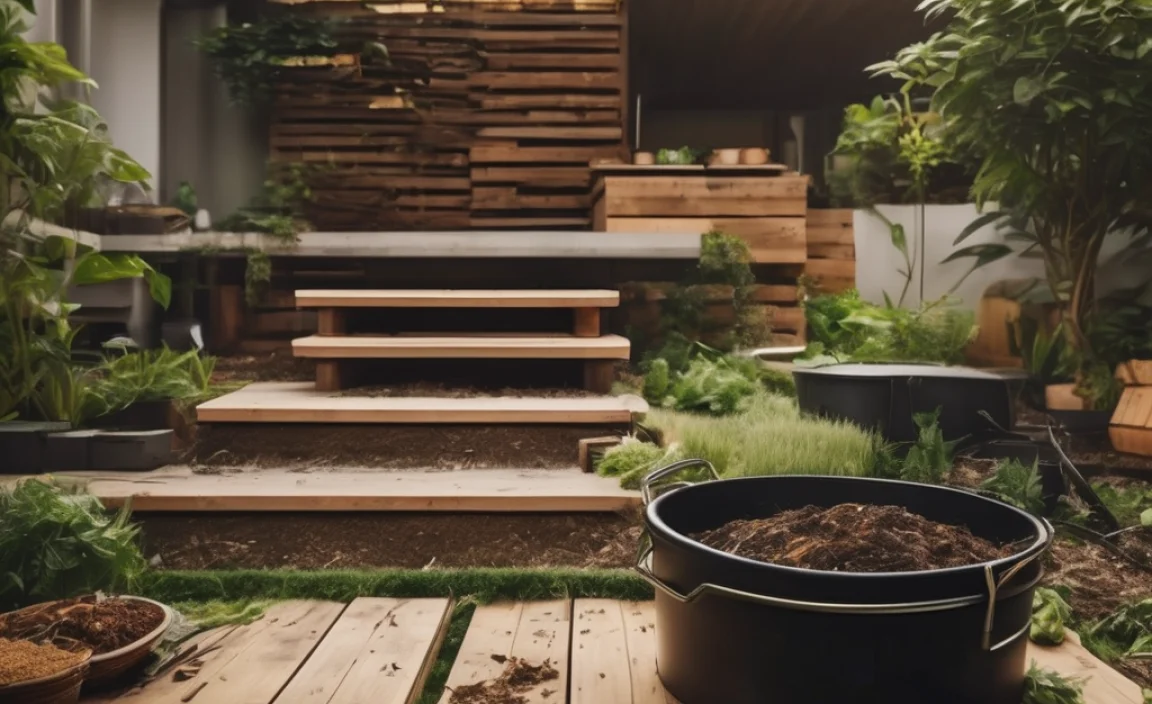
Getting Started: Your Composting Toolkit
Don’t worry about fancy gadgets or complicated setups. For backyard composting in Asia, keeping it simple is the key. Here’s what you’ll need to get started:
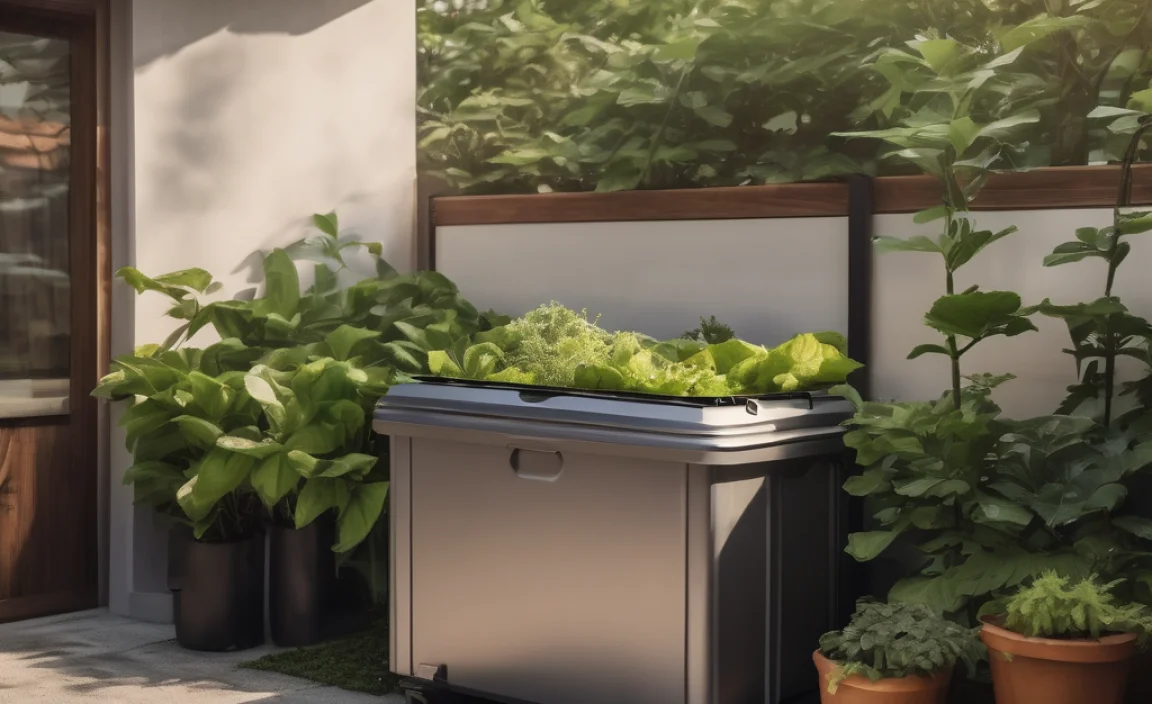
Choosing Your Compost Bin: What Works Best?
There are a few options for how you can contain your compost. The best choice depends on your space, budget, and how quickly you want compost.
| Type of Bin | Pros | Cons | Best For |
|---|---|---|---|
| Open Pile | Easiest to start, no cost if you just pile it. Good airflow. | Can look messy, might attract pests if not managed well. Takes longer. | Larger yards, those with plenty of yard waste, budget-conscious. |
| Enclosed Bin (Tumbler or Stationary) | Keeps pests out, looks tidier, can speed up composting (especially tumblers). | Can be expensive, smaller capacity, may require more effort to turn/mix. | Smaller yards, urban areas, those who prefer neatness and faster results. |
| DIY Pallet Bin | Affordable, customizable size, good airflow. | Requires some basic DIY skill, may need lining to contain finer materials. | People who can source free pallets, want a sturdy, custom bin. |
Essential Tools
You don’t need much! A good set of tools will make your composting journey smoother.
- Garden Fork or Pitchfork: This is your best friend for turning and aerating the compost pile. It helps mix things up and introduces oxygen, which is crucial for decomposition. A sturdy metal one is best.
- Shovel: Useful for moving compost around or adding materials.
- Watering Can or Hose with Sprayer: Compost needs to be moist, like a wrung-out sponge. You’ll use this to add water when it gets too dry.
- Gloves: Protect your hands when handling food scraps and turning the pile.
- A Kitchen Caddy or Bin: A small container with a lid to collect your kitchen scraps before you take them out to the main compost bin.
The ‘What’ and ‘What Not’ of Composting: Building Your Pile
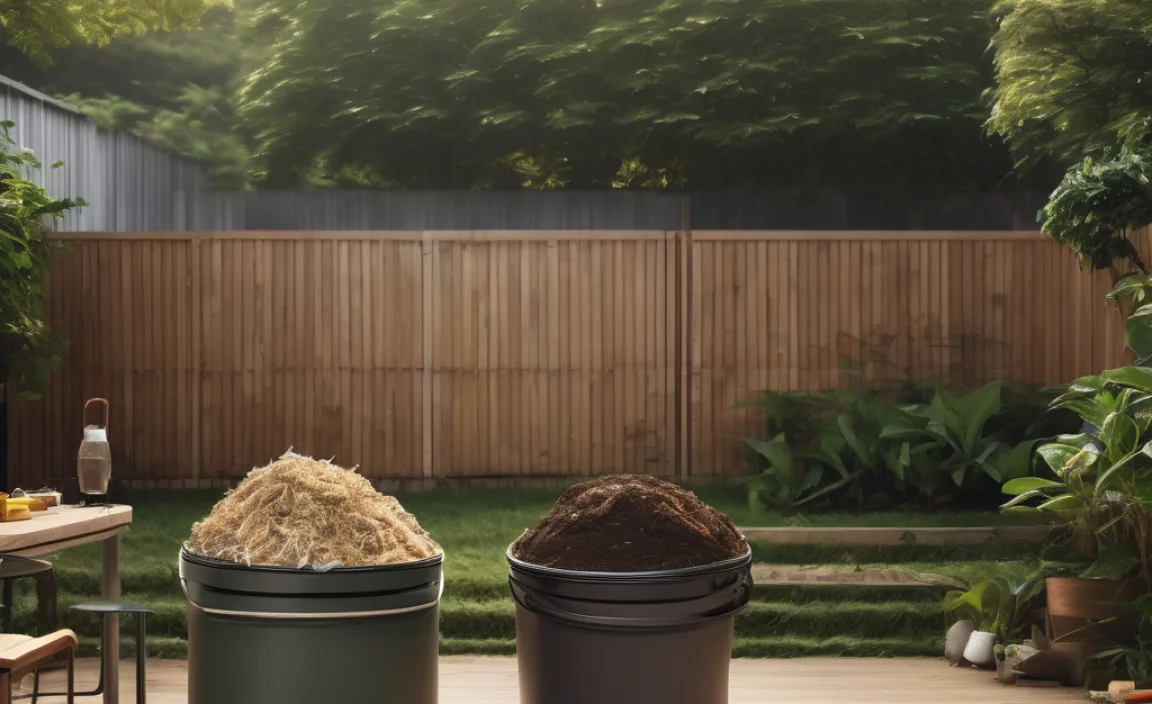
The magic of composting happens when you balance the “greens” and “browns.” Think of it as a recipe for decomposition.
What to Compost (Greens & Browns)
The goal is to mix materials that provide nitrogen (greens) and carbon (browns).
Greens (Nitrogen-Rich)
These are typically moist materials that add nitrogen to your pile, helping the microorganisms grow and multiply.
- Fruit and vegetable scraps
- Coffee grounds and tea bags (remove staples/plastic tags)
- Grass clippings (in thin layers to avoid matting)
- Green plant trimmings
- Eggshells (crushed)
Browns (Carbon-Rich)
These are dry, carbon-rich materials that provide structure and airflow, preventing the pile becoming too wet and smelly.
- Dry leaves
- Shredded newspaper or cardboard (avoid glossy paper or colored inks if possible)
- Straw or hay
- Small twigs and branches (chopped or shredded)
- Sawdust from untreated wood
What NOT to Compost
Some items can cause problems by attracting pests, creating foul odors, or containing harmful substances.
- Meat, fish, and dairy products (can attract pests and smell bad)
- Oily or greasy foods
- Diseased plants (to avoid spreading disease)
- Weeds that have gone to seed (unless you’re sure your compost gets hot enough to kill them)
- Pet waste (dog and cat feces can contain pathogens)
- Treated wood products
- Synthetic materials
Your Step-by-Step Composting Guide
Ready to do this? It’s easier than you think. Just follow these simple steps:
Step 1: Choose Your Location
Find a spot in your backyard that is:
- Partially shaded: Too much direct sun can dry out your pile.
- Well-drained: You don’t want your compost sitting in a puddle.
- Accessible: Easy to get to with your kitchen scraps and garden waste, and for turning the pile.
- Near a water source: A hose or watering can will be handy.
Step 2: Set Up Your Bin or Pile
If you’re using a bin, assemble it according to the instructions. If you’re making an open pile, simply start layering materials on the ground in your chosen spot. For DIY bins made from pallets, simply join them together to form a three- or four-sided enclosure.
Step 3: Start Layering!
This is where the magic begins. Aim for a good mix of greens and browns. A common recommendation is to have roughly two to three parts browns for every one part greens.
- Start with a layer of browns: About 4-6 inches (10-15 cm) of twigs, straw, or shredded cardboard at the bottom helps with aeration and drainage.
- Add your greens: Layer your kitchen scraps and fresh plant trimmings on top.
- Cover with browns: Always cover your green layer with a layer of browns. This helps control odors and deter pests.
- Repeat: Keep adding layers as you generate more waste.
Step 4: Keep it Moist
Your compost pile should be as damp as a wrung-out sponge. If it feels dry, water it. If it’s too wet (especially after adding a lot of green material like grass clippings), add more brown material to absorb the excess moisture.
Step 5: Aerate Your Pile
This is perhaps the most important step for faster composting. Turning your pile mixes the materials, introduces oxygen, and speeds up decomposition. Aim to turn your compost every 1-4 weeks.
- Use your garden fork to mix the outer layers into the center, and bring the inner materials to the outside.
- If you have a compost tumbler, simply rotate it according to the manufacturer’s instructions.
Turning helps everything break down evenly and prevents the pile from becoming anaerobic (lacking oxygen), which can lead to smelly compost.
Step 6: Wait (and Watch!)
Composting takes time. Depending on the materials you use, the size of your pile, how often you turn it, and the weather, it can take anywhere from a few months to a year.
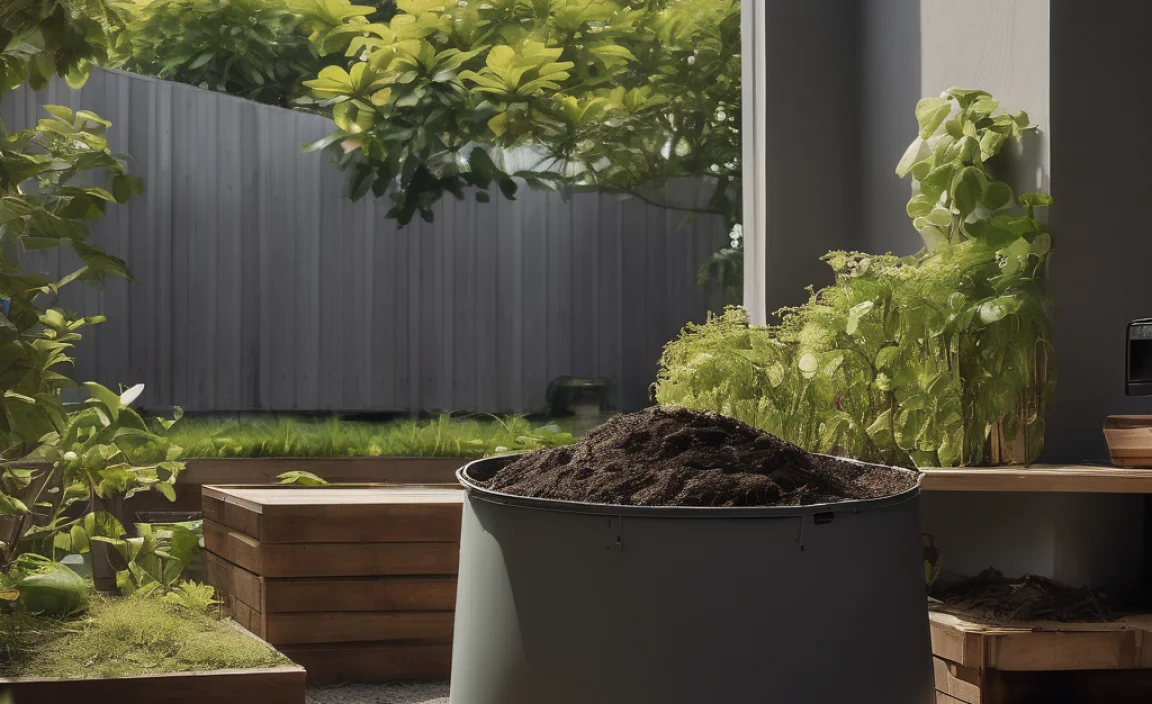
You’ll know your compost is ready when:
- It’s dark brown or black and crumbly.
- It has a pleasant, earthy smell (no ammonia or rotten egg smell).
- The original materials are no longer recognizable.
You can use a compost activators, often available at garden centers or online, to help speed up the decomposition process by introducing beneficial microbes. This is an optional step, but can be helpful when starting out.
Troubleshooting Common Composting Potholes
Even with the best intentions, you might run into a few snags. Don’t fret! Most composting problems have simple fixes.
Problem: My compost smells bad (like ammonia or rotten eggs).
Cause: Too much green material or not enough air. This means it’s anaerobic.
Solution: Add more brown materials (like dry leaves, shredded cardboard) to balance the nitrogen and carbon. Turn the pile thoroughly to introduce oxygen. Avoid adding more wet kitchen scraps until the smell improves.
Problem: My compost isn’t breaking down, it’s just sitting there wet and slimy.
Cause: Pile is too wet, likely too many greens. Also, not enough air circulation.
Solution: Add a generous amount of brown materials. Turn the pile to introduce air. Ensure there’s some airflow at the bottom of the pile if you’re using a contained bin.
Problem: My compost pile is dry and nothing is happening.
Cause: Not enough moisture.
Solution: Water the pile thoroughly. Turn it while watering to ensure the moisture is distributed evenly. Aim for that “wrung-out sponge” consistency.
Problem: I’m getting fruit flies or other pests.
Cause: Exposed food scraps or particularly attractive items.
Solution: Always cover fresh kitchen scraps with a layer of brown material. Avoid adding meat, dairy, and oily foods. Ensure your compost bin has a lid or is enclosed to deter larger pests. If using an open pile, try to bury food scraps deep within the center.
As a general rule, maintaining a good balance of greens and browns, keeping the pile moist but not soggy, and ensuring it gets enough air are the keys to successful composting. For more in-depth information on managing compost health, you can refer to resources from organizations like the Environmental Protection Agency (EPA), which offers comprehensive guides on composting basics.
Using Your Finished Compost: The Sweet Reward
Once your compost is ready, it’s time to reap the benefits! This dark, crumbly, nutrient-rich material is fantastic for your garden.
- Soil Amendment: Mix compost into your garden beds before planting. It improves soil structure, drainage, and fertility.
- Mulch: Spread a layer of compost around your plants. It helps retain moisture, suppress weeds, and slowly release nutrients.
- Potting Mix: You can use compost as part of a homemade potting mix for containers and houseplants. Mix it with other materials like coir or perlite.
- Top Dressing: Sprinkle a little compost on your lawn or around established trees and shrubs.
The difference compost makes is truly remarkable. You’ll notice healthier plants, better yields, and lusher greenery, all thanks to your own efforts.
Tips for Composting in Different Asian Climates
Asia is incredibly diverse, and so are its climates. Here are a few tips to adjust your composting strategy:
Hot and Humid Climates
- Watch for Sliminess: The excess moisture can lead to anaerobic conditions.
- Turn More Often: Increase the frequency of turning your pile to ensure good aeration.
- Use More Browns: Adding extra brown materials helps absorb excess moisture.
- Consider Smaller Piles: Smaller, well-managed piles can be easier to control in humid conditions.
Hot and Dry Climates
- Water Regularly: Keep a closer eye on moisture levels. Water your pile more frequently.
- Cover Your Pile: Use a tarp or lid to help retain moisture, but ensure adequate ventilation.
- Bury Food Scraps: This helps keep them moist and hidden from the sun.
- Location Matters: Choose a spot that gets some shade to prevent rapid drying.
Temperate and Cooler Climates
- Slower Decomposition: Composting might take longer, especially during colder months.
- Insulate Your Pile: In very cold weather, you might need to insulate your compost bin with straw or old blankets to retain heat.
- Patience is Key: It may take longer to reach the “finished” compost stage.
- Layering is Crucial: Ensure a good mix of greens and browns; cold weather breaks down browns slowly.
No matter where you are, the core principles of composting — balance, moisture, and aeration — remain the same. You might just need to tweak your approach slightly for your local conditions. Local gardening groups or agricultural extension services could also offer region-specific advice.
Frequently Asked Questions (FAQs)
Here are some common questions beginners have about backyard composting in Asia:
Q1: How long does it take to make compost?
A1: It can take anywhere from 2 months to a year. This depends on what you put in, how often you turn it, and the weather.
Q2: Do I need a special bin for composting?
A2: Not necessarily! You can start with an open pile. However, an enclosed bin or tumbler can help keep pests out, look neater, and sometimes speed up the process.
Q3: My compost smells bad. What did I do wrong?
A3: A bad smell usually means there’s too much “greens” (nitrogen-rich materials) or not enough air. Try adding more “browns” (carbon-rich materials like dry leaves) and turning the pile to get more air into it.
Q4: Can I compost kitchen scraps like rice and noodles in Asia?
A4: Yes, cooked rice, noodles, and other leftover foods are great for
.lwrp.link-whisper-related-posts{
margin-top: 40px;
margin-bottom: 30px;
}
.lwrp .lwrp-title{
}.lwrp .lwrp-description{
}
.lwrp .lwrp-list-container{
}
.lwrp .lwrp-list-multi-container{
display: flex;
}
.lwrp .lwrp-list-double{
width: 48%;
}
.lwrp .lwrp-list-triple{
width: 32%;
}
.lwrp .lwrp-list-row-container{
display: flex;
justify-content: space-between;
}
.lwrp .lwrp-list-row-container .lwrp-list-item{
width: calc(25% – 20px);
}
.lwrp .lwrp-list-item:not(.lwrp-no-posts-message-item){
max-width: 150px;
}
.lwrp .lwrp-list-item img{
max-width: 100%;
height: auto;
object-fit: cover;
aspect-ratio: 1 / 1;
}
.lwrp .lwrp-list-item.lwrp-empty-list-item{
background: initial !important;
}
.lwrp .lwrp-list-item .lwrp-list-link .lwrp-list-link-title-text,
.lwrp .lwrp-list-item .lwrp-list-no-posts-message{
}@media screen and (max-width: 480px) {
.lwrp.link-whisper-related-posts{
}
.lwrp .lwrp-title{
}.lwrp .lwrp-description{
}
.lwrp .lwrp-list-multi-container{
flex-direction: column;
}
.lwrp .lwrp-list-multi-container ul.lwrp-list{
margin-top: 0px;
margin-bottom: 0px;
padding-top: 0px;
padding-bottom: 0px;
}
.lwrp .lwrp-list-double,
.lwrp .lwrp-list-triple{
width: 100%;
}
.lwrp .lwrp-list-row-container{
justify-content: initial;
flex-direction: column;
}
.lwrp .lwrp-list-row-container .lwrp-list-item{
width: 100%;
}
.lwrp .lwrp-list-item:not(.lwrp-no-posts-message-item){
max-width: initial;
}
.lwrp .lwrp-list-item .lwrp-list-link .lwrp-list-link-title-text,
.lwrp .lwrp-list-item .lwrp-list-no-posts-message{
};
}
Related Posts

I am passionate about home engineering. I specialize in designing, installing, and maintaining heating, ventilation, and air conditioning systems. My goal is to help people stay comfortable in their homes all year long.