Ever looked at your kitchen scraps and yard waste and thought, “There’s got to be a better way than just throwing this away”? You’re not alone! Many of us want to do our part for the planet and our gardens, but the idea of composting can seem a bit… yucky or complicated. Stick around, because we’re about to break down backyard composting into super simple steps. You’ll see how easy it is to turn everyday waste into amazing garden gold. Let’s get started!
Backyard Composting: The Best Effortless Guide for Greener Thumbs
Hey neighbors! Troy D Harn here from TopChooser. If you’re looking to make your garden happier, your trash bin lighter, and Mother Earth a little bit more pleased, you’ve landed in the right spot. Backyard composting is one of those home projects that sounds like a lot of work, but trust me, it’s surprisingly simple once you get the hang of it. We’re talking about turning your daily discards into a nutrient-rich superfood for your plants. Forget the complex science lessons; we’ll keep this practical and easy.
Why compost? It’s a win-win-win. You reduce waste going to landfills. Your garden gets a fantastic, natural fertilizer that improves soil health. And you save money on buying commercial soil amendments. It’s a small change that makes a big difference, and it’s way less intimidating than you might think.
This guide is designed for real people, like you and me, who want to get their hands a little dirty (but not too dirty!) and reap the rewards. We’ll cover everything from picking a bin to knowing what goes in and what stays out, and even how to speed up the composting process. By the end, you’ll be a composting pro. Ready to transform your kitchen scraps and garden trimmings into black gold?
Step 1: Choosing Your Composting Comrade (The Bin)
The first step is picking where your composting party will happen. You don’t need anything fancy. There are a few main types to consider, each with its own perks:
Open Pile Composting
This is the simplest. Just designate a corner of your yard and start piling! It’s cheap and no-fuss, but can look a bit messy and might attract unwanted visitors if not managed well. It works best if you have plenty of space and are just starting out.
Compost Bins (Enclosed)
These are great for keeping things tidy. Designs vary from simple DIY wooden structures to plastic tumblers. Plastic bins often have lids to keep moisture in and critters out, and some even have doors at the bottom for easy access to finished compost. They help retain heat and moisture, which speeds up decomposition.
Compost Tumblers
These are rotating barrels. You fill them up, then give them a spin every few days. Tumblers are fantastic for speeding up the composting process and keeping pests away. The turning aerates the compost, which is key for breaking things down quickly. They can be a bit pricier, but many find the convenience and speed worth the investment.
What to Consider When Choosing:
- Space: How much room do you have in your yard?
- Aesthetics: Do you prefer something neat and tidy, or is a rustic pile okay?
- Budget: DIY options are cheapest, while tumblers are an investment.
- Effort: Tumblers and some bins are designed for less manual turning.
- Pest Control: Enclosed bins and tumblers offer better protection.
For beginners looking for an effortless start, a simple plastic compost bin with a lid and a door at the bottom is often a great choice. It’s contained, reasonably priced, and doesn’t require a lot of fuss.
Step 2: The Big Mix – Greens & Browns
Composting is all about balance. Think of it like baking a cake – you need the right ingredients in the right proportions. For composting, these ingredients are called “greens” and “browns.”
Greens (Nitrogen-Rich): These are the wet, nitrogen-heavy materials. They provide the protein for the microorganisms that break down your compost.
- Fruit and vegetable scraps (peels, cores, rinds)
- Coffee grounds and tea bags (remove staples!)
- Grass clippings (in thin layers to avoid matting)
- Plant trimmings (from non-diseased plants)
- Eggshells (crushed)
- Manure from herbivores (cows, horses, rabbits, chickens – avoid dog/cat waste)
Browns (Carbon-Rich): These are the dry, carbon-heavy materials. They provide the energy for the microorganisms and help keep your compost pile from getting too soggy and smelly.
- Dry leaves
- Shredded newspaper and cardboard (avoid glossy paper and colored inks)
- Straw or hay
- Wood chips or sawdust (use sparingly, especially from treated wood)
- Twigs and small branches (chopped up)
- Paper towel tubes and egg cartons
The Magic Ratio: Aim for roughly 2 parts Browns to 1 part Greens by volume.
Too many greens, and your pile can get sludgy and stink. Too many browns, and it will break down very slowly. Don’t stress too much about being perfect, especially when you’re starting out. Just try to keep this balance in mind.
What NOT to Compost:
- Meat, fish, bones, and dairy products (attract pests and can smell bad)
- Oily or greasy foods
- Diseased plants
- Weeds that have gone to seed (they might sprout in your garden)
- Pet waste (dog and cat feces can contain harmful pathogens)
- Chemically treated grass or wood
- Coal or charcoal ash
Step 3: Building Your Compost Pile (Layer by Layer)
Now, let’s get building! It’s like making a delicious compost lasagna.
- Start with Browns: Lay down a base layer of coarse brown materials like twigs or straw. This helps with drainage and air circulation at the bottom.
- Add Greens: Spread a layer of your kitchen scraps and other green materials over the browns.
- Add More Browns: Cover the green layer with a generous layer of dry brown materials like leaves or shredded paper. This is crucial for preventing odors and attracting fewer pests.
- Moisten: Lightly water each layer as you add it. The compost should be as damp as a wrung-out sponge – not soaking wet, not bone dry.
- Repeat: Continue layering greens and browns, making sure to finish with a layer of browns on top.
If you have a compost tumbler, you’ll simply add your materials to the drum in layers, just like building a pile, and then give it a turn. With an open pile, you can just add materials as you get them, trying to maintain that green-to-brown balance and cover fresh kitchen scraps with yard waste.
Step 4: The Ongoing Care – Keep it Comfy for Critters
Your compost pile needs a few things to do its happy decomposing dance:
Moisture: The Damp Sponge Test
This is one of the most important factors for speedy composting. Too dry? The microbes can’t work. Too wet? It can become anaerobic (lacking oxygen) and smelly. Check your compost every few days. If it feels dry, add some water. If it feels soggy, add more brown materials.
Aeration: Give it a Breath of Fresh Air
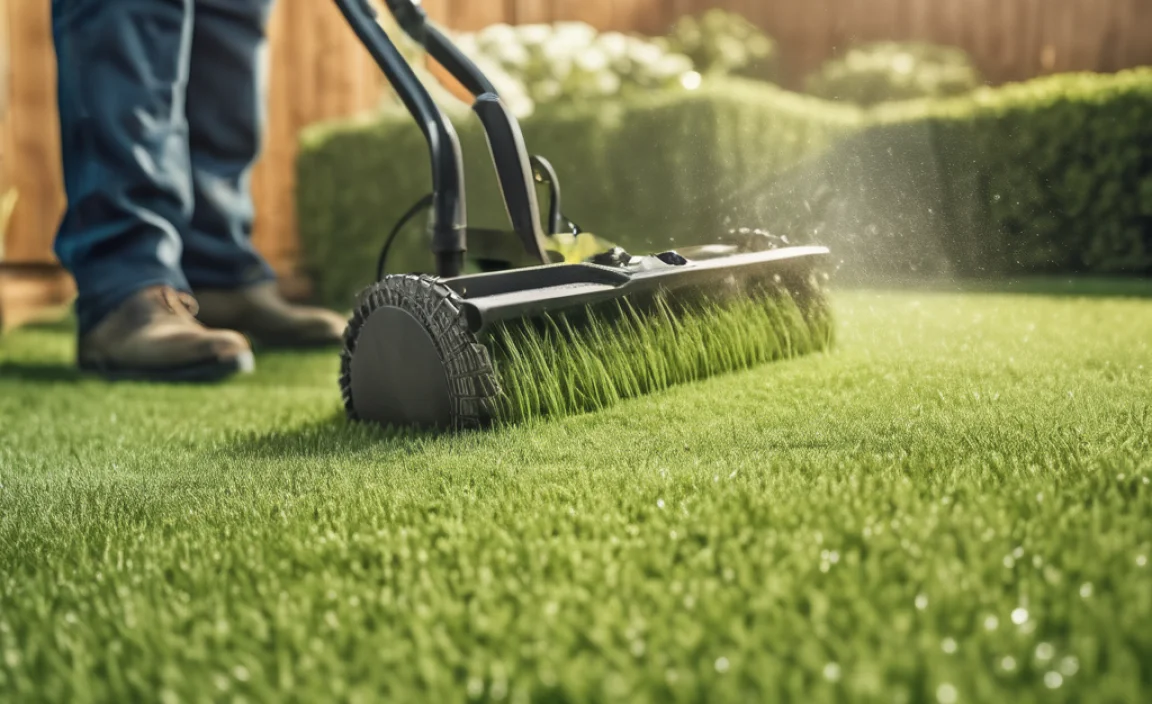
Composting microbes need oxygen to thrive. This is where turning comes in.
- For Open Piles/Bins: Use a garden fork or a compost aerator tool to turn and mix the pile every 1-2 weeks. This means digging into the pile and flipping it over, bringing the outside materials to the middle and vice versa.
- For Tumblers: Simply rotate the tumbler a few times every 3-7 days. This is the effortless part of the tumbler system!
Turning helps distribute moisture, heat, and oxygen, significantly speeding up the decomposition process and preventing foul odors.
Temperature: The Warm Hug
A healthy compost pile will heat up in the center, sometimes reaching temperatures of 130-160°F (54-71°C). This heat is generated by the microbes doing their work and is great for killing weed seeds and pathogens. Turning helps maintain this heat by mixing the cooler outer layers with the hotter inner core.
Step 5: Knowing When It’s Ready (The Black Gold!)
The ultimate reward! Finished compost is dark, crumbly, and smells earthy, like a forest floor after rain. You shouldn’t be able to identify the original materials you put in.
How long does it take?
- Fast Composting: With regular turning, moistening, and a good mix of greens and browns, compost can be ready in as little as 4-8 weeks. Tumblers are excellent for this.
- Slow Composting: If you just let it sit with occasional turning, it might take 6-12 months or even longer.
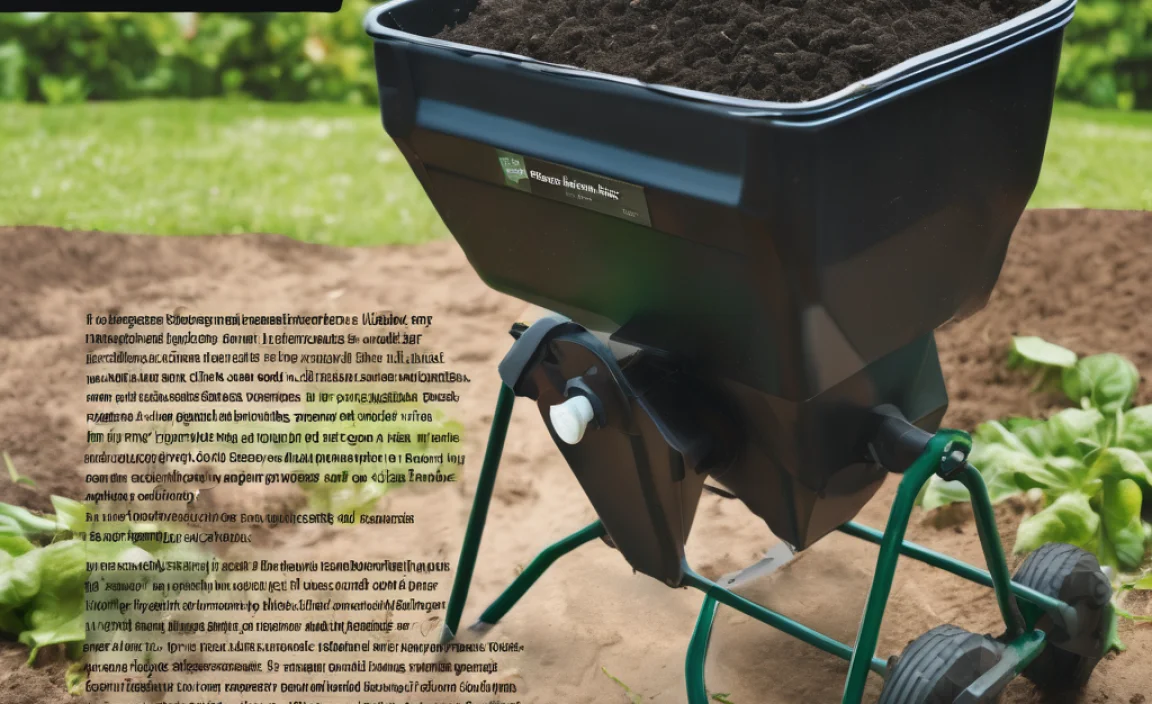
To harvest, simply take a shovel and dig out the finished compost from the bottom of your bin or pile. Sift it if you want to remove any larger, uncomposted bits, which can go back into your new compost pile. You can also use a compost sieve. A simple one can be made using hardware cloth stapled to a wooden frame.
Troubleshooting Common Composting Hiccups
Even with the best intentions, you might run into a few snags. Here’s how to fix them:
My compost smells bad!
Problem: Usually too many greens or too much moisture, leading to anaerobic conditions (lack of oxygen).
Solution: Add more brown materials (leaves, shredded paper) to absorb excess moisture and improve airflow. Turn the pile thoroughly. Ensure good drainage.
My compost isn’t breaking down.
Problem: Pile is too dry, not enough greens (nitrogen), or not being turned enough.
Solution: Check moisture – add water if dry. Add more green materials (kitchen scraps, grass clippings). Turn the pile more frequently to introduce air and mix ingredients.
There are pests in my compost (flies, rodents).
Problem: Exposed food scraps, or the pile is too wet and smelly.
Solution: Bury all kitchen scraps deep within the pile and always cover with a layer of brown material. Ensure the compost isn’t too wet. If using an open pile, consider an enclosed bin or tumbler. Avoid adding meat, dairy, or oily foods.
Dealing with composting issues is just part of the learning process. Most problems have simple fixes, and adjusting your green-to-brown ratio or turning schedule usually does the trick.
Benefits of Backyard Composting in a Nutshell
Let’s recap why this is such a fantastic habit to adopt:
Environmental Benefits:
- Reduces Landfill Waste: Diverts organic materials that would otherwise decompose anaerobically in landfills, producing methane, a potent greenhouse gas. The EPA notes that yard waste and food scraps make up a significant portion of municipal solid waste.
- Improves Soil Health: Compost adds organic matter to soil, which improves its structure, aeration, and water retention.
- Reduces Need for Chemical Fertilizers: Compost is a natural source of nutrients, lessening the demand for synthetic fertilizers, which can pollute waterways.
- Enhances Plant Growth: Provides essential nutrients that help plants grow stronger and healthier.
Gardening Benefits:
- Better Soil Structure: Makes clay soils lighter and sand soils hold water better.
- Increased Microbial Activity: Encourages beneficial fungi and bacteria that help plants access nutrients and defend against diseases.
- Weed Suppression: Healthy soil can naturally outcompete weeds.
- Natural Pest and Disease Control: Healthier plants are more resistant to common problems.
Personal Benefits:
- Saves Money: Reduces the need to buy fertilizers, soil amendments, and even nutrient-rich potting mixes.
- Productive Hobby: It’s a rewarding way to engage with nature and your own yard.
- Educational: A great way to teach kids about decomposition, soil science, and sustainability.
A Quick Comparison: Composting Bins vs. Tumblers
To help you decide, let’s look at a quick breakdown:
| Feature | Compost Bins (Enclosed) | Compost Tumblers |
|---|---|---|
| Effort Level | Moderate (requires turning with a fork/tool) | Low (requires rotating the drum) |
| Speed of Composting | Moderate (can be slower without frequent turning) | Fast (turning aerates efficiently) |
| Pest Control | Good (especially with secure lids) | Excellent (fully enclosed) |
| Cost | Low to Moderate | Moderate to High |
| Footprint | Stationary, takes up a dedicated ground space | Stationary, similar ground space, can be easier to move contents |
| Ease of Use | Manual turning into the pile | Mechanical rotation, easy to manage batches |
For those prioritizing “effortless,” a compost tumbler really shines. However, a well-managed enclosed bin isn’t far behind and is often more budget-friendly. The key is consistent management, whatever system you choose.
Speeding Up Your Compost Cycle
Want that black gold faster? Here are a few pro tips:
- Chop It Up: The smaller the pieces of your greens and browns, the more surface area there is for microbes to work on. Chop up those kitchen scraps and shred your yard waste as much as possible.
- Maintain the Right Moisture: As mentioned, damp, not soggy. This is crucial.
- Turn Regularly: Consistent turning provides the oxygen that speeds up decomposition. Aim for at least once a week if you’re aiming for speed.
- Balance Your Greens and Browns: Keep that 2:1 brown-to-green ratio as your ideal.
- Warmth: Composting happens faster in warmer weather. If you live in a colder climate, consider insulating your bin or piling materials against a sunny wall.
- “Activators”: While not strictly necessary, you can add finished compost or a shovel-full of healthy garden soil to a new pile. This introduces a starter culture of beneficial microbes. You can also buy commercial compost starters, but they are usually not needed if you have a good mix of materials. A layer of manure from herbivores can also act as a natural activator.
By implementing these practices, you can significantly reduce the time it takes to get usable compost.
FAQs for Beginners
Here are some common questions that pop up:
How often should I add new material to my compost pile?
You can add materials as you generate them. Just remember to try and maintain the green-to-brown ratio and to cover fresh kitchen scraps with a layer of brown material to deter pests and odors. If you’re using a tumbler, some people prefer to fill it up completely before they start the turning and composting process to ensure a more consistent batch.
Is it normal for my compost pile to get hot?
Yes, and it’s a good sign! A hot compost pile (130-160°F or 54-71°C) indicates that the microorganisms are actively decomposing the material, and it helps kill weed seeds and pathogens. If it’s not heating up, it might be too dry, lack nitrogen (greens), or need turning.
Can I compost coffee grounds and tea bags?
Absolutely! Coffee grounds and most tea bags (if you remove staples and plastic tags) are excellent “greens” for your compost pile. They add valuable nitrogen.
My compost is turning into just a soggy mess. What did I do wrong?
This usually means there are too many “greens” (wet materials like food scraps and grass clippings) and not enough “browns” (dry materials like leaves and shredded paper). It also might be too wet overall.

I am passionate about home engineering. I specialize in designing, installing, and maintaining heating, ventilation, and air conditioning systems. My goal is to help people stay comfortable in their homes all year long.