This guide is designed for you, the homeowner or renter eager to start. We’ll cover everything from choosing a bin to what goes in and what stays out, all explained step-by-step. Let’s get your backyard composting journey started with confidence!
What Exactly is Backyard Composting?
Backyard composting is simply the process of breaking down organic materials, like food scraps and yard waste, in your own garden or yard. Think of it as nature’s recycling program. Microorganisms (like bacteria and fungi) and larger creatures (like worms and insects) work together to transform these materials into a rich, dark, soil-like substance called compost. This compost is incredibly beneficial for your garden, improving soil structure, providing nutrients, and helping plants grow healthier and stronger.
Why Start Composting in Europe?
Composting is booming across Europe for some excellent reasons:
- Environmental Benefits: Reducing food waste sent to landfills significantly cuts down on methane gas, a potent greenhouse gas. The European Environment Agency highlights the importance of waste reduction for a sustainable future.
- Nutrient-Rich Soil: Compost acts as a natural fertilizer, boosting the health of your garden soil without the need for chemical alternatives.
- Waste Reduction: A large portion of household waste is compostable. Composting diverts this from landfills, saving space and resources.
- Cost Savings: You’ll buy fewer fertilizers and soil amendments for your garden.
- Community & Regulations: Many European countries and cities are encouraging or even mandating home composting as part of their waste management strategies. Knowing the local guidelines is often a good idea.
Getting Started: Your First Steps
Ready to dive in? Here’s what you need to think about first.
Choosing Your Compost Bin
Your bin is your composting headquarters! There are a few popular options for European backyards:
1. Stationary Bins:
- These are usually enclosed, often made of plastic or wood.
- Pros: Tidy, retain heat well, deter pests, good for smaller spaces.
- Cons: Can be slower to decompose if not managed well, turning can be more difficult.
- Appearance: Often a simple, enclosed plastic tumbler or a wooden-slatted structure.
2. Open Piles:
- The simplest method – just a heap of materials in a corner of your yard.
- Pros: Easiest to start, can handle large volumes, good aeration.
- Cons: Can look untidy, more prone to drying out or becoming too wet, potential for pests if not maintained.
- Appearance: A simple mound of organic material.
3. Tumbler Bins:
- These are enclosed barrels on a stand that you can spin to mix the compost.
- Pros: Mixes compost easily and quickly, speeds up decomposition, excellent pest control.
- Cons: Can be more expensive, capacity might be limited, can become heavy if overfilled.
- Appearance: A rotating drum, often made of plastic.
4. Wormeries (Vermicomposting):
- While often used indoors or for smaller volumes, wormeries can be an option. Specific types are designed for outdoor use. They use special composting worms (red wigglers) to break down food scraps.
- Pros: Produces high-quality compost (worm castings) quickly, good for apartments or limited space.
- Cons: Requires specific types of worms, sensitive to temperature extremes.
- Appearance: Stacked trays or a single bin designed for worms.
What to Consider for Your European Garden:
- Space: How much room do you have? A small balcony might suit a wormery, while a larger garden can handle an open pile or a big bin.
- Volume of Waste: How much organic waste do you produce? If it’s a lot, opt for a larger bin or an open pile.
- Aesthetics: Do you prefer something neat and enclosed, or is a rustic pile okay?
- Pest Concerns: If pests are an issue in your area, an enclosed bin or tumbler is best.
- Local Regulations: Some municipalities have rules about compost bin placement or type. Check with your local council.
Picking the Right Location for Your Bin
Location, location, location! Finding the ideal spot for your compost bin is crucial for successful composting.
- Accessibility: Make sure you can easily get to it with your kitchen scraps and garden waste, and to turn it if needed.
- Partial Shade: Direct, harsh sun can dry out your compost pile too quickly, while deep shade might keep it too wet and prevent it from heating up properly. The Royal Horticultural Society (RHS) suggests a spot that gets sun in the morning and shade in the afternoon.
- Drainage: Avoid areas that waterlog. Your compost bin needs to drain well to prevent it from becoming a soggy mess.
- Proximity to Water: It’s helpful to be near a water source, as you may need to add moisture to your compost.
- Neighborly Considerations: While well-managed compost shouldn’t smell, it’s wise to place your bin away from property lines or seating areas.
What to Put In (Greens & Browns)
The secret to great compost is a good balance of “green” and “brown” materials. Think of it as a balanced diet for your compost heap!
Greens (Nitrogen-Rich Materials)
These are typically wet, fresh materials that provide nitrogen and moisture.
- Fruit and vegetable scraps (peels, cores, rinds)
- Coffee grounds and tea bags (remove staples, plastic wrappers)
- Grass clippings (use in thin layers to avoid matting)
- Plant trimmings (soft, green cuttings)
- Eggshells (crushed)
- Manure from herbivores (like chickens, rabbits, horses – avoid cat/dog waste)
Browns (Carbon-Rich Materials)
These are usually dry, woody materials that provide carbon and help with aeration.
- Dry leaves
- Straw and hay
- Cardboard (torn into small pieces, without glossy print or tape)
- Newspaper (shredded, avoid glossy inserts)
- Twigs and small branches (chopped or shredded)
- Sawdust and wood chips (from untreated wood)
- Paper towels and tissues (if not soiled with grease or chemicals)
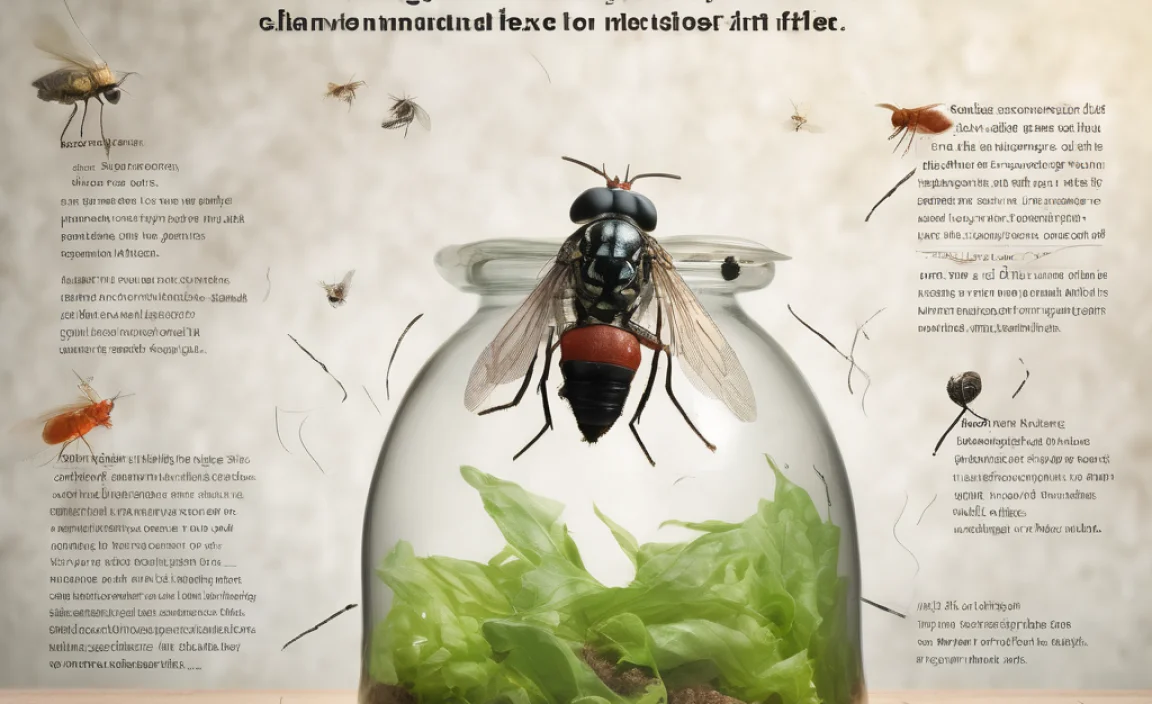
What to KEEP OUT of Your Compost Bin
Some things just don’t belong in a home compost bin, as they can cause problems like smells, pests, or diseases.
- Meat, fish, and bones (attract pests, can smell)
- Dairy products (cheese, yogurt, milk – attract pests, can smell)
- Oily or greasy food scraps
- Diseased plants (can spread disease in your garden)
- Weeds that have gone to seed (can sprout in your compost)
- Pet waste (from dogs and cats – can contain pathogens)
- Treated wood or sawdust
- Coal or charcoal ash
- Synthetic materials (plastics, metals, glass)
- Glossy paper or colored ink
The Layering Method: Building Your Compost Pile
Creating a successful compost pile is much like baking a cake – it’s all about getting the right ingredients and mixing them well. Many gardeners swear by the layering method.
Step 1: The Base Layer (Browns)
Start with a generous layer (about 4-6 inches) of coarse brown materials at the bottom of your bin or pile. This helps with drainage and airflow. Think twigs, straw, or shredded cardboard.
Step 2: Add Greens
Add a layer of green materials on top of the browns. This can be kitchen scraps, grass clippings, or soft garden waste. Aim for a thinner layer than the browns initially.
Step 3: Add More Browns
Cover your green layer with another layer of brown materials. This helps to trap moisture and heat, and also deters pests and odors. Aim for roughly twice the volume of browns to greens over time.
Step 4: Repeat and Moisten
Continue layering greens and browns, aiming for a ratio of about 2-3 parts browns to 1 part greens. Lightly water each layer as you add it, aiming for the consistency of a wrung-out sponge. It should be damp, not soggy.
Step 5: Add a “Starter” (Optional)
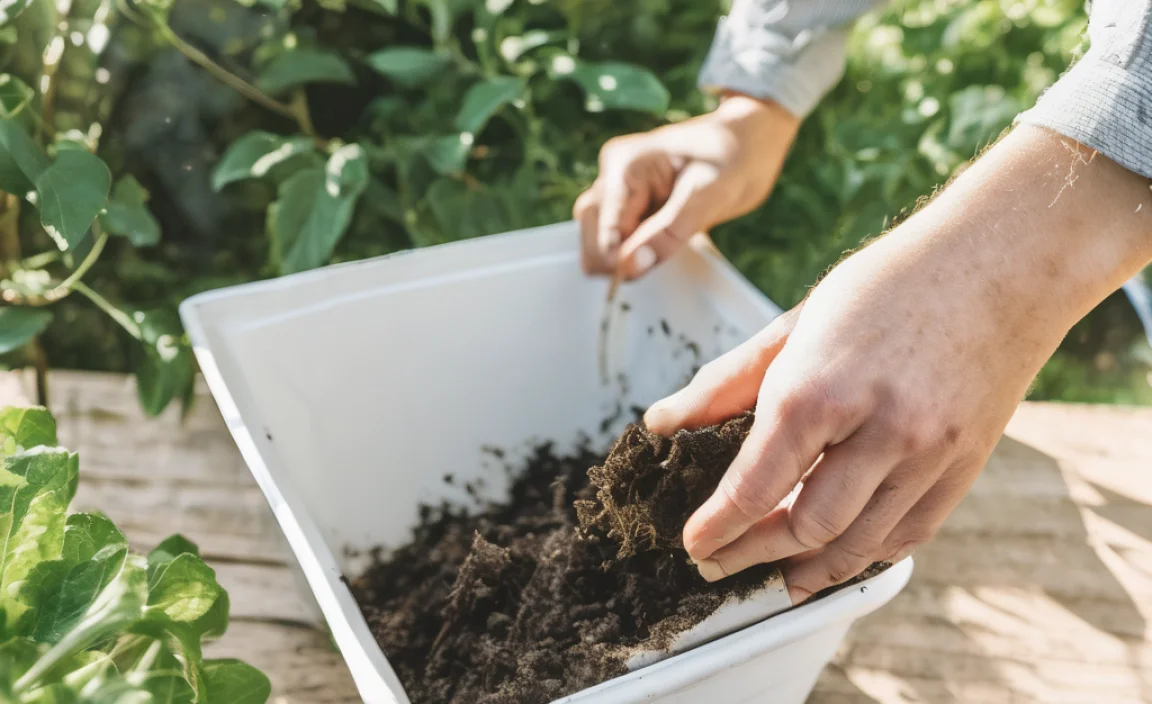
To kickstart the decomposition process, you can add a shovel-full of finished compost or good garden soil. This introduces beneficial microorganisms to your new pile.
Maintaining Your Healthy Compost Pile
Building the pile is just the first part. Keeping it happy will turn your waste into compost much faster.
The Magic Formula: Air, Moisture, Balance
Think of your compost pile as a living thing. It needs air, water, and the right food to thrive.
1. Aeration (Air):
- Microorganisms need oxygen to break down material.
- How to aerate:
- Turning: If you have a bin or tumbler, turn it regularly. For open piles, use a pitchfork or compost aerator tool to mix the layers. Aim to turn it every 1-4 weeks, depending on how quickly you want compost.
- Layering: The browns (twigs, cardboard) naturally create air pockets.
2. Moisture:
- The compost pile needs to be consistently damp, like a wrung-out sponge.
- Too dry: Decomposition slows down. Add water and mix.
- Too wet: It can become mucky, anaerobic (smelly), and slow down. Add more brown materials and turn to introduce air.
- How to check moisture: Grab a handful of compost. If water drips out when you squeeze it, it’s too wet. If it feels dry and crumbly, it needs water.
3. The Green-to-Brown Ratio:
- As mentioned, a good ratio is crucial. Too much green can lead to a slimy, smelly heap. Too much brown will slow down decomposition.
- General Rule: Aim for about 2-3 parts brown material to 1 part green material by volume. Don’t stress too much about exact measurements; it’s more about observation. If it’s too wet and smelly, add browns. If it’s not breaking down, try adding more greens (or ensure it has enough moisture).
Troubleshooting Common Composting Problems
Even with the best intentions, you might run into a few hiccups. Here’s how to fix them:
| Problem | Cause | Solution |
|---|---|---|
| Foul odor (ammonia or rotten egg smell) | Too much green material (nitrogen) or too wet and compacted. Lack of air. | Add more brown materials (leaves, cardboard, straw). Turn the pile thoroughly to aerate. Ensure good drainage. |
| Pile is not heating up or decomposing | Too dry. Not enough green material (nitrogen). Pile is too small. Lack of air. | Add water gradually and mix. Add more green materials (kitchen scraps, grass clippings). Ensure the pile is at least 3ft x 3ft x 3ft for efficient heating. Turn the pile. |
| Attracting pests (flies, rats) | Visible food scraps. Meat/dairy included. Pile too wet. | Bury food scraps deep within the pile, always cover with browns. Ensure no meat, dairy, or oily foods. Keep the pile moist but not soggy. Use an enclosed bin or tumbler. |
| Compost is dry and dusty | Too much brown material. Exposed to sun/wind consistently. | Add water and mix. Add more green materials. Cover the pile with a tarp loosely, or ensure it’s in a shadier spot. |
How Long Does It Take to Make Compost?
This is a common question, and the answer is: it depends! Several factors influence the speed of decomposition:
- Management: A well-managed, frequently turned, and properly balanced pile will produce compost much faster than a neglected one.
- Materials: Smaller, softer materials break down quicker than larger, woody ones.
- Temperature: Warmer weather (especially summer) speeds up decomposition.
- Bin Type: Tumbler bins generally produce compost faster because they are easier to mix and aerate.
Generally, you can expect:
- Fast Composting: With excellent management (frequent turning, ideal moisture/balance), you might get usable compost in as little as 1-3 months. This is sometimes called hot composting.
- Standard Composting: For most backyard composters who turn their pile weekly or bi-weekly, it typically takes anywhere from 4 to 12 months to get finished compost. This is often called warm composting.
- Slow Composting: If you’re ‘set it and forget it’ or have a very slow-moving pile, it could take 12-24 months.
How to tell when compost is ready:
- It should be dark brown and crumbly.
- It will have a pleasant, earthy smell – no sourness or ammonia.
- You shouldn’t be able to identify the original materials you put in.
- It will be cool or lukewarm – not hot.
Using Your Finished Compost
Congratulations, you’ve made compost! Now for the best part – using it.
- Soil Amendment: Mix 2-4 inches of compost into garden beds before planting. Dig it into the top 6-8 inches of soil.
- Mulch: Spread a 1-2 inch layer of compost around plants, trees, and shrubs. This helps retain moisture, suppress weeds, and slowly feed the soil.
- Potting Mix Booster: Mix compost with potting soil to improve drainage and nutrient content for container plants. A common ratio is 1 part compost to 2 or 3 parts potting soil.
- Lawn Top-Dressing: Spread a thin layer (about ¼ to ½ inch) of sieved compost over your lawn in the spring or fall. Rake it in to fill in any bare patches and enrich the soil.
- Compost Tea: Steep finished compost in water for a day or two to create a nutrient-rich liquid fertilizer for your plants.
Composting in Different European Climates
Europe’s diverse climates present unique composting considerations:
- Northern Europe (Cold Winters):
- Challenge: Freezing temperatures can slow or stop decomposition.
- Solutions: Insulated bins help retain heat. Choose a location that gets the most sun. You might need to stockpile garden waste to add during warmer months. Adding more materials in the autumn can help insulate the pile for winter. Consider a compost bin designed for colder climates or a tumbler that can be moved to a sunnier spot.
- Southern Europe (Hot Summers):
- Challenge: Extreme heat can dry out the compost pile too quickly.
- Solutions: Regular watering is essential. Ensure good shade during the hottest part of the day. A bin with a lid can help retain moisture. Turning more frequently might be necessary.
- Wet Climates (e.g., UK, Ireland):
- Challenge: Compost can become waterlogged, leading to anaerobic conditions and odors.
- Solutions: Excellent drainage is key. Use a bin with plenty of aeration holes or an open pile on well-drained ground. Ensure a good proportion of brown materials to absorb excess moisture. Turn regularly to prevent compaction.
Ready to Dig In!
Backyard composting in Europe is a rewarding and environmentally conscious practice that’s more accessible than you might think. By understanding the basics of greens and browns, maintaining the right balance of air and moisture, and choosing a bin that suits your space, you’re well on your way to creating nutrient-rich compost. Don’t aim for perfection from day one – composting is a learning process. Observe your pile, make adjustments as needed, and you’ll soon be enjoying the benefits of healthier soil and reduced waste.
So, grab a fork, start layering, and get ready to transform your kitchen scraps and garden waste into black gold. Happy composting!
FAQs About Backyard Composting in Europe
Q1: Do I need a special bin for composting in my European garden?
Not necessarily! While specialized bins (like tumblers or insulated models) can make composting easier and faster, a simple open pile or a DIY bin made from pallets can work perfectly well. The best bin for you depends on your space, budget, and how much effort you want to put in.
Q2: How do I stop my compost from smelling bad?
A smelly compost pile usually means it’s too wet or has too much nitrogen (green material) and not enough air. To fix it, add more brown, carbon-rich materials like dry leaves, shredded cardboard, or straw. Then, turn the pile thoroughly to introduce air. Make sure your bin is in a well-drained spot.
Q3: Can I compost all my kitchen waste in Europe?
You can compost most kitchen waste, including fruit and vegetable scraps, coffee grounds, and tea bags. However, it’s best to avoid meat, fish, dairy products, and oily foods, as these can attract pests and create unpleasant odors. Also, be cautious with citrus peels and onions, as some gardeners feel they can slow down decomposition if added in very large quantities.
Q4: What if I live in an apartment with no garden in Europe?
You can still compost! Consider vermicomposting (worm bins) or Bokashi composting. Worm bins use special red wiggler worms to break down food scraps, producing nutrient-rich castings. They can be kept on a balcony or even indoors. Bokashi is a fermentation process that can be done in a sealed bucket, even in small kitchens.
Q5: Are there any specific regulations for composting in my European country?
Regulations vary greatly by country, region, and even municipality within Europe. Some areas encourage home composting and offer resources, while others might have rules about bin placement or types of materials allowed. It’s always a good idea to check with your local council or municipality for specific guidelines in your area.
Q6: My compost pile isn’t breaking down. What should I do?
This usually means your pile isn’t active enough. Check for moisture – it might be too dry. If so, water it and mix. It could also lack nitrogen (greens) or air. Adding more green materials or turning the pile well should help. Ensure your pile is large enough to retain heat, ideally at least 1 cubic meter (about 3ft x 3ft x 3ft).

I am passionate about home engineering. I specialize in designing, installing, and maintaining heating, ventilation, and air conditioning systems. My goal is to help people stay comfortable in their homes all year long.