Thinking about composting but feeling a bit overwhelmed by all the options? You’re not alone! Deciding between “cold” and “hot” composting can seem like a big choice. But don’t worry, it’s simpler than you think. We’re going to break it down, step-by-step, so you can pick the method that’s perfect for your garden and your lifestyle. Get ready to turn your kitchen scraps into amazing garden gold!
Cold vs Hot Composting Methods: Proven Essential
Composting is one of those super rewarding activities that’s good for your garden, your wallet, and the planet. It’s like a magic trick where food scraps and yard waste transform into nutrient-rich soil. But when you first start looking into it, you’ll quickly run into two main terms: “cold composting” and “hot composting.” What’s the scoop? Which one is right for you? Let’s untangle these composting mysteries so you can get started composting with confidence.
Think of it this way: both methods achieve the same goal – breaking down organic materials into usable compost. The main difference lies in the speed and the process. One is like a slow, gentle simmer, while the other is a fast, fiery transformation. We’ll walk through exactly what each method involves, the pros and cons, and how to decide which one fits your needs best. By the end, you’ll be ready to choose your composting path and start creating that black gold for your plants.
What is Composting? A Quick Refresher.
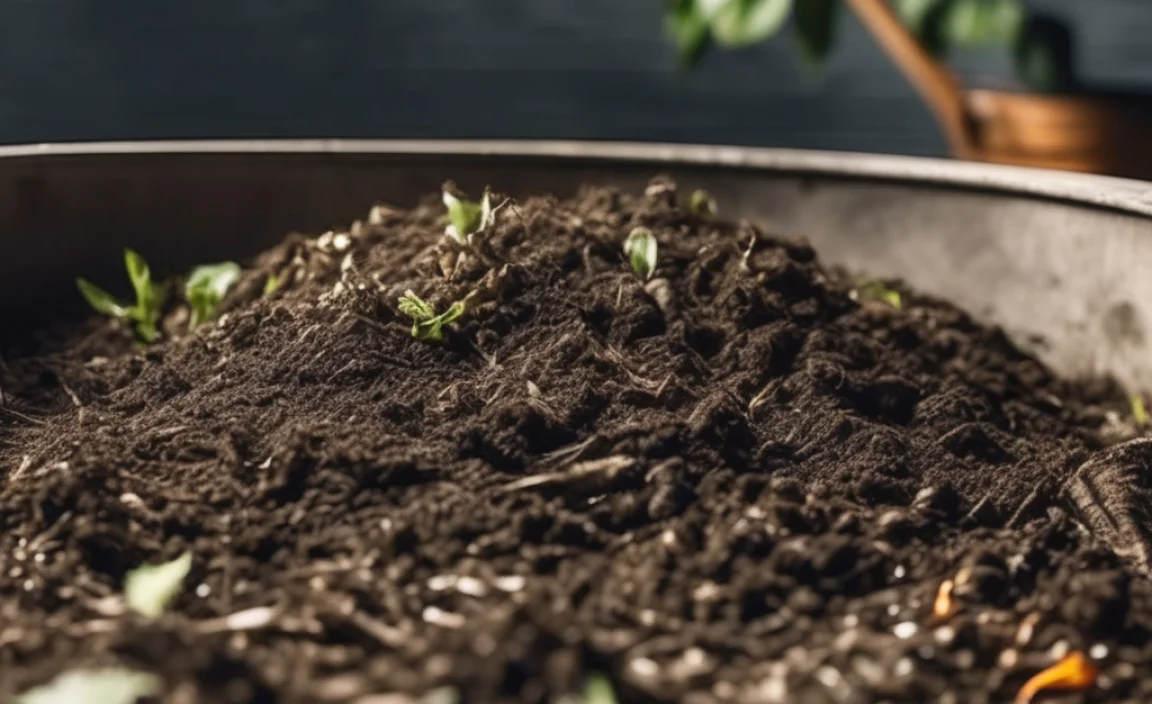
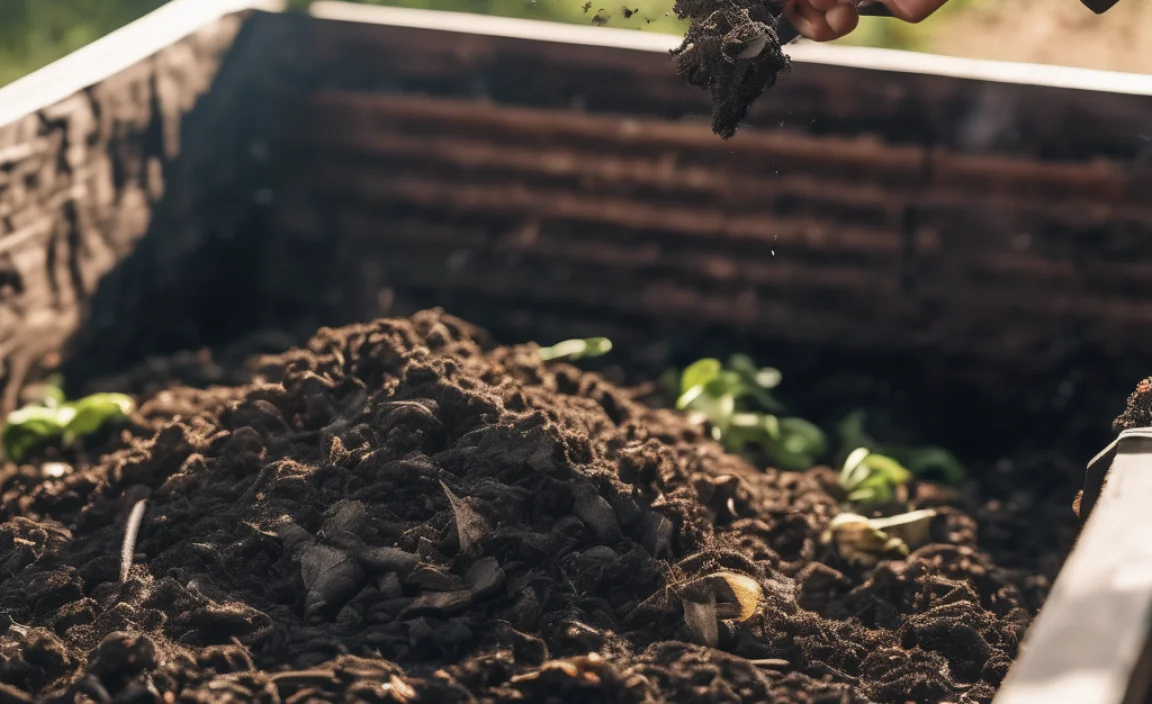
Before we dive into the “cold” versus “hot” debate, let’s quickly touch on what composting actually is. At its heart, composting is the natural process of recycling organic matter, such as leaves and food scraps, into a valuable soil amendment that can improve soil health and fertility. This happens thanks to a tiny army of decomposers: bacteria, fungi, worms, and other insects. They feast on the organic material, breaking it down into a rich, dark, crumbly material called humus, which is amazing for your garden.
Good compost acts like a super-booster for your soil. It helps retain moisture, improves drainage, adds essential nutrients, and can even suppress plant diseases. So, whether you’re growing vegetables, flowers, or just want to keep your lawn looking its best, composting is a fantastic way to go.
Cold Composting: The “Set It and Forget It” Method
Cold composting, also known as passive composting, is the simplest way to compost. It requires very little effort on your part. You essentially just pile up your organic materials and let nature take its course. This method is ideal for gardeners who are patient and don’t need finished compost quickly. It’s often the easiest approach for beginners as it involves minimal management.
How Cold Composting Works
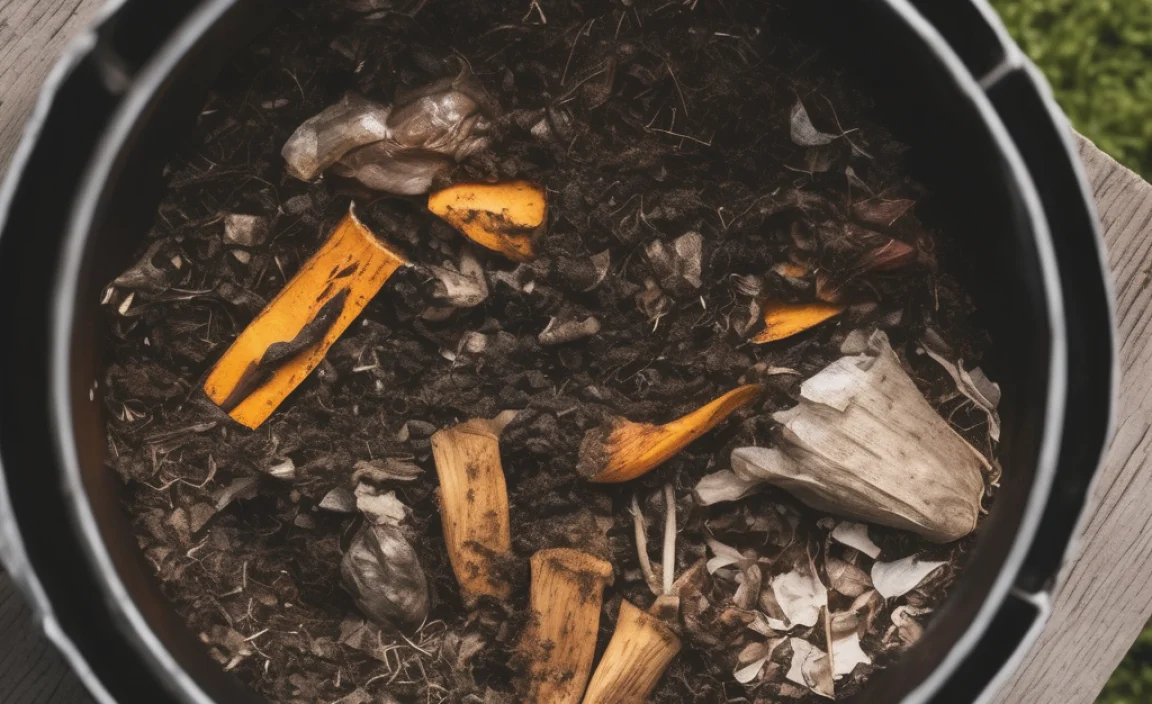
With cold composting, you simply add your organic materials to a designated pile or bin. You don’t need to worry too much about balancing the “greens” (nitrogen-rich materials like grass clippings and food scraps) and “browns” (carbon-rich materials like dry leaves and cardboard). You also don’t need to turn the pile frequently or monitor its temperature. Decomposers will eventually break down the materials, but it’s a much slower process.
The microorganisms involved in cold composting are generally mesophilic – meaning they thrive in moderate temperatures. They work steadily but slowly, especially when the pile isn’t actively heated. This means larger, tougher materials might take a long time to break down, and weed seeds or pathogens might survive the process.
What You Can Add to a Cold Compost Pile
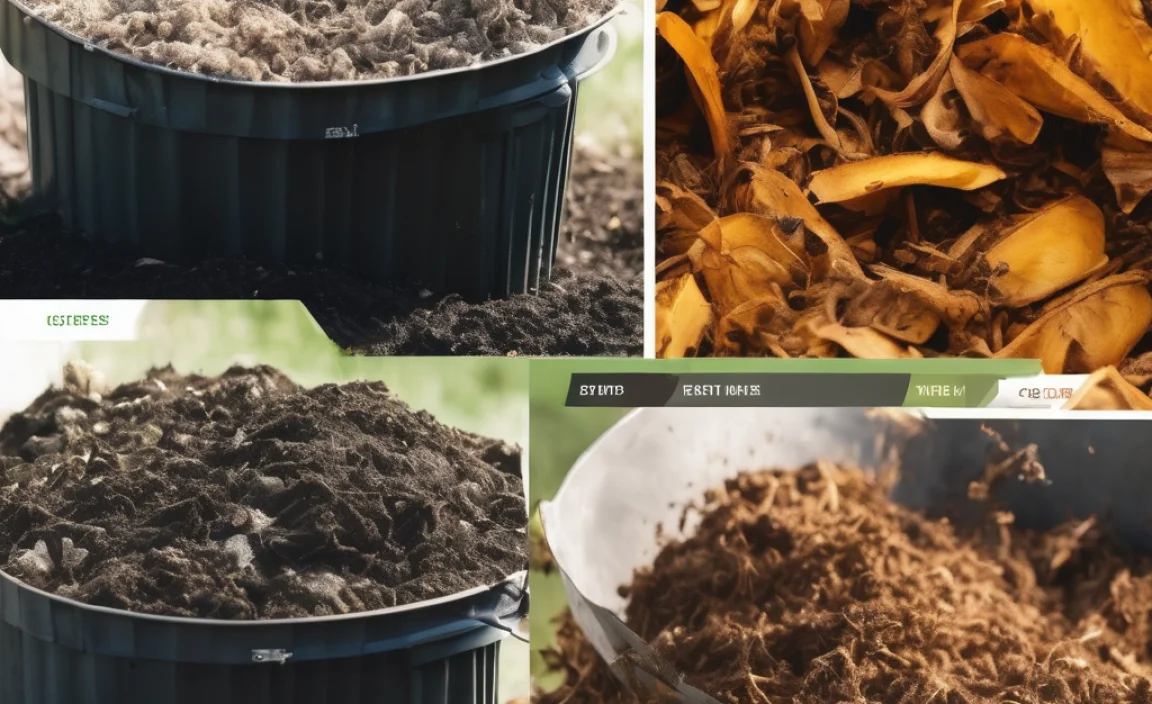
The good news is that cold composting accepts a wide range of organic materials. Here’s a basic list:
- Greens: Fruit and vegetable scraps, coffee grounds, tea bags, grass clippings (in moderation), plant trimmings.
- Browns: Dry leaves, straw, shredded newspaper, cardboard (avoid glossy or colored inks), small twigs, sawdust (from untreated wood).
Materials to Avoid in Cold Composting (and Hot Composting too!)
It’s crucial to avoid certain items to prevent attracting pests, creating unpleasant odors, or introducing harmful pathogens. These include:
- Meat, fish, and dairy products.
- Oily or greasy foods.
- Diseased plants or weeds that have gone to seed (especially in cold composting, as the lower temperatures won’t kill them).
- Pet waste (from dogs and cats, as it can contain harmful pathogens).
- Treated wood or charcoal ash.
- Invasive weed roots.
Pros of Cold Composting
- Low Effort: Requires minimal attention and turning.
- Easy for Beginners: Less to learn and manage.
- Accepts Most Organic Waste: You can add a wide variety of materials without strict ratios.
- Patience Rewarded: Great for those who aren’t in a hurry for finished compost.
Cons of Cold Composting
- Slow Process: Can take anywhere from 6 months to 2 years to produce finished compost.
- Potential for Pests: If not managed carefully (e.g., burying food scraps), can attract rodents or insects.
- Less Control: Weed seeds and pathogens may survive due to lower temperatures.
- Larger Materials Take Longer: Sticks and tough plant matter will decompose very slowly.
Hot Composting: The Fast-Track to Black Gold
Hot composting is a more active and faster method. It involves carefully managing the materials, moisture, and aeration to create a pile that heats up significantly. This high heat (often reaching 130-160°F or 55-70°C) significantly speeds up the decomposition process and kills off weed seeds and pathogens. This method requires more attention and understanding but yields results much faster, sometimes in as little as 4-8 weeks.
The high temperatures in hot composting are generated by thermophilic (heat-loving) microorganisms. These microbes work incredibly fast when conditions are just right. Achieving and maintaining these temperatures is key to the success of hot composting.
How Hot Composting Works
Hot composting relies on achieving the right balance of “greens” (nitrogen) and “browns” (carbon), maintaining adequate moisture, and ensuring good aeration. This is often referred to as the “C:N ratio” (Carbon to Nitrogen ratio). A good target is usually around 25:1 to 30:1 (carbon to nitrogen by dry weight). This means you need roughly 25-30 parts carbon material for every 1 part nitrogen material.
Here’s a basic breakdown of the process:
- Build the Pile: Start by layering “greens” and “browns.” A common approach is to make layers about 4-6 inches thick, alternating between the two. Size matters too – smaller pieces break down faster, so chop or shred larger materials.
- Add Water: Each time you add a layer, moisten it. The pile should feel like a damp sponge – wet enough to hold together when squeezed, but not dripping water.
- Turn the Pile: This is crucial for aeration. Turning the pile introduces oxygen, which the microbes need to thrive and generate heat. It also helps redistribute moisture and ensures all materials get a chance to decompose. Aim to turn your pile every 3-7 days, especially when you notice the temperature starting to drop.
- Monitor Temperature: Use a compost thermometer to check the internal temperature. When it reaches 130-160°F (55-70°C), the thermophilic stage is active, and decomposition is happening rapidly.
For more on the science of composting and achieving optimal conditions, this guide from the Cornell Composting program offers in-depth information.
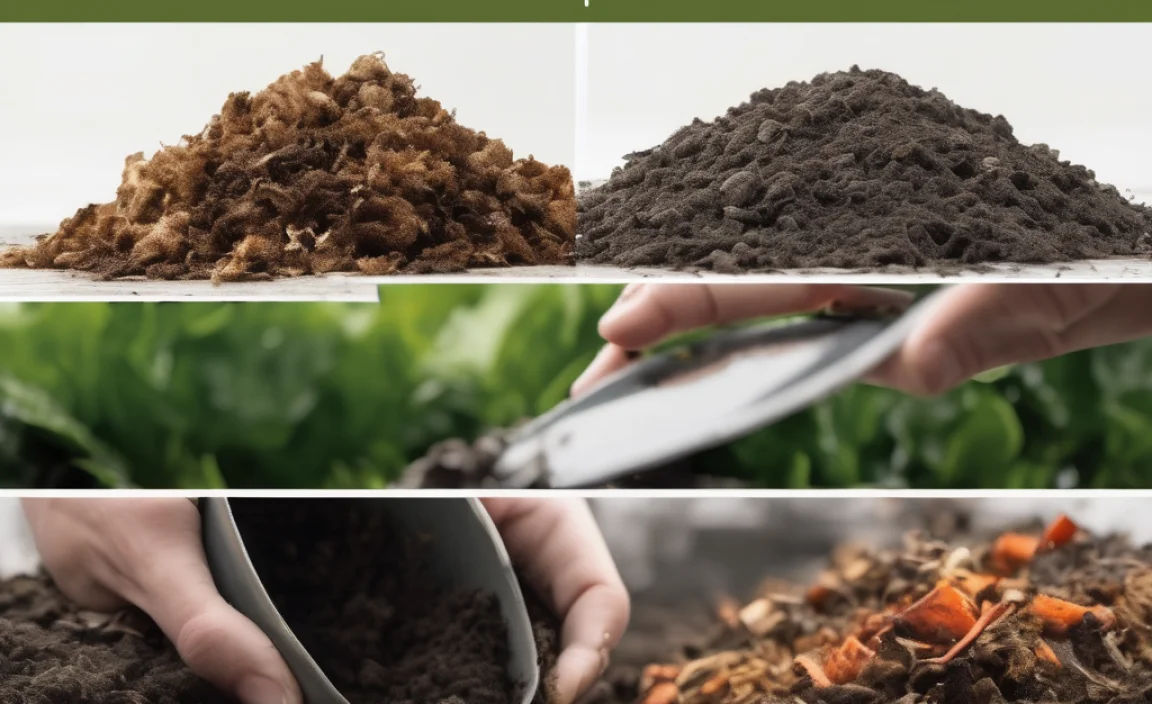
What You Can Add to a Hot Compost Pile
Similar to cold composting, good materials include:
- Greens (Nitrogen-rich): Fresh grass clippings, vegetable and fruit scraps, coffee grounds, tea bags, manure from herbivores (like chickens, rabbits, cows, horses – not dogs or cats).
- Browns (Carbon-rich): Dry leaves, straw, shredded newspaper, cardboard, wood chips, sawdust, dried grass, pine needles.
When hot composting, it’s even more important to exclude the “avoid” list mentioned earlier (meat, dairy, oils, diseased plants, pet waste, etc.). The high temperatures are effective at sanitizing, but starting with cleaner inputs is always best, and some materials simply won’t break down properly.
Achieving the Right C:N Ratio
Getting the carbon to nitrogen ratio right is key to feeding the thermophilic microbes. Here’s a general idea of what falls into which category:
| Greens (High Nitrogen) | Browns (High Carbon) |
|---|---|
| Grass clippings | Dry leaves |
| Fruit and vegetable scraps | Straw |
| Manure (herbivore) | Shredded newspaper/cardboard |
| Coffee grounds | Twigs and wood chips |
| Tea leaves | Sawdust (untreated) |
| Plant trimmings | Pine needles |
A common mistake is adding too many “greens,” which can lead to a slimy, smelly pile that doesn’t heat up properly. Too many “browns” will make the pile dry and slow down decomposition.
Pros of Hot Composting
- Speed: Produces finished compost in weeks to a few months.
- Sanitation: High temperatures kill weed seeds and most plant pathogens.
- Efficiency: Breaks down materials thoroughly and quickly.
- Less Smell: When managed correctly, it produces fewer odors than a neglected cold pile.
Cons of Hot Composting
- Requires More Effort: Needs regular turning, moisture monitoring, and attention to material balance.
- More Learning Curve: Understanding the C:N ratio and heat management is necessary.
- Can Be Demanding: If you forget to turn or water, the pile can cool down and revert to slower composting.
- Requires Larger Volumes: It’s harder to get a hot pile going with smaller amounts of material; needs a minimum size (often 3x3x3 feet is recommended).
Choosing Your Composting Method: Cold vs. Hot
Deciding between cold and hot composting boils down to your priorities and your lifestyle. Ask yourself these questions:
1. How quickly do you need compost?
- Need it fast? Hot composting is your best bet.
- Can wait? Cold composting is perfectly fine.
2. How much time and effort can you commit?
- Minimal time and effort? Cold composting is ideal.
- Willing to put in regular work? Hot composting can be very rewarding.
3. What’s your composting space like?
- Small space or just starting out? You can start with a small cold compost bin or pile.
- Have a larger garden area and produce a good amount of waste regularly? You’ll have an easier time building a pile large enough for hot composting. A common recommendation for a successful hot pile is at least 3 feet x 3 feet x 3 feet (about 1 cubic yard or meter).
4. Do you want to kill weed seeds and diseases?
- Yes, a priority? Hot composting is the way to go.
- Not a major concern, or you can pick out unwanted seeds? Cold composting will work.
5. What kind of materials do you have most of?
- A mix of kitchen scraps and yard waste? Both methods can work, but hot composting benefits from a good balance of greens and browns.
- Mostly “browns” like leaves and cardboard? Cold composting will be very slow unless you have a way to introduce a lot of nitrogen or a very large pile.
Cold vs. Hot Composting: At a Glance
Here’s a quick table to summarize the key differences:
| Feature | Cold Composting | Hot Composting |
|---|---|---|
| Process Speed | Slow (6 months to 2+ years) | Fast (4 weeks to 6 months) |
| Effort Level | Low (minimal turning, management) | High (regular turning, moisture, C:N ratio) |
| Temperature | Ambient or slightly warm | 130-160°F (55-70°C) during thermophilic phase |
| Weed Seeds/Pathogens | Likely to survive | Killed by high heat |
| Pile Size Required | No minimum size | Minimum 3x3x3 feet recommended for efficient heating |
| Best For | Beginners, patient gardeners, low-effort gardeners | Gardeners needing compost quickly, sanitizing materials, larger-scale composting |
Getting Started with Composting
No matter which method you choose, setting up your first compost pile is a straightforward process. The U.S. Environmental Protection Agency (EPA) has a great guide on composting basics that offers foundational knowledge for any approach you take.
Choosing a Compost Bin (or No Bin!)
You don’t necessarily need a fancy bin, but it can help maintain neatness and moisture. Options include;
- Open Piles: Simple, free, and best for larger yards where space isn’t an issue.
- DIY Bins: Made from wood pallets, chicken wire, or concrete blocks.
- Purchased Bins: Tumblers (good for easy turning but sometimes hard to get hot), plastic stationary bins (various designs available).
Starting Your Pile Step-by-Step (General Guide)
This basic approach works for both cold and hot, with hot composting requiring more attention to detail and regular actions.
- Choose Your Location: Pick a spot that’s convenient to access, has decent drainage, and gets some sun (which can help heat a pile, though too much intense sun can dry it out).
- Gather Materials: Start collecting your “greens” and “browns.”
- Build the Base: Start with a layer of coarse “browns” like small twigs or straw. This helps with airflow from the bottom.
- Add Layers: Alternate layers of greens and browns. For hot composting, aim for a good ratio. For cold composting, don’t stress too much about perfect layers, just keep adding.
- Moisten As You Go: Add water to your layers as you build.
- Continue Adding: Keep adding kitchen scraps and yard waste as you generate them. Try to bury fresh food scraps under a layer of browns to deter pests.
- Turn or Don’t Turn: For hot composting, turn the pile regularly (every few days to a week). For cold composting, you can turn it occasionally if you like, or just let it sit.
- Be Patient: Wait for nature to do its work!
Things to Keep an Eye On
- Moisture: Too dry? Add water. Too wet? Add more browns and turn.
- Odor: A rotten egg smell usually means it’s too wet and lacking air (add browns, turn). An ammonia smell means too much nitrogen (add browns).
- Pests: If you have issues, make sure you aren’t adding prohibited items and bury food scraps well under layers of browns.
FAQ: Your Cold vs. Hot Composting Questions Answered
Q1: Can I mix cold and hot composting methods?
A: You can, but it’s generally best to pick one approach for a specific pile. If you’re aiming for hot composting, you need to manage it actively. If you’re doing cold composting, you can just let it be. Mixing them might mean you don’t achieve the full benefits of either. However, you could have one bin for hot composting and another designated area for slower, cold composting of tougher materials.
Q2: How do I know when my compost is ready?
A: Finished compost will be dark brown or black, crumbly, and smell earthy and pleasant,
Related Posts

I am passionate about home engineering. I specialize in designing, installing, and maintaining heating, ventilation, and air conditioning systems. My goal is to help people stay comfortable in their homes all year long.