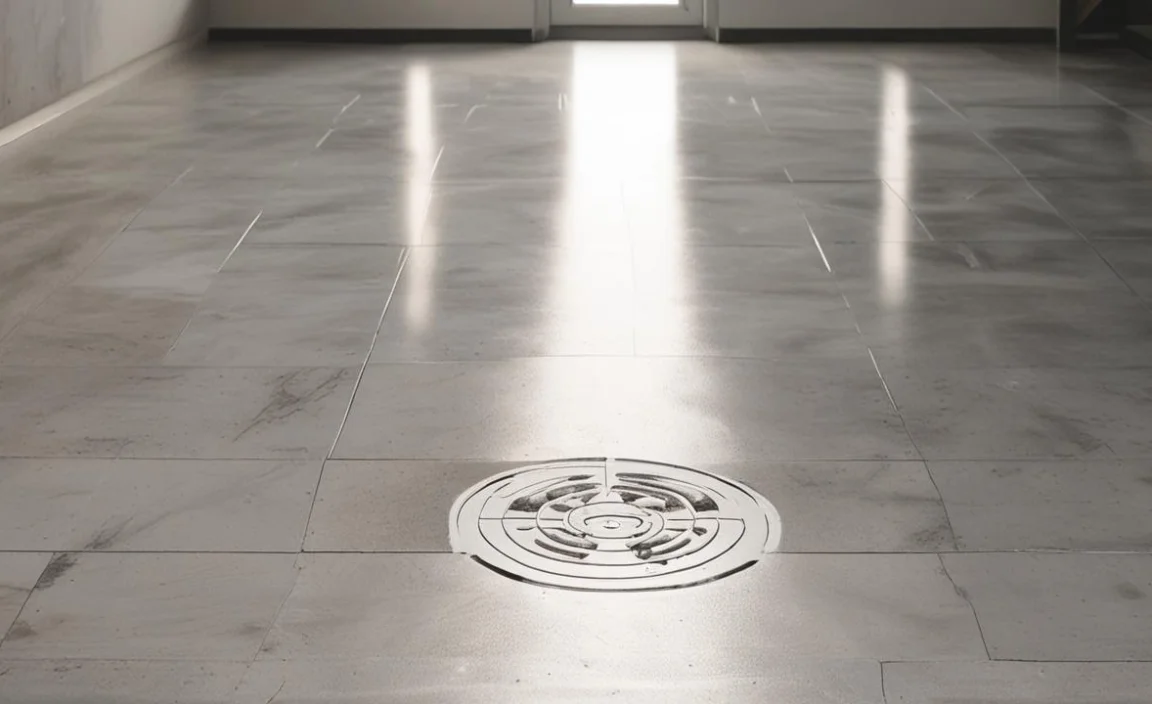
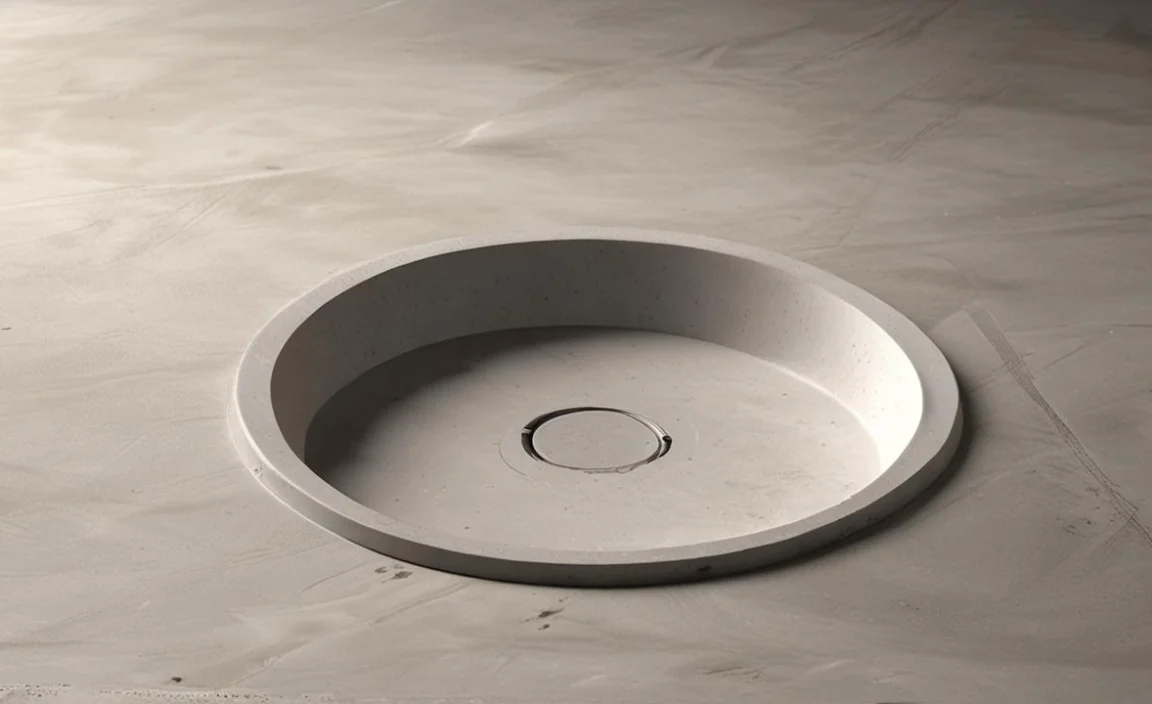
A floor drain is a plumbing fixture embedded in the floor of a building, commonly found in bathrooms, kitchens, or basements. It removes excess water and prevents flooding by allowing water to flow into the drainage system.
Made from durable materials like stainless steel or cast iron, floor drains are handy to withstand heavy use and resist corrosion. Here, we will provide expert advice on the floor drain in concrete slab detail.
From preparing the slab to connecting the drains and pipes, we will cover every step in detail to ensure you understand the process comprehensively. So, let’s dive in and learn how to create an efficient and effective floor drainage system for your space.
Initiating Floor Drain In Concrete Slab Detail – Easy And Expert Guide
Initiating a floor drain in concrete slab detail can be a complex process. But you can do it effectively with the right guidance. Concrete slabs are a popular choice for construction projects due to their durability and versatility.
Whether it’s for a driveway, patio, or foundation, concrete slabs offer a solid and long-lasting solution. However, experts recommend consulting with a professional contractor or plumber for expert advice and assistance throughout the process. Here is an easy and expert guide to help you through the process:
Step 1:Planning And Preparation

Regarding installing a floor drain in a concrete slab, proper planning and preparation are key. Before beginning the installation process, it is important to carefully consider the location of the drain and how it will be integrated into the overall design of the space.
This includes determining the appropriate size and type of drain, as well as ensuring that there is adequate slope for proper drainage. Additionally, any necessary plumbing connections should be planned out in advance to ensure a seamless installation process. Taking the time to thoroughly plan and prepare for the installation of a floor drain in a concrete slab will help to ensure its functionality and longevity.
Step 2:Identify The Location For The Floor Drain
When planning for a floor drain in a concrete slab, one of the first steps is to identify the location where the drain will be installed. This decision should be based on several factors, including the intended use of the space and the flow of water or other liquids that may need to be drained.
It is important to choose a location that allows for easy access to the drain and ensures efficient drainage. Additionally, consideration should be given to any potential obstructions or obstacles that may impact the installation or functionality of the floor drain.
By carefully selecting the location for the floor drain, you can ensure that it effectively serves its purpose and helps to prevent any potential water damage or drainage issues within your concrete slab.
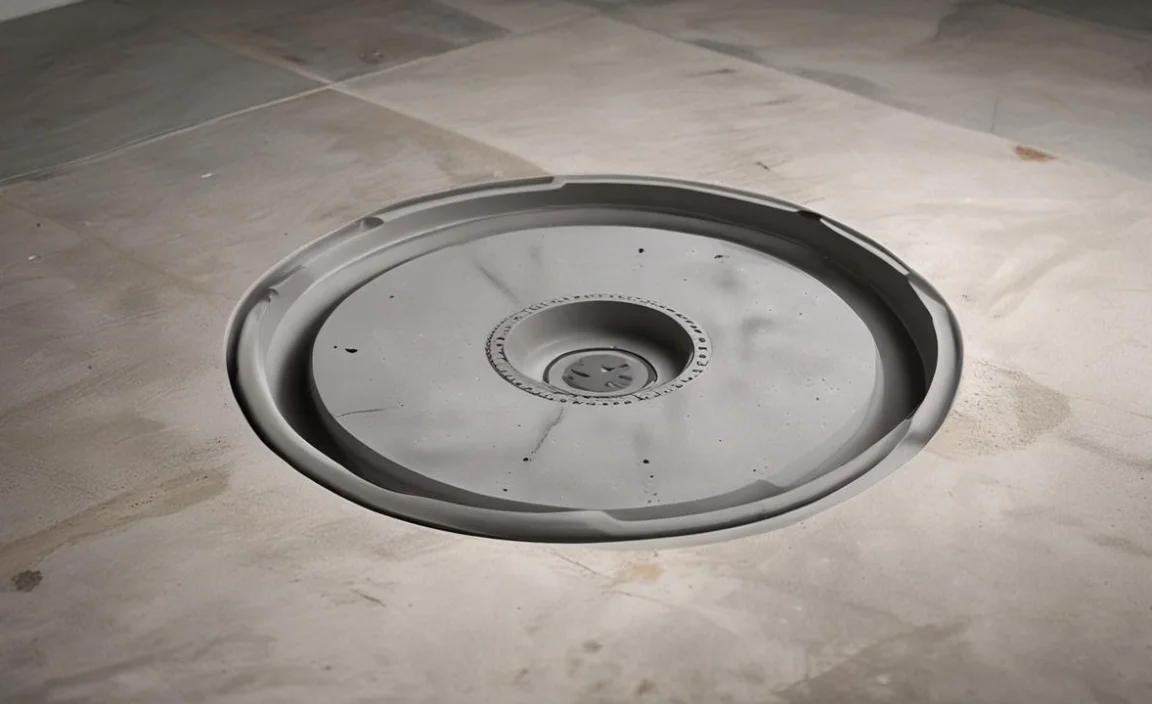
Step 3:Cutting The Opening In The Concrete Slab

When installing a floor drain in a concrete slab. One of the key steps is cutting the opening in the concrete. This can be a challenging task that requires precision and careful planning. First, you will need to mark the location of the drain on the concrete slab using a pencil or marker.
Then, using a concrete saw or angle grinder with a diamond blade, carefully cut along the marked lines to create the opening for the drain. It is important to wear protective gear, such as safety goggles and gloves, during this process to prevent any injuries. Once the opening is cut, you can proceed with installing the floor drain according to the manufacturer’s instructions.
Step 4:Digging The Trench For The Drain Pipe
When installing a floor drain in a concrete slab, one important step is digging the trench for the drain pipe. We will install and connect the drain pipe to the main sewer line in this trench, which will provide the necessary space.
It is crucial to carefully plan and measure the location of the trench to ensure proper drainage and prevent any potential issues in the future. The depth and width of the trench will depend on the specific requirements of your project.
So, it is important to consult with a professional or refer to building codes and regulations. Additionally, it is essential to check for any existing utilities or obstacles that may be present in the area where the trench will be dug by considering these factors and properly digging the trench for the drain pipe.
Step 5:Installing The Drain Pipe
Installing the drain pipe is an important step in creating a floor drain in a concrete slab. Begin by marking the location where you will install the drain and excavate a trench that is wide enough to accommodate the drain pipe.
Next, lay a bed of gravel at the bottom of the trench to provide proper drainage. Place the drain pipe in the trench, making sure it is sloped towards an outlet point to ensure proper water flow. Connect the drain pipe to any existing plumbing lines or drainage systems, and secure it in place using appropriate fittings and clamps.
Finally, backfill the trench with gravel or concrete to provide stability for the drain pipe. It is important to follow local building codes and regulations when installing a floor drain in a concrete slab to ensure proper functionality and compliance.
Step 6:Connecting The Drain Pipe To The Floor Drain
Regarding connecting the drain pipe to the floor drain in a concrete slab. There are a few key considerations to keep in mind. First and foremost, it is important to ensure that the drain pipe is properly aligned with the floor drain opening. This will help to prevent any leaks or blockages from occurring.
Additionally, it is essential to use the appropriate materials and techniques for connecting the two components. This may include using PVC piping and adhesive or using compression fittings for a secure connection. By following these guidelines and taking care during the installation process, you can ensure that your floor drain is properly connected and functioning effectively.
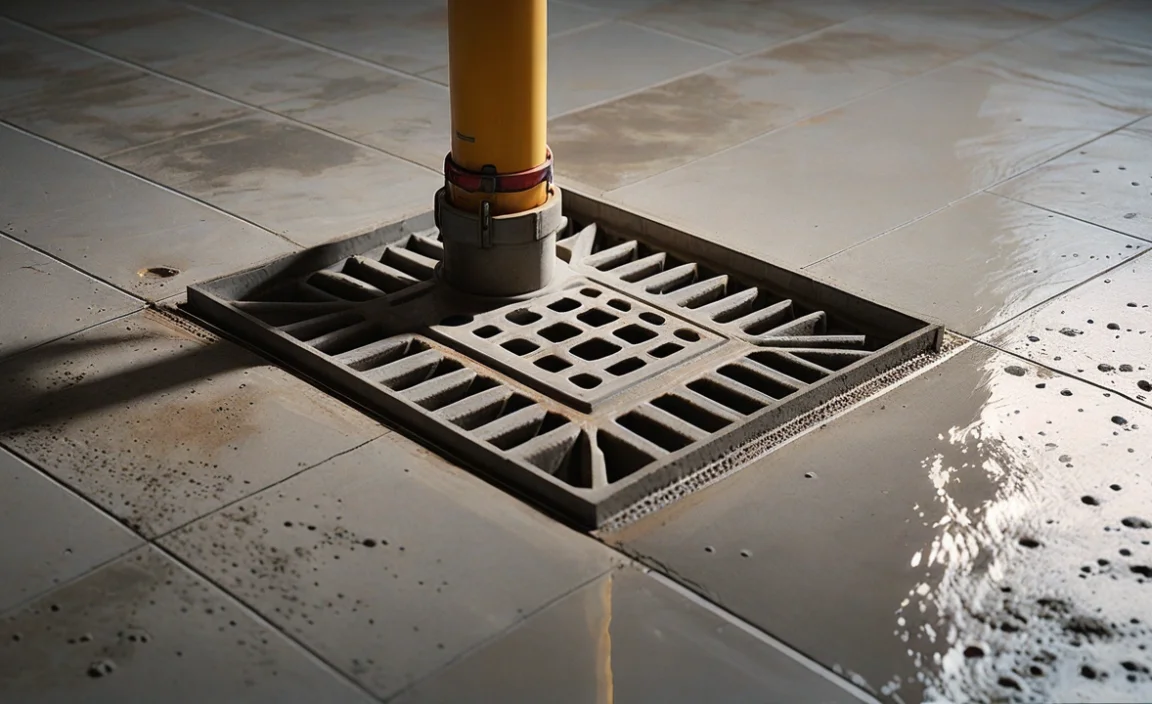
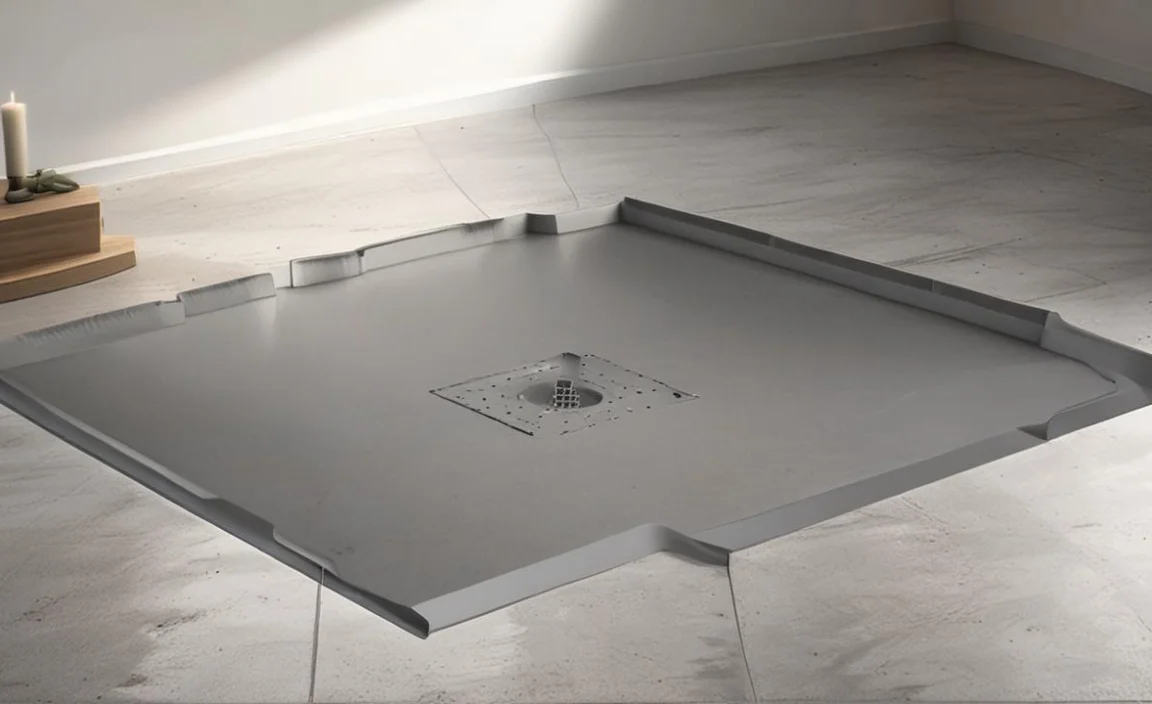
Step 7:Mounting The Floor Drain In The Concrete Slab
Regarding installing a floor drain in a concrete slab, proper mounting is crucial. The first step is to determine the location of the drain and mark it on the concrete slab. Then, using a jackhammer or concrete saw, carefully cut out the section of the slab where the drain will be placed.
Once the hole is prepared, make sure to clean any debris or loose concrete from the area. Next, apply an adhesive or sealant around the edges of the drain flange and firmly press it into place in the hole.
It is important to ensure that the drain is level with the surrounding floor surface. Finally, use concrete mix or mortar to fill in any gaps between the drain flange and the surrounding slab, making sure to smooth it out for a seamless finish. By following these steps, you can ensure that your floor drain is securely and properly mounted in your concrete slab.
Step 8:Sealing And Finishing The Floor Drain Installation
Sealing and finishing the floor drain installation is an important step in ensuring that the drain functions properly and prevents any water leakage or damage to the concrete slab. After installing the drain, it is crucial to seal any gaps or openings around it to prevent water from seeping through.
You can do this by using a waterproof sealant or caulk, and you should apply it carefully and evenly around the edges of the drain. Once you complete the sealing, we recommend finishing the floor around the drain with a durable and waterproof material, such as epoxy or concrete sealer. This will provide added protection against moisture and ensure that the floor remains in good condition for years to come.
Common Issues And Troubleshooting For Floor Drains In Concrete Slabs

Floor drains in concrete slabs can be prone to a few common issues that may require troubleshooting. One common problem is blockage or clogging of the drain, which can lead to water pooling on the floor. By being aware of these common issues and troubleshooting techniques for floor drains in concrete slabs, you can ensure that your drainage system functions properly and prevent potential problems from occurring.
- Clogs: One common issue with floor drains in concrete slabs is clogging. This can occur due to a buildup of debris, such as dirt, hair, or soap scum. To troubleshoot this issue, you can try using a plunger or a drain snake to remove the clog.
- Odors: Another common issue is unpleasant odours coming from the floor drain. This can be caused by stagnant water in the trap or by bacterial growth. To address this problem, you can try pouring hot water down the drain to flush out any debris and bacteria. Additionally, using a mixture of baking soda and vinegar can help eliminate odours.
- Backups: Floor drains in concrete slabs may also experience backups, especially during heavy rainfall or when there is an issue with the sewer line. If you are experiencing frequent backups, it may be necessary to call a professional plumber to assess the situation and determine the best course of action.
- Leaks: Lastly, leaks can occur in floor drains due to damaged or corroded pipes. If you notice any signs of leakage, such as water stains or puddles around the drain, it is important to address the issue promptly to prevent further damage. A qualified plumber will be able to inspect the drain and make any necessary repairs or replacements.
Types Of Floor Drains Available For Concrete Slabs
There are several types of floor drains available for concrete slabs, each with its unique features and benefits. Each type of floor drain has its advantages and considerations. So, it’s important to choose the one that best suits your specific needs and requirements. Some common types include:
- Gravity Floor Drains: These drains rely on gravity to remove water and other liquids from the floor. Typically, people install them at a low point in the slab to ensure proper drainage.
- Trench Drains: Also known as linear drains, trench drains are long. Narrow channels that collect and channel water away from the floor surface. They are often handy in areas with high water flow or where larger volumes of water need to be drained.
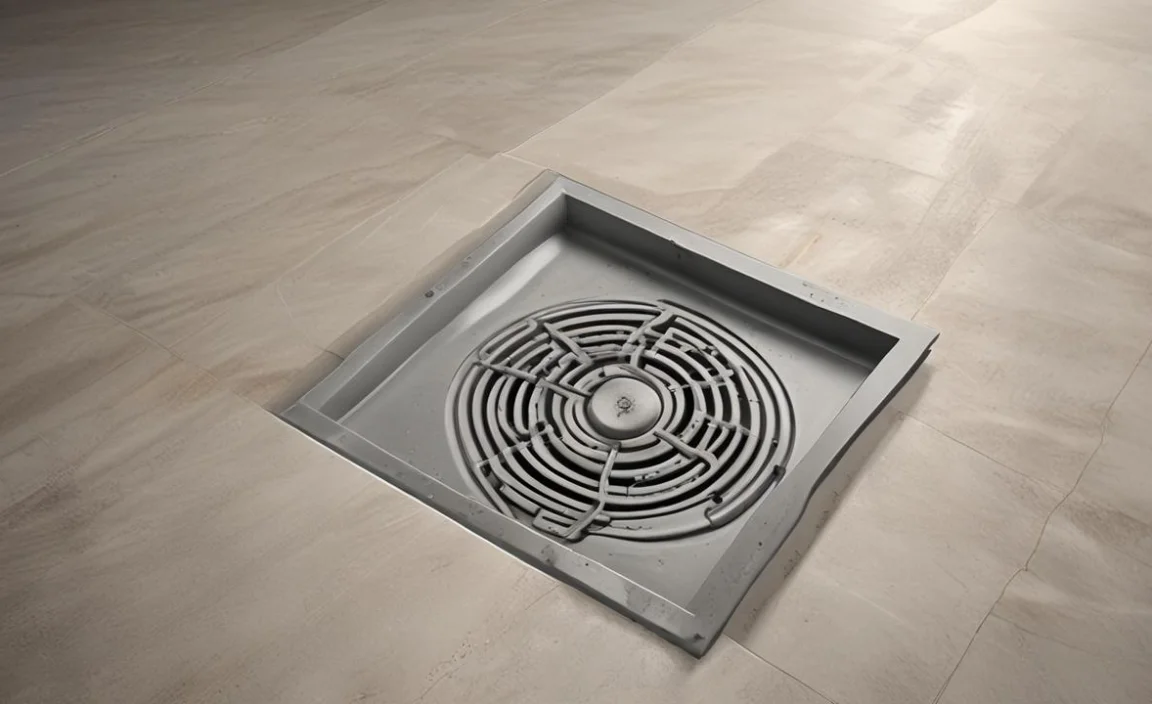
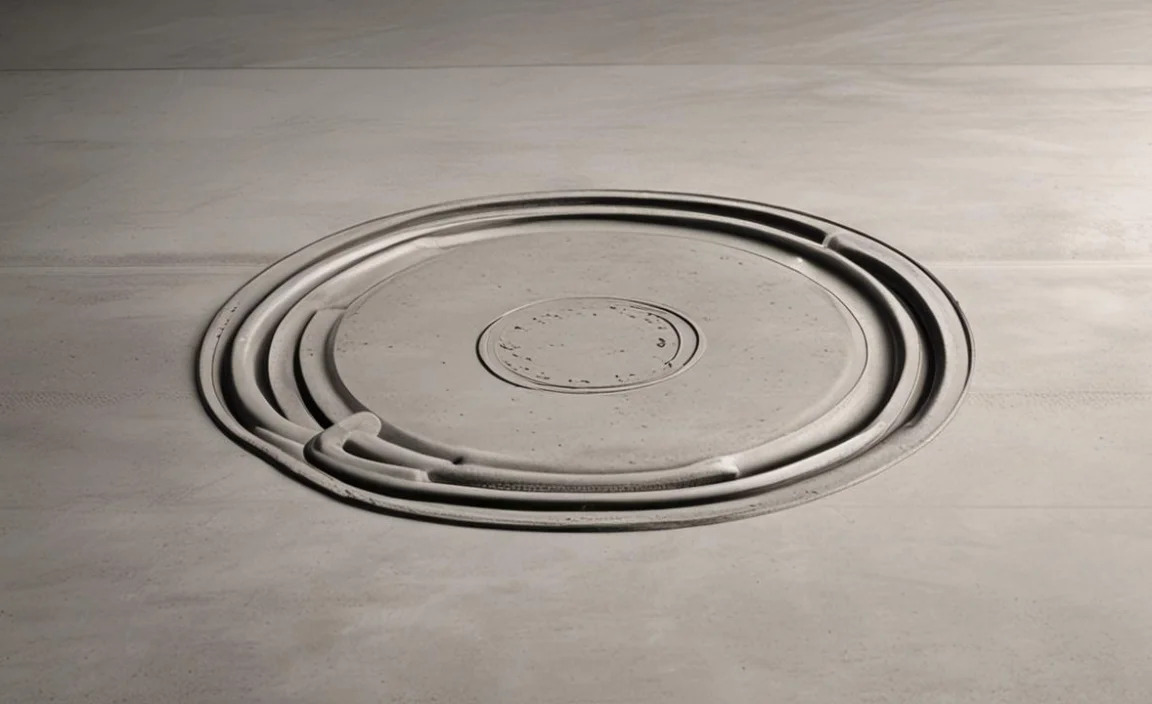
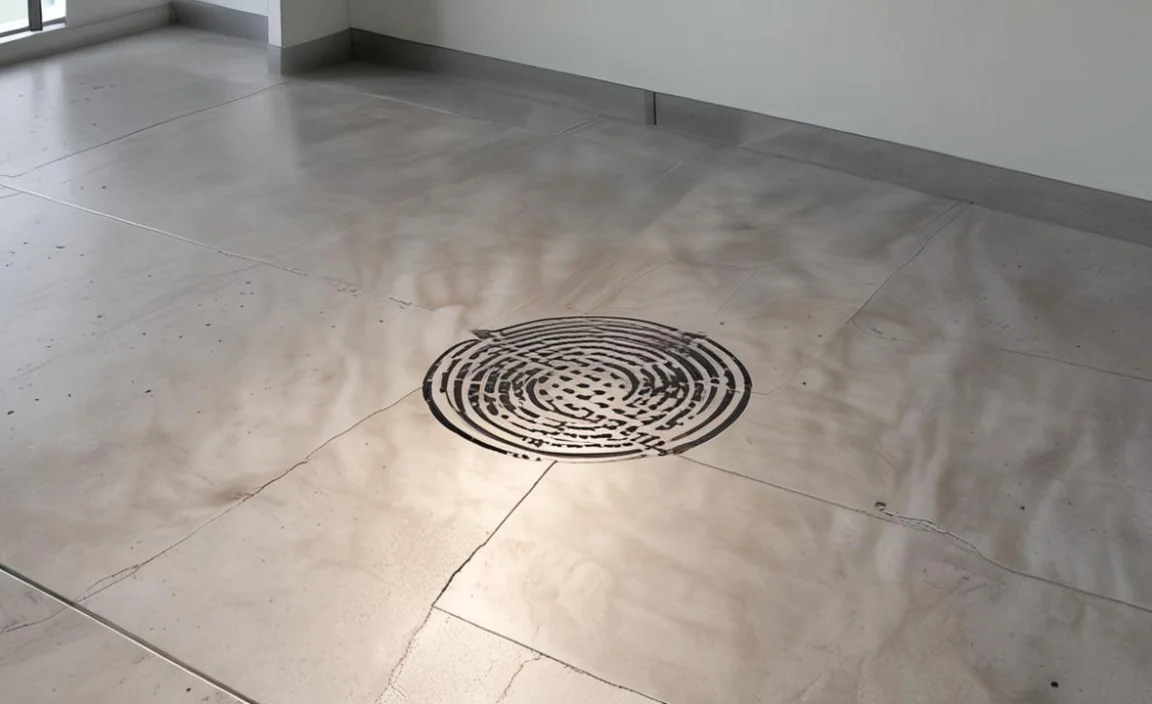
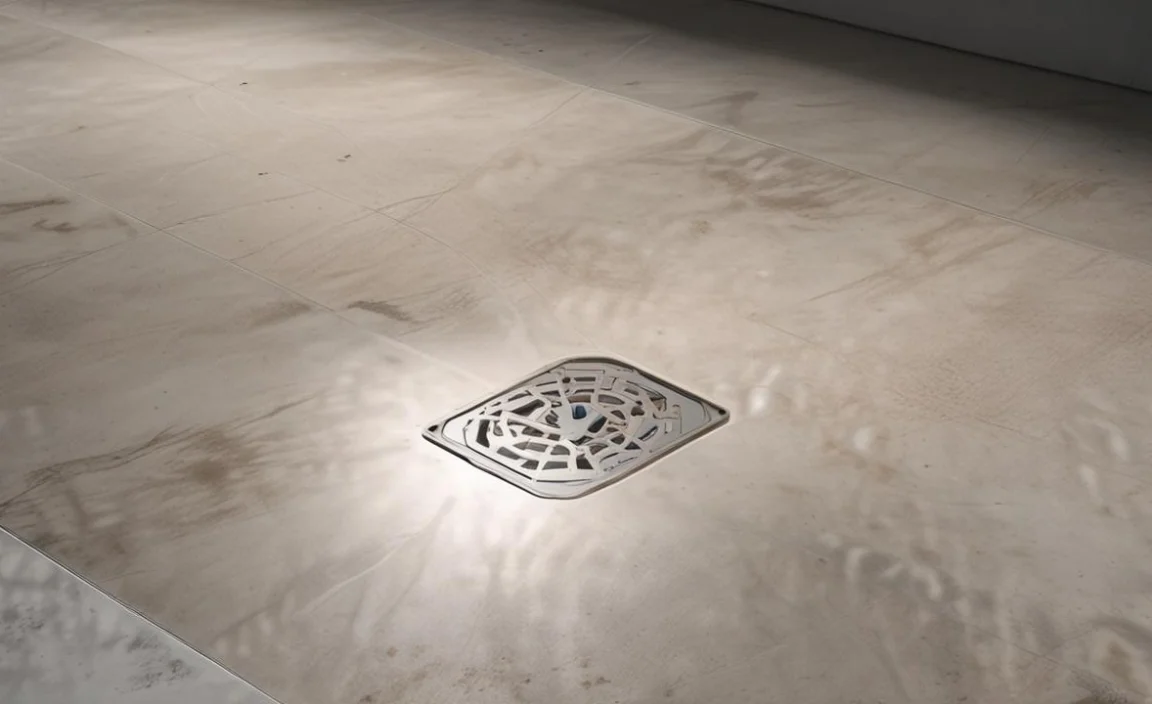
- Point Drains: Point drains, also called spot or grate drains, are small, round drains that are installed at specific points in the slab. They typically have a removable grate that allows for easy access and maintenance.
- Slot Drains: Similar to trench drains, slot drains are linear channels that collect water along their length. However, slot drains have a narrow opening or slot instead of a wider channel.
- Floor Sink: A floor sink provides a deep basin-like drain that is often useful in commercial kitchens or areas where there is a need to drain large amounts of liquid quickly.
Floor Drain Maintenance Tips
Proper maintenance of floor drains in concrete slabs is essential to prevent clogs and keep your drainage system functioning efficiently. By following these maintenance tips, you can ensure that your floor drains in concrete slabs remain in good condition and continue to function properly. Here are some tips to help you maintain your floor drains:
- Regularly inspect and clean the drain grates. Remove any debris or buildup that may be blocking the flow of water.
- Use a drain snake or brush to remove any stubborn clogs. This will help to clear out any accumulated dirt, hair, or other materials that may be obstructing the drain.
- Flush the drain with hot water and a mixture of baking soda and vinegar. This can help to break down any grease or organic matter that may have built up in the drain pipes.
- Consider using enzymatic cleaners regularly to keep the drains clear and prevent odours.
- Suppose you notice any signs of a serious clog or drainage issue, such as slow draining or foul smells. It is best to consult a professional plumber for further assistance. They will have the expertise and tools necessary to diagnose and resolve the issue effectively.
Conclusion
Installing a floor drain in a concrete slab is important in managing water effectively and preventing water damage. To ensure the drain functions properly, it is crucial to prepare the area carefully, place the drain correctly, and connect it to the drainage system. Regular maintenance and cleaning are also necessary to keep the drain in optimal condition.
Following these expert tips and guidelines, you can successfully install and maintain a floor drain in your concrete slab, protecting your property from potential water-related issues. By following the necessary steps on floor drain in concrete slab detail and considering factors like location, size, and type of drain, you can ensure that your floor drain functions optimally.
