Ever feel like your kitchen scraps and yard waste are just… waste? Turning them into nutrient-rich compost can seem complicated, right? Many folks get tripped up by confusing instructions or feel overwhelmed by the process. But what if I told you it’s simpler than you think? This guide, like a handy compost heap PDF you can practically download in your mind, will break it all down. We’ll walk you through creating a thriving compost heap, step-by-step, so you can feed your garden and reduce your trash. Ready to turn that so-called trash into garden gold?
Your Compost Heap PDF: The Ultimate Beginner’s Guide
Hey there, it’s Troy D Harn from TopChooser! I’m all about making home projects and garden tasks easy to understand. Composting is one of those brilliant things that’s good for your garden, good for your wallet, and good for the planet. Think of this article as your personal, digital compost heap PDF – always accessible, packed with practical advice, and designed to get you composting with confidence, no matter if you’re in a big backyard or a cozy little urban space.
We’ll cover everything from choosing the right spot and materials to what to do when things aren’t quite right. No confusing jargon, just straightforward tips from one home enthusiast to another.
Why Start a Compost Heap? The Big Benefits
Before we dive into the “how-to,” let’s talk about the “why.” Composting isn’t just a trend; it’s a tried-and-true method that offers some fantastic advantages:
- Boosts Garden Health: Compost is like a superfood for your soil. It adds vital nutrients, improves drainage, and helps soil retain moisture. Your plants will thank you with better growth and more vibrant blooms.
- Reduces Waste: Did you know a huge portion of household waste is organic material that could be composted? By composting, you’re significantly decreasing what goes to the landfill, which is a win for everyone.
- Saves Money: You’ll buy fewer fertilizers and soil amendments for your garden. Plus, you’re reducing your trash volume, which can sometimes even lead to lower waste disposal fees.
- Environmentally Friendly: Composting reduces methane emissions from landfills, a potent greenhouse gas. It’s a simple way to make a positive environmental impact right from your own home.
- Creates a Living Soil: Healthy soil is teeming with beneficial microorganisms and earthworms. Compost helps build this ecosystem, making your garden more resilient.
Choosing Your Compost Heap Location
The first step in setting up your compost heap is finding the perfect spot. It doesn’t need to be fancy, but a little thought can make the process smoother. Here’s what to consider:
- Accessibility: You’ll be adding materials regularly and eventually harvesting your compost. Make sure it’s easy to get to with a wheelbarrow or garden cart.
- Drainage: Your compost needs to stay moist but not waterlogged. Choose a spot that doesn’t collect puddles after heavy rain. A level or slightly sloped area is ideal.
- Sun Exposure: A spot that gets some sun but isn’t baked all day is best. Too much direct sun can dry out your compost pile too quickly, while deep shade might keep it too cool and slow down decomposition. Partial shade is often the sweet spot.
- Water Source: You’ll need to keep your compost moist, so being near a water source (like a hose or a rain barrel) is a big convenience.
- Aesthetics (Optional): If your compost heap will be visible, you might want to place it out of direct sight lines, perhaps behind a shed or a nice shrub.
Compost Heap vs. Compost Bin: What’s the Difference?
You might see different setups when people talk about composting. Understanding the basic differences will help you choose what’s best for you.
- Compost Heap: This is the most basic form. It’s simply a pile of organic materials, usually enclosed by a simple structure or left open. It’s flexible in size and requires no special purchase. Ideal for larger yards.
- Compost Bin: These are manufactured containers, often made of plastic or wood. They can be enclosed cubes, tumblers, or tiered systems. Bins tend to be neater, can retain heat and moisture better, and can deter pests more effectively, but they come with a cost and are less flexible in size.
For this guide, we’re focusing on the “heap” aspect, which is often the most budget-friendly and adaptable for beginners. You can always build a simple enclosure around your heap later if you wish.
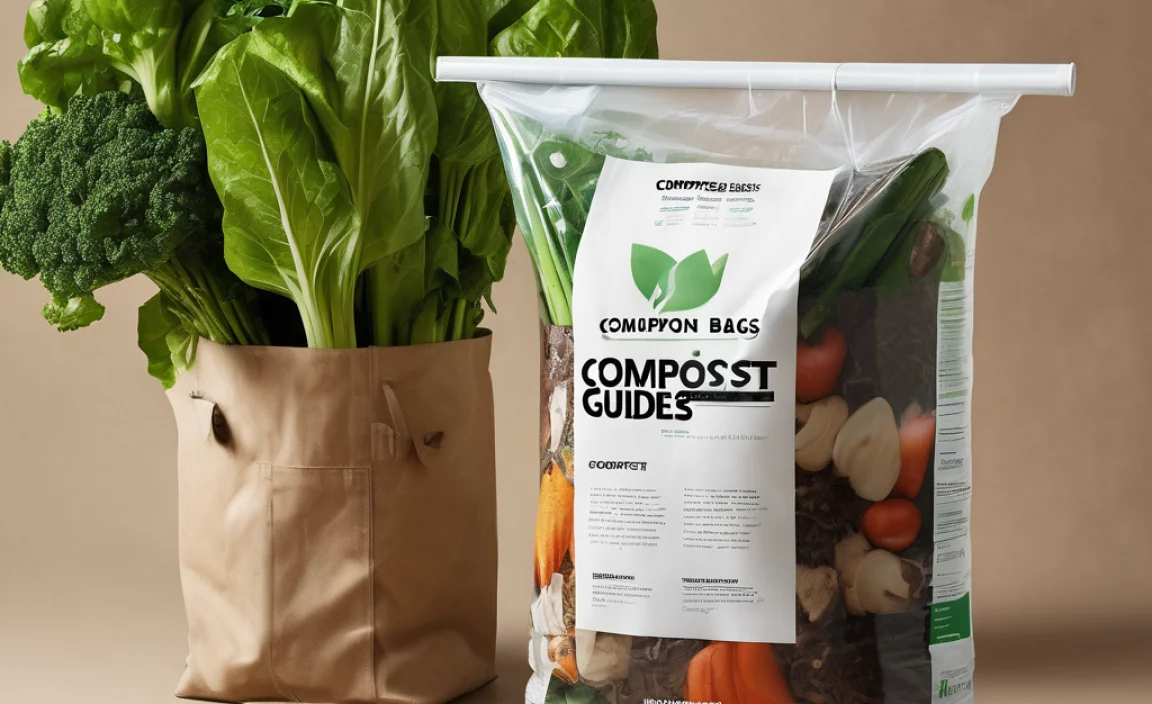
What Goes In? The Greens and Browns Explained
The magic of composting is all about balancing different types of organic materials. Think of it like cooking – you need the right ingredients in the right proportions. We usually talk about two main categories: ‘Greens’ and ‘Browns’.
The ‘Greens’ (Nitrogen-Rich Materials)
These are typically moist, fresh materials that provide nitrogen, essential for feeding the microorganisms that break down the compost. They tend to heat up the pile.
- Fruit and vegetable scraps (peels, cores, wilted lettuce)
- Coffee grounds and tea bags
- Grass clippings (fresh)
- Plant trimmings (non-woody, green parts)
- Manure from herbivores (e.g., cows, horses, rabbits, chickens – avoid pet waste)
The ‘Browns’ (Carbon-Rich Materials)
These are usually dry, woody materials that provide carbon. They add bulk, allow air to circulate, and help prevent the pile from becoming a slimy mess.
- Dry leaves
- Straw and hay
- Shredded newspaper and cardboard (avoid glossy paper or colored inks)
- Wood chips and sawdust (in moderation)
- Twigs and small branches (chopped up)
- Eggshells (crushed)
What NOT to Compost
Some things should stay out of your compost heap to avoid attracting pests, spreading disease, or creating unpleasant odors.
- Meat, fish, and dairy products
- Oily or greasy foods
- Diseased plants
- Weeds that have gone to seed
- Pet waste (from dogs and cats)
- Treated wood or sawdust
- Coal or charcoal ash
- Synthetic materials
Building Your Compost Heap: A Step-by-Step Approach
Now for the exciting part! Let’s get your compost heap started. Remember, this is a guide; nature is a bit forgiving, so don’t stress too much about perfection.
Step 1: Gather Your Materials
Start by collecting a good mix of ‘Greens’ and ‘Browns’. It’s easiest to start a new heap when you have a decent amount of both. You can gather them over a week or two.
Step 2: Choose Your Base Layer
Begin by putting down a layer of coarse ‘Brown’ material, like small twigs or straw. This helps with drainage and airflow at the bottom.
Step 3: Alternate Layers
Like building a lasagna, you’ll alternate layers of ‘Greens’ and ‘Browns’. A good rule of thumb is to aim for roughly a 2:1 to 3:1 ratio of Browns to Greens by volume. So, for every 2 or 3 inches of Greens, add 1 inch of Browns.
- Start with a layer of Browns (about 4-6 inches).
- Add a layer of Greens (about 2-4 inches).
- Follow with another layer of Browns.
- Continue alternating, finishing with a layer of Browns on top.
Tuck any kitchen scraps within the layers, rather than just piling them on top, to discourage pests.
Step 4: Moisten the Layers
As you build your layers, sprinkle each one lightly with water. The goal is for the materials to be as damp as a wrung-out sponge – not soggy, not dry. This moisture is crucial for the decomposing microbes.
Step 5: Add Activators (Optional but Recommended)
To speed things up, you can add “activators.” These introduce beneficial microbes. Good options include:
- A shovel full of finished compost or garden soil.
- A handful of finished compost from a known, healthy source.
- Specific compost starter products (follow package directions).
You can sprinkle these activators between layers.
Step 6: Aerate (Turn the Pile)
This is perhaps the most active step in composting. Turning your pile introduces oxygen, which the microbes need to work efficiently. It also helps mix the materials and distribute moisture and heat.
- Frequency: Aim to turn your pile every 1 to 4 weeks. More frequent turning means faster compost.
- How to Turn: Use a pitchfork or garden fork to move the outer, cooler materials into the center and bring the hot, inner materials to the outside. Break up any clumps.
If you’re using a bin, tumblers make this step very easy. For a simple heap, a pitchfork is your best friend.
Maintaining Your Compost Heap
Your compost heap isn’t a set-it-and-forget-it project, but it’s not high-maintenance either. A little attention goes a long way.
Moisture Check
«Feel the pile» is the best advice. Dig your hand into the center. If it feels dry, add some water when you turn it. If it seems too wet and smells sour or like ammonia, it probably needs more ‘Brown’ materials and more turning to air it out. The UK Environment Agency provides excellent resources on waste management and composting best practices: Environment Agency.
Temperature
A healthy, active compost pile will heat up in the center, often reaching 130-160°F (55-71°C). This heat is important for killing weed seeds and pathogens. You’ll notice it’s hottest a few days after turning.
What if my Compost Smells Bad?
Bad smells (rotten egg or ammonia) are usually a sign of imbalance:
- Ammonia Smell: Too many ‘Greens’ (nitrogen-rich material). Add more ‘Browns’ and turn the pile.
- Rotten Egg Smell: Too wet and not enough air. Add more ‘Browns’ and turn the pile well to aerate it.
What if my Compost Isn’t Breaking Down?
This can happen for a few reasons:
- Too dry: Add water and mix.
- Too wet: Add more ‘Browns’ and turn to aerate.
- Not enough ‘Greens’: Add nitrogen-rich materials.
- Pieces are too large: Chop or shred materials into smaller pieces to speed decomposition.
- Not enough air: Turn your pile more regularly.
Knowing When Compost is Ready
Patience is a virtue when composting! The time it takes for compost to be ready varies greatly depending on how often you turn it, the materials used, and the weather. It can take anywhere from 2 months to over a year.
Here’s how you know it’s ready:
- It will be dark brown and crumbly.
- It will have an earthy, pleasant smell – like a walk in a forest after rain.
- You should no longer be able to recognize the original materials (no plastic bags, no recognizable food scraps).
- It will be cool or ambient temperature.
How to Use Your Finished Compost
The best part! You’ve made your own soil amendment. Here are a few ways to use your precious compost:
- Soil Amendment: Mix it into your garden beds before planting. It improves soil structure and fertility for vegetables, flowers, and shrubs. A common recommendation is to mix 1-3 inches into the top 6-8 inches of soil.
- Top Dressing: Spread a thin layer around established plants, shrubs, and trees. This adds nutrients and helps retain moisture.
- Potting Mix: Mix compost with other ingredients like perlite or coco coir to create a rich potting mix for containers. A 1:1:1 ratio of compost, peat moss/coir, and perlite is a good starting point.
- Lawn Care: Spread a thin layer over your lawn in the spring or fall to improve soil health and grass growth.
- Compost Tea: Steep compost in water to create a liquid fertilizer that can be used to water plants.
Simple Compost Heap Structures (Optional)
While you can just make a pile, a simple structure can help keep things tidy and contained.
Wire Mesh Bin
Materials: A roll of wire fencing (like chicken wire or hardware cloth) and some zip ties or wire.
Instructions: Unroll the mesh and form it into a cylinder or square shape, about 3-4 feet in diameter. Overlap the ends and secure them with zip ties or wire. Easy! It allows great airflow.
Pallet Bin
Materials: 3-4 wooden pallets, zip ties, screws, or wire.
Instructions: Stand three pallets on their sides to form three walls of a square. Use zip ties or screws to secure them together. You can leave the front open for easy access or add a fourth pallet as a movable front. This is great for larger compost heaps.
To learn more about sustainable waste management, check out resources from university extensions like those from Penn State Extension, which often have detailed guides on composting.
Troubleshooting Common Compost Heap Problems
Even with the best intentions, you might run into issues. Don’t get discouraged! This is completely normal.
Problem: My compost is attracting flies.
Solution: This usually happens when exposed food scraps are left on top. Always bury kitchen scraps deep within the pile, covered by ‘Brown’ materials. Ensure your pile isn’t too wet, as excess moisture can contribute to fly issues.
Problem: The pile is too wet and slimy.
Solution: It needs more ‘Brown’ materials and better aeration. Add plenty of dry leaves, shredded paper, or straw. Turn the pile thoroughly to allow air to circulate and help it dry out.
Problem: The pile is too dry and not heating up.
Solution: It needs moisture! Sprinkle it with water as you turn it, aiming for that damp-sponge consistency. You might also need to add more nitrogen-rich ‘Green’ materials to kickstart the decomposition process.
Problem: Large rodents (rats, mice) are showing interest.
Solution: This is a common concern, especially if you’re composting food scraps.
- Avoid: Absolutely DO NOT compost meat, dairy, fats, or oily foods. These are prime attractants.
- Enclose: Using a bin with a lid and a solid base can help deter them. Wire mesh bins should use hardware cloth with small openings (1/4 inch or 1/2 inch) and have the bottom extending into the ground slightly to prevent burrowing.
- Bury: Always bury food scraps deep within the pile, surrounded by a thick layer of ‘Browns’.
- Maintain: Keep your compost moist but not soggy.
Remember, composting is a natural process. A healthy compost heap should smell earthy, not foul. By balancing greens and browns, maintaining moisture, and providing air, you’ll create a thriving ecosystem for decomposition.
Composting Materials Quick Reference Table
Here’s a quick handy table to help you sort your materials. Think of this as a summary you can keep handy on your fridge!
| Category | Good to Compost | Avoid Composting |
|---|---|---|
| Kitchen Scraps | Fruit and vegetable peels, cores, scraps; coffee grounds, tea bags; eggshells (crushed) | Meat, fish, bones; dairy products; fats, oils, grease; diseased produce |
| Yard Waste | Grass clippings (fresh, in thin layers); leaves; straw, hay; plant trimmings (non-woody); small twigs | Diseased plants; weeds gone to seed; pet waste (dogs/cats); treated wood |
| Paper/Cardboard | Shredded newspaper, plain cardboard ( |

I am passionate about home engineering. I specialize in designing, installing, and maintaining heating, ventilation, and air conditioning systems. My goal is to help people stay comfortable in their homes all year long.