Hey there, fellow home gardeners and DIY enthusiasts! Troy D Harn here from TopChooser. Ever looked at your kitchen scraps and yard waste and thought, “there’s gotta be a better way than just tossing this stuff?” You’re not alone! Many of us want to compost, but the idea of buying special “starters” or complicated setups can feel like a speed bump. The good news?
You absolutely do NOT need fancy, expensive products to kickstart your compost pile. In this guide, we’ll uncover some incredibly affordable and genius ways to get your compost cooking, turning waste into garden gold. Get ready to transform your kitchen scraps and yard trimmings into nutrient-rich compost, all without emptying your wallet!
Compost Starter Affordable: Genius & Essential
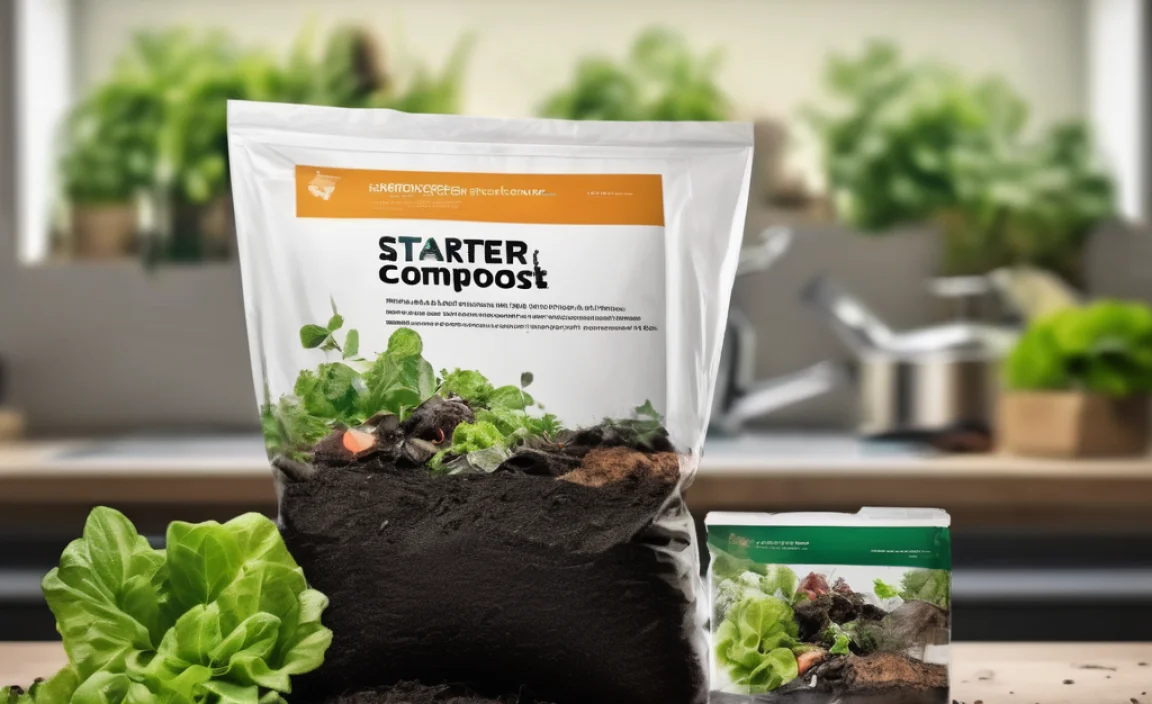
So many folks get excited about composting, picturing lush gardens and saying goodbye to landfill waste. It’s a fantastic goal! But then you hit the garden center or start clicking online, and you see bottles labeled “Compost Starter,” “Activator,” or “Accelerant,” often with a price tag that makes you pause. It’s easy to think, “Do I really need this to make compost work?”
The simple answer is: No, you don’t! While commercial compost starters can speed things up, they are absolutely not essential for a thriving compost pile. Nature has its own powerful motivators: bacteria, fungi, and other tiny organisms that are already all around us, just waiting for the right conditions. Your job is to give them what they need. And guess what? You likely have many of these “ingredients” already at home or can get them for free!
This guide is all about making composting accessible and affordable. We’ll explore how to create your own “starter,” what natural elements act as excellent compost boosters, and how to set up a simple, effective compost system without breaking the bank. Think of it as harnessing nature’s own powerful toolkit – minus the hefty price tag.
Why You Don’t Need to Buy Expensive Compost Starters
Let’s break down why those fancy bottles are often more about marketing than necessity.
- Nature’s Inhabitants: Compost is a living ecosystem. The microorganisms that break down your organic matter are naturally present in soil, on plant material, and even in the air. When you add organic materials to your compost pile, you’re essentially creating a buffet for these little helpers.
- The “Greens” and “Browns” Formula: The key to successful composting is balancing “green” materials (nitrogen-rich, like food scraps and grass clippings) and “brown” materials (carbon-rich, like dry leaves and shredded cardboard). This balance is far more crucial for composting than any added starter.
- Moisture and Aeration: Providing the right amount of moisture and allowing air to circulate are the other two pillars of good composting. A compost starter won’t magically fix a pile that’s too wet, too dry, or compacted.
Commercial starters often contain microbes and nutrients that are already present in your materials or in the environment. While they can sometimes encourage faster breakdown, they’re an optional extra, not a mandatory purchase for compost success.
Affordable & Genius Compost “Starters” You Can Make or Find
Ready to get your compost pile buzzing with activity without spending a fortune? Here are some fantastic, budget-friendly options:
1. A Handful of Garden Soil (The Ultimate Free Starter!)
This is hands-down the easiest and most effective “starter” you can use. Garden soil is teeming with beneficial bacteria, fungi, and other microorganisms that are essential for decomposition.
- How to Use: When you start your compost pile, or even every time you add a new layer of materials, simply toss in a shovel-full of soil from your garden beds. This inoculates the new material with the busy decomposers.
- Why it Works: You’re directly introducing the workforce your compost pile needs. It’s nature’s way, and it’s completely free!
2. Use “Finished” Compost from a Friend or Neighbor
If you know someone who already composts successfully, ask them for a small scoop of their finished compost. This is basically pure, active compost teeming with beneficial microbes.
- How to Use: Sprinkle this finished compost over your new layers of greens and browns.
- Why it Works: It’s like adding a super-concentrated dose of compost “yeast,” jump-starting the decomposition process.
3. Manure (The Energetic Booster)
Well-rotted manure from herbivores (like cows, horses, sheep, rabbits, or chickens) is a powerhouse for compost. It’s rich in nitrogen and microbes, which helps heat up the pile and speed up decomposition.
- Important Note: Make sure the manure is well-rotted or aged. Fresh manure can be too “hot” (high in nitrogen and ammonia) and can burn your plants if used directly, and in a compost pile, it can smell quite strongly. Aged manure has gone through an initial decomposition stage.
- Where to Find: Local farms, stables, or sometimes animal sanctuaries may offer aged manure for free or a very low cost. Always ask before taking!
- How to Use: Add a layer of manure every so often when you add greens to your pile. A few inches mixed in is usually plenty.
4. Nitrogen-Rich “Green” Materials Themselves
Simply adding plenty of nitrogen-rich “green” materials will naturally fuel the microbial activity.
- Examples: Grass clippings (in thin layers to avoid matting), vegetable scraps, fruit peels, coffee grounds, tea bags, and fresh plant trimmings.
- How to Use: Ensure you’re layering these greens with carbon-rich “browns” for a balanced pile.
- Why it Works: Nitrogen is the food for the microbes. More nitrogen means more microbes, and more activity!
5. Compost Tea (DIY Version)
While you can buy compost tea brewers, you can also make a basic version yourself as a liquid “starter” or “tea” to drench your pile.
- How to Make: Fill a bucket or old container with water (rainwater is best, but tap water left out for 24 hours to let chlorine dissipate works too). Add a scoop of finished compost or a shovel-full of garden soil. Let it steep for a few days, stirring occasionally.
- How to Use: Strain out the solids and use the liquid to water your compost pile, especially when dry or when adding new layers.
- Why it Works: This brews a concentrated slurry of active microorganisms, which helps inoculate and energize your compost.
Building Your Affordable Compost System
You’ve got your starter ideas. Now, how do you actually set up the place where all this magic happens without spending much? Here are a few super-affordable options:
Option 1: The Simple Three-Bin System (DIY from Pallets)
This is a classic for a reason. It allows for easy turning and managing of different stages of compost. Using free or cheap wooden pallets is a game-changer.
- Materials: 3-4 wooden pallets (often available for free from local businesses, construction sites, or online marketplaces), some wire or zip ties, or screws if you want something more permanent.
- How to Build:
- Arrange three pallets to form three sides of a square (like a U-shape).
- Secure them together at the corners with wire, zip ties, or screws.
- Use a fourth pallet (or leave one side partially open) as a front, possibly hinged or removable for easy access.
- You can add a wire mesh or hardware cloth to the inside if you have very small gaps you want to contain.
- How to Use:
- Bin 1 (Active): Start adding your fresh greens and browns here. This is where most of the initial decomposition happens.
- Bin 2 (Cooking): Once Bin 1 is getting full, start filling Bin 2. You can then turn the contents of Bin 1 into Bin 2 to give them more aeration and continue the breakdown process.
- Bin 3 (Curing): Move compost from Bin 2 into Bin 3 to finish curing and mature. This allows Bin 1 and Bin 2 to be used for new materials.
- Cost: Potentially FREE if you find pallets and fasteners cheap.
Option 2: The Wire Mesh Bin (Super Easy & Affordable)
This is one of the simplest and most cost-effective compost bins you can make. It provides excellent aeration, which is vital for fast composting.
- Materials: A roll of sturdy wire mesh fencing (like hardware cloth with 1/2-inch or 1-inch openings, 3-4 feet tall), heavy-duty zip ties or wire. About 10-12 feet of mesh will make a good-sized bin.
- How to Build:
- Unroll the wire mesh.
- Form it into a cylinder, overlapping the ends by about 6-12 inches.
- Secure the overlapped ends tightly with zip ties or wire every few inches.
- Place it directly on the ground in your chosen spot.
- How to Use:
- Start adding your compostable materials directly into the cylinder.
- To turn it, you can either lift the entire cylinder off the pile and place it next to the compost, then fork the compost back in (aerating it as you go), or use a pitchfork to turn it within the bin.
- Cost: Around $20-$40 depending on the size and type of wire mesh.
Option 3: The Pile Method (Completely Free!)
If you have a bit of space and aren’t too worried about a tidy appearance, you can simply create an open compost pile.
- Materials: None! Just a little space in your yard.
- How to Build:
- Choose a convenient spot that gets some sun and rain (but not scorching all day).
- Start layering your greens and browns directly on the ground. Aim for a pile that’s at least 3 feet by 3 feet by 3 feet to generate its own heat.
- How to Use:
- Layer your greens and browns as you would in a bin.
- Turning is crucial. Use a pitchfork to move material from the outside to the inside, and the inside to the outside, every week or two. This ensures good aeration.
- Cost: FREE.
The “Greens” and “Browns” Ratio: Your Compost Recipe
This is the fundamental secret to good compost, and it doesn’t cost a dime. It’s all about balance!
What are Greens?
These are things that are moist and rich in nitrogen. They provide the “food” for the microorganisms that heat up and break down the compost.
- Fruit and vegetable scraps
- Coffee grounds and tea bags
- Grass clippings (add in thin layers to avoid smelling and matting)
- Fresh plant trimmings
- Eggshells (crushed)
What are Browns?
These are dry and carbon-rich materials. They provide the energy for the microbes and help create air pockets in the pile, preventing it from becoming a soggy, smelly mess.
- Dry leaves
- Shredded newspaper or plain cardboard (avoid glossy or heavily printed paper)
- Straw or hay
- Small twigs and wood chips (chop them up to speed decomposition)
- Sawdust (from untreated wood, mixed with other materials)
- Paper towel rolls and toilet paper tubes (shredded)
Achieving the Right Ratio
The ideal ratio is often cited as roughly 2 parts Browns to 1 part Greens by volume. Don’t get too hung up on exact measurements! It’s more of a guideline. If your pile is too wet and smelly, add more Browns. If it’s dry and not breaking down, add more Greens and moisture.
Think of it this way: Browns are the structure and air, Greens are the fuel. You need both working together.
The Composting Process: Simple Steps for Success
Ready to start? Here’s a straightforward process:
-
Choose Your Location & Bin:
Pick a convenient spot that’s relatively accessible, gets some sun and rain, and has good drainage. Set up your chosen affordable bin (pallets, wire mesh, or even just a pile).
-
Layer Your Materials:
Start with a layer of coarse brown material (like small twigs or straw) at the bottom. This helps with drainage and aeration. Then, begin alternating layers of greens and browns. Aim for a good mix, trying to incorporate browns with most of your greens or vice-versa.
Example Layering:
- Bottom: Twigs/Straw (Browns)
- Next: Kitchen Scraps (Greens)
- Next: Dry Leaves/Shredded Cardboard (Browns)
- Next: Grass Clippings (Greens – thin layer!)
- Next: Coffee Grounds (Greens)
- Then: More Browns
Remember to add that shovel-full of garden soil or finished compost every few layers!
-
Maintain Moisture:
Your compost pile should be as damp as a wrung-out sponge. If it’s too dry, water it thoroughly with a hose or your DIY compost tea. If it’s too wet, add more brown materials to soak up excess moisture.
The U.S. Environmental Protection Agency (EPA) highlights moisture as one of the key ingredients for successful composting, along with air and the right materials.
-
Aerate (Turn) Regularly:
This is where the magic speed happens. Turning your compost pile introduces oxygen, which is essential for the aerobic bacteria that break down organic matter efficiently. Without air, your pile can become anaerobic (stinky and slow). Aim to turn it every 1-2 weeks, especially when it’s active and heating up.
If you have a bin, you can use a pitchfork to move material from the outside to the inside of the pile. If you have a wire bin, lift it, place it beside the pile, and fork the contents back in.
-
Be Patient:
Composting is a natural process. Depending on the materials you use, the temperature, and how often you turn it, compost can be ready anywhere from 2 months to a year. You’ll know it’s ready when it’s dark, crumbly, smells earthy (like the forest floor), and you can no longer recognize the original materials.
Compost Troubleshooting: Common Issues & Affordable Fixes
Even with the best intentions, compost piles can sometimes act up. Here are some common problems and their cheap, easy solutions:
Issue: My compost smells bad (rotten eggs, ammonia, or like garbage).
Cause: Too much green material, not enough air, or too wet.
Affordable Fix:
- Add a generous amount of brown materials (dry leaves, shredded cardboard).
- Turn the pile thoroughly to introduce air.
- If it’s very wet, fork in more browns and try to let it dry out a bit.
Issue: My compost isn’t heating up and is breaking down very slowly.
CauSe: Not enough nitrogen (greens) or too dry.
Affordable Fix:
- Add more green nitrogen-rich materials (kitchen scraps, grass clippings).
- Add a shovel-full of garden soil or finished compost.
- Water the pile if it feels dry.
- Turn the pile to mix ingredients and encourage microbial activity.
Issue: My compost pile is attracting pests (flies, rodents).
Cause: Exposed food scraps, meat/dairy products, or an unbalanced pile.
Affordable Fix:
- Always bury fresh food scraps deep within the pile, under a layer of browns.
- Avoid adding meat, dairy, oily foods
Related Posts


I am passionate about home engineering. I specialize in designing, installing, and maintaining heating, ventilation, and air conditioning systems. My goal is to help people stay comfortable in their homes all year long.