Living in the country offers fantastic opportunities for growing your own food and enjoying nature. Composting is a natural fit for rural living, turning kitchen scraps and yard waste into amazing soil. But let’s be honest, sometimes things like time can feel like a hurdle. You’re busy with farm chores, family, or just enjoying the wide-open spaces. This guide is here to show you how to compost effectively in a rural setting, even when time is tight. We’ll break it down so you can make nutrient-rich compost without it feeling like a chore. Get ready to see how smart strategies can make composting a simple, rewarding addition to your rural lifestyle.
Composting for Rural Areas: Smart Time Strategies for Busy Lives
Hey neighbor! Troy here from TopChooser. If you’re lucky enough to call a rural area home, you probably appreciate the freedom and space it offers. And if you’re thinking about composting, you’re already on the right track to creating incredible soil for your garden or even your farm. But I get it, rural life can be demanding. Between tending livestock, managing property, or just enjoying the peace, finding extra time can feel like searching for a needle in a haystack. The good news is, composting doesn’t have to be a time-consuming burden.
We’re going to look at some super practical ways to integrate composting into your rural routine. Think less about long, drawn-out processes and more about efficient, effective methods that work with your lifestyle. We’ll cover everything from choosing the right system to making the most of your organic materials, all while respecting your valuable time. Let’s dig in and make composting work for YOU!
Why is Composting a Natural Fit for Rural Areas?
Rural living often means you have more space and more access to organic materials than your city-dwelling counterparts. Think about all those fallen leaves in the autumn, grass clippings from larger lawns, and garden produce that goes a little too ripe. Even animal manure, a fantastic compost activator, is often readily available. Instead of these things becoming waste, they can be transformed into “black gold” – rich, fertile compost that will boost your garden’s health, reduce your need for store-bought fertilizers, and help close the loop on your property’s natural cycles.
Composting is also a wonderfully sustainable practice. It diverts organic waste from landfills, reduces greenhouse gas emissions, and builds healthy soil that can retain more water and nutrients. For those who value self-sufficiency and a connection to the land, composting is a logical and rewarding step.
Understanding the Basics: Greens and Browns
Before we dive into time-saving strategies, let’s quickly recap the core of composting: the balance between “greens” and “browns.” This isn’t about the color of your compost bin, but the type of material.
- Greens (Nitrogen-Rich): These are moist materials that provide nitrogen. Think kitchen scraps (fruit and vegetable peels, coffee grounds, tea bags), grass clippings, and fresh plant trimmings.
- Browns (Carbon-Rich): These are dry, woody materials that provide carbon and aeration. Examples include dried leaves, straw, shredded newspaper, cardboard, sawdust (from untreated wood), and small twigs.
The magic of composting happens when you get these two elements in roughly equal measure (by volume). This balance fuels the microorganisms that break down the materials. Too many greens can make your pile wet and smelly; too many browns can slow down decomposition. Getting this balance right is the first step to efficient composting!
Essential Time Strategies for Rural Composting
Now, let’s focus on making composting fit into your busy rural life. These strategies are designed to save you time and effort while still producing excellent compost.
1. Choose the Right Composting System for Your Needs
The best system is one you’ll actually use. In rural areas, you have a few great options, each with different time commitments.
a. Open Piles & Stacks (The “Set It and Forget It” Pioneer)
Best For: Those with plenty of space and a desire for minimal upfront effort. Excellent for processing large volumes of yard waste.
How it Saves Time: You can simply create a large pile in a corner of your property. As you collect materials (leaves, grass clippings, kitchen scraps), just add them to the pile. There’s no bin to build or manage. The sheer volume of material often helps it break down naturally over time, especially with rain and microbial action.
Time Commitment: Very low. Primarily involves gathering materials and adding them to the pile. Turning is optional but speeds things up.
Rural Advantage: Abundant space makes large piles easy. You can easily incorporate materials like animal bedding (manure from chickens, horses, cows, etc.), which is a fantastic compost booster but often too bulky for smaller bins. Just ensure it’s well-composted before using it around food crops.
b. Three-Bin System (The “Set Up Once, Maintain Steadily” Proactive Farmer)
Best For: Those who want a consistent supply of finished compost and don’t mind a bit of structured management. Great for managing different stages of compost.
How it Saves Time: Once built, a three-bin system allows you to move materials progressively. Start in bin 1, layer greens and browns. When bin 1 is full, turn its contents into bin 2, and start a new pile in bin 1. When bin 2 is full, turn its contents into bin 3 (where it finishes composting), and start filling bin 2 again. This organized flow means you always know where your compost is in its lifecycle and where to add new materials.
Time Commitment: Moderate. Requires initial building, then periodic turning as you move material between bins. Less messy than an open pile.
Rural Advantage: Can be built larger to accommodate bulkier rural materials. Easy to manage different types of waste streams separately if needed.
c. Tumbler Composter (The “Quick Batch” Convenience Seeker)
Best For: Smaller households or those who want compost relatively quickly and don’t want to turn a pile manually. Great for those who prioritize a neat appearance.
How it Saves Time: Tumblers are enclosed barrels that you can easily spin. This spinning action aerates the compost and mixes the materials for you, significantly speeding up the decomposition process. Many see finished compost in as little as 4-8 weeks.
Time Commitment: Low to moderate. Requires adding materials and then a few minutes of “tumbling” every few days. Doesn’t handle huge volumes.
Rural Advantage: Ideal for smaller volumes of kitchen scraps or specific garden waste. Keeps smells contained and pests out, which can be a concern with larger rural properties. Less physical labor than turning a large pile.
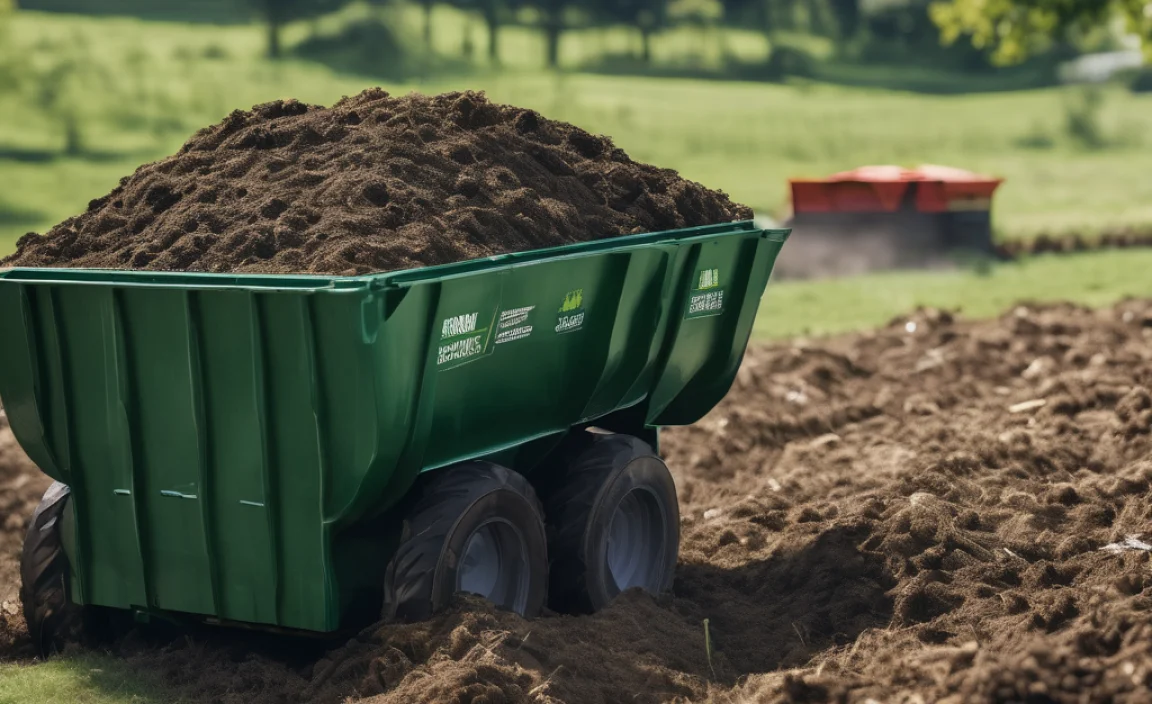
d. Livestock Manure Management Systems (The “Farm Waste Solution”)
Best For: Farms and homesteads with livestock.
How it Saves Time: Many farms already have large piles of manure. The “time-saving” here is in how you manage it. Instead of letting it sit and potentially leach into the environment, actively composting it turns a potential problem into a valuable resource. Hot composting manure requires careful management of greens and browns and regular turning, but it kills weed seeds and pathogens much faster than cold composting.
How to Do It Efficiently:
- Mix with Carbon: Always mix manure (a “green”) with plenty of “browns” like straw, wood shavings, or dried leaves. A good starting ratio is often 1 part manure to 2-3 parts browns.
- Monitor Temperature: High temperatures (130-160°F or 55-70°C) are crucial for killing weed seeds and pathogens. Use a compost thermometer.
- Turn Regularly: Turning every few days or once a week is essential for rapid, hot composting. Use a tractor or front-end loader for large piles; a pitchfork works for smaller amounts.
For more on managing manure effectively, the USDA Natural Resources Conservation Service offers excellent resources on composting animal waste.
Time Commitment: Can be high if aiming for rapid, hot compost, but the reward is faster, safer compost from a readily available farm input.
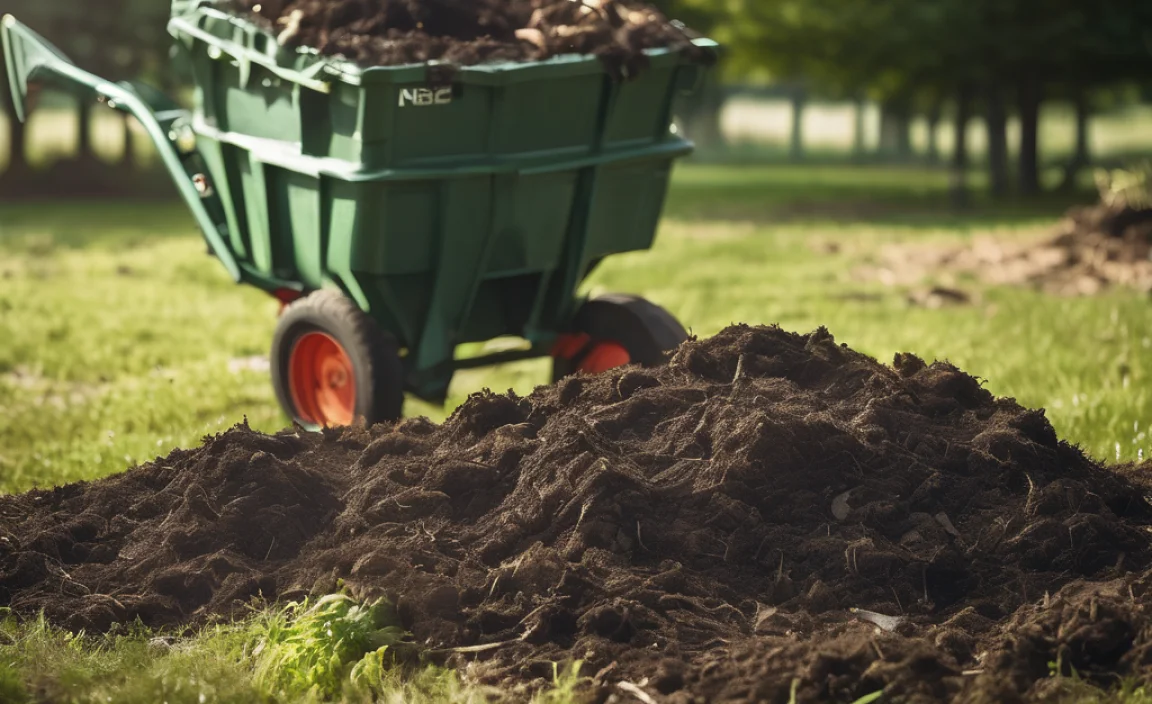
2. Optimize Your Material Collection: Batch and Store
Instead of running out to the compost pile every time you have a carrot peel, gather your materials strategically.
- Kitchen Scraps: Keep a lidded bin orpail in your kitchen. Empty it into a larger outdoor compost bin or pile once a day, or every few days, depending on how often you generate waste.
- Yard Waste: Don’t feel you have to compost every twig immediately. In the fall, rake your leaves into a designated area or large pile. Save grass clippings in bags or a separate pile during the mowing season. This way, you accumulate bulk materials that are perfect for adding to your compost pile when you need them. A large tarp can be useful for collecting and temporarily storing leaves.
- Shredding is Quick: Invest in a good shredder for cardboard, newspaper, and branches. A shredder can turn bulky materials into compostable-sized pieces in minutes, significantly reducing the time and effort needed versus manual chopping or tearing.
3. Master the Art of Layering (Or Don’t!)
While strict layering of greens and browns is ideal for faster compost, it can take extra time. Here’s how to adjust for speed:
- Quick Mix: If using an open pile or three-bin system, instead of precise layers, simply aim to add a mix of greens and browns as you go. If you’ve added a load of grass clippings (greens), try to follow up with a good amount of dried leaves or shredded cardboard (browns).
- “Lasagna” Composting: This is essentially structured layering, but it’s done in larger batches. When you have a significant amount of greens (like during garden cleanup), add them, then a thick layer of browns. This is easier to manage in a larger bin or pile and can be very efficient.
- Tumbling Tumblers: These devices handle the mixing for you. Just add your kitchen scraps and yard waste, and give the tumbler a spin. This is arguably the most time-efficient method for turning.
4. Thermophilic (Hot) Composting: Speed is the Name of the Game
Hot composting, also known as thermophilic composting, is the fastest way to break down organic matter. It relies on creating the ideal conditions for heat-loving microbes to thrive, often reaching temperatures of 130-160°F (55-70°C).
Key Time-Saving Elements:
- Ideal C:N Ratio: Aim for a carbon-to-nitrogen (browns to greens) ratio of around 25:1 to 30:1. This is a bit more precise and may require knowing your materials’ rough proportions, but it’s key to heat generation.
- Particle Size: Smaller pieces of organic matter break down faster. Shredding is essential.
- Moisture: The pile should be as damp as a wrung-out sponge.
- Aeration: Regular turning is crucial. This provides oxygen for the microbes and redistributes heat and moisture.
How it Saves Time: A well-managed hot pile can break down materials in as little as 4-8 weeks. This is significantly faster than cold composting, which can take 6 months to a year or more. The trade-off is that it requires more attention to detail and regular turning.
Rural Tip: For larger piles (at least 3x3x3 feet), once you get it hot, it can maintain its heat for longer, meaning you might turn it slightly less often than a smaller hot pile. Using manure as a nitrogen source can help kickstart the initial heating process.
5. Turning: Efficient Methods for Rural Scales
Turning your compost pile is essential for aeration and speeding up decomposition. How you do it can save or cost you time.
- Pitchfork: The classic method. For medium-sized piles, a sturdy pitchfork is your best friend. Move material from the outside to the inside, and vice-versa. This takes some effort but is effective.
- Compost Aerator Tools: These long, pronged tools can help aerate without fully turning a pile, saving some effort.
- Tractor/Loader Bucket (For VERY Large Piles): If you have access to a tractor, a front-end loader can turn massive compost piles in minutes. This is a huge time saver for large-scale rural composting operations.
- Gravity Assist (Three-Bin System): As mentioned, moving material from one bin to the next essentially turns it. This is a very time-efficient way to manage turning in a structured system.
- Less Turning, More Waiting: If time is extremely scarce and you’re not in a hurry for compost, you can simply “cold compost.” This means piling materials and letting nature take its course with very infrequent or no turning. It takes longer but requires almost no active time.
6. Know What to Compost (and What to Avoid)
Spending time sorting through compostable materials is a waste. Knowing what goes in saves you that effort and prevents problems.
Good to Go (The “Greens” and “Big Browns”):
- Fruit and vegetable scraps
- Coffee grounds and tea bags
- Grass clippings
- Leaves (dried are browns, fresh are greens)
- Straw and hay
- Shredded newspaper and cardboard (uncoated)
- SmallTwigs and wood chips
- Animal manure (from herbivores like horses, cows, rabbits, chickens)
- Eggshells
What to Limit or Avoid (To Save Time and Trouble):
- Meat, dairy, and oily foods: Attract pests and create odors.
- Diseased plants: Can spread disease back into your garden.
- Weeds that have gone to seed: Unless hot composting reliably kills seeds.
- Pet waste (dog, cat): Can contain harmful pathogens.
- Chemically treated wood or yard waste: Can contaminate your compost.
- Coal or charcoal ash: Can contain harmful substances.
By sticking to the “good to go” list, you minimize the chances of having to dig out undesirable items later, saving you time and frustration.
7. Composting Frequency Strategy: Less is Often More
The rhythm of your composting should match your energy and time availability.
- The “Top Up” Method: For open piles or three-bin systems, simply add new materials to the designated spot. You don’t need to bury new kitchen scraps deeply. As long as they’re mixed in eventually, decomposition will occur.
- The “Batch Processing” Method: If you prefer, you can wait until you have a significant amount of a particular material (e.g., all garden trimmings from a big harvest) and compost it in one go. This can be very time-efficient.
- Seasonal Composting: Focus your composting efforts during specific seasons when you have more organic material or more time. For example, gather all fall leaves into a large pile and let that decompose over winter and spring.
8. Watering Wisdom: Time it Right
Compost needs moisture, but overwatering or underwatering can create issues that cost you time to fix.
- The “Damp Sponge” Rule: Moisture is key. When you add materials, it’s a good time to check moisture. If your pile is dry, sprinkle with water.
- Rain is Your Friend: In rural areas, rain often takes care of watering your compost pile for you. If you have a roof over your compost or it’s under a heavy tree canopy, you might need to supplement.
- Quick Checks: Instead of daily watering, do a quick squeeze test once a week or when you add significant amounts of dry material. If it crumbles easily, it needs water. If water drips out, it’s too wet – add more browns and turn.
Time vs. Compost Quality: Finding Your Balance
Rural composting offers flexibility. You can prioritize speed or go for a more hands-off approach.
Here’s a quick comparison:
| Strategy | Estimated Time Per Week | Compost Production Speed | Effort Level | Best For |
|---|---|---|---|---|
| Hot Composting (Frequent Turning) | 2-4 hours (for large piles) | Fast (4-8 weeks) | High | Urgent need for compost, large volumes |

I am passionate about home engineering. I specialize in designing, installing, and maintaining heating, ventilation, and air conditioning systems. My goal is to help people stay comfortable in their homes all year long.