Ever felt like your kitchen scraps and yard trimmings are just… waste? You’re not alone! Many of us wonder how to deal with this stuff, especially when space is tight. But what if I told you that turning this “waste” into super plant food is easier than you think? Composting is the answer, and I’m going to show you exactly how to do it, whether you’re in a bustling city or out in the country. Let’s dig in and transform your scraps into garden gold!
Composting for Urban Areas & Rural: It’s Essential, Really!
Hey there, I’m Troy D. Harn from TopChooser, and I’m here to make home improvement, gardening, and especially composting, feel totally doable. Think of me as your friendly neighbor who’s figured out a few things and is happy to share. Today, we’re diving into composting. You might be thinking, “Composting in the city? Is that even possible?” Or, “I’ve got acres, surely I can compost, but how?” The answer to both is a resounding “YES!”
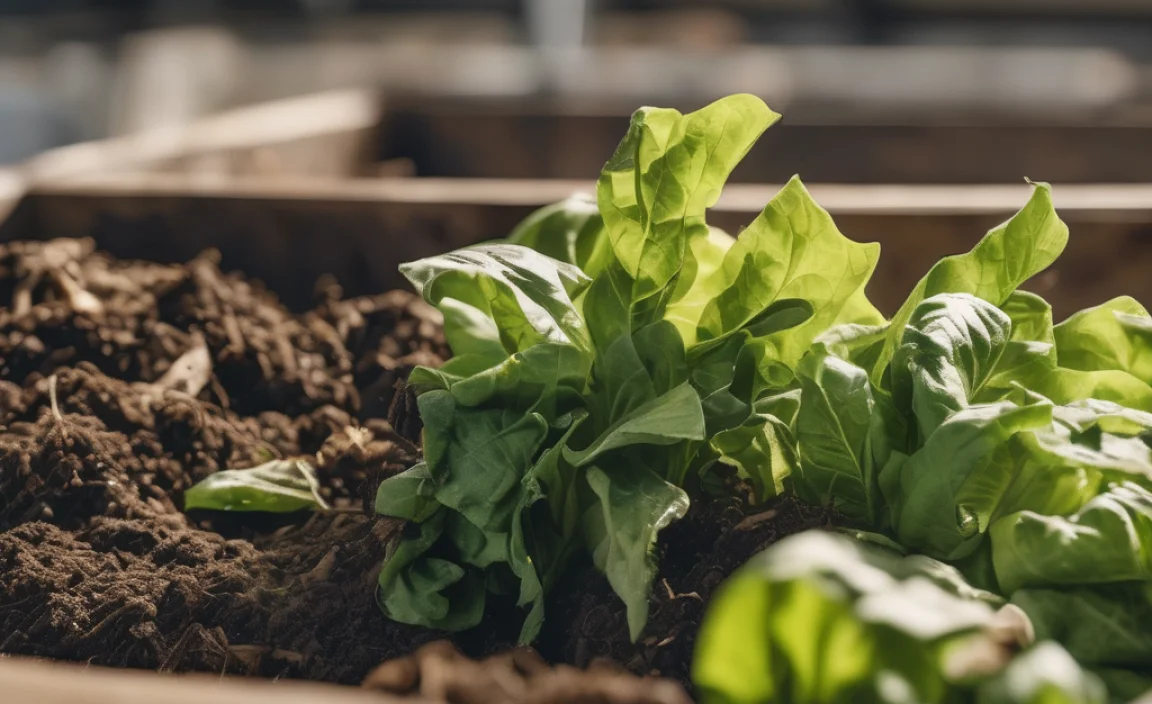
Composting is essentially nature’s way of recycling. It’s how organic materials, like food scraps and leaves, break down over time to create a rich, dark soil amendment called compost. This stuff is like a superfood for your plants, helping them grow stronger, healthier, and more abundant. It also helps reduce the amount of waste you send to the landfill.
Whether you have a tiny balcony in a city apartment or a sprawling backyard in the countryside, there’s a composting method that will fit your lifestyle and space. This guide will break down the essentials, so you can start turning your organic waste into valuable compost without any stress.
Why Compost? The Big Benefits for Everyone
Before we get our hands dirty, let’s talk about why composting is so awesome. It’s not just about reducing landfill waste, though that’s a huge plus. Compost does wonders for your soil and your wallet!
- Boosts Soil Health: Compost improves soil structure, making it easier for plant roots to grow and access air. It also helps soil retain moisture, meaning you’ll water less.
- Feeds Your Plants Naturally: It’s packed with nutrients that your plants will absolutely love. It’s far better than many synthetic fertilizers, which can sometimes harm soil in the long run.
- Reduces Landfill Waste: Food scraps and yard waste make up a significant portion of what we throw away. Composting diverts this from landfills, reducing methane gas production (a potent greenhouse gas).
- Saves You Money: You’ll need to buy less soil amendment and fertilizer for your garden, pots, or even just to top dress your houseplants.
- Environmentally Friendly: It’s a fantastic way to contribute to a healthier planet, right from your own home.
Urban Composting: Small Spaces, Big Results
Living in an urban area doesn’t mean you have to miss out on the composting revolution. The key is choosing the right method for your available space. Don’t let a small footprint discourage you; many effective composting solutions are designed specifically for city dwellers.
Best Composting Bins for Urban Dwellers
Here are some popular and practical options:
| Composting Method | Best For | Pros | Cons |
|---|---|---|---|
| Worm Composting (Vermicomposting) | Apartment dwellers, small balconies, avid indoor gardeners | Produces nutrient-rich worm castings, quick processing, minimal odor if managed well, can be done indoors. | Requires specific composting worms (red wigglers), can be sensitive to temperature extremes, initial setup might take a little learning. |
| Tumbler Composters | Small backyards, patios, those who want faster compost | Enclosed, faster decomposition due to aeration and mixing, keeps pests out, tidy appearance. | Can be pricier, may require more effort to turn, smaller batches. |
| Bokashi Composting | Very small spaces, no outdoor access, can compost meat/dairy | Fermentation process breaks down almost all food scraps (including meat, dairy, oils), happens in a sealed bin, produces a liquid fertilizer (“tea”). | Requires a special Bokashi bran inoculant, the end product needs to be buried or added to a traditional compost pile to fully decompose. |
| Small Stationary Bins | Patios with a bit more space, small yards | Relatively inexpensive, easy to use, good for moderate amounts of waste. | Slower decomposition than tumblers, may attract pests if not managed correctly, requires manual turning with a fork. |
What You Can Compost (Urban Edition)
Generally, you’ll focus on kitchen scraps. The “greens” and “browns” concept still applies, but in smaller quantities.
- Greens (Nitrogen-rich): Fruit and vegetable scraps, coffee grounds, tea bags (remove staples), eggshells.
- Browns (Carbon-rich): Shredded newspaper, cardboard (uncoated), paper towels, dry leaves (if you can get them from parks or neighbors).
Tip for Urban Composting: Chop your scraps into smaller pieces. This helps them break down faster, which is especially helpful in smaller bins or with worm composting.
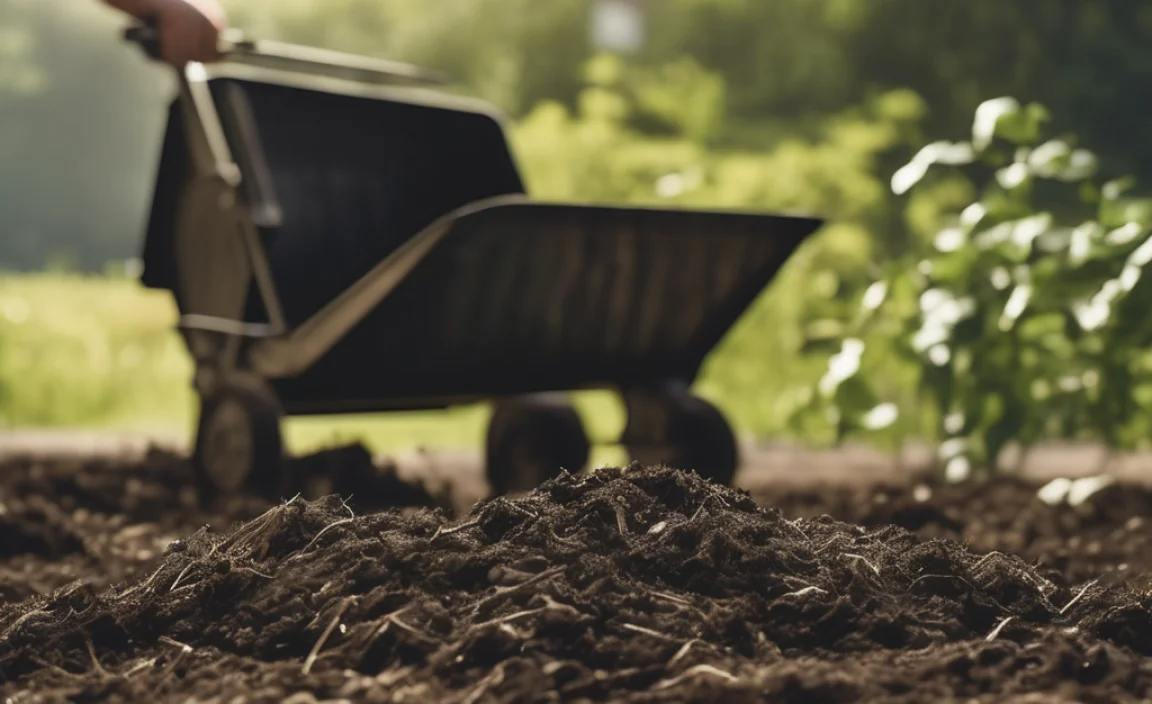
Rural Composting: Plenty of Space, Plenty of Potential
If you have a backyard, a garden, or even just more space, your composting options expand considerably. Rural composting often means dealing with larger volumes of yard waste in addition to kitchen scraps.
Popular Composting Systems for Rural Areas
Rural settings offer more flexibility with both space and scale:
| Composting Method | Best For | Pros | Cons |
|---|---|---|---|
| Multi-Bin Composting System | Larger yards, those who compost a lot of yard waste | Allows for different stages of decomposition, can produce compost continuously, good for large volumes. | Requires more space, initial construction can be more involved, needs regular turning. |
| Open Pile Composting | Very large yards, farms, those who don’t mind a more rustic look | Simplest method, no bin needed, can handle massive amounts of material, low cost. | Slower decomposition, can attract pests more easily, can look messy, drying out or getting too wet is a concern. |
| DIY Wooden Bin/Enclosure | Backyards, gardens, those who like simple DIY projects | Customizable size, can be built from scrap wood, good balance of containment and airflow, can be visually appealing. | Requires some DIY skills, wood will eventually rot, needs manual turning. |
| Compost Accelerator Systems | Anyone looking to speed up decomposition in a traditional pile or bin | Can significantly reduce breakdown time, often made from natural ingredients. | An added cost, sometimes seen as a “shortcut” by purists, effectiveness can vary. |
What You Can Compost (Rural Edition)
You have more leeway here, being able to handle larger volumes of both kitchen and yard waste.
- Greens (Nitrogen-rich): All kitchen scraps (fruit/veg peels, coffee grounds, tea bags, eggshells), grass clippings, fresh manure (from herbivores like rabbits, chickens, cows – aged or composted properly).
- Browns (Carbon-rich): Leaves, straw, sawdust (untreated wood only), shredded newspaper and cardboard, small twigs and branches (chopped or chipped).
Tip for Rural Composting: Mix your greens and browns well. A good balance is crucial for efficient decomposition. Think of it like a balanced diet for your compost pile.
The Science Bit: What Your Compost Needs to Thrive
No matter where you are, the core principles of composting remain the same. Your compost pile needs a few key ingredients and conditions to work its magic. It’s all about creating the right environment for tiny organisms – bacteria, fungi, and other helpful creatures – to do their job.
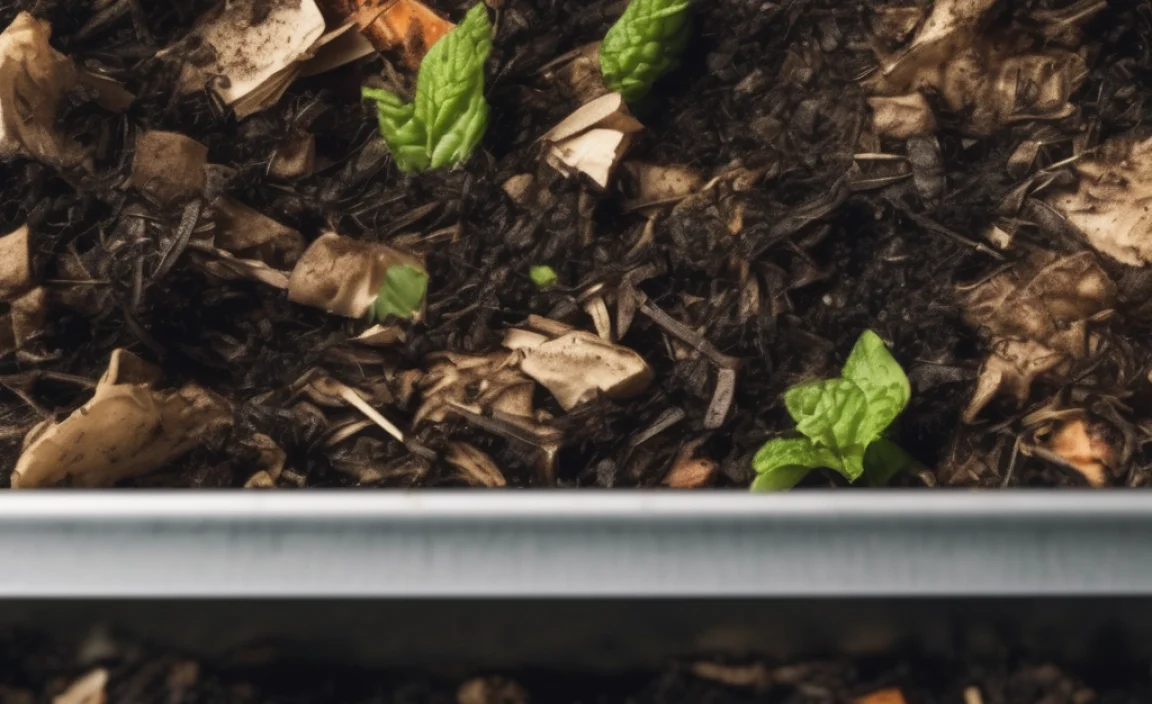
The Magic Ratio: Greens and Browns
This is probably the most important concept in composting. You need a good mix of “greens” (nitrogen-rich materials) and “browns” (carbon-rich materials).
- Greens: These are moist, often fresh materials that provide nitrogen. They heat up the compost pile, which speeds up decomposition. Examples: fruit and vegetable scraps, grass clippings, coffee grounds, manure.
- Browns: These are dry, often woody materials that provide carbon. They add bulk, allow air to circulate, and prevent the pile from becoming a stinky, slimy mess. Examples: dried leaves, straw, shredded paper/cardboard, small twigs, sawdust.
The Ideal Mix: A common starting point is about 2 parts Browns to 1 part Greens by volume. Don’t stress too much about being exact; it’s more about balance. Too many greens can lead to a slimy, smelly pile. Too many browns will slow down decomposition significantly.
Air, Water, and Size Matters
Besides the greens and browns, your compost needs:
- Air (Oxygen): Microbes need oxygen to thrive. This is why turning your compost or using a well-aerated bin is important. If your compost smells like ammonia or rotten eggs, it’s likely not getting enough air.
- Water (Moisture): Your compost pile should be moist, like a wrung-out sponge. Too dry, and the microbes go dormant. Too wet, and they can’t get enough oxygen, leading to anaerobic decomposition (and bad smells).
- Particle Size: Smaller pieces break down faster. Chopping up kitchen scraps or running over leaves with a mower helps speed things up.
Getting Started: Your Step-by-Step Composting Guide
Ready to start? It’s simpler than you might think. Here’s how to get your composting journey rolling.
Step 1: Choose Your Composting Method and Location
Based on your space (urban balcony, suburban backyard, rural acreage) and the amount of organic material you generate, select the best method. We covered these earlier, so pick one that feels right for you.
Location considerations:
- Accessibility: Make sure it’s easy to get to for adding materials and turning.
- Sunlight/Shade: Some direct sun can help heat the pile, but full, scorching sun can dry it out too quickly. Partial shade is often ideal.
- Drainage: Ensure the area doesn’t get waterlogged.
- Neighbors: If you have close neighbors, consider the aesthetics and potential (though minimal, if managed well) odors.
Step 2: Gather Your Materials
Start collecting:
- Compost bin or designated area.
- Kitchen scraps (keep a container with a lid handy in your kitchen).
- Yard waste (if applicable – dried leaves, grass clippings).
- Brown materials (shredded cardboard, newspaper).
- A pitchfork or compost aerator for turning (if using a pile or bin that requires it).
Step 3: Build Your First Compost Pile (or Fill Your Bin)
This is where the “greens” and “browns” come into play.
- Start with a base of Browns: Lay down a layer of twigs, straw, or shredded cardboard at the bottom. This helps with drainage and airflow.
- Alternate Layers: Add a layer of greens (kitchen scraps, grass clippings), followed by a layer of browns. Aim for that roughly 2:1 brown-to-green ratio.
- Moisten Each Layer: Lightly water each layer as you add it. It should feel like a damp sponge.
- Bury Kitchen Scraps: When adding kitchen scraps, try to bury them under a layer of browns to deter pests and reduce odors.
- For Tumblers/Bokashi: Follow the manufacturer’s instructions, which usually involve adding materials and turning or latching the lid.
Step 4: Maintain Your Compost
Composting is a living process, so it needs a little attention.
- Add Materials Regularly: Continue adding your kitchen scraps and yard waste, remembering to balance your greens and browns and bury the kitchen waste.
- Monitor Moisture: Check the moisture level every few days. If it feels dry, add water. If it seems too wet, add more browns.
- Aerate (Turn): For open piles and many bins, turn the pile with a pitchfork about once a week or every two weeks. This introduces oxygen, mixes materials, and speeds up decomposition. Tumblers are designed to be turned more frequently.
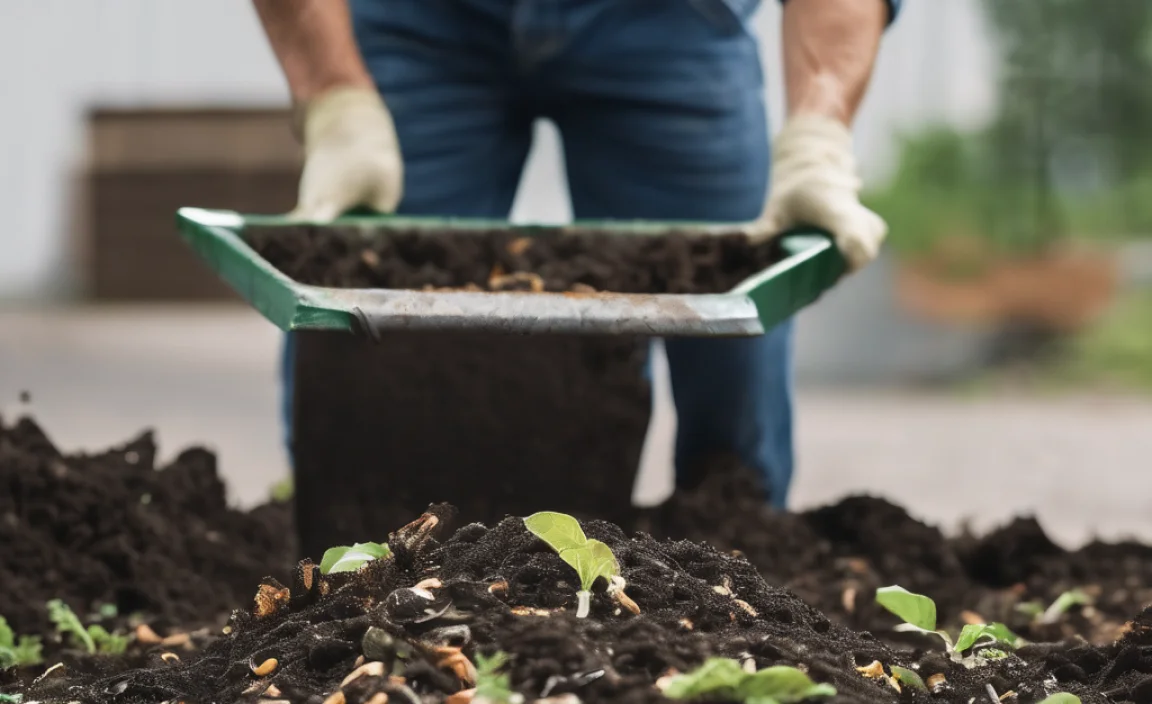
Step 5: Harvest Your Compost
How do you know when it’s ready? Ready compost:
- Looks dark brown and crumbly.
- Smells earthy and pleasant (like a forest floor).
- No longer resembles the original materials (you shouldn’t see recognizable food scraps or leaves).
- The temperature will have cooled down.
This can take anywhere from a few months to a year, depending on your method, materials, and how often you turn it. To harvest, you can simply dig out compost from the bottom of a pile or bin, or empty a tumbler. You might want to sift it to remove any larger, unfinished pieces, which can go back into your next compost batch.
External Link: For additional tips on what to compost and what to avoid, the U.S. Environmental Protection Agency (EPA) provides excellent, comprehensive guidance.
Troubleshooting Common Composting Problems
Even with the best intentions, you might run into a few snags. Don’t get discouraged! Most issues are easily fixed.
- Bad Odors (Rotten Egg or Ammonia Smell): Usually a sign of too much nitrogen (too many greens) or not enough air.
- Solution: Add more browns (shredded cardboard, dry leaves) and turn the pile thoroughly to improve aeration. Ensure the pile isn’t too wet.
- Pile is Not Heating Up or Decomposing Slowly: Could be too dry, too many browns, or too small a pile.
- Solution: Add more nitrogen-rich greens, moisten the pile, and ensure it’s at least 3x3x3 feet for a hot pile. Turn it to mix materials.
- Attracting Pests (Rodents, Flies): Often happens when meat, dairy, or greasy foods are added, or if kitchen scraps aren’t buried properly.
- Solution: Stop adding meat, dairy, and oily foods. Always bury kitchen scraps deep within the pile and cover them with browns. Use a fully enclosed bin or tumbler. Ensure your bale is moist, not wet, as pests prefer dry conditions.
- Pile is Too Wet and Slimy: Too much moisture, not enough browns, and poor drainage/aeration.
- Solution: Add plenty of dry, brown materials (straw, shredded cardboard, dry leaves) and turn the pile thoroughly. If it’s in a bin, check the drainage holes.
FAQ
What are the essential tools for starting composting?
For urban composting, a good kitchen caddy for scraps and a bin (worm bin, tumbler, Bokashi) are key. For rural composting, a pitchfork or compost aerator is very helpful for turning larger piles. Shredded newspaper or cardboard is also handy to have on hand for balancing!
Can I compost meat, dairy, and oily foods?
In a traditional hot composting system, it’s generally best to avoid meat, dairy, and oily foods as they can attract pests and create odors. However, Bokashi composting is designed to handle these items effectively.
How big does my compost pile need to be?
For a “hot” compost pile that decomposes quickly, a minimum size of about 3 feet x 3 feet x 3 feet is recommended. Smaller piles will still compost, but at a slower, “cold” composting rate.
How often do I need to turn my compost?
For faster decomposition (hot composting), aim to turn the pile every 1-2 weeks.
.lwrp.link-whisper-related-posts{
margin-top: 40px;
margin-bottom: 30px;
}
.lwrp .lwrp-title{
}.lwrp .lwrp-description{
}
.lwrp .lwrp-list-container{
}
.lwrp .lwrp-list-multi-container{
display: flex;
}
.lwrp .lwrp-list-double{
width: 48%;
}
.lwrp .lwrp-list-triple{
width: 32%;
}
.lwrp .lwrp-list-row-container{
display: flex;
justify-content: space-between;
}
.lwrp .lwrp-list-row-container .lwrp-list-item{
width: calc(25% – 20px);
}
.lwrp .lwrp-list-item:not(.lwrp-no-posts-message-item){
max-width: 150px;
}
.lwrp .lwrp-list-item img{
max-width: 100%;
height: auto;
object-fit: cover;
aspect-ratio: 1 / 1;
}
.lwrp .lwrp-list-item.lwrp-empty-list-item{
background: initial !important;
}
.lwrp .lwrp-list-item .lwrp-list-link .lwrp-list-link-title-text,
.lwrp .lwrp-list-item .lwrp-list-no-posts-message{
}@media screen and (max-width: 480px) {
.lwrp.link-whisper-related-posts{
}
.lwrp .lwrp-title{
}.lwrp .lwrp-description{
}
.lwrp .lwrp-list-multi-container{
flex-direction: column;
}
.lwrp .lwrp-list-multi-container ul.lwrp-list{
margin-top: 0px;
margin-bottom: 0px;
padding-top: 0px;
padding-bottom: 0px;
}
.lwrp .lwrp-list-double,
.lwrp .lwrp-list-triple{
width: 100%;
}
.lwrp .lwrp-list-row-container{
justify-content: initial;
flex-direction: column;
}
.lwrp .lwrp-list-row-container .lwrp-list-item{
width: 100%;
}
.lwrp .lwrp-list-item:not(.lwrp-no-posts-message-item){
max-width: initial;
}
.lwrp .lwrp-list-item .lwrp-list-link .lwrp-list-link-title-text,
.lwrp .lwrp-list-item .lwrp-list-no-posts-message{
};
}

I am passionate about home engineering. I specialize in designing, installing, and maintaining heating, ventilation, and air conditioning systems. My goal is to help people stay comfortable in their homes all year long.