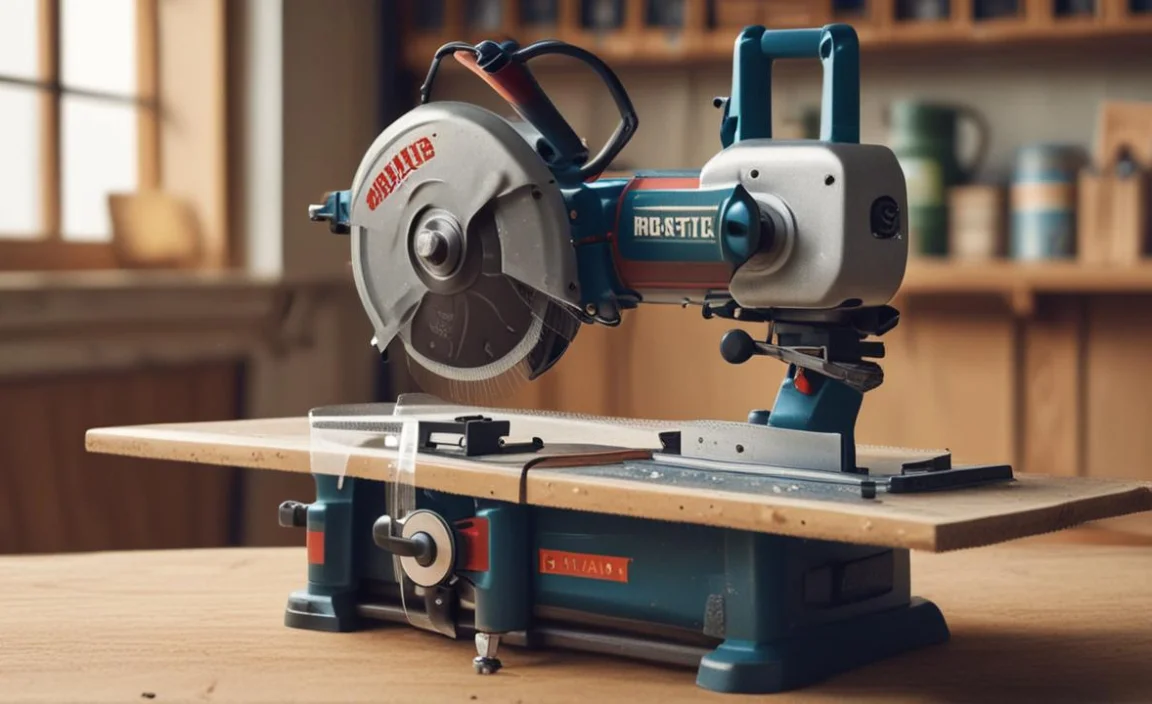
A radial arm saw is a versatile woodworking tool featuring a rotating circular saw blade. It is commonly used for cross-cutting, ripping, mitring, and beveling wood. Its adjustable arm and cutting depth provide accuracy for straight and angled cuts.
If your old Craftsman 10 Radial Arm Saw is not performing like it used to, don’t worry, we’ve got you covered. Here we will guide you through easy steps to repair and restore your old 10 Radial Arm Saw, saving you the hassle and expense of buying a new one.
From inspecting the saw and cleaning its moving parts to troubleshooting common problems and aligning the saw blade, we will cover everything you need to know to bring your saw back to its optimal performance. We will also explain how a radial arm saw works and where to find replacement parts for your 10 Radial Arm saws. Get ready to revive your trusty tool.
Easy Steps To Repair Your Old Craftsman 10 Radial Arm Saw
Repairing your old Craftsman 10 Radial Arm Saw is important for several reasons. It saves you money compared to buying a new saw, extends its lifespan, and improves performance. Repairing it yourself enhances your woodworking skills and gives you a sense of accomplishment.
A properly functioning radial arm saw is essential for accurate and efficient woodworking projects. So gather your tools, roll up your sleeves, and bring that old saw back to life. Here we provide a step-by-step guide to repair your old 10 radial arm saw.
1. Inspect The Saw
Before beginning any repairs on your old 10 radial arm saw, it’s crucial to inspect the saw for any visible damage or wear thoroughly. Start by checking the power cord and switch for any fraying or damage, ensuring they are in proper working condition. Next, examine the blade guard to ensure it is intact and functioning correctly for your safety during operation.
Inspect the blade itself for signs of dullness or damage. If you notice any issues, replacing the blade is essential to maintain optimal cutting performance. Additionally, take the time to check all moving parts, such as the arm, carriage, and motor, for any loose or worn components that may affect the saw’s overall function.
2. Clean And Lubricate Moving Parts
Regular cleaning and lubrication are essential to keep your 10 radial arms saw in optimal condition. Start by unplugging and powering off the saw for safety. Remove any debris from the moving parts using a brush or vacuum to avoid interference.
Check for wear or damage in bearings, gears, and other components. Replace any worn or damaged parts. Lubricate the moving parts with a recommended lubricant to ensure smooth movement and prevent friction. Test all repaired parts before using the saw again. Regular maintenance will enhance performance and prevent future Craftsman radial arm saw issues.
3. Replace Worn Or Broken Parts
To maintain the functionality of your 10 Radial Arm Saw, replace any worn or broken parts. Identify the parts needing replacement, such as the blade or motor. Purchase the appropriate replacement parts for your Craftsman Radial Arm Saw model. Before starting repairs, disconnect the power source and turn off the saw.
Follow the manufacturer’s instructions or consult a repair manual to replace the parts properly. These resources provide guidance for safe and effective replacements. After installation, test the saw to ensure it functions correctly before using it for woodworking projects.
Replacing worn or broken parts extends the lifespan of your 10 Radial Arm Saw and improves its performance. Remember to regularly maintain and inspect your saw to catch any issues early on. This prevents further damage and keeps your saw in optimal condition.
4. Troubleshoot Common Problems
Identifying and troubleshooting common problems with a 10 radial arm saw is crucial for maintaining its optimal performance. One common issue is blade alignment problems, resulting in inaccurate cuts. Motor issues, such as a capacitor or breaker malfunction, can also impact the saw’s functionality.
Additionally, difficulty in adjusting the depth of cut can hinder woodworking projects. It’s important to check for loose or worn-out parts like belts or bearings that may require replacement. Regularly cleaning and lubricating the saw will help ensure smooth operation and prevent rust or corrosion.
You can usually find detailed troubleshooting steps and solutions for your specific Craftsman radial arm saw model in the user manual or online resources. However, if you’re uncomfortable attempting repairs, it’s a good idea to consult a qualified technician for professional assistance.
5. Align The Saw Blade
To align the saw blade on your old 10 radial arm saw, start by ensuring that the saw is unplugged and turned off. Clear debris or sawdust from the blade area to create a clean workspace. Using an adjustable wrench, loosen the bolts that hold the blade in place.
Carefully rotate the blade until it is aligned with the mitre slot on the saw table. Make sure to tighten the bolts securely, but be cautious not to overtighten them and cause damage to the blade or saw. To test the alignment, make a few test cuts on scrap wood.
6. Adjust The Table Height And Angle

To adjust the table height and angle of your 10 radial arms saw, loosen the locking knobs or bolts that hold the table in place. Use a wrench or your hand to turn the adjustment screws and adjust the height of the table.
If you want to change the angle of the table, simply rotate the angle adjustment handle or knob until it reaches the desired angle. Once you have adjusted, tighten the locking knobs or bolts to secure the table. Make any necessary fine-tuning adjustments if needed to achieve the desired cutting precision.
Consider the user manual or online resources for specific instructions and troubleshooting tips for your particular Craftsman radial arm saw model.
7. Check The Motor And Switch
Check the motor and switch to ensure your old 10 radial arm saw functions correctly. Start by unplugging the saw and removing any safety guards or covers that hinder access. Inspect the motor for visible damage like frayed wires or burnt-out parts. Replace the motor if needed. Next, examine the switch for damage or malfunction and ensure secure connections.
If you suspect issues with either component, consult a professional or refer to the manufacturer’s instructions for troubleshooting steps. After making necessary repairs, reassemble the removed parts and test the saw’s functioning. Regular maintenance and inspection of crucial components are essential for safety and performance.
8. Adjust The Tension On The Belt
To adjust the tension on the belt of your old 10 radial arm saw, start by ensuring that the saw is completely powered off and unplugged. Locate the tension adjustment mechanism, usually a knob or lever near the motor. Loosen the tension by turning the knob counterclockwise or releasing the lever.
Once the tension is loosened, you can adjust the belt’s position on the pulleys. This may require sliding the motor or adjusting other components to align the belt properly. After aligning the belt, tighten the tension by turning the knob clockwise or engaging the lever. To ensure the belt is properly tensioned, gently press down on it with your finger—it should have some give but not be too loose or tight.
9. Inspect The Fence And Guide Rails
Inspect the fence and guide rails to repair your old 10 radial arms saw. Check for damage or misalignment. Ensure that the fence is securely attached and moves smoothly on the rails. Look for signs of wear, like dents or rust, that may affect performance.
Clean the fence and rails with a degreaser, then lubricate with suitable oil. Also, check for misalignment or lack of parallelism, as this affects accuracy. Tighten loose screws or bolts to make adjustments. Inspecting and maintaining the fence and guide rails will optimize your Craftsman radial arm saw’s performance.
10. Test The Saw For Performance
To ensure that your old 10 radial arm saw is in good working condition, it is essential to test its performance before diving into repairs. Start by checking if the motor runs smoothly and consistently. Listen carefully for any unusual sounds or vibrations that could indicate underlying issues.
Next, put the saw to the test by cutting a piece of scrap wood. Pay attention to the quality of the cut and whether the saw can make straight and accurate cuts. If you notice any problems during the performance test, it’s time to troubleshoot and repair your radial arm saw.
How Does A Radial Arm Saw Work?
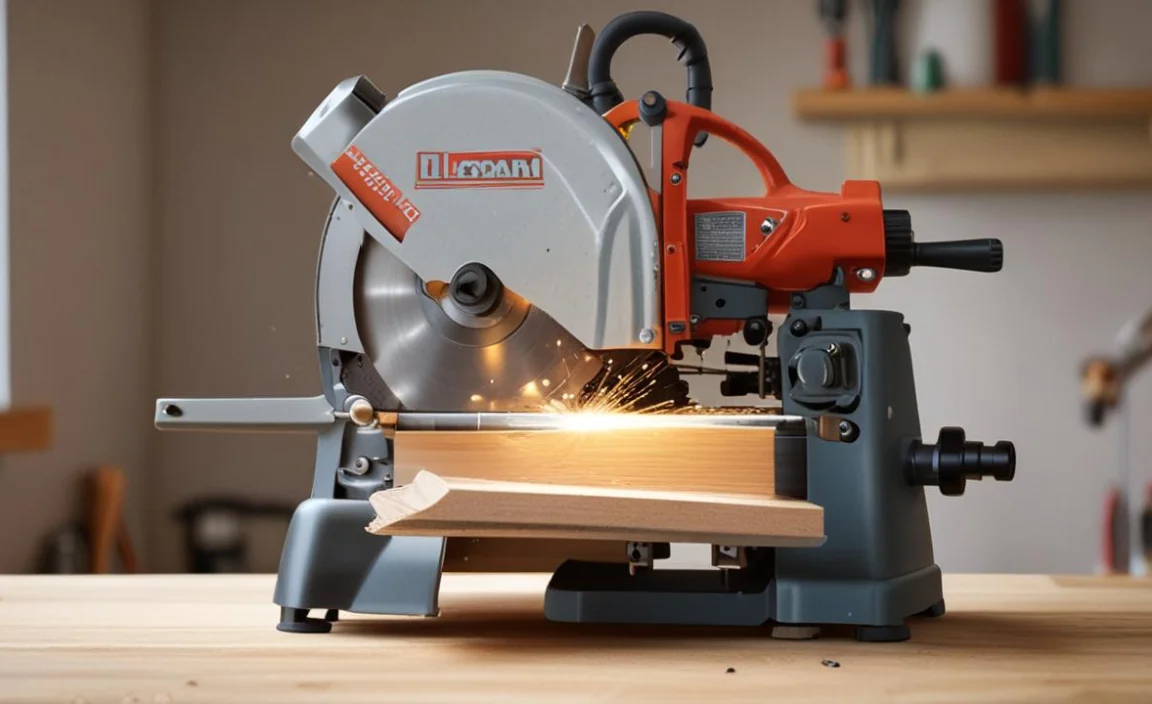
A radial arm saw operates by utilizing a motor and a saw blade mounted on the arm. This versatile woodworking tool allows horizontal movement along the base, enabling different cutting angles and lengths. Lowering the blade onto the workpiece positioned on the base, you can make precise cuts for crosscutting, ripping, mitring, and beveling wood.
Where To Find Replacement Parts For A 10 Radial Arm Saw?
Looking for replacement parts for your 10 radial arm saw? You have a few options. Visit the official Craftsman website or contact customer support for genuine parts. Online marketplaces like Amazon and eBay offer a wide selection. Local hardware stores and speciality tool shops may also carry your needed parts.
Conclusion
Repairing your old Craftsman 10 radial arm saw is a cost-effective way to extend its lifespan and ensure optimal performance. Following the easy steps outlined in this blog, you can inspect, clean, lubricate, and replace any worn or broken parts of your saw.
Additionally, troubleshooting common problems, aligning the saw blade, adjusting the table height and angle, checking the motor and switch, adjusting the tension on the belt, inspecting the fence and guide rails, and testing the saw for performance are all essential steps in restoring your radial arm saw to its former glory. Don’t let your old saw gather dust in the corner – with a little TLC, it can be back in action and ready to tackle your woodworking projects.
