A ground rod is a simple, inexpensive tool that is fundamental for the protection and safety of your electrical system. They protect your building and electric equipment and ensure the proper function of your electrical system.
A ground rod usually needs to be located near your main electrical panel. Installing a ground rod in rocky soil can be nothing less than a challenge. But do not worry. That is where we come in handy to help you with the how to drive a ground rod in rocky soil guidelines to drive a ground rod properly in rocky soil so that you can protect your loved ones from any accident occurring from lighting surges or faulty currents.
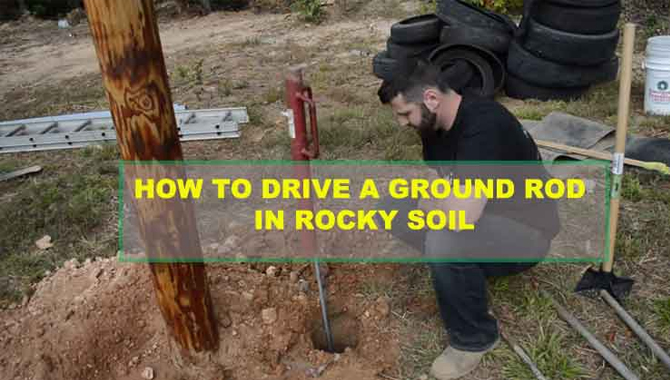
How To Drive A Ground Rod in Rocky Soil- A Beginner’s Handbook
Estimated Cost: $100-150.
The time needed: 1 Hour
With a bit of planning, you can drive a grounding rod for an electrical panel within a short amount of time and minimize the threat level of electrical fire and injuries.
Learn about: Ridgid Granite Top Table Saw
Tools and Materials Needed:
- A ground rod
- Grounding wire
- A set of screwdrivers
- A drill
- A wire cutter
- A socket wrench
- A fork wrench
- A shovel
- A Hammer
- A flexible shaft
- A cutter
- A pencil
- A mallet
Steps On How To Drive A Ground Rod In Rocky Soil
Driving a ground rod is tricky as you need to know about the national standards and local building codes. You will also require the knowledge of conductor materials, various connections, and terminations. Driving a ground rod in rocky soil makes the situation a lot tricker.
You need to begin installation by finding an appropriate place to install these rods and then driving them into the rocky ground. To ensure that they are grounded properly, you need to check their connection to the electrical system.
It might seem like a lot of steps. But with the guidance of this article and a proper plan, you can install a grounding rod to a new electrical system or an existing one quite easily.
Know about: How To Date Craftsman Tools?
Step 1 – Finding a Suitable Location
To begin the installation, you need to find an appropriate location to install your ground rods. Grounding rods are placed close to the main electrical panel so that they can be tied to the electrical panel to create a ground connection.
To drive the ground rods properly, they need to be located where you can hammer them a minimum of around 8 ft (2.4 m) into the ground. There are few things you should keep in mind while choosing a suitable location.
Learn about: How to Date A Columbian Vise?
Placing the Grounding Rod Close to Your Main Electrical Panel
The location can be nearby or far from your building, but make sure to choose a place that you can reach easily and has space to use all the tools that you will need to drive the ground rod down into the ground.
But keep in mind that the ground rod should not be too close to your building foundation. A minimum of 2 ft (0.61 m) from your building should be enough to prevent it from interfering with the building foundation.
Planning an Appropriate Route for a Wire Called Grounding Electrode Conductor
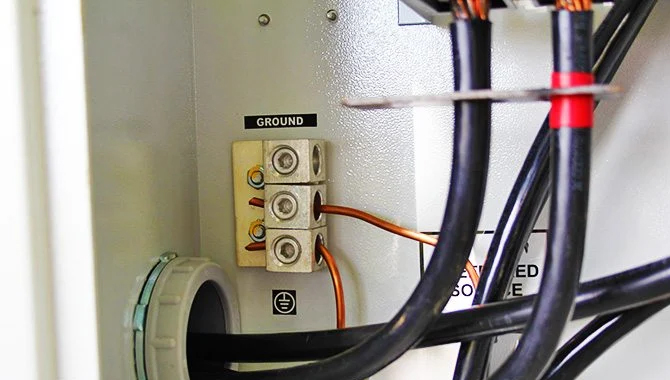
If you have finished driving the rode into the ground, you will need to connect it to the main electrical panel. You will require a grounding electrode conductor for this.
While picking a location for your ground rod, it is essential to keep in mind the route of this wire. The grounding cable needs to easily reach the electrical panel from the location of the grounding rod. The spot for the grounding rod should be nearby from where you have drilled a hole in the building to get the conductor inside.
Avoiding Heavily Compacted Paces
Avoid locations that are full of rocks. Driving the rod 8 feet down into the ground will be tough if that area has excessive rocks. If you are working with rocky soil, it might not be possible to avoid rocks, but you need to choose a spot with competitively fewer rocks.
Locating Wires or Pipes in the Route of The Rods
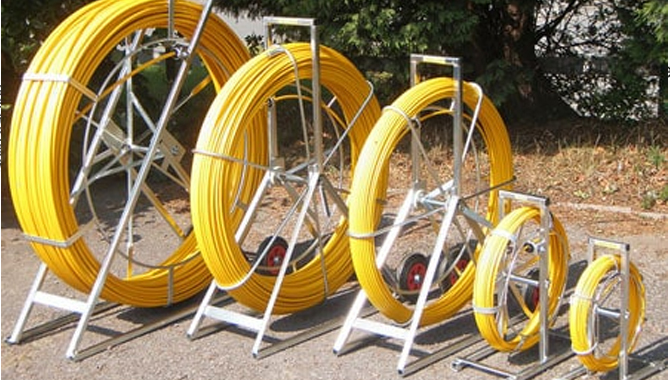
While installing the ground rock, you need to be sure that you are not damaging anything in the ground. Many countries offer hotlines where you can call them to locate your utilities free of charge. But if your country does not have a locating hotline, you can always call the utility companies of your area and ask them to locate any underground wires or pipes.
Step 2 – Driving the Grounding Rod Into The Ground
Purchasing an Approved Rod
Grounding rods are usually made of copper or copper-coated steel for their characteristic durability and a decent conductor. They are around ½” in diameter and 8-10 ft. in length. It is better to purchase a rod that is made for grounding. Buying an approved rod by a certification group will certify that the rod has the correct size and length.
If the ground rod has a resistance of around twenty-five ohms or less, it will be used as the only grounding tool. But if the resistance is higher than twenty-five ohms, then you will need at least another addition rod.
How to know if a Rod is Approved?
An approved ground rod comes with a marking at the top. The mark is the confirmation of its legitimacy, and it allows the electrical inspector to know that you are using a listed ground rod.
Digging a Hole With a Shovel
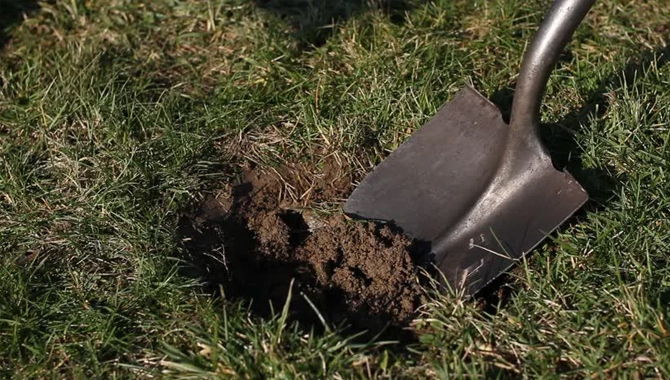
To get the top of a ground rod to a manageable level, you need to dig a hole of around 2 to 4 ft (0.61 to 1.22 m) deep into the ground.
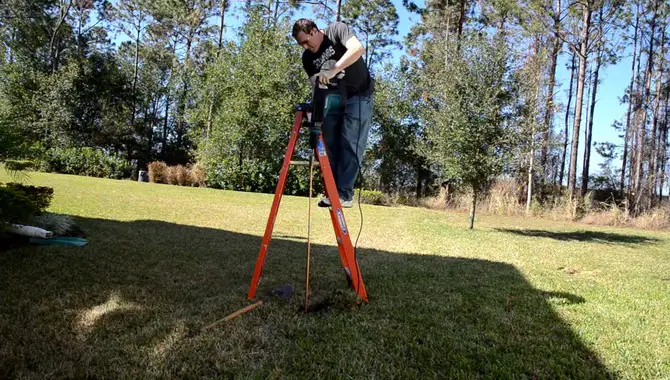
If you start installing without digging first, it will be hard to leverage the top of the rod. By digging a hole, you can easily start pounding the top of the ground rod. If you cannot dig a hole for whatever reason, you will require a ladder or a tool high enough to start hammering the top of the rod.
Driving The Ground Rod
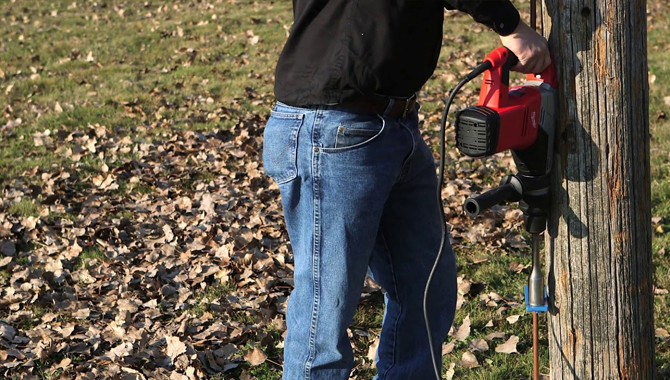
Use a hammer or a drill to drive the rod vertically deep into the ground. The rod needs to be down the ground. According to the national standards, the rod must be 8 ft (2.4 m) into the ground. Driving a rod into the rocky soil can be a tedious job, and it might take a long time; you take a break while doing it.
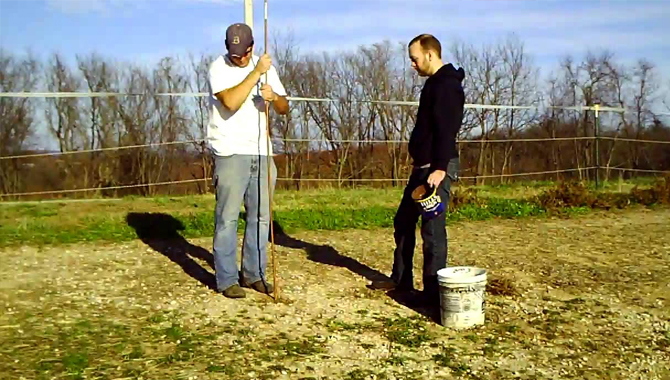
Driving a ground rod into the ground can take a long time and can be difficult work. If you can find someone to take turns driving the rod, it will make for a much easier job.
Step 3 – Connecting the Ground Rod
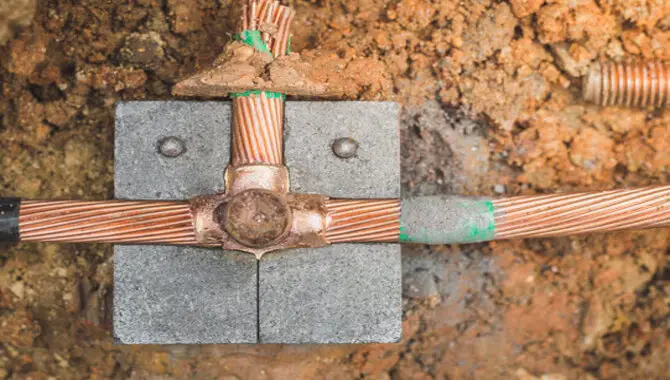
Connecting Between Grounding Electrode Conductor and Grounding Rod
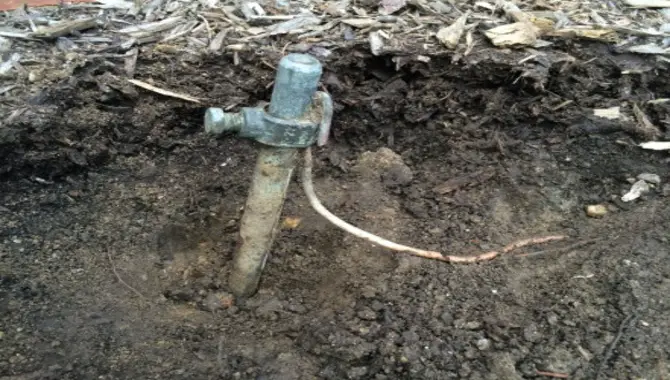
At first, you need to pull the conductor to the rod. After driving the ground rod, you need to connect it to the electrical panel of your building. Connect the electrode conductor with the grounding rod by pulling it on top of the rod.
Keep the wires a bit loose so that the connection is not too tight between them. Doing this will ensure that the conductor will not be dislodged from the rod if it gets pushed or hit. If the conductor comes with a sheath on, cut off the last 1-2 inches to expose the wire.
Clamping the Gound Conductor to the Rod
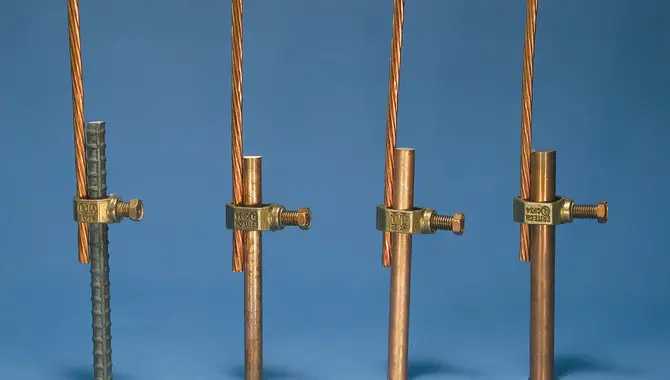
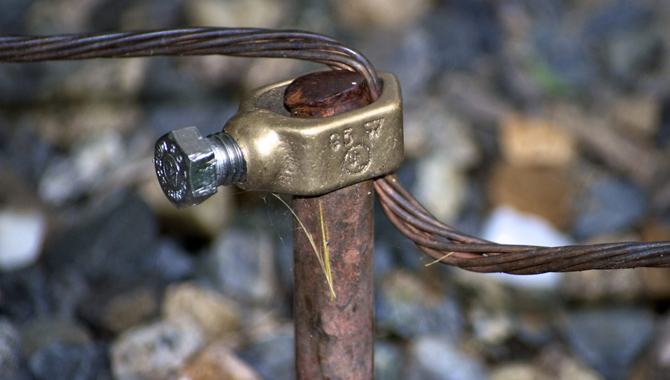
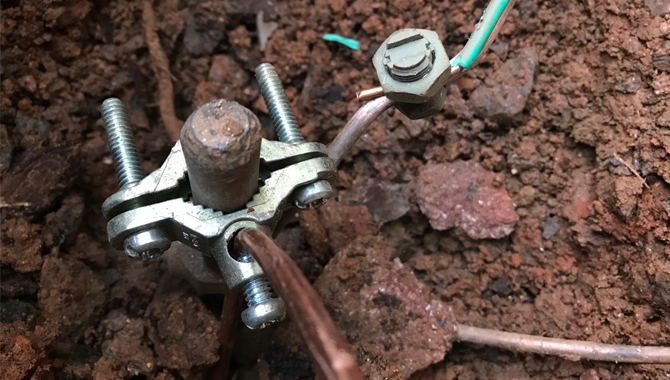
Clamps are used to connect the conductors to the ground. One clamp is enough. The rear end of the electrode conductor and the rear end of the ground rod need to be kept inside the clamp. To press them together, turn the screw on.
Connecting the Ground Conductor to a Ground Bus
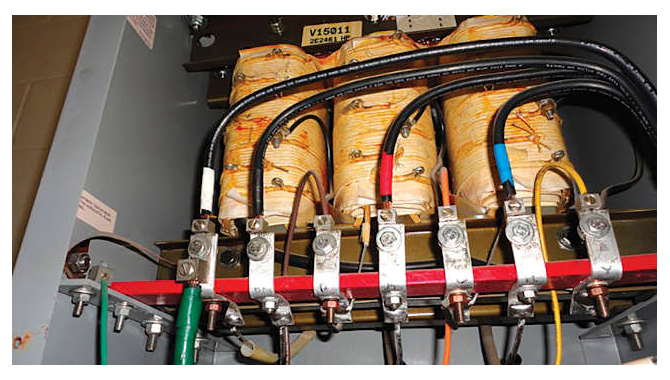
A ground bus is where all the wires and ground are kept together in an electrical panel. You can make the connection by sliding the end of the conductor through one of the holes in the ground bus. Keep tightening the screw until it can hold the wire tightly.
If your neutral wires are connected to neutral bus and ground wires are connected to a separate ground bus, then they are connected with the main bonding jumper. In that case, attach the conductor between any of these two buses.
While working with an electrical panel, always be safe first. Ensure that your tools, conductors, or fingers are not in contact with the bars of the electrical panel located behind the circuit breakers.
Ensure No Hurdles In The Way
Make sure there are no obstacles in the way of the grounding electrode wire. This includes trees, power lines, and any other wires in your vicinity. You don’t want anything obstructing or touching the grounding electrode wire, as this could create a dangerous electrical ground connection.
Pick The Approved Ground Rod
Once you have the grounding electrode set up and connected, it’s time to pick the approved ground rod. This is a metal or plastic rod that has been specifically designed for this purpose. You will need to ensure it is at least 3 feet long, ¾ inches in diameter, and covered with an insulating material like polyurethane foam or silicone sealer.
Dig A Hole For The Rod
Now it’s time to dig a hole for the ground rod. This should be done at a depth of minimum 1 foot and as deep as is required toyzak your home or office wiring. Make sure the ground rod is level before you begin digging.
Drive The Rod In The Hole
Once you have the ground rod located in the correct spot, drive it into the ground using a hammer and an iron dowel. Make sure to use plenty of sand or gravel around the circumference of the rod to help insulate it from corrosion. Once complete, cover the ground rod with soil or insulation as necessary.
Connecting The Rod
Now that the ground rod is in place, it’s time to connect the grounding electrode wire to it. This can be done using a variety of methods, but most often involves drilling a hole and inserting a bolt or connector. Make sure all connections are tight and weatherproofed before continuing.
Final Words
Grounding electrical systems are necessary, and you should not neglect them. They provide uncontrolled electricity away to the ground without going through people or our properties.
It prevents fires and saves us from electrical injuries. According to the National Electrical Code, you will need at least one grounding rod in your buildings.
Now that you know the necessity of grounding rods, should the rocky soils keep you from driving the grounding rods?
It should not, and it will not. In this how to drive a ground rod in rocky soil guideline article, we have carefully enlisted all the essential steps to drive a grounding rod to the rocky soils. Do not let the rocky soils come in between the safety and protection of you and your family.
FAQs:
1.Are Ground Rods Necessary?
Ans. Yes, ground rods ensure maximum safety and protection to your electrical system from default currents and lightning incidents.
Ground rods not only keep the building or the electrical equipment from damage, but they also keep us safe. That is why at least one ground rod is required in your area.
2.Do Grounding Rods Have a Minimum Depth?
Ans. Grounding rods need to be at least 8 ft (2.4 m) driven into the ground. You cannot drive the rods properly if it does not have a minimum depth of 8ft.
3.How Many Ground Rods Do I Need?
Ans. You will need 2 ground rods kept 6ft apart from each other. If you have a rod with less than 25 ohms of resistance, you will require only 1 rod.
4.Where do you connect a ground rod wire?
Ans. A ground rod or an electrode ground conductor is an 8ft copper rod that is driven into the soil and connected with a neutral side of the main electrical panel of the building with a wire.
5.How To Drive A Ground Rod In Rocky Soil?
Ans. There are a few different ways that you can drive a ground rod in rocky soil. If you have a hydraulic press, you can use it to drive the ground rod in. You can also use a screwdriver or putty knife to make a hole in the ground and then drive the ground rod in. Another option is to use a rototiller to make a trench and then drive the ground rod in.

I am passionate about home engineering. I specialize in designing, installing, and maintaining heating, ventilation, and air conditioning systems. My goal is to help people stay comfortable in their homes all year long.


