Mr. Robert was having a problem with the opening of his garage door. The lumber of his garage door is still not added to the jambs. Thus, Robert needs to follow the rough opening process, which makes him confused.
You may face the same problem as Mr. Robert. Determine the frame size of the garage door is an essential thing for the rough opening. This is the main reason people always get confused thinking about how to finish a garage door opening. A perfect measurement skill is a must to complete the task correctly. However, read this content till the end; we hope you will get your possible solution.
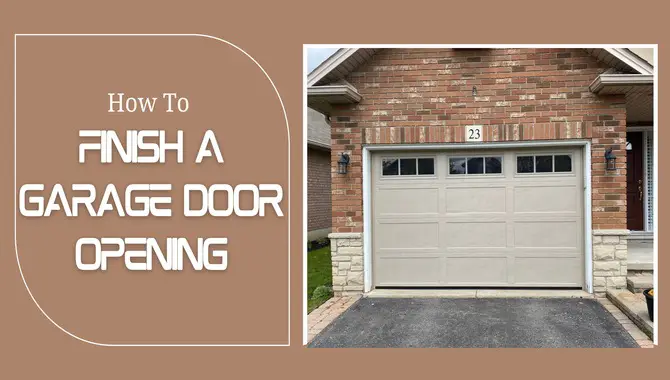
How To Finish A Garage Door Opening- A Complete Guide
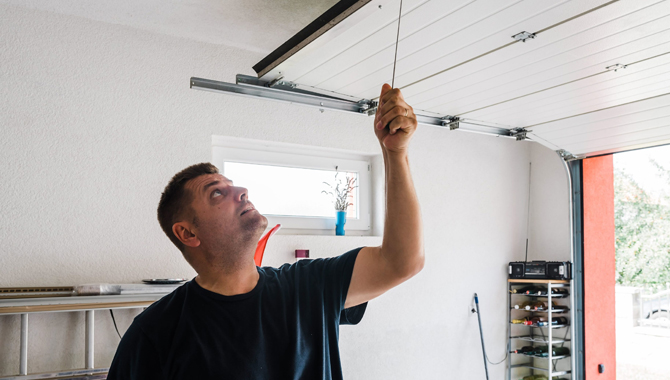
You have to follow some steps to finish the garage door opening. In the full working time, you have to be focused. Focused work will make it perfect. The main thing you have to focus on the size of the garage door and the frame.
Before starting works, you have to calculate the possible cost. It would ensure you finish the work properly. You will be able to manage the initial fund before starting. Also, you need to arrange all the necessary things.
Estimated Cost
When you are going to open a new garage door, the cost can vary from $300 to $1500. The cost usually varies as the variation of the size of your garage door. Cost also depends on the type of door. On the other hand, an average garage entryway opening can require an expense between $500 to $800.
Time Needed
Though the working hour depends on your expertise and also the number of people working. However, finishing a garage door can take three to four hours for an expert hand. If you are doing it with your inexpert hands, it may take an entire day.
Necessary Things
Before starting the work, you have to gather the necessaries. You will need:
Tools: A tape measure, a bandsaw
Materials: Lumber (2/6 inches), PVC garage door jambs, framing nails
Learn about: How To Finish OSB Walls
Steps To Finish Garage Door Opening
Step-1: Measure The Frame
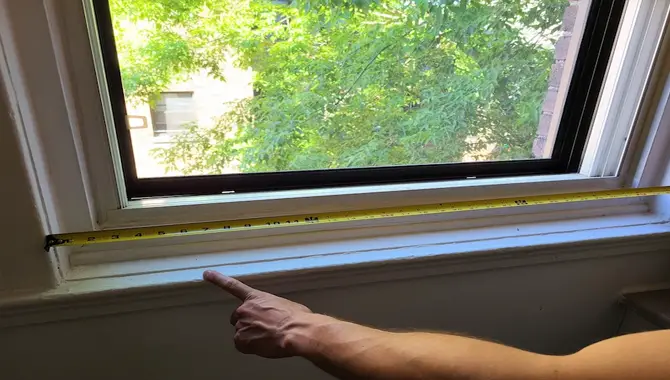
The first thing you have to do is select the size of the rough opening. It ought to be bigger than the size of the edge.
Learn about: How To Cut abs Plastic?
In that case, you have to pick 3 inches wider rough opening. Besides, the height of the rough opening header has to be 1.5 inches longer than the height of the garage entryway.
Step-2: Installing The Lumber
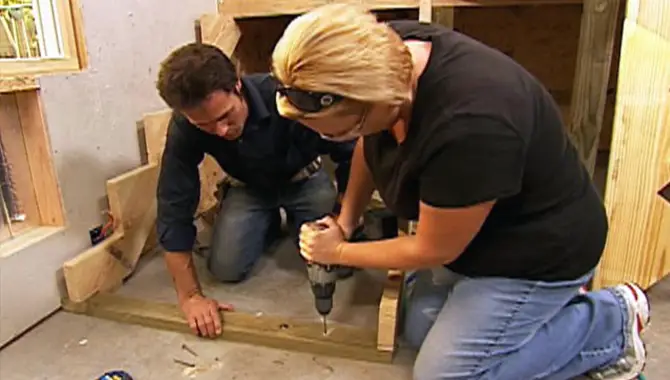
After you have finished measuring correctly, now turn to the installation. In this step, you will need the framing nails and the PVC lumber. There are two sides of the door, and you have to install a side jamb and head jamb.
Know about: How to Clean Rusty Sockets?
However, the head jamb is to be installed first. For this task, follow the instructions below:
- Pick a 9 inches long header than the horizontal length of the door. Thus, it will fit the door perfectly.
- Once you measure the size, cut the PVC lumber or the jamb accordingly.
- Pick the framing nails and use them to attach the header.
Here, the thickness of the lumber should cover the area between the rough opening and the height of the garage door.
Step-3: Installation Of Goal Post
At this point, you have to measure the height of the header from top to bottom. You have to attach two frames referred to as “goal post” on the wall according to this measurement. Thus, taking a perfect measurement of the ceiling height is essential. Now pick the framing nails again to attach the goalposts. You have to attach it to the inner face of the garage wall.
Step-4: Installation Of The Side Jambs
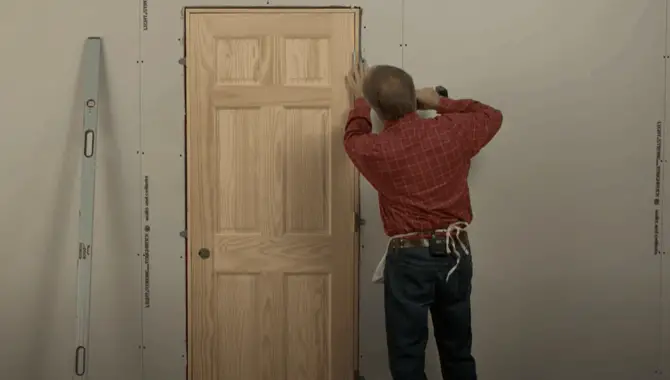
Now, you need to cut the lumber into two pieces, the same as the new opening height. The height of these jambs must be one-fourth of an inch less than the garage door. This is because these jambs will hit the header jamb you have already installed. You have to use the framing nails again for attaching. Once you are done with this, the door opening will get its perfect dimension.
Step-5: Centre Bracket Framing
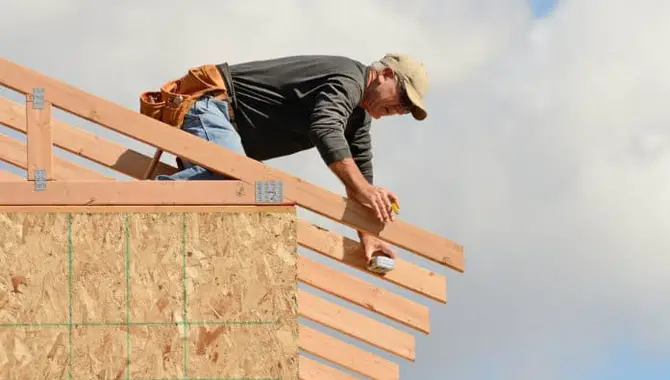
Here you need to measure the space between the top headers at the ceiling. Now, you have to center it above a header and so cut a lumber piece the same as the measured space. This piece of framing is vital to attach the bracket framing to the spring system of the garage door.
All Done!
Did you just finish step-5? Then your garage door is ready. All these steps described here are the process following which you can finish a garage door opening.
Tips For Framing
Framing is the most crucial part of the whole working process. You have to be careful while framing the garage door. Here are some tips for you:
- While installing the head and side jamb, you must wait will the wall is in the right place for it.
- You can leave the side jamb in the one-forth inch above the floor. It will help to prevent dampness and rot.
- It would help if you chose the header height according to the thickness of your material.
- Treated lumber can create rust on steel and make holes in aluminum. So, never use such lumber in your garage door.
- While installing the side jambs, we will recommend using a double-sided jamb. It will help to support the weight perfectly. I will assist with support the weight impeccably.
Precautions
When you are going to do the task all by yourself, you must be focused. You may not find how to finish a garage door opening a tough task. Still, being careful is the precondition of such work. Otherwise, you may get injured. Besides, you must be familiar with the materials you have to use in this work. It is not a good decision to start working with something without knowing its operation.
Common Issues
There are many common issues that can occur when trying to finish garage door opening, and the following tips will help you solve them:
- Check your cables – Make sure all of your cables are plugged in and properly connected. This includes the power cable, the remote control cable, and the extension cable if necessary.
- Verify your opener’s settings – Your opener’s settings may be incorrect, and this can cause problems with garage door opening. Make sure you have entered your code correctly, adjusted the speed or direction of the motor, and checked for obstructions in the path of the door.
- Clear any obstructions – If there are any large pieces of furniture or debris in the way of the garage door, remove them before trying to finish garage door opening. This will help ensure that your opener can move freely and open properly.
- Check your springs – If you notice any signs of wear or tear on your garage door springs, it is time to replace them. This will ensure that your opener can move smoothly and open and close doors without issue.
Hopefully these tips will help you finish garage door opening without any problems!
Final Words
We have to try to give a solution how to finish a garage door opener for Mr. Robert and to you. We hope you find the content helpful. Now, it’s time to arrange the fund and start working. However, we will suggest you not do it by yourself. It may save money, but when you do the finishing work by an expert, it will be a better thing for your garage.
FAQ
1. What Should Be The Rough Opening For The Garage Door?
Ans: It really depends on the garage door opener you’re using and the type of door you have. However, a good rule of thumb is to have at least 50 pounds of force to open the door from the outside.
This means that if you have a standard garage door opener, you will need to pull on the chain or button to open the door – make sure it’s fully engaged before trying to open it from the inside. If you’re using a remote garage door opener, you will need to press and hold down the button or keypad until it starts beeping – this will let you know it’s ready for use. Once inside, release the button or keypad.
2. How Do You Frame A Garage Door Header?
Ans: A garage door header is a steel or aluminum plate that wraps around the top of a garage door, just below the roof. It’s typically white or light-colored, and often has a nameplate or other decorative elements. Headers are typically installed by a contractor, and may be custom-made to fit the exact dimensions of your garage door.
3. How Do You Trim The Inside Of A Garage Door?
Ans: Start by cleaning the garage door with a degreaser to remove any oils or residues that may cause the shears to slip. Once the door is free of contaminants, use the cutting shears to make straight cuts along the top and bottom of the door. It’s important to make sure that your cuts are perpendicular to the grain of the wood, otherwise the door will not close properly.
Take care not to damage any part of the door that may need to be replaced in the future. Next, use a ruler or measuring tape to measure and mark off where you want to cut. Make your cuts using the shears, and then carefully remove any excess material with a utility knife. Finally, apply a coat of sealant to protect your new trim from water and dirt.
4. Can I Paint My Clopay Garage Door?
Ans: Yes, you can paint your Clopay garage door! However, before you start painting, it is important to first consult your Clopay garage door’s owner’s manual to make sure that the paint that you choose is compatible with the door.
5. How Do I Install My Lockset?
Ans: There are a few ways to install your lockset. You can either use the included screws or bolts, or you can use the mounting brackets that are included. Here is a guide on how to install your lockset:
- Remove the old lockset and security system by unscrewing the screws or bolts that hold it in place.
- Remove the mounting brackets from the door and replace them with the new lockset.
- Screw or bolt the new locksets into place using the included screws or bolts.

I am passionate about home engineering. I specialize in designing, installing, and maintaining heating, ventilation, and air conditioning systems. My goal is to help people stay comfortable in their homes all year long.


