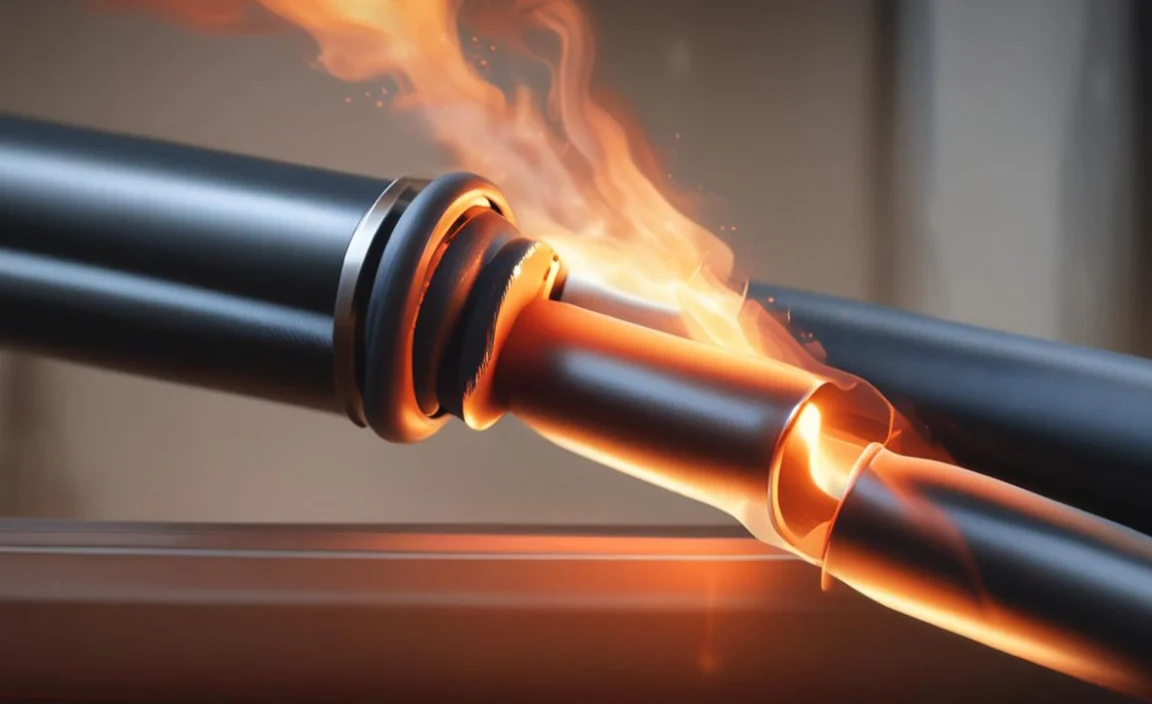
Flaring fuel filter lines is a crucial skill for any automotive or mechanical enthusiast. It is often necessary when replacing worn-out or damaged fuel lines with new rubber fuel hoses.
Flaring creates a secure and leak-proof connection between the metal fuel line and the rubber hose, ensuring the safe and efficient flow of fuel to the engine. However, many people shy away from this task, considering it to be a complicated and daunting process.
In reality, flaring fuel lines is a relatively straightforward procedure that can be easily mastered with the right tools and techniques. We will guide you through the step-by-step process of how to flare fuel line for rubber hose. So, let’s dive in and learn the art of flaring fuel lines for rubber hoses.
Importance Of Properly Flaring Fuel Lines

Properly flaring fuel lines are of utmost importance in any industrial or automotive setting. Flaring refers to the process of creating a secure and leak-proof connection between the fuel line and the fitting. This technique ensures that the fuel flow remains consistent and uninterrupted, preventing potentially hazardous situations such as leaks, fires, or explosions.
A poorly flared connection can lead to fuel leakage, which not only results in the wastage of valuable resources but also poses a serious risk to the safety of personnel and equipment. By executing a proper flare, the fuel line is securely fastened to the fitting, minimizing the chances of leakage and subsequent accidents.
Tools
- Flaring tool kit
- A cone tool
- Clamps
- Line cutter
Materials
- Rubber Line
- Hose clip
- Tool kit materials
How To Flare Fuel Line For Rubber Hose – Complete Guide
When working with fuel lines and rubber hoses, it is crucial to have a clear understanding of how to flare the fuel line properly. Flaring a fuel line is the process of creating a secure connection between the fuel line and the rubber hose, ensuring that there are no leaks or potential hazards.
This skill is indispensable for anyone involved in the automotive industry, particularly those working with fuel systems. Below, we provide in-detailed guidelines on how to flare fuel line for rubber hose.
Estimated Cost
If you do not usually practice this type of work, you may need a budget of around $80 – $130. Flaring fuel lines for rubber hoses is an important task for any DIY mechanic. While the process may seem daunting, it is simple and can be done with just a few tools. The estimated cost of flaring fuel lines will depend on your chosen flare tool.
A basic flaring tool can cost around $20-30, while a more advanced tool may cost upwards of $100. In addition to the flare tool, you will also need a tubing cutter and a deburring tool. These tools are inexpensive and can be found at most hardware or automotive stores.
Time Needed
This process may take around 2 hours to 10 hours, depending on your servicing expertise. Varying your mechanical skills is also a part. So make sure you have enough time on your hands. Flaring a fuel line for a rubber hose can be daunting, but it can be done easily and efficiently with the right tools and techniques.
The time needed to complete the job will depend on your experience level and the specific tools you are using. Flaring a fuel line properly can generally take 30 minutes to an hour.
Steps On Flaring A Fuel Line For A Rubber Hose
Once you acquire all the materials and cheap flare tools, it is time to flare the fuel line for your rubber hose. Flexible rubber hoses are versatile and reliable for many industrial and commercial applications.
Flaring a fuel line for a rubber hose is an important skill for any DIY mechanic or car enthusiast. It’s important to note that improper flaring can result in leaks and other issues. So take your time and follow these steps carefully for the best results. Here are the steps to follow when flaring a fuel line:
The Setup
To start with, we’ll set up the environment for it. Put all the tools and materials in a space or place where you are about to do the work. When flaring a fuel line for a rubber hose, the setup is crucial for ensuring a proper flare.
Begin by choosing the appropriate flaring tool and setting it up correctly. This will typically involve adjusting the size of the tool to match the diameter of your fuel line and positioning the tool at the correct angle.
It’s also important to properly prepare your fuel line by cutting it to the correct length and removing any burrs or debris from the end. Once you have everything set up, take your time and make sure that you apply even pressure when flaring the line. The environment needs to be clean and must have free space.
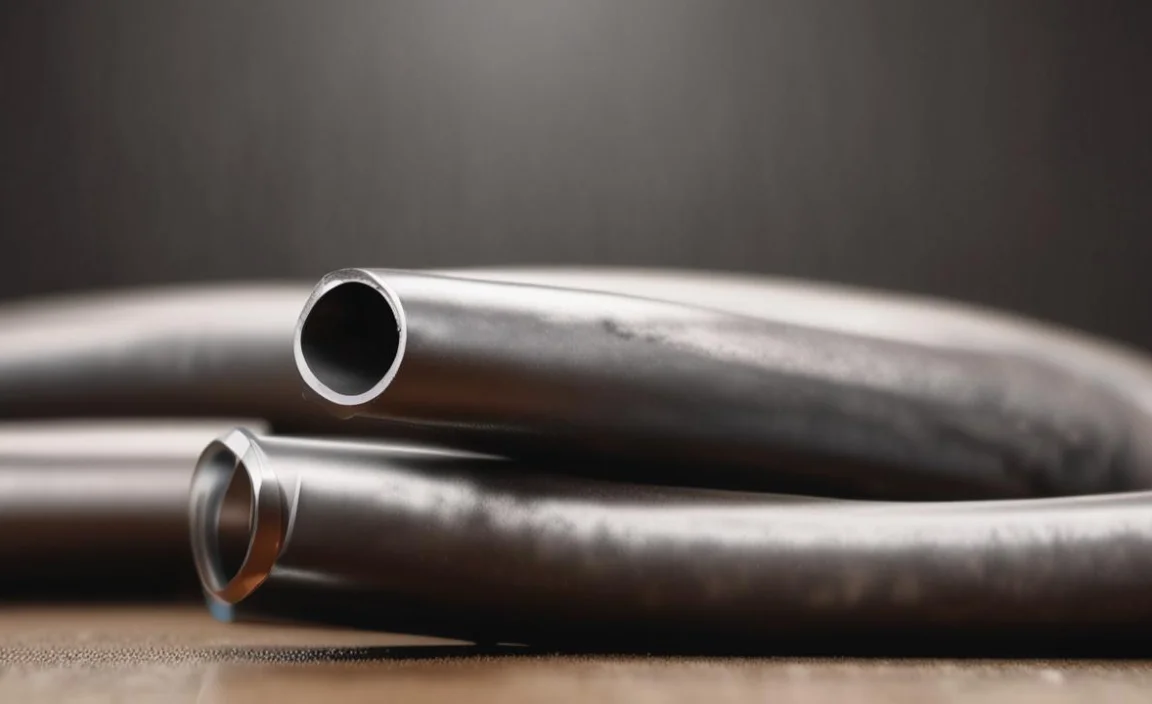
Cut The Rubber Line
Once you have carefully set up all the necessary equipment, it is imperative to proceed with the next step in a meticulous manner. Begin by securely grasping the rubber line, ensuring a firm and steady grip. It is crucial to exercise caution and precision throughout this process.
Using a suitable cutter, carefully position the blade at the desired cutting point along the rubber line. Execute the cut with a steady hand, ensuring that the line is cleanly severed according to the required length.
A precise cut is essential to ensure the optimal performance and functionality of the rubber line in its intended application. Furthermore, it is essential to emphasize the importance of accurately measuring the length of the rubber line before cutting.
Use Deburring Tool
When flaring a fuel line for a rubber hose, it is important to use a deburring tool. This will help to remove any rough or sharp edges from the end of the fuel line, which can cause damage to the rubber hose or prevent it from fitting properly.
To use a deburring tool, insert it into the end of the fuel pump line and twist it back and forth several times. This will smooth out any rough edges and create a clean surface for the rubber hose to attach to.
Put medium pressure on the deburring tool and spin it repeatedly on the tip of the rubber line. Keep the rotation back and forth. After that, finish up the line with a file and make it face downwards. It is necessary to remove any filings through this process.
Clean The Clamp
After the deburring tool, now is the time to use the clamp. To use a clamp, make sure it is clean enough. It is important to ensure that the clamp holding the hose in place is clean and free from debris or rust.
This will help ensure a secure connection between the fuel line and hose, preventing leaks or other safety issues. To clean the clamp, use a wire brush or sandpaper to remove any buildup or corrosion. Take a neat towel and clean the clamp up well. Jaws, surfaces, everything needs to be clean. This will tighten the clamp for better results.
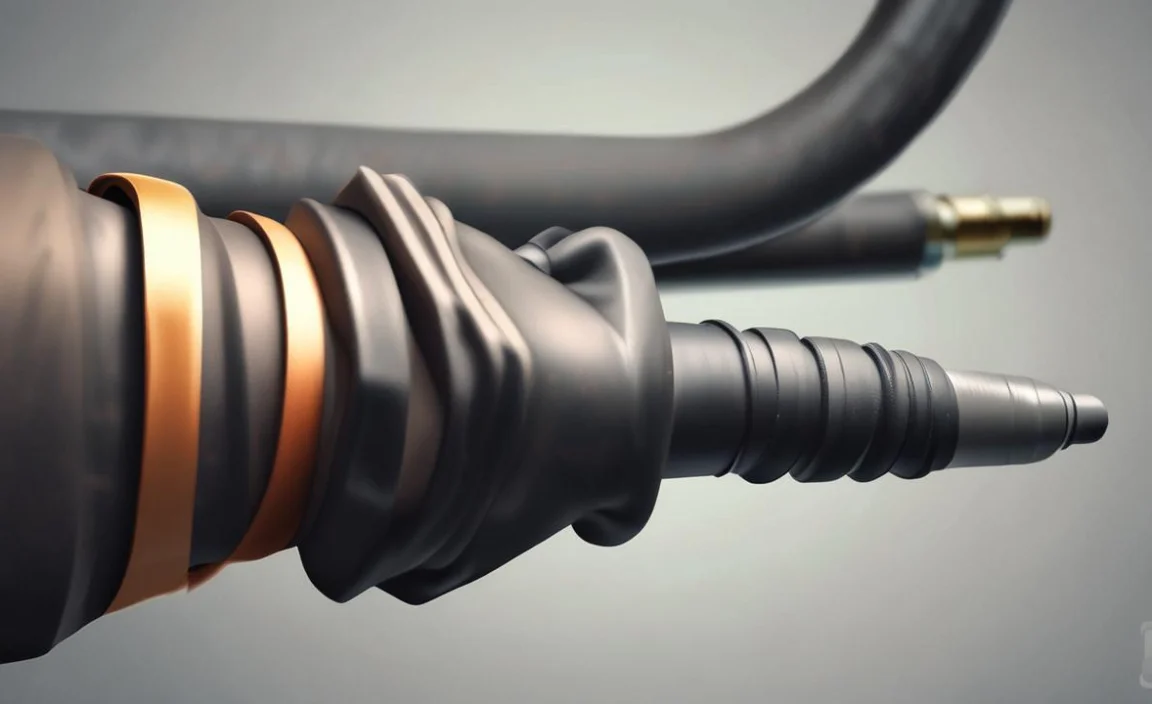
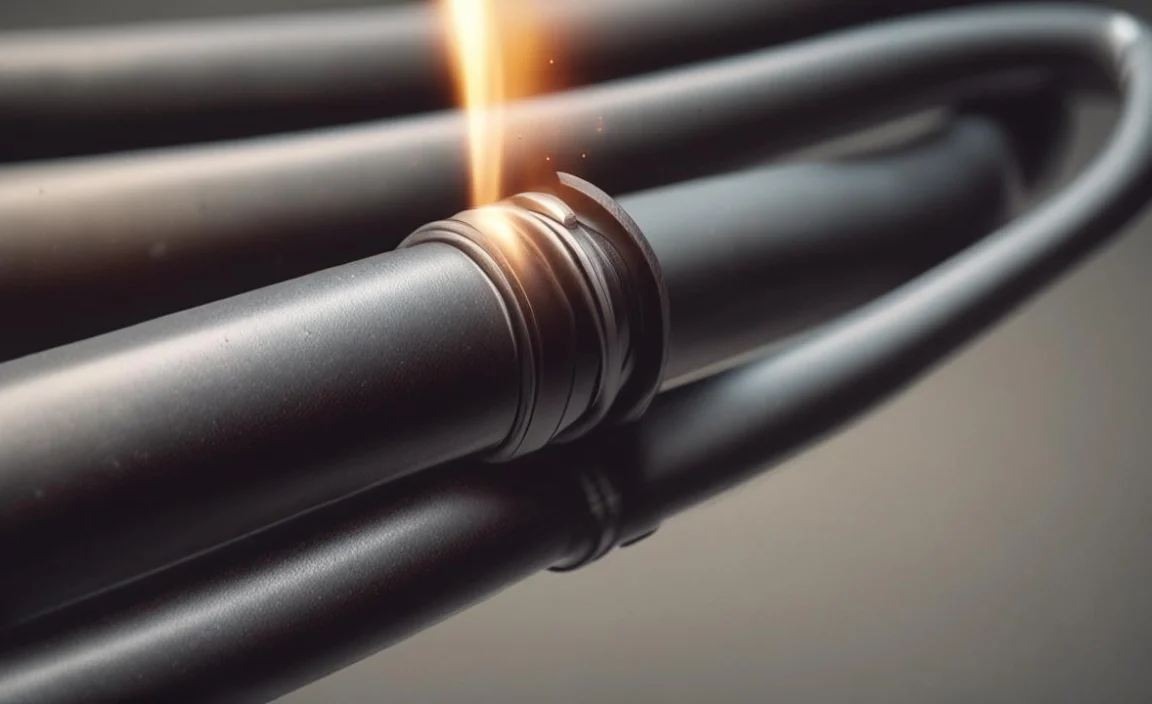
Fitting On The Clamp
Fitting on the clamp is a fundamental step in the assembly of fuel systems, as it provides the necessary grip and stability to prevent leaks or disconnections. Securely fastening the clamp around the fuel line and rubber hose establishes a tight seal and minimizes the risk of fuel leakage.
Flaring the fuel line is equally important in this process. Flaring involves shaping the end of the fuel line to create a smooth and rounded surface that seamlessly connects with the rubber hose. This technique enhances the durability and integrity of the connection, ensuring a tight fit that can withstand the pressures and vibrations associated with fuel transportation.
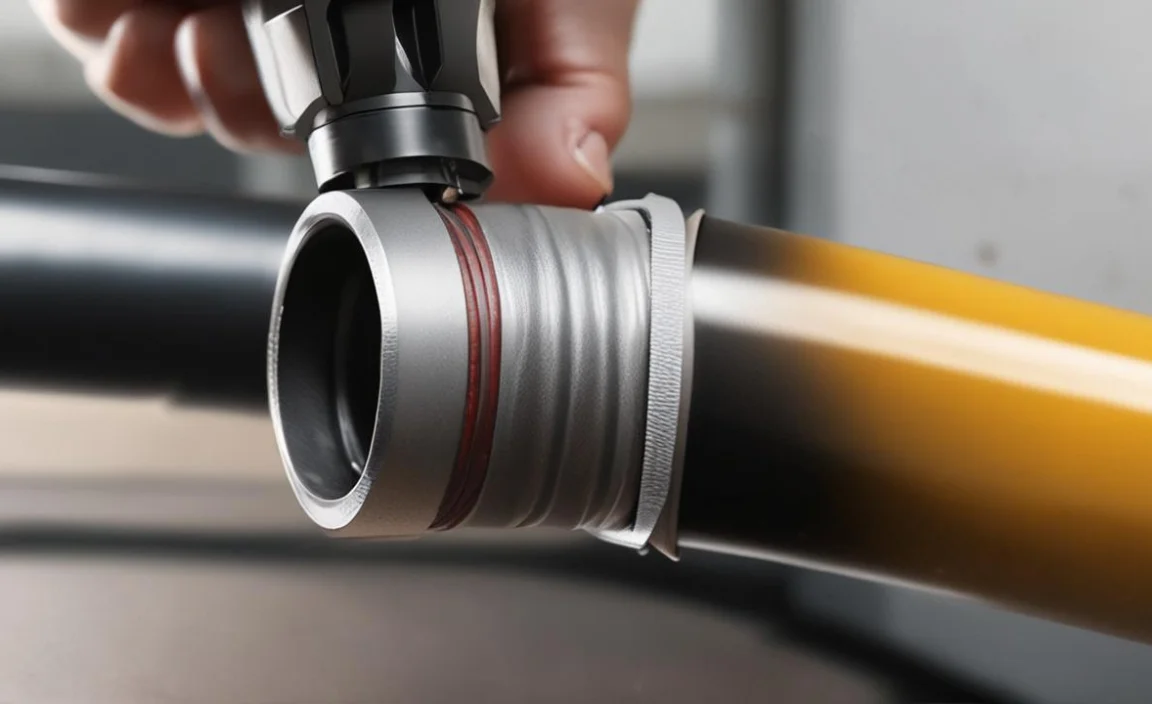
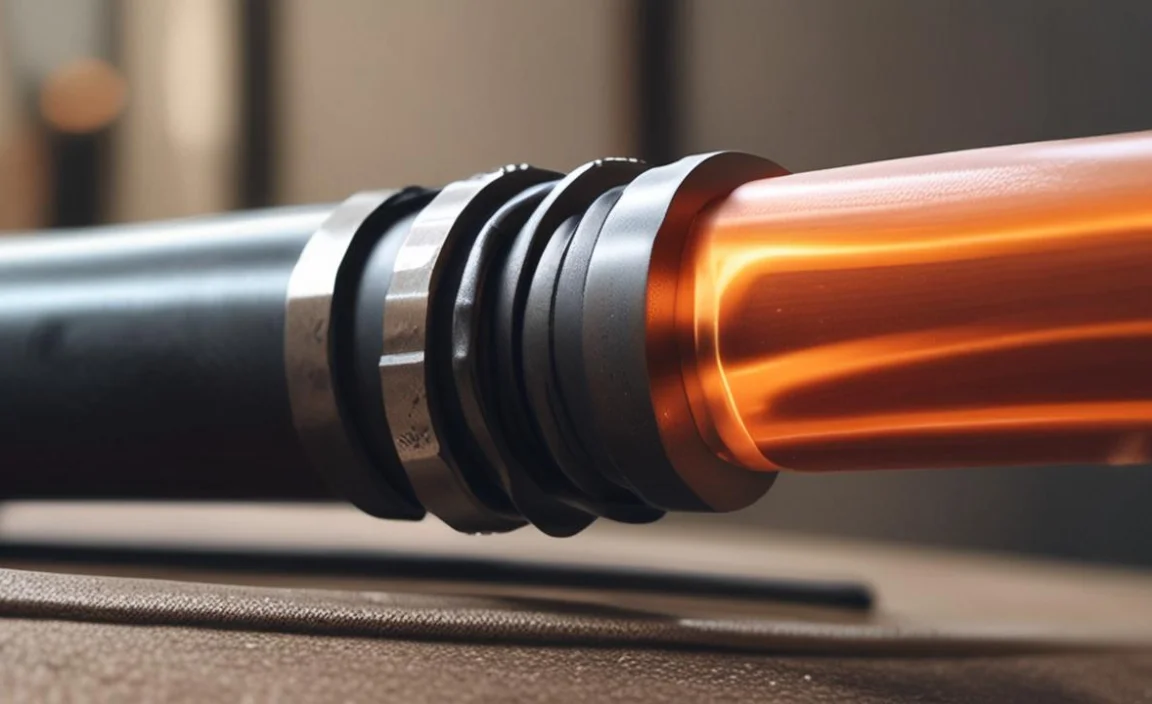
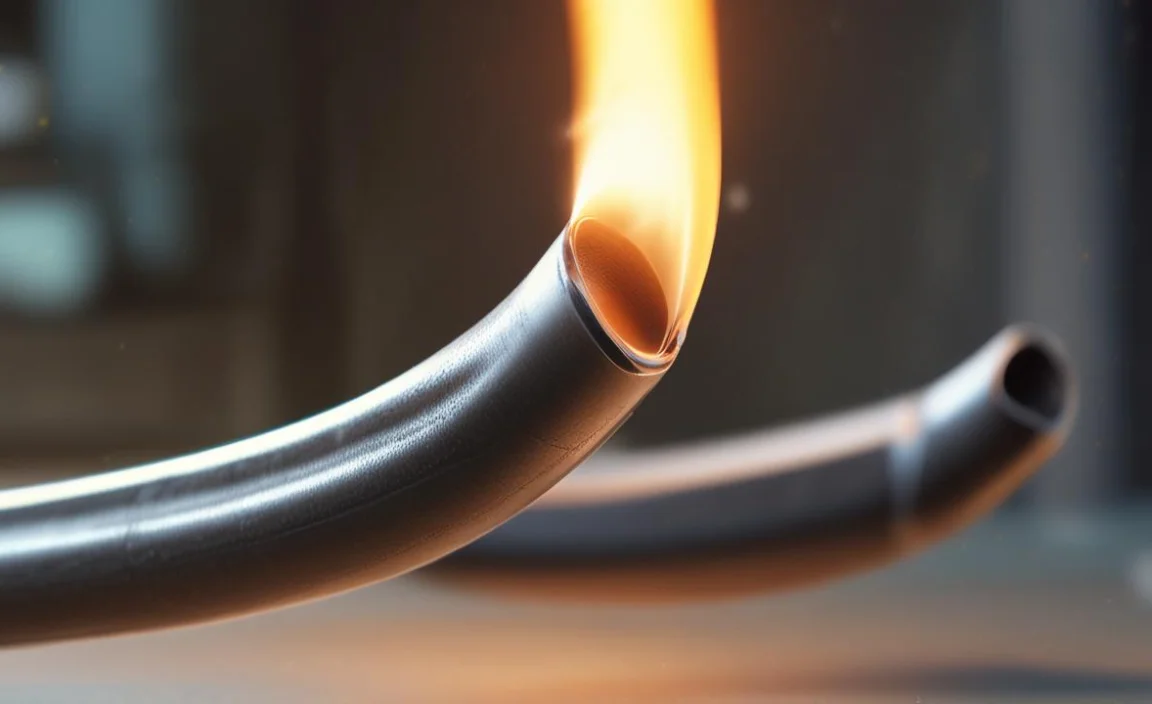
The Flaring Process
Flaring is a method handy to create a flare at the end of the fuel line, allowing it to be securely attached to the hose. This process is commonly handy in various industries, including automotive, aerospace, and manufacturing.
Before beginning the flaring process, the fuel line must be cut to the desired length, ensuring a clean and smooth cut. Once the line is cut, it is essential to remove any burrs or rough edges using a chamfer tool or sandpaper. This step is crucial as it prevents any damage to the rubber hose during the connection process.
Final Touch

After you tighten the clamp, cut the line. Put oil on the end of the dye. Now, use the cone tool and push the line to form it. The cone tool will sit on the backside of the dye. Tighten the cone tool until it stops. Flaring the fuel line for a rubber hose is a critical step in any fuel delivery system.
By following the proper procedures and using the appropriate tools, one can ensure a secure and efficient connection. Taking the time to perform this final touch will not only enhance the performance of the system but also enhance safety for all involved.
Testing The Connection For Leaks And Stability

Any fuel system, whether it is in an industrial setting or a residential one, must undergo rigorous testing to ensure that it is free from any potential leaks that could lead to accidents or disruptions in operation.
One crucial aspect of this testing process involves the proper flaring of the fuel line for rubber hose connections. Testing the connection for leaks and stability is a vital aspect of maintaining the safety and reliability of any fuel system.
Properly flaring fuel lines for rubber hose connections play a crucial role in achieving a secure and leak-free connection, ultimately enhancing the overall stability of the fuel system. Following industry best practices and guidelines is essential to ensure the effectiveness of this process.
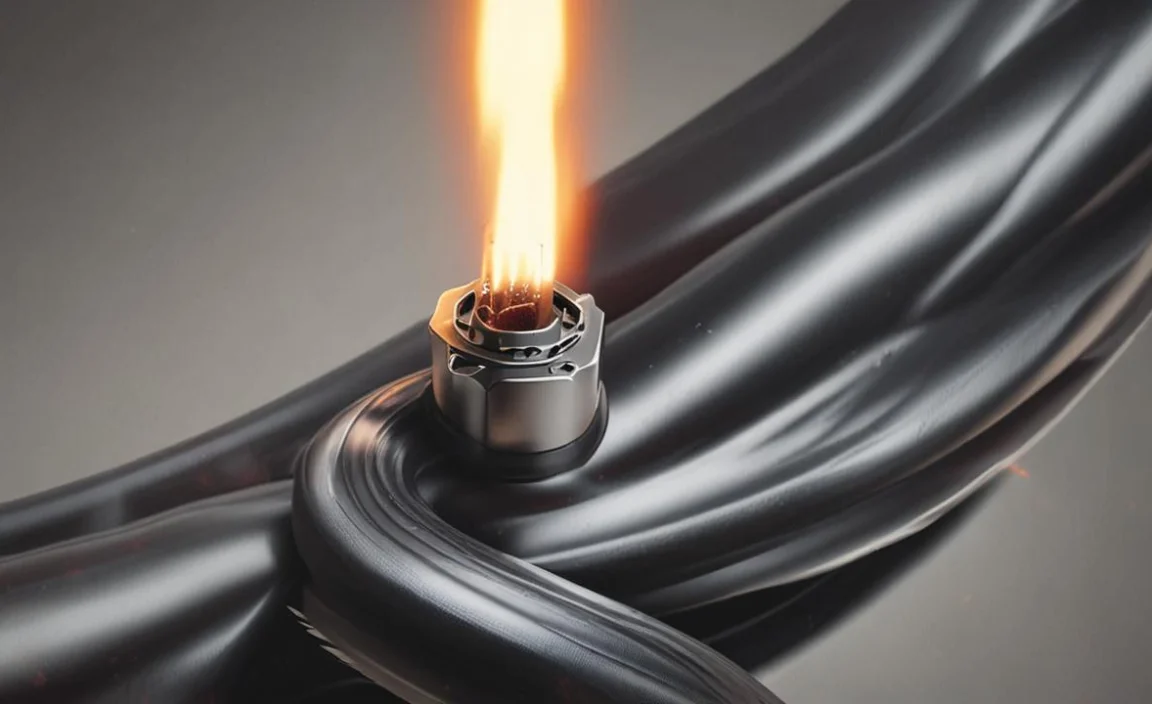
Safety Precautions To Take During The Flaring Process
Understanding and implementing safety precautions during the flaring process is of utmost importance in ensuring the well-being of both employees and the surrounding environment. Flaring is an essential process in the oil and gas industry, handy to burn off excess gases that cannot be captured or processed. However, the potential risks associated with flaring cannot be overlooked.
- Always wear appropriate personal protective equipment (PPE) such as fire-resistant clothing, safety goggles, and gloves.
- Ensure proper ventilation in the flaring area to prevent the accumulation of gas and potential explosion risks.
- Keep a safe distance from the flaring equipment and follow all designated safety zones and barriers.
- Avoid smoking or using open flames in the vicinity of the flaring process.
- Follow all operating procedures and guidelines provided by the company or facility.
- Be aware of emergency shutdown procedures and know how to activate them if necessary.
- Regularly inspect and maintain all flaring equipment to ensure it is in proper working condition.
- Stay alert and be cautious of potential hazards such as leaks, spills, or sudden changes in pressure or temperature.
- Be familiar with emergency evacuation routes and assembly points in case of an emergency.
- Report any safety concerns or incidents to the appropriate personnel immediately.
Conclusion
Flaring a fuel line for a rubber hose is a necessary and important step in ensuring safe and efficient fuel delivery in your vehicle. By following the proper techniques and using the right tools, you can achieve a professional and secure flare that will protect your fuel system from leaks and potential hazards.
Whether you are a DIY enthusiast or a professional mechanic, mastering the skill of flaring fuel lines is an essential aspect of maintaining your vehicle’s performance. With practice and attention to detail, you can confidently complete this task and keep your vehicle running smoothly.
By following the steps on how to flare fuel line for rubber hose, you can learn how to properly flare a fuel line and ensure a secure connection that will prevent leaks and maintain the integrity of your fuel system.
