Want a garden bursting with life? It all starts with healthy soil. And the secret ingredient? Compost! Don’t worry if you’re new to this. We’ll walk through why compost is a garden superhero and how it makes your plants happier and your soil richer. Let’s dig in and discover what makes garden compost benefits so amazing for lush growth!
What is Garden Compost, Anyway?
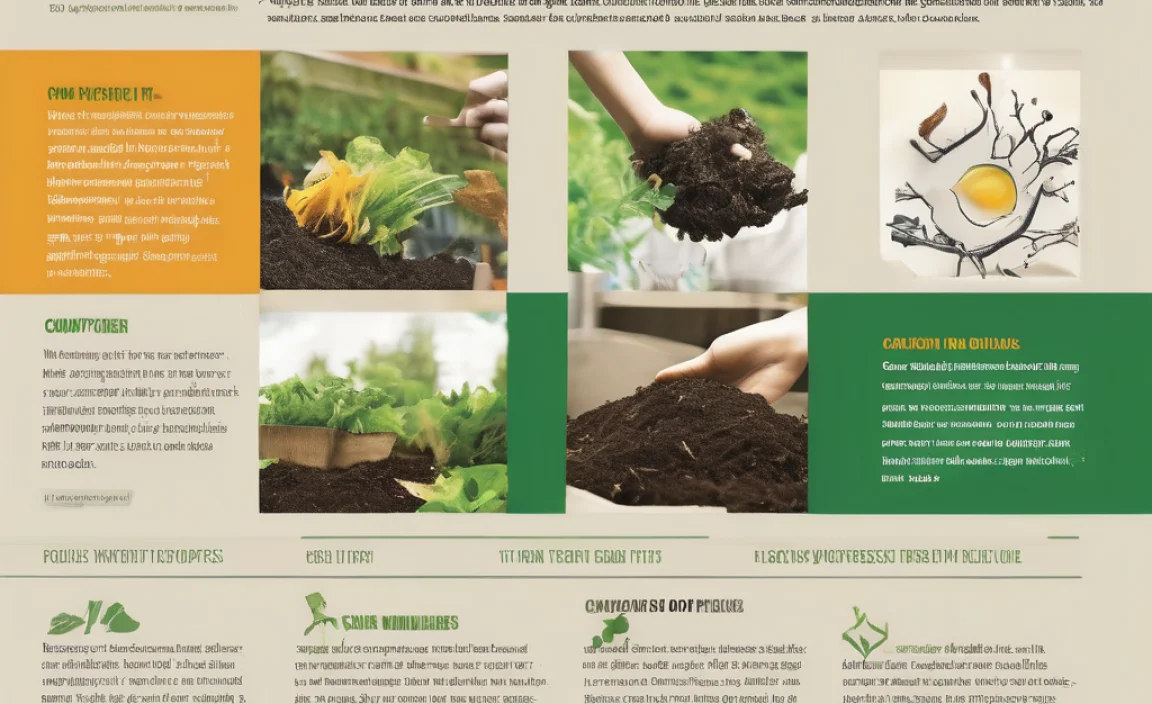
Think of compost as “black gold” for your garden. It’s not just dirt; it’s decomposed organic matter. This includes things like fruit and vegetable scraps, coffee grounds, eggshells, grass clippings, and fallen leaves. When these things break down naturally, they create a nutrient-rich, dark, crumbly material.
This magical material is what we call compost. It’s a fantastic way to recycle kitchen and yard waste. Instead of throwing them away, you’re turning them into something incredibly valuable for your plants. It’s a win-win for your garden and the environment!
Why is Garden Compost So Important? The Amazing Benefits
Using compost in your garden isn’t just a good idea; it’s essential for thriving plants. It boosts soil health in so many ways, leading to bigger blooms, tastier vegetables, and more resilient greenery. Let’s break down the biggest garden compost benefits:
1. Nutrient Powerhouse
Compost is loaded with essential nutrients that plants need to grow strong. It slowly releases nitrogen, phosphorus, and potassium, which are the primary building blocks for plant health. Plus, it contains a wide range of micronutrients like calcium, magnesium, and sulfur, which are crucial for everything from strong cell walls to vibrant leaf color.
Unlike synthetic fertilizers, nutrients in compost are released gradually. This means your plants get a steady supply of food over time, reducing the risk of over-fertilization and nutrient runoff into waterways. This sustained nourishment is key for long-term plant vitality.
2. Improved Soil Structure
This is a huge one! Compost acts like a natural soil conditioner. If you have heavy clay soil, compost helps to break it up, improving drainage and aeration. This prevents waterlogging and allows plant roots to breathe and grow more easily.
On the flip side, if you have sandy soil, compost acts like a sponge. It helps sandy soil retain moisture and nutrients, preventing them from washing away too quickly. This improved texture makes it easier for roots to penetrate the soil and access the water and food they need.
3. Enhanced Water Retention
As mentioned, compost is a natural moisture retainer. This is incredibly beneficial, especially during dry spells or if you live in a region with less rainfall. Soil amended with compost can hold significantly more water than unamended soil.
This means you’ll need to water your garden less often, saving you time and water. Healthy, moist soil also reduces plant stress, making them more resistant to wilting and disease.
4. Boosts Beneficial Microorganisms
Healthy soil is alive! It’s teeming with billions of tiny organisms like bacteria, fungi, and earthworms. Compost is like a super buffet for these helpful microbes.
These microorganisms play a vital role in breaking down organic matter further, making nutrients available to plants. They also help suppress soil-borne diseases and can even deter pests. A soil rich in compost is a vibrant ecosystem, supporting a diverse community of beneficial life.
5. Suppresses Plant Diseases and Pests
This might sound surprising, but compost can actually help keep your plants healthier and less susceptible to bugs and diseases. The beneficial microbes in compost compete with harmful pathogens, making it harder for them to infect your plants.
Some studies have shown that compost can even contain natural compounds that act as deterrents to certain pests. By fostering a healthier soil environment, you’re creating a more resilient plant that can better fight off its own battles.
6. Reduces the Need for Chemical Fertilizers and Pesticides
When you use compost, you’re naturally providing the nutrients and protection your plants need. This means you can significantly reduce or even eliminate your reliance on synthetic fertilizers and chemical pesticides. This is not only better for your garden’s ecosystem but also for your health, your family’s health, and the environment.
Choosing to compost is a step towards organic gardening and creating a more sustainable landscape. It’s a rewarding way to nurture your garden naturally.
7. Environmentally Friendly Waste Management
Composting diverts organic waste from landfills. When organic materials decompose in landfills, they produce methane, a potent greenhouse gas. By composting at home, you’re reducing your carbon footprint and giving valuable nutrients a new life.
It’s a simple yet impactful way to contribute to a healthier planet right from your backyard. Think of it as giving your kitchen scraps a second chance to shine!
What Can You Compost? The Greens and Browns Explained
To make great compost, you need a balance of “greens” and “browns.” This mix provides the right carbon-to-nitrogen ratio that microorganisms need to break everything down efficiently. It’s easier than it sounds!
What are “Greens”?
Greens are nitrogen-rich materials. They tend to be moist and are often the “kitchen scraps” part of composting. They provide the nitrogen that microbes need to multiply and do their work.
- <li>Fruit and vegetable scraps (peels, cores, rinds)</li>
- Coffee grounds and tea bags
- Grass clippings (in moderation)
- Plant trimmings (non-diseased)
- Eggshells
- Manure from herbivores (like chickens, cows, rabbits – avoid dog or cat waste)
What are “Browns”?
Browns are carbon-rich materials. They are typically dry and provide the energy source for the microbes.
They also help with aeration in your compost pile.
- <li>Dry leaves
- Shredded newspaper and cardboard (avoid glossy paper and colored inks)
- Straw and hay
- Wood chips and sawdust (use in moderation)
- Twigs and small branches
- Dryer lint (from natural fibers like cotton)
The general rule of thumb is to aim for a ratio of about 2 to 3 parts browns to 1 part greens by volume. This might seem a bit technical, but don’t overthink it! If your compost pile seems too wet and smells bad, add more browns. If it’s dry and not breaking down, add more greens and moisture.
Simple Compost Ingredients to Avoid
While many things can be composted, some items should be kept out to prevent problems like attracting pests, creating foul odors, or spreading disease. Here’s a quick rundown of what NOT to add to your compost bin:
- <li>Meat, bones, and dairy products: These can attract rodents and other pests and create strong odors.</li>
- Oily or greasy foods: Similar to meat, these can attract pests and slow down decomposition.</li>
- Diseased plants: You don’t want to compost plants that are infected with a disease, as it could spread to your healthy garden later.</li>
- Weeds that have gone to seed: Unless your compost pile gets very hot (hot composting), these seeds might survive and sprout in your garden.</li>
- Pet waste (dog and cat feces): These can contain harmful pathogens that can be harmful to humans.</li>
- Treated wood: Chemicals in treated wood can be harmful to your garden.</li>
- Coal or charcoal ash: These can contain sulfur and other substances that can be harmful to plants.</li>
Getting Started: How to Make Your Own Compost
Making compost at home is easier than you might think. You don’t need fancy equipment. There are a few common methods, and you can choose what best fits your space and needs.
Method 1: The Simple Compost Bin
This is the most popular method for home gardeners. You can buy a compost bin or even make one yourself from wooden pallets or wire mesh.
Steps for Bin Composting:
- Choose a Location: Find a spot in your yard that’s well-drained, gets some sun (but not full, intense sun all day), and is easily accessible.
- Start Layering: Begin with a layer of coarse brown material, like twigs, at the bottom for aeration. Then, alternate layers of greens and browns, like building a cake. Aim for more browns than greens.
- Keep it Moist: Your compost pile should be as damp as a wrung-out sponge. Water it if it gets too dry. If it’s too wet, add more browns.
- Aerate (Turn): This is crucial for speeding up the process. Every week or two, turn your compost pile with a pitchfork or a compost aerator. This mixes everything, adds oxygen, and helps it break down.
- Wait and Watch: Depending on how often you turn it and the ratio of greens to browns, compost can be ready in anywhere from a few months to a year. You’ll know it’s ready when it’s dark, crumbly, and smells earthy – no more kitchen scraps visible!
Method 2: Tumbler Composting
Compost tumblers are enclosed bins that you can rotate. This makes turning much easier and can speed up the composting process because you can achieve higher temperatures.
Steps for Tumbler Composting:
- Gather Materials: Collect your greens and browns.
- Add to Tumbler: Add your compostable items to the tumbler. It’s often best to add layers or a mix of greens and browns.
- Rotate Regularly: Give the tumbler a few good turns every couple of days. This is the “aeration” step.
- Maintain Moisture: Check the moisture level occasionally. If it seems dry, add a little water. If it’s too wet, add more browns.
- Harvest: Compost in a tumbler can be ready much faster, sometimes in as little as 4-6 weeks, especially if you’re diligent with turning and maintaining the right mix.
Method 3: Worm Composting (Vermicomposting)
This method uses red wiggler worms to break down food scraps. It’s great for small spaces, like apartments, and produces high-quality compost called “worm castings.”
You’ll need a special worm bin (you can buy or make one) and a starter colony of red wiggler worms. You mainly feed them fruit and vegetable scraps. Worm castings are incredibly nutrient-rich. For detailed instructions on vermicomposting, check out guides from your local extension office, like those provided by Purdue University Extension.
Table: Comparing Compost Methods
To help you choose the right method, here’s a quick comparison:
| Feature | Compost Bin | Compost Tumbler | Worm Composting |
|---|---|---|---|
| Space Needed | Medium (a corner of the yard) | Small to Medium (can be placed on a patio) | Very Small (can be done indoors or on a balcony) |
| Speed | Slow to Medium (3-12 months) | Medium to Fast (1-3 months) | Fast for food scraps (weeks to months for castings) |
| Effort Level | Medium (turning required) | Low to Medium (rotating is easier than turning a pile) | Low to Medium (feeding and managing moisture) |
| Pest Attraction | Potential if not managed well | Low (enclosed) | Low (if managed properly, primarily attracted to food) |
| Best For | Yard waste and kitchen scraps, larger gardens | Faster compost, less physical effort, smaller yards | Apartments, small households, high-quality fertilizer |
When is Compost Ready to Use?
You’ll know your compost is ready when it has gone through its heating and cooling phases. It should be:
- <li><strong>Dark and Crumbly:</strong> It will look like rich, dark soil.</li>
- Earthy Smelling: It should smell pleasant and earthy, like a forest floor. If it smells sour or like ammonia, it’s not quite ready or needs more aeration/browns.</li>
- Uniform Texture: You shouldn’t be able to recognize the original materials (like banana peels or leaves).</li>
- Cool: A finished compost pile will no longer be hot in the center.</li>
If you’re unsure, give it a little more time. Better to wait a bit longer for quality compost than to use immature compost that might harm your plants.
How to Use Garden Compost
Once your compost is ready, you can use it in many ways to benefit your garden:
- <li><strong>Soil Amendment:</strong> Mix 2-4 inches of compost into your garden beds before planting. This is great for new gardens or refreshing old beds.</li>
- <strong>Top Dressing:</strong> Spread a 1-2 inch layer of compost around existing plants, shrubs, and trees. This feeds them slowly and helps retain moisture.</li>
- <strong>Potting Mix:</strong> You can use compost as a component in your own homemade potting soil for containers and hanging baskets. A common mix is 1/3 compost, 1/3 peat moss or coco coir, and 1/3 perlite or vermiculite for good drainage.</li>
- <strong>Compost Tea:</strong> Steep finished compost in water for a day or two (aerated or non-aerated) to create a nutrient-rich liquid fertilizer for your plants.</li>
Using compost consistently is one of the best things you can do for your garden’s long-term health and productivity. It builds healthy soil that supports strong, vibrant plants year after year.
Troubleshooting Common Composting Issues
Even with the best intentions, sometimes compost piles can get a sticky situation. Here are a few common problems and how to fix them:
Problem: My compost smells bad (like rotten eggs or ammonia).
Cause: Too much nitrogen (too many greens) or lack of oxygen. It’s getting anaerobic (lacking air).
Solution: Add more brown materials (leaves, shredded paper). Turn the pile thoroughly to introduce air.
Problem: My compost is slimy and wet.
Cause: Too much moisture, possibly from too many greens or recent rain.
Solution: Add more dry brown materials. Turn the pile to help it dry out and aerate.
Problem: My compost pile is dry and not breaking down.
Cause: Not enough moisture or nitrogen.
Solution: Add some water and a layer of green materials (like kitchen scraps or fresh grass clippings). Turn thoroughly to mix everything in.
Problem: I’m not seeing any worms in my compost bin.
Cause: The conditions might not be right (too hot, too dry, too wet, or wrong type of bin).
Solution: For bin composting, ensure you have a good mix of greens and browns and maintain moisture. If you’re vermicomposting, check that the temperature is suitable for your worms (usually 55-77°F or 13-25°C) and that the bedding is moist but not waterlogged. You might need to purchase more worms if your population is low.
Remember, composting is a living process. A little patience and observation go a long way! For more in-depth troubleshooting, resources from the U.S. Environmental Protection Agency (EPA) offer excellent advice.
Conclusion
We’ve covered a lot about the amazing garden compost benefits, from feeding your plants the best nutrients to creating a thriving soil ecosystem. By turning your kitchen and yard waste into “black gold,” you’re not just improving your garden’s growth; you’re contributing to a healthier planet. Whether you choose a bin, a tumbler, or even worm composting, starting your own compost journey is a rewarding step for any gardener.
Remember, healthy soil means healthy plants. Composted soil leads to lusher growth, more abundant harvests, and greater resilience against pests and diseases. So, grab those veggie scraps and fallen leaves, start building that pile, and watch your garden flourish like never before. Happy composting!
Frequently Asked Questions About Garden Compost Benefits
Q1: How much compost should I add to my garden?
A1: For general gardens, mix in 2-4 inches of compost into the top 6-8 inches of soil before planting. For existing plants, a 1-2 inch top dressing is usually sufficient.
Q2: Can I use compost that still looks like it has small bits of material in it?
A2: If the material is mostly broken down and the compost smells earthy, it’s usually fine to use. Some small recognizable pieces are okay, but if it looks like a pile of undigested scraps, it needs more time.
Q3: How long does it take for compost to be ready?
A3: It varies! A hot, actively managed compost pile can be ready in 1-3 months. A cooler, more passive pile might take 6-12 months or even longer.
Q4: Is it okay to compost grass clippings?
A4: Yes, grass clippings are a great “green” (nitrogen-rich) material. However, add them in thin layers, no more than a few inches thick, and mix them with browns. Piling up thick layers of wet grass can create a slimy, odor-prone mat.
Q5: Can I buy compost instead of making it?
A5: Absolutely! Many garden centers and landscape suppliers sell high-quality compost. Look for commercially bagged compost or bulk compost from local sources. This is a great option if you don’t have the space or time to compost at home.
Q6: What’s the difference between compost and mulch?
A6: Mulch is typically spread on top of the soil to retain moisture, suppress weeds, and regulate soil temperature. Compost is incorporated into the soil to improve its structure and fertility. You can use both for a healthier garden!

I am passionate about home engineering. I specialize in designing, installing, and maintaining heating, ventilation, and air conditioning systems. My goal is to help people stay comfortable in their homes all year long.