Hey there, fellow plant lovers and future soil superheroes! Let’s talk about something super easy that can make your garden incredibly happy: making compost. You know, that black gold stuff? It might sound a bit technical, but trust me, it’s simpler than you think. We’ll cut through the confusion and get your garden thriving. Get ready to turn your kitchen scraps into pure garden magic!
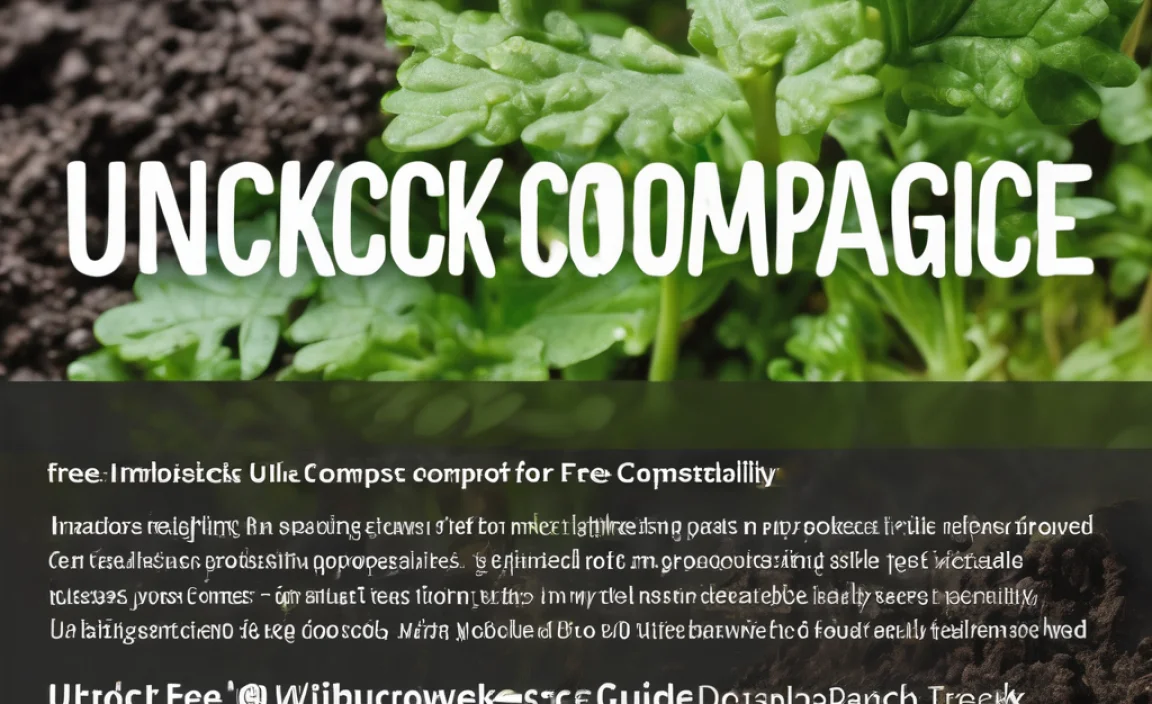
Turn Your Waste into Garden Gold: Composting Made Easy in the Philippines
As Troy D Harn from TopChooser, I’m all about making home improvement and gardening super accessible. Today, we’re diving into the wonderful world of garden compost, specifically here in the Philippines. You’ve probably heard about compost. It’s like a superfood for your plants, giving them all the nutrients they need to grow big, strong, and beautiful. But maybe you’ve thought, “Composting? That sounds like a lot of work!” or “Is it even practical for my home in the Philippines?” Don’t worry! I’m here to show you that it’s not only doable but also incredibly rewarding. We’ll break down the easiest, most effective ways to start composting right away, no matter your space or experience level. Let’s get your soil shouting with joy!
Why bother with compost? Think of it as building a healthier ecosystem right in your backyard. Composting reduces the amount of waste you send to the landfill, which is great for the environment. More importantly, it creates a nutrient-rich soil amendment that improves soil structure, water retention, and overall plant health. For us here in the Philippines, with our tropical climate and often clay-heavy soils, good compost can be a game-changer for everything from your veggie patch to your ornamental plants.
This guide is designed for you – the beginner, the budget-conscious home dweller, the busy bee who wants practical solutions. We’ll cover the essentials, demystify the process, and equip you with the confidence to start your composting journey today. Ready to transform your kitchen scraps and yard trimmings into the best food for your garden?
Why Compost in the Philippines? The Tropical Advantage
Working with compost here in the Philippines has some unique advantages, thanks to our vibrant climate. The warmth and humidity can actually speed up the composting process significantly compared to cooler regions. This means you can get your compost ready to use faster!
However, it also means we need to be mindful of a few things:
- Moisture Control: Our rainy season can sometimes make things too soggy, while dry spells can dry out the pile too much. We’ll talk about managing this.
- Pest Awareness: Warmer weather can sometimes bring more critters. Choosing the right composting method and location helps keep unwanted guests away.
- Speed: With the right balance, your organic materials will break down efficiently, giving you compost in a matter of weeks or a few months, not years.
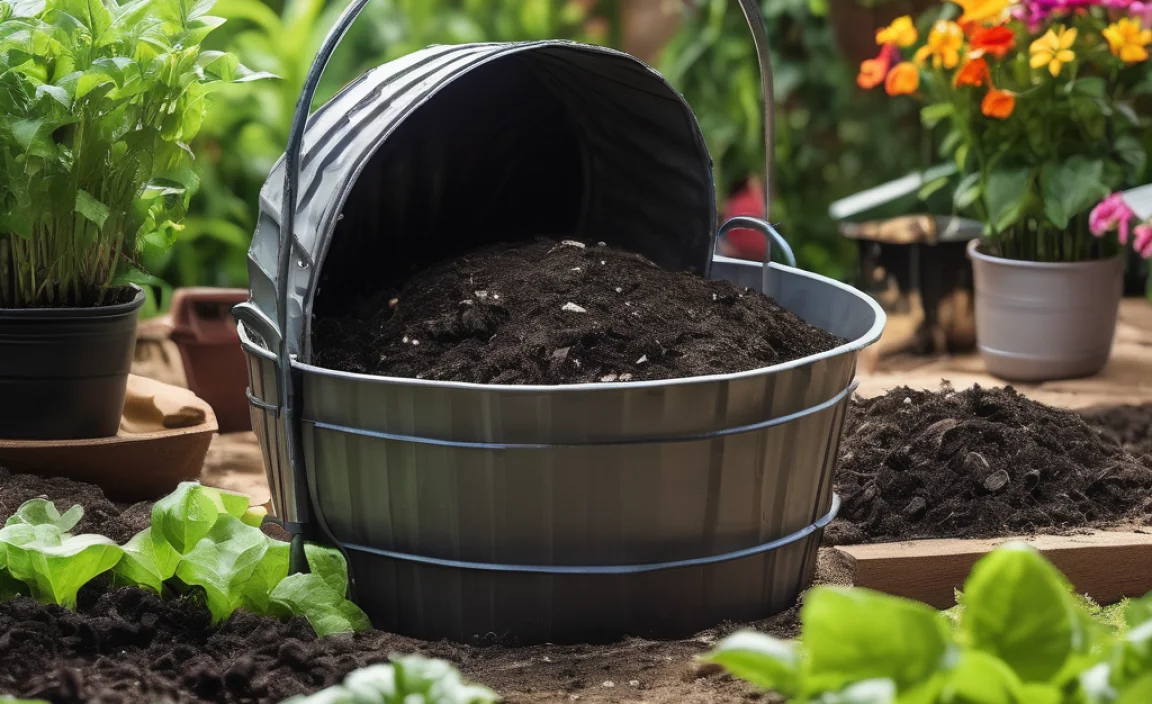
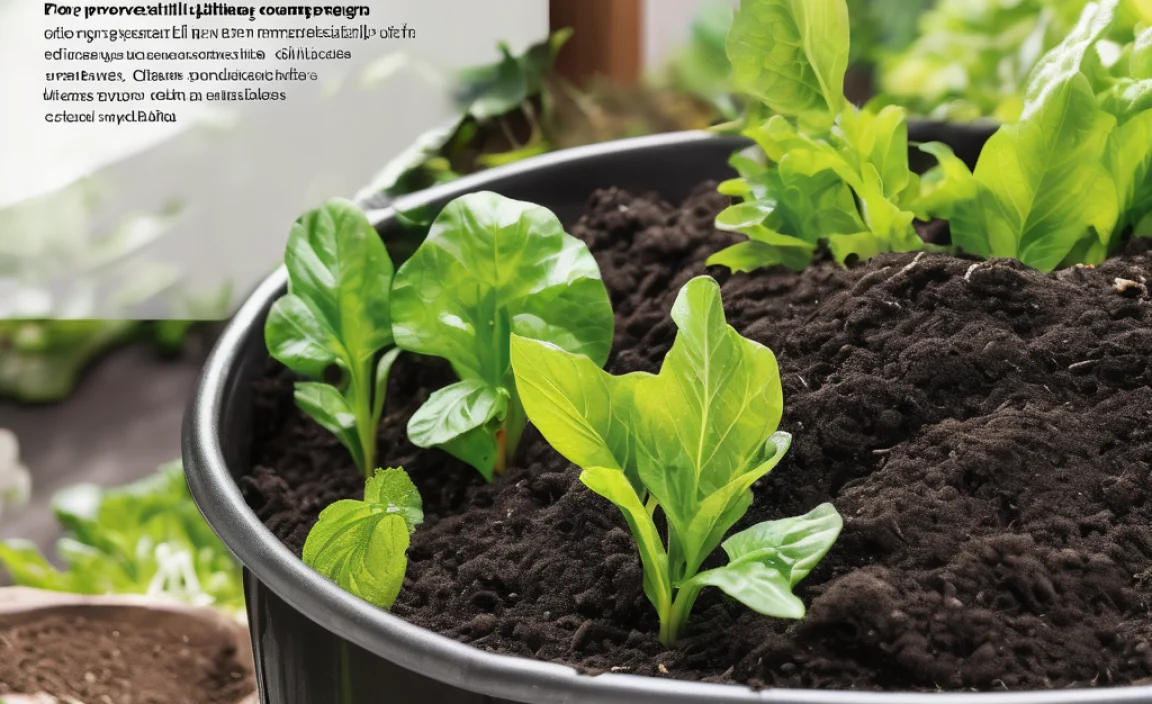
Getting Started: What You Need for Your Compost Pile
The beauty of composting is its flexibility. You don’t need fancy equipment to start. Here’s a breakdown of what you might need, depending on your chosen method:
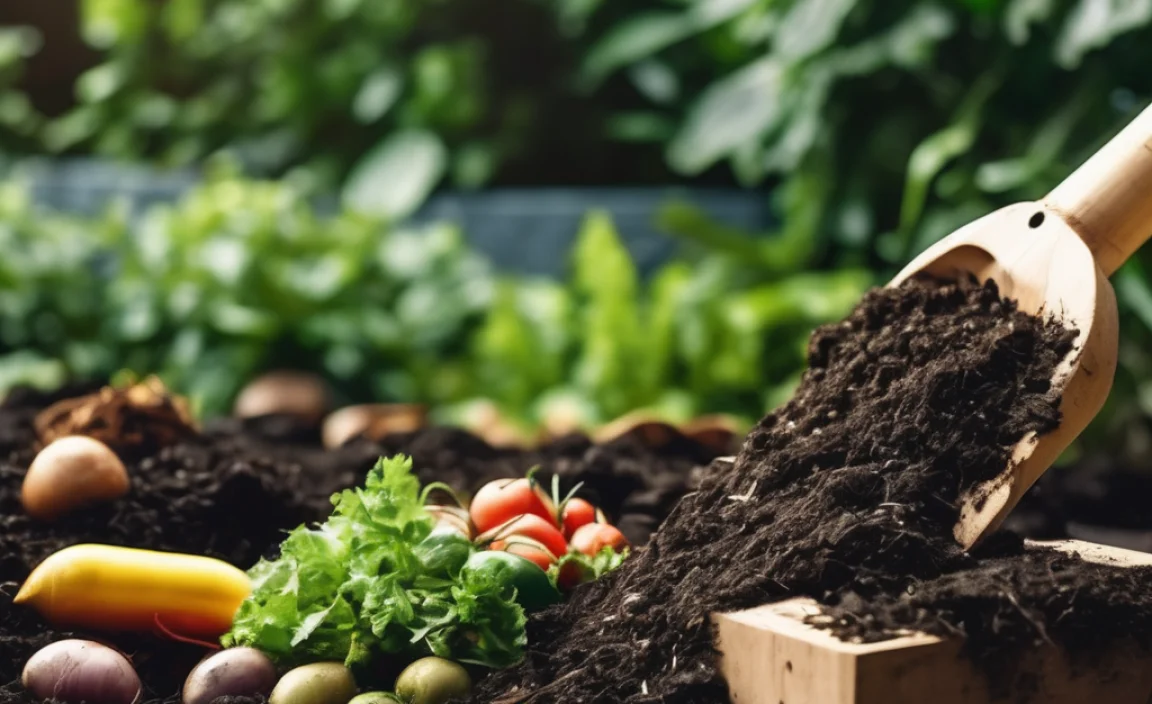
Essential “Ingredients” – Your Compost Feedstock
Think of these as the “greens” and “browns” that your compost microbes will feast on:
Greens (Nitrogen-Rich Materials)
These are typically moist and provide nitrogen, which helps the composting process heat up.
- Fruit and vegetable scraps (peels, cores, rinds)
- Coffee grounds and tea bags (remove staples)
- Grass clippings (in moderation, to avoid matting)
- Fresh plant trimmings
- Manure from herbivores (like chickens, rabbits, cows – avoid dog or cat waste)
Browns (Carbon-Rich Materials)
These are dry and provide carbon, which acts as the energy source for microbes and helps aerate the pile.
- Dry leaves
- Shredded newspaper and cardboard (avoid glossy or colored inks)
- Straw or hay
- Wood chips or sawdust (use in moderation)
- Dried grass clippings
- Small twigs and branches (chopped up)
Tools of the Trade (Optional but Helpful)
You can actually start composting with just your hands and a shovel! But these will make the job easier and faster:
- Shovel or Pitchfork: For turning and mixing your compost pile.
- Gardening Gloves: To keep your hands clean and protected.
- Watering Can or Hose: To add moisture if your pile gets too dry.
- Container or Bin: If you’re building a contained system.
- Pruners or Chopping Tool: To break down larger items into smaller pieces.
Proven Essential Methods for Garden Compost in the Philippines
There are several ways to compost, and the best one for you depends on your space, the amount of material you have, and how quickly you want results. We’ll cover the most popular and effective methods for our Philippine setting.
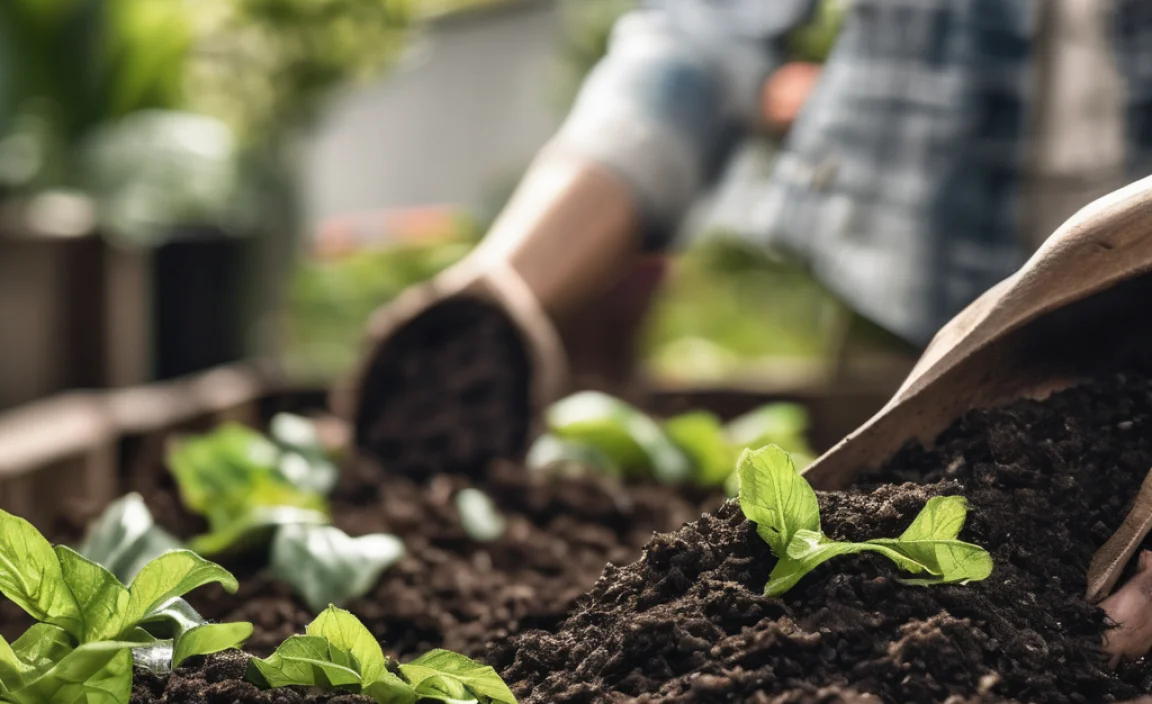
Method 1: The Simple Pile – Open Air Composting
This is the most straightforward method. It requires minimal setup and is perfect if you have a bit of space in your backyard.
How to Do It:
- Choose a Location: Find a spot in your yard that is well-drained, gets some sun (but not baking hot all day, as this can dry it out too quickly), and is somewhat convenient for adding materials and harvesting compost. A corner of your garden is usually ideal.
- Start Layering: Begin with a base layer of coarse brown materials like twigs or straw. This helps with air circulation from the bottom. Then, alternate layers of “greens” and “browns.” Aim for a ratio of about 2 parts browns to 1 part greens. Don’t stress too much about exact ratios when you’re starting; you’ll get a feel for it.
- Chop It Up: The smaller the pieces, the faster they break down. Chop up larger kitchen scraps and break down bulky brown materials like cardboard.
- Add Water: If your materials feel dry, add some water. Your compost pile should be consistently moist, like a wrung-out sponge. Not dripping wet, not bone dry.
- Turn Regularly: Ideally, turn your pile with a shovel or pitchfork every 1-2 weeks. This introduces oxygen, which the microbes need to work efficiently, and speeds up decomposition. If you can’t turn it that often, it will still compost, just a bit slower.
- Harvest: In about 2-4 months (depending on how often you turn and the materials), you’ll have finished compost! It will be dark, crumbly, and smell earthy. You can sift it if you want a finer texture.
Pros:
- Easiest to set up, no cost for bins.
- Can handle large volumes of material.
- Good for large yards.
Cons:
- Can look a bit untidy.
- May attract pests if not managed properly.
- Can dry out or get too wet more easily.
Method 2: Compost Bins – Contained and Tidy
Compost bins are a popular choice because they keep things neat and contained. You can buy them or even build your own. For the Philippines, look for bins made from durable materials that can withstand our climate.
Types of Bins:
- Stationary Bins: These are fixed bins, often made of wood, wire mesh, or plastic. You add materials from the top and harvest from a door at the bottom.
- Tumbler Bins: These are sealed drums that rotate on an axis. Tumbling mixes the compost for you, making turning very easy and speeding up the process. They often have rodent-proof designs.
How to Do It (General Bin Use):
- Setup: Place your bin on bare soil or a well-drained spot. This allows beneficial microorganisms and worms to enter.
- Layering & Adding: Similar to the open pile, alternate greens and browns. Avoid overfilling, especially in tumbler bins, as they need space to tumble and aerate.
- Moisture: Check moisture levels regularly. Tumblers can sometimes dry out faster or get too wet if materials are too fine.
- Turning: For stationary bins, use a compost aerator tool or pitchfork to mix the contents regularly. Follow the manufacturer’s instructions for tumbler bins.
- Harvest: Finished compost at the bottom of stationary bins or from the unloading door of tumblers.
Pros:
- Tidy and visually appealing.
- Helps retain heat and moisture better.
- Reduces the risk of pests.
- Tumblers make turning easy and fast.
Cons:
Stationary bins can be harder to turn completely. Tumblers can have a smaller capacity and can be more expensive.
Method 3: The Bokashi Method – Fermenting Your Food Scraps
This is a different approach, more of a fermentation process than traditional aerobic composting. It’s great for breaking down all kitchen scraps, including meat, dairy, and oily foods, which are usually avoided in other methods. It’s also very compact and can be done indoors or on a small balcony, making it ideal for apartment dwellers or those with very limited space in the Philippines.
What You Need:
- Bokashi Bin: A special airtight bucket with a spigot at the bottom. Usually, you get two so one can be fermenting while you fill the other.
- Bokashi Bran: This is a rice bran or wheat bran inoculated with beneficial microorganisms (EM – Effective Microorganisms). You can buy this online or at garden supply stores.
How to Do It:
- Chop & Layer: Chop your food scraps into small pieces. Place a layer of scraps in the bin, then sprinkle a tablespoon or two of Bokashi bran over them.
- Press Down: Press the scraps down firmly to remove air pockets.
- Seal & Repeat: Add more layers of scraps and bran until the bin is full. Ensure the top layer is generously sprinkled with bran.
- Draining ‘Tea’: Once the bin is full, seal it tightly. Over the next 1-2 weeks, drain the “Bokashi tea” (a nutrient-rich liquid) regularly from the spigot. This tea is a potent liquid fertilizer – dilute it with water (1:100) and use it for your plants!
- Fermenting: After the initial draining, let the sealed bin sit for about 2 weeks to complete the fermentation. The contents won’t look like traditional compost; they’ll be pickled.
- Burying: This fermented material needs to be buried in soil to finish breaking down. Dig a trench in your garden, bury the contents, cover with soil, and wait another 2-4 weeks. The organic matter breaks down rapidly in the soil due to the microbes.
Pros:
- Can compost all food scraps, including meat and dairy.
- Compact and suitable for small spaces or indoors.
- Produces a nutrient-rich liquid fertilizer (Bokashi tea).
- Reduces odors because it’s a fermentation process, not decomposition.
Cons:
- Requires purchasing a special bin and inoculated bran.
- The fermented material needs to be buried to fully decompose. It won’t become mature compost on its own ready for immediate use.
- Can be more costly to start up.
Method 4: Worm Composting (Vermicomposting)
This method uses special composting worms (like Red Wigglers, not earthworms found in your garden) to break down organic matter. It’s efficient, produces nutrient-rich compost (worm castings), and can also be done in smaller spaces, even on a balcony or indoors.
What You Need:
- Worm Bin: Can be a store-bought bin or a DIY setup using plastic tubs. Ensure good ventilation and drainage.
- Composting Worms: Purchase from a reputable supplier (e.g., Red Wigglers, Eisenia fetida).
- Bedding: Shredded newspaper, coconut coir, or dry leaves.
- Food Scraps: Primarily fruit and vegetable scraps, coffee grounds, tea bags. Avoid meat, dairy, oily foods, citrus in large quantities.
How to Do It:
- Prepare Bedding: Moisten shredded newspaper or other bedding materials until they are damp but not soggy. Fluff them up and place them in the worm bin.
- Add Worms: Gently add your worms to the bedding. Let them settle in for a day or two before feeding them.
- Start Feeding: Begin by burying small amounts of food scraps under the bedding in one corner of the bin.
- Regular Feeding: Add fresh food scraps every few days, burying them under the bedding. Rotate feeding spots in the bin.
- Moisture Control: The bedding should remain moist. If it gets too dry, mist it with water. If too wet, add more dry bedding.
- Harvest Castings: After 2-3 months, you’ll start to see dark, fluffy “worm castings” – this is your potent compost! You can harvest by migrating the worms to one side of the bin and taking castings from the other, or by using a bin with multiple trays.
Pros:
- Produces very high-quality, nutrient-rich compost (worm castings).
- Efficient for breaking down food scraps.
- Can be done indoors or on balconies, ideal for limited space.
- Relatively fast process for food waste.
Cons:
- Requires specific composting worms, which need to be purchased.
- Cannot process large amounts of woody material or certain food types.
- Requires careful management of moisture and temperature.
- Needs protection from extreme heat or cold.
Choosing the Right “C:N” Ratio for Happy Composting
So, we talked about “greens” and “browns.” These are crucial because they provide the right balance of Carbon (C) and Nitrogen (N) for the microorganisms doing the work. Think of it like a balanced diet for your compost microbes!
The Ideal Ratio: Most composting guides suggest a Carbon-to-Nitrogen (C:N) ratio of about 25:1 to 30:1. This means for every 25-30 parts of carbon, you need 1 part of nitrogen by weight.
Don’t get bogged down by exact weights! Here’s a simple rule of thumb for layering:
- Aim for about 2-3 parts Browns for every 1 part Greens.
What Happens If It’s Off?
- Too many Greens (too much Nitrogen): Your pile can become wet, smelly (like ammonia), and dense. It won’t heat up properly and may attract flies. You need to add more browns!
- Too many Browns (too much Carbon): Your pile will be dry and won’t heat up. Decomposition will be very slow. You need to add more greens and moisture.
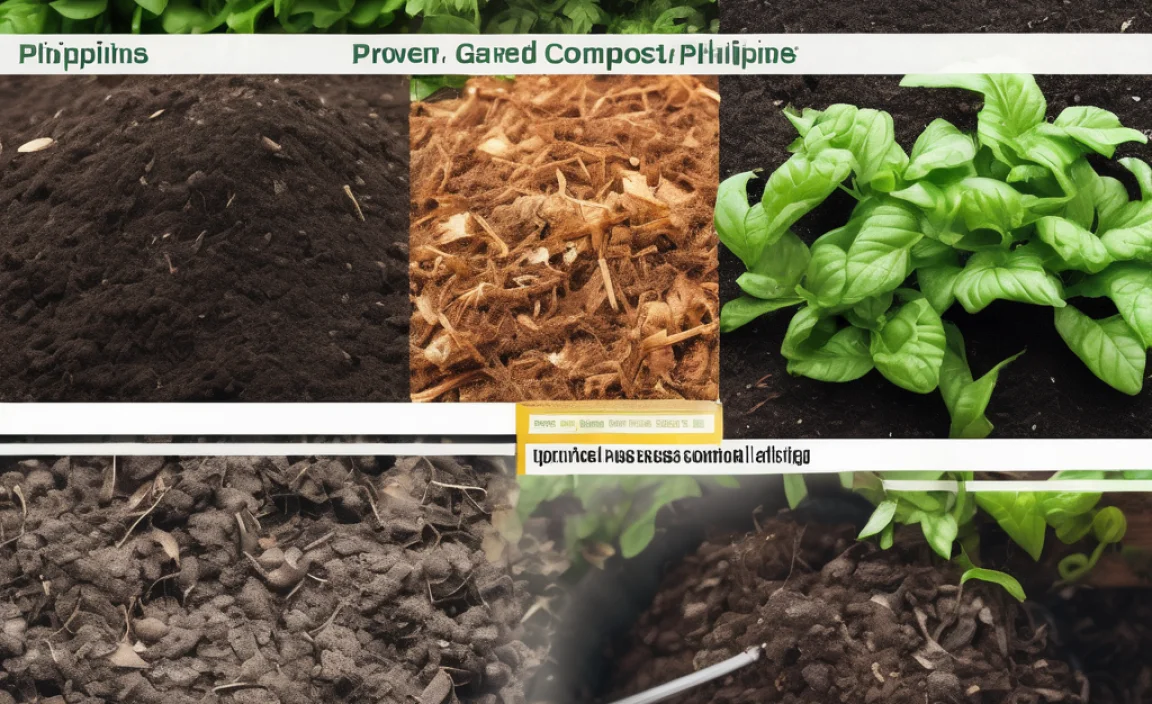
To give you a better idea, here’s a simple comparison of common composting ingredients:
| Material | Type (Green/Brown) | Approximate C:N Ratio (Lower = More N) |
|---|---|---|
| Grass Clippings (fresh) | Green | 19:1 |
| Fruit & Vegetable Scraps | Green | 15:1 |
| Coffee Grounds | Green | 20:1 |
| Chicken Manure | Green | 10:1 |
| Dry Leaves | Brown | 60:1 |
| Shredded Newspaper | Brown | 175:1 |
| Straw | Brown | 80:1 |
| Wood Chips | Brown | 400:1 |
Notice how greens like grass clippings and fruit scraps are lower in their ratio (meaning more Nitrogen), while browns like leaves and wood chips have much higher ratios (more Carbon). This is why balancing them is key!
Troubleshooting Your Compost Pile
Even with the best intentions, compost piles can sometimes act up. Here are common issues and how

I am passionate about home engineering. I specialize in designing, installing, and maintaining heating, ventilation, and air conditioning systems. My goal is to help people stay comfortable in their homes all year long.