Water lilies might be the perfect choice if you’re looking to add a splash of color to your garden and have trouble finding the right plant. Water lilies are easy to grow and appreciate brightly colored surroundings, so adding them to your garden is a great way to show your personality.
In this blog post, we’ll walk you through the process of growing water lilies in a bowl, step by step. We’ll teach you how to choose the right pot, add nutrients, and keep them healthy. Once you have water lilies in your garden, share pictures with us on Instagram or Facebook.
How To Grow Water Lilies In A Bowl – Step By Step
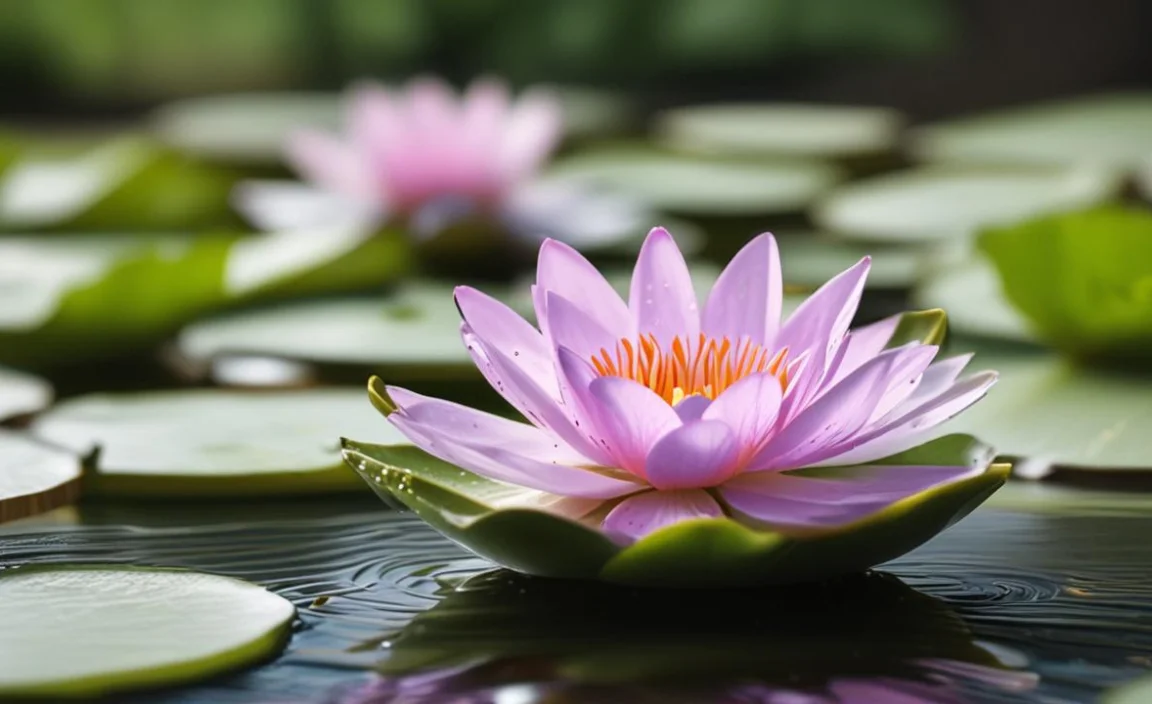
Water lilies are a beautiful and popular plant that can add beauty and elegance to any home. They’re easy to care for and require little water, making them an excellent choice for those with limited space. Before you start, read this guide on how to grow water lilies in a bowl.
It will walk you through the process, from planting the seeds to growing tall and proud plants. Once you’ve got the basics, it’s time to experiment and see what kind of plants you can create!
You can grow them in a bowl or pot indoors or outdoors, and they will reward you with a beautiful display of colors in the summertime. So, what are you waiting for? Get started growing water lilies in a bowl today.
1. Preparing Your Soil
It is essential to prepare your soil before planting water lilies. Soaking the soil overnight will help improve its quality and make it easier for the plants to take root. Watering regularly is essential for water lilies – they need a lot of moisture to grow well.
Please ensure you fertilize them as needed since their growth depends on it. As with any other plant, they are moving water lilies around may be necessary to provide enough sunlight and airflow.
2. Planting Your Lily Seeds
Planting water lilies seeds is not as difficult as one might think. Follow these simple steps, and you can successfully grow your flowers! First, make sure the soil is moist before planting. Secondly, soak the seeds in warm water for a few hours.
After that, it’s time to plant them! Make sure they are submerged in water – do not let them dry out! Once they’re planted, keep an eye on their growth and watering schedule; don’t overwater them!
3. Prune Your Lilies Appropriately
Water lilies are one of the world’s most popular types of flowers. However, like all plants, they need plenty of water to grow and look their best. Ensure your lilies have enough access to fresh water – especially during dry periods.
Fertilize them once a month with regular plant food – this will help keep them healthy and blooming for longer! If you’re pruning them, make sure to do it at least every two or three weeks; otherwise, they may start growing too tall and flowerless.
4. Fertilize Regularly
Water lilies are hardy plants and can survive most transplanting situations – be sure to clean the pot first! Water lilies need many nutrients to grow and thrive; fertilize them regularly with a water-soluble fertilizer.
Keep your water lilies in an area with plenty of sunlight – they like light but don’t over-water them. Follow the package instructions to the letter – too much or too little will cause problems.
5. Choose A Suitable Substrate

When it comes to choosing the right substrate for water lilies, there are a few things you need to keep in mind. Firstly, add some aquatic plants like swordfish or catfish if you live in a warm climate.
Secondly, make sure the soil mix or gravel is moist but not soggy – this will help the lilies grow quickly and healthily. Thirdly, water them regularly – they should be in full bloom within 6-8 weeks!
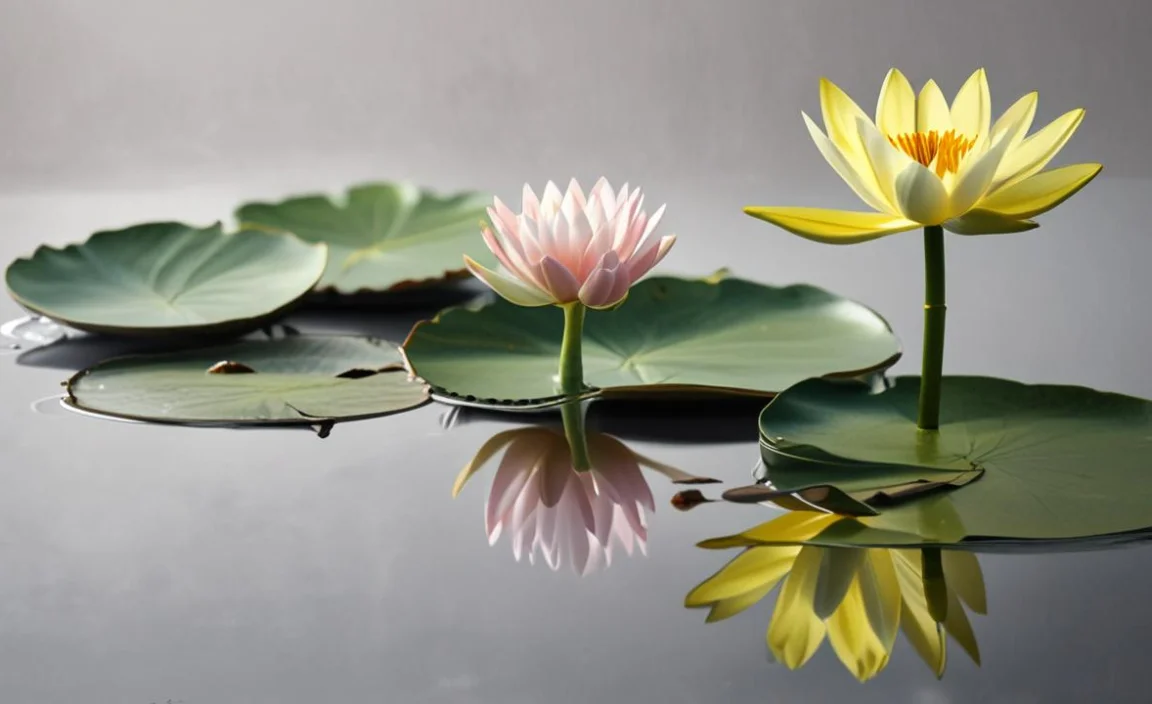
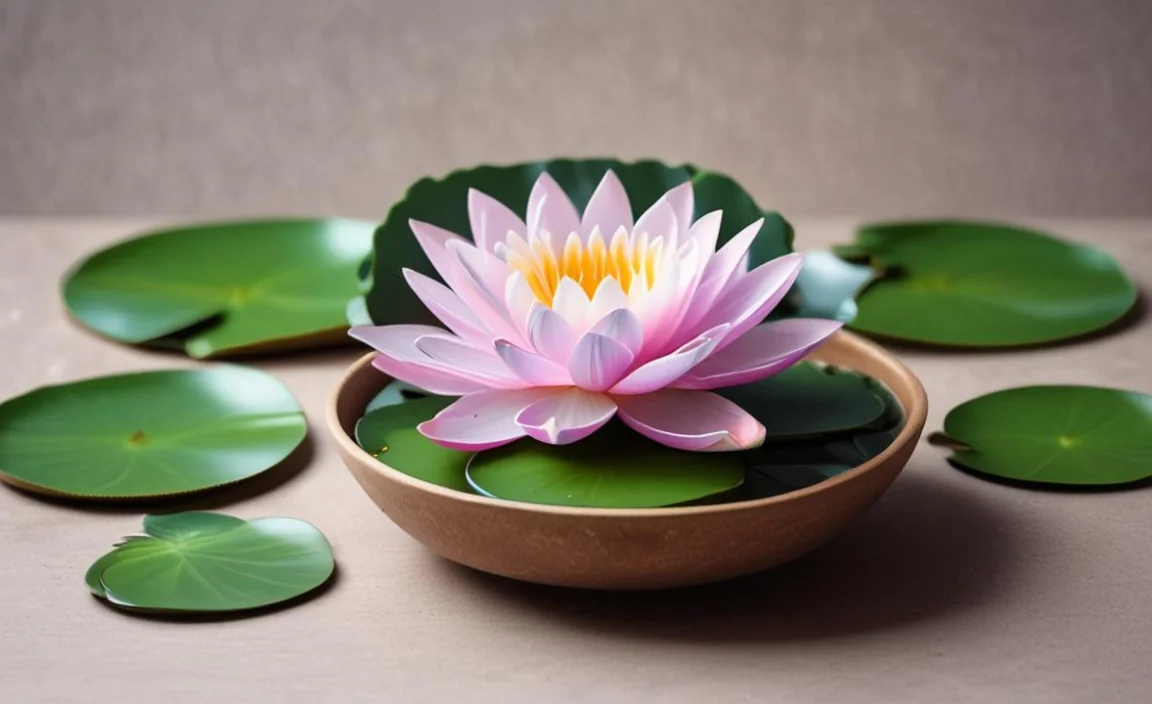
6. Selecting The Right Pot
When selecting the pot for your water lilies, you’ll want to make sure that it’s big enough to hold the roots and large enough, so they have plenty of room to grow. You don’t want them growing too far out of the pot, as this will cause them problems regarding water uptake and growth.
Choosing a material that won’t rot or promote fungus growth is also essential. We recommend durable ceramic or porcelain pots, which will last for many seasons.
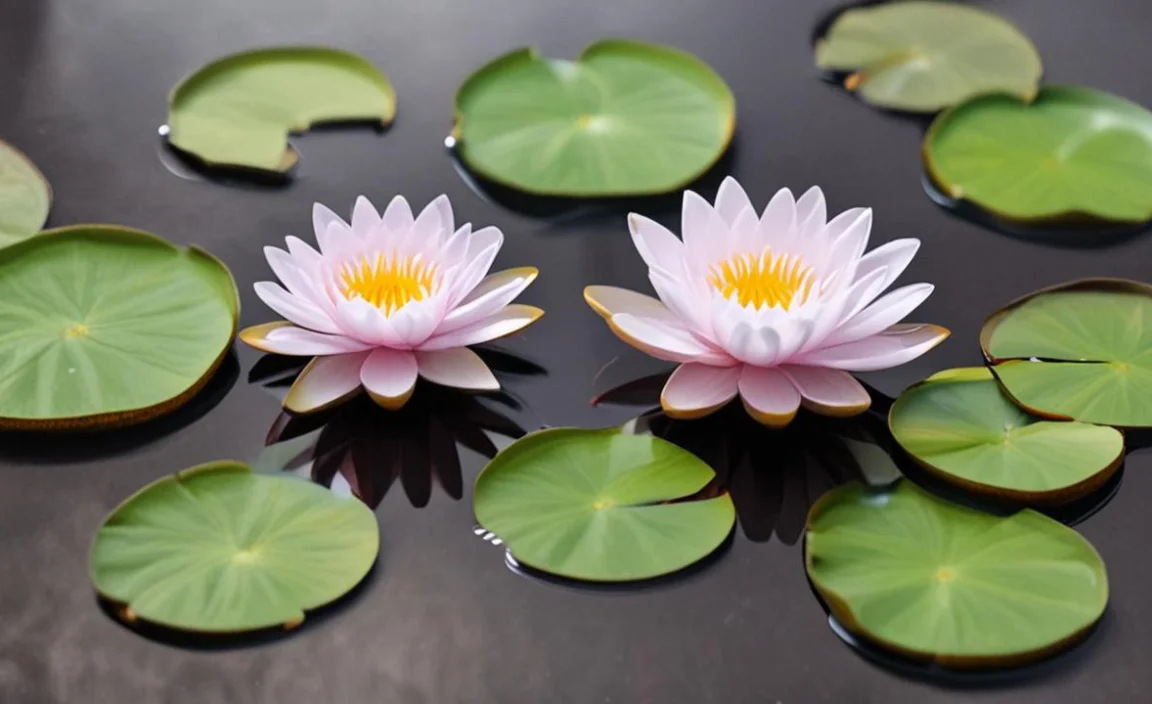
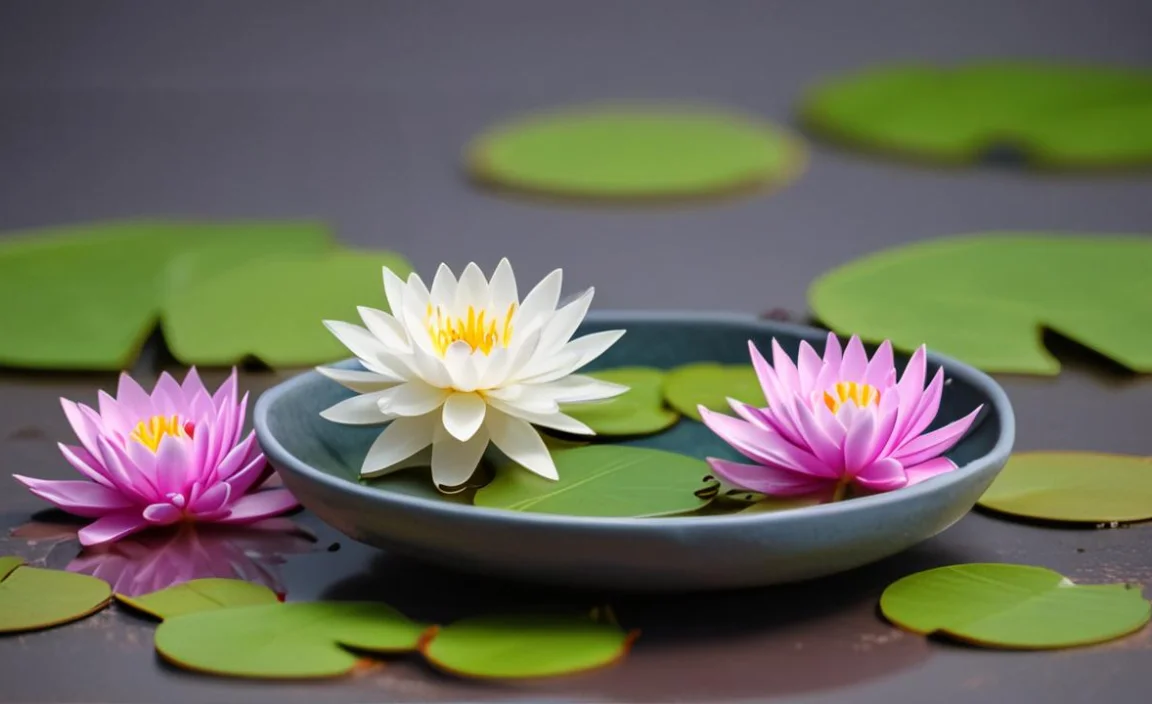
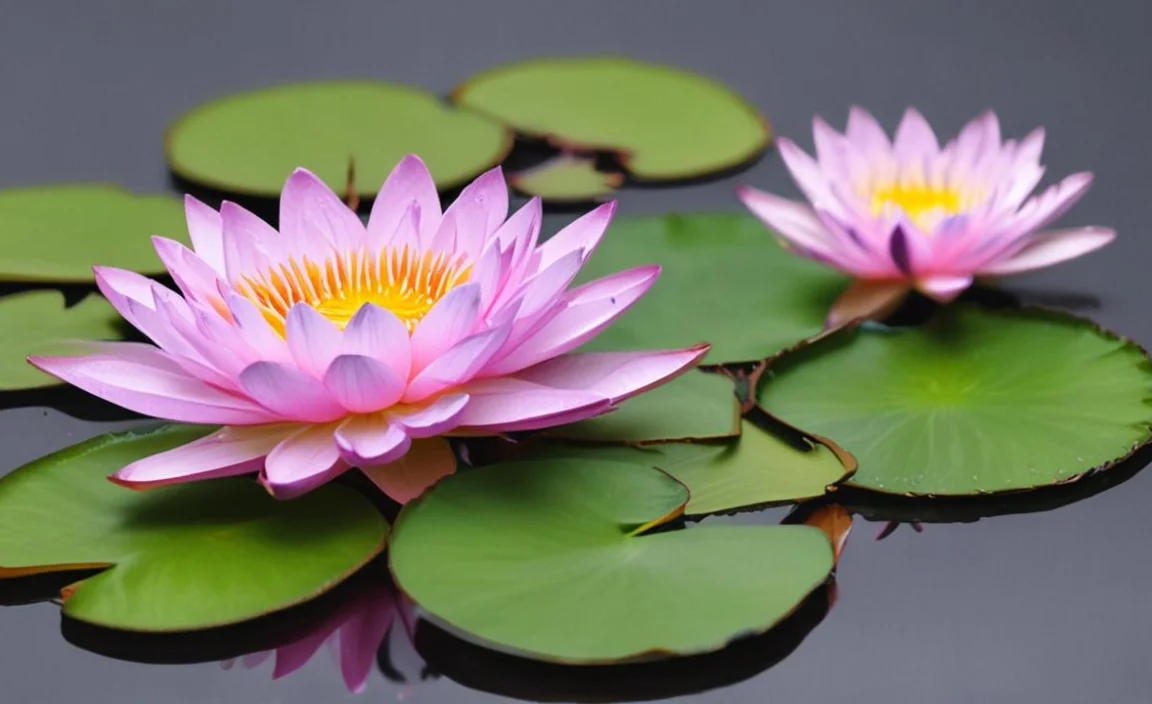
7. Enjoy Your Beautiful Water Lilies

Water lilies are one of the most popular indoor plants, and with good reason – they’re beautiful! Follow these simple steps to growing water lilies in a bowl, and you’ll enjoy their beauty in no time:
- Add a little bit of water each day. Then ensure the soil is moist but not wet; watering too much can lead to waterlogging, killing your plants.
- Keep the plants in a warm and brightly illuminated area out of direct sunlight.
- Don’t forget to prune them regularly, so they remain healthy!
Conclusion
Thanks for reading. This blog will walk you through the step-by-step process of growing water lilies in a bowl. Following our guide, you can create a beautiful and exotic garden that your friends and family will love.
