Ever look at your kitchen scraps and garden waste and think, “There HAS to be a better way than just tossing this?” You’re not alone! Many of us in the UK want to do our bit for the planet and our gardens. Composting at home feels like a great idea, but it can seem a bit daunting at first. Where do you even start? What goes in? Don’t worry, friend, it’s much simpler than you might think. This guide will break it all down, step-by-step, so you can turn your waste into garden gold. Let’s get started on your composting journey!
Welcome to the Wonderful World of Home Composting in the UK!
So, you’re curious about composting? That’s fantastic! Composting is one of the easiest and most effective ways to reduce your household waste, cut down on landfill tax (which is a real thing in the UK!), and create amazing, nutrient-rich food for your garden. Think of it as nature’s recycling program, and you’re the supervisor.
Whether you have a sprawling garden or just a small balcony, there’s a composting solution out there for you. It might seem like a big topic, but seriously, we’ll take it nice and slow. We’ll cover everything you need to know to get your compost bin buzzing with life and churning out lovely compost for your plants.
Why is this important? Well, the less we send to landfill, the better for our environment. Plus, compost is like a superfood for your soil. It improves drainage, helps retain moisture, and boosts the health of your plants, meaning fewer chemical fertilisers and healthier, happier blooms and veggies. And the best part? You’re saving money and doing good at the same time!
Why Should You Start Home Composting in the UK?
Let’s get down to the nitty-gritty of why composting is such a brilliant idea, especially here in the UK:
- Waste Reduction: A significant portion of household waste is organic matter – food scraps, garden trimmings, etc. Composting diverts this from landfill, where it can produce harmful methane gas. The UK has ambitious targets for waste reduction, and home composting plays a vital role.
- Fantastic Soil Conditioner: Compost is often called “black gold” by gardeners, and for good reason! It enriches your soil, improving its structure and fertility. This means healthier, more robust plants, vibrant flowers, and tastier vegetables.
- Saves Money: By creating your own compost, you reduce the need to buy expensive peat-free compost and fertilizers. It’s a sustainable and cost-effective approach to gardening.
- Environmental Benefits: Composting helps to reduce greenhouse gas emissions. It closes the loop, turning waste into a valuable resource. The UK government actively encourages waste reduction and recycling initiatives.
- Supports Biodiversity: Healthy soil supports a wider range of beneficial microorganisms and insects, contributing to a more balanced garden ecosystem.
Getting Started: What You Need for Home Composting
The beauty of composting is that you don’t need much to get started. The basic idea is to provide a healthy environment for microorganisms to break down organic matter. Here’s a breakdown of your essential composting kit:
Choosing Your Compost Bin
This is probably the biggest decision you’ll make! The good news is there are options for every space and budget. The most common type for UK homes is the compost bin, often a sturdy plastic or wooden structure.
- Dalek Bins (Tumbler Bins): These are the classic, cone-shaped plastic bins you see everywhere. They’re a popular choice because they’re relatively inexpensive, retain heat and moisture well, and are readily available from local council schemes or garden centres. They typically hold around 220-330 litres.
- Open Composters/Bins: These are usually made of wood or wire mesh and are open on at least one side. They’re great for larger gardens where you can turn the compost heaps easily. They allow good aeration but can dry out faster in hot weather and may attract pests if not managed well.
- Worm Composting (Vermicomposting): Ideal for people with limited outdoor space, like balconies or small patios, or for apartment dwellers. Special wormeries use specific types of worms (like Eisenia fetida) to break down kitchen scraps quickly.
- Bokashi Bins: This is a type of anaerobic (without air) fermentation system. It’s excellent for processing cooked food waste and meat/dairy, which can be trickier in traditional compost bins. The Bokashi process creates a liquid “tea” and a pre-compost material that then needs to be buried or added to a conventional compost bin to finish breaking down.
For most beginners in the UK with a garden, a standard Dalek bin is an excellent starting point. Many local councils offer them at a subsidised price, so it’s worth checking with your local authority!
Essential Tools (Optional but Handy!)
You can get by with just a garden fork, but a few extra bits can make the job easier:
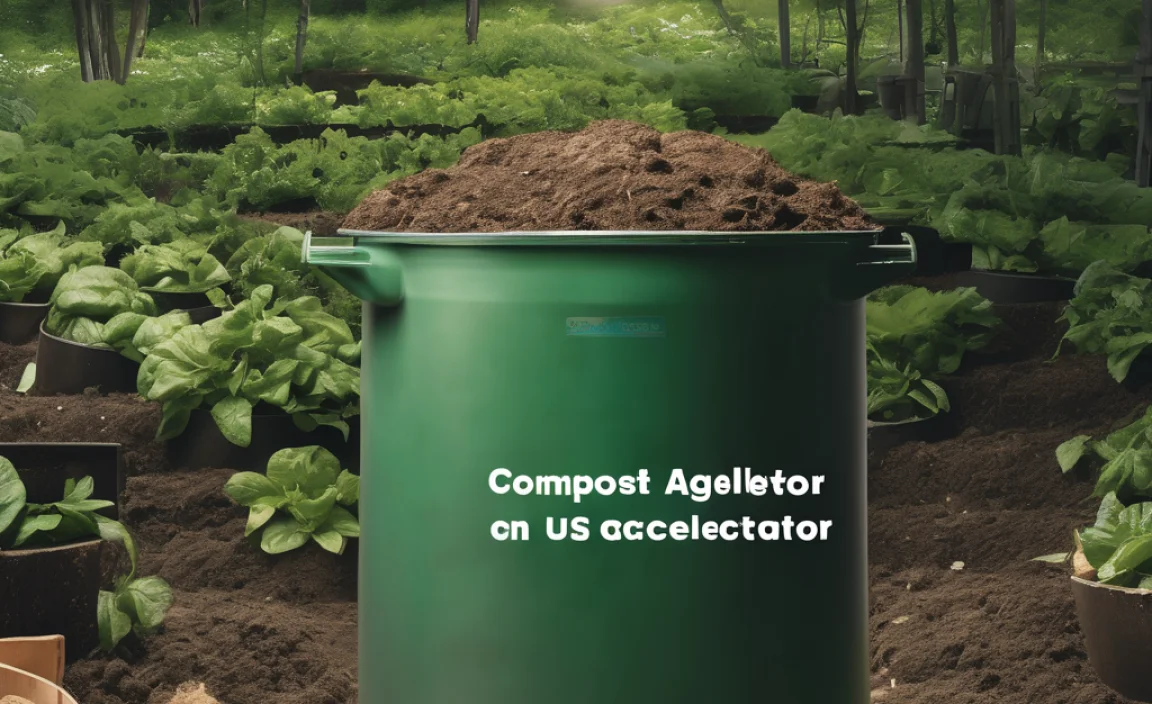
- Compost Aerator/Turner: A long, metal pole with a handle you plunge into the compost and twist. It helps break up compressed areas and introduce air without much effort.
- Garden Fork: Indispensable for turning your compost heap, mixing materials, and emptying the bin.
- Kitchen Caddy: A small bin for your kitchen counter to collect food scraps before taking them to the main compost bin. Look for one with a carbon filter to help prevent smells.
- Watering Can or Hose: Compost needs to be kept moist, like a wrung-out sponge.
What Can You Compost? The “Greens” and “Browns” Explained
This is where many beginners get confused. It’s all about balance! Think of composting like cooking; you need the right ingredients in roughly the right proportions for everything to work properly. We typically divide compostable materials into two main categories: ‘Greens’ and ‘Browns’.
The “Greens” (Nitrogen-Rich Materials)
These are typically wet, fresh materials that provide nitrogen. They tend to break down quickly.
- Fruit and vegetable peelings
- Tea bags (remove staples and plastic tags)
- Coffee grounds
- Grass clippings (in thin layers to avoid matting)
- Plant trimmings from green leaves and flowering plants
- Eggshells (crushed)
- Manure from herbivores (e.g., rabbit, chicken, horse, cow – but avoid pet waste)
The “Browns” (Carbon-Rich Materials)
These are typically dry, woody materials that provide carbon. They break down more slowly and help add air and structure to the compost.
- Cardboard (shredded, plain brown corrugated is best, avoid glossy or coloured ink)
- Paper (shredded newspaper, junk mail – again, plain ink is best)
- Dry leaves
- Straw and hay
- Wood chips and sawdust (use sparingly, especially from treated wood)
- Twigs and small branches (chopped up)
- Torn-up egg cartons
- Toilet paper and kitchen roll tubes (shredded)
The Golden Ratio (A Helpful Guide)
The ideal mix is roughly two to three parts Browns to one part Greens. Too many Greens can make the compost wet, slimy, and smelly. Too many Browns can make it dry out and break down too slowly.
Don’t stress too much about perfection. This is a guiding principle. If your compost seems wet, add more Browns. If it’s dry and not breaking down, add more Greens and some water.
What NOT to Compost
Keeping these out of your bin is crucial for healthy, safe compost:
- Meat, fish, and bones: Can attract pests and cause unpleasant odours.
- Dairy products (cheese, yogurt, milk): Similar reasons to meat – attracts pests and smells.
- Oily or fatty foods: Slow decomposition and can create anaerobic conditions (bad smells).
- Diseased plant material: Can spread diseases back into your garden.
- Weeds that have gone to seed: The seeds might survive the composting process and sprout in your garden.
- Pet waste (dog or cat faeces): Can contain harmful pathogens.
- Coal or charcoal ash: Can contain heavy metals and sulphur.
- Synthetic materials: Plastics, polystyrene, metals, etc.
- Large woody prunings: These take too long to break down unless chipped very finely.
How to Build Your Compost Heap: The Step-by-Step Guide
Ready to get your hands dirty? Let’s build that compost heap!
Step 1: Choose and Prepare Your Location
Pick a spot that’s:
- Accessible: Easy to get to with your kitchen scraps and garden waste.
- Level: So your bin or heap doesn’t tip over.
- Partially Shaded: Direct sun can dry it out too quickly, while deep shade might keep it too wet. A spot that gets sun for part of the day is ideal.
- On Bare Earth: If possible, place your bin directly on soil. This allows beneficial organisms from the soil to easily access the bin and helps with drainage. If you must place it on patio or concrete, consider putting a layer of straw or compostable material underneath to encourage worms and drainage.
Step 2: Start Layering!
This is where the Green and Brown magic happens. Aim for a good mix from the very start.
- Base Layer (Browns): Start with a layer of coarse brown material at the bottom – twigs, straw, or shredded cardboard. This helps with drainage and aeration. Aim for about 10-15 cm (4-6 inches) thick.
- Add Greens: Now, add a layer of your green materials – kitchen scraps, grass clippings.
- Add Browns: Cover the greens with a layer of brown material – dry leaves, shredded paper. Breaking up larger pieces of cardboard and paper will speed things up.
- Moisten: Lightly water each layer as you go. The compost should feel like a wrung-out sponge – damp, but not soggy.
- Repeat: Continue layering Greens and Browns, alternating them, and watering lightly. Try to finish with a layer of Browns on top to reduce smells and deter flies.
If you’re using a bin, you can just start adding materials as you generate them, but try to maintain that Green/Brown balance as much as possible. If you have a large amount of one material (like a big batch of grass clippings), mix it with Browns before adding it, or add it gradually over a few days.
Step 3: Aerate and Moisture Management
Your compost needs air and moisture to break down efficiently. Microorganisms need oxygen to do their work, and water is essential for their life processes.
Turning:
- Frequency: Aim to turn your compost every 4-8 weeks. If you’re using a tumbler bin, give it a spin every few days.
- How: Use your garden fork to mix the materials from the outside into the centre and the top into the bottom. This helps to introduce air and ensures all materials get a chance to decompose evenly. If you have a compost aerator, use it to poke holes throughout the heap.
Moisture:
- Check Regularly: Stick your hand into the heap. It should feel moist and warm.
- Too Wet? If it’s dripping when squeezed, add more Brown materials (straw, shredded cardboard, dry leaves) and turn it to help it dry out.
- Too Dry? If it feels dry and crumbly, add more Green materials or water it thoroughly. A watering can is perfect for this.
Step 4: Patience and Observation
Composting is a natural process, and it takes time. The speed depends on the materials you use, the temperature, moisture levels, and how often you turn it.
What to Look For:
- Heat: A healthy compost pile will generate heat, especially in the centre, as the microorganisms work. It might feel hot when you turn it.
- Smell: It should smell earthy and pleasant. A strong, foul, or ammonia-like smell usually indicates an imbalance, often too many Greens or it’s too wet.
- Decomposition: You’ll start to see materials breaking down, becoming darker, and less recognisable.
How Long Does it Take? And When is it Ready?
This is the million-dollar question! The time it takes for compost to mature can vary significantly. You’re looking at anywhere from 2 to 12 months, depending on several factors:
- Materials: A mix of fine, ‘Green’ materials will break down faster than large, ‘Brown’ woody items.
- Temperature: Composting happens faster in warmer weather. Your compost heap will likely be more active in spring and summer than in winter.
- Aeration: Regularly turning the compost speeds up the process.
- Moisture: The right moisture level is key.
Signs Your Compost is Ready
You’ll know your compost is ready when:
- It is dark brown and crumbly.
- It has an earthy, pleasant smell.
- You can no longer recognise the original materials you put in.
- It has cooled down. A hot compost pile indicates active decomposition; a cool pile means it’s finished.
Once it’s ready, you can use it straight away. You might notice some larger woody bits remaining – these can be sieved out and put back into a new compost bin to get started.
Troubleshooting Common Composting Problems
Even with the best intentions, you might run into a snag. Don’t despair! Most composting issues are easily fixed.
| Problem | Cause | Solution |
|---|---|---|
| Compost is Smelly (Rotten Egg/Ammonia Smell) | Too many ‘Greens’, too wet, not enough ‘Browns’, lack of air (compacted). | Add more ‘Brown’ material (shredded cardboard, dry leaves, straw). Turn the heap thoroughly to introduce air. If very wet, add absorbent Browns. Ensure good drainage at the base. |
| Compost is Dry and Isn’t Breaking Down | Too many ‘Browns’, not enough moisture, needs turning. | Add more ‘Green’ material (kitchen scraps, grass clippings) and water. Turn the heap. Ensure the bin lid is on (if applicable) to retain moisture. |
| Compost is Slimy or Soggy | Too much ‘Green’ material, too much water, poor drainage. | Add plenty of ‘Brown’ material. Turn the heap to aerate and help it dry. Check for blockages in drainage holes. |
| Attracting Pests (Flies, Rats) | Exposed food waste, inappropriate items in the bin (meat, dairy). | Always bury fresh kitchen scraps under a layer of ‘Brown’ material. Ensure your bin lid is secure. Do NOT add meat, fish, dairy, or oily foods. If the problem persists, consider a more secure bin or a different method like Bokashi. |
| Lots of Fruit Flies | Exposed food scraps. | Cover food scraps with a layer of ‘Browns’ (like shredded paper or dry leaves). Ensure food waste is chopped small. |
Beyond the Bin: Using Your Homemade Compost
You’ve done it! You’ve created ‘black gold’. So, how do you use this wonderful stuff?
- Soil Improver: Dig it into garden beds and borders in spring or autumn. It improves soil structure, drainage, and fertility for all your plants.
- Mulch: Spread a layer around the base of trees, shrubs, and plants. This helps retain moisture, suppress weeds, and feed the soil.
- Potting Mix: Mix it with grit and good-quality peat-free topsoil to create your own excellent potting mix for containers and hanging baskets. A common ratio is one-third compost, one-third topsoil, and one-third grit.
- Lawn Dressing:

I am passionate about home engineering. I specialize in designing, installing, and maintaining heating, ventilation, and air conditioning systems. My goal is to help people stay comfortable in their homes all year long.