Replacing your toilet fill valve and flapper yourself can save you a lot of money. Expect to pay around $20 to $50 for the parts. If you hire a plumber, the total cost could range from $150 to $350, including labor. Doing it yourself is straightforward and can be completed in under an hour!
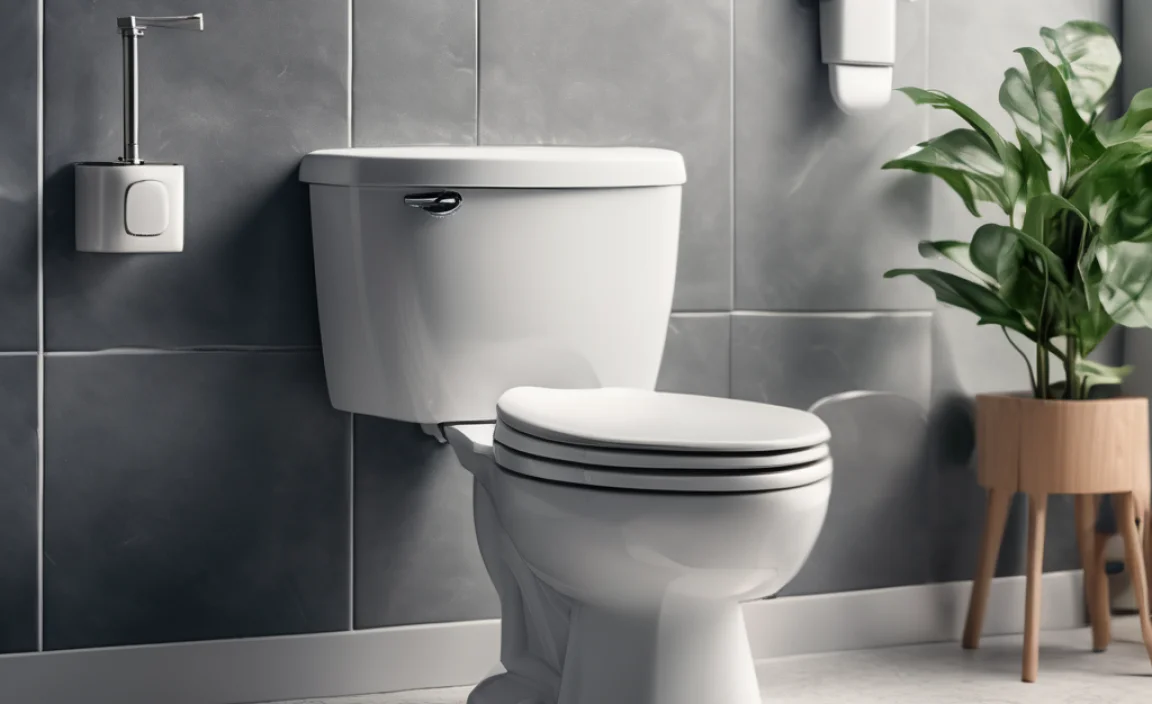
Is your toilet running constantly? Or maybe it’s not flushing properly? These problems often come down to a faulty fill valve or flapper. The good news is that replacing these parts is a simple DIY project. You don’t need to be a plumbing expert to get your toilet working like new again.
This guide will walk you through the process step-by-step. We’ll cover everything from gathering your tools to installing the new parts. You’ll also learn how to adjust the water level to prevent future issues. Let’s get started and save some money!
Why Replace Your Toilet Fill Valve and Flapper?
A running or leaking toilet can waste a lot of water, leading to higher water bills. Replacing a worn-out fill valve or flapper can solve these issues and save you money in the long run. Here are some common reasons why you might need to replace these parts:
- Constant Running: The toilet continuously refills, even when not in use.
- Weak Flush: The toilet doesn’t flush with enough power.
- Phantom Flushes: The toilet flushes on its own, without anyone touching the handle.
- Visible Wear and Tear: The flapper or fill valve shows signs of damage or deterioration.
- Old Age: Toilet parts degrade over time and need replacement.
Cost Breakdown: DIY vs. Hiring a Plumber
One of the biggest advantages of doing this project yourself is the cost savings. Let’s compare the expenses of DIY versus hiring a professional plumber.
DIY Costs
When you tackle this project yourself, your main expense will be the cost of the replacement parts. Here’s a general breakdown:
- Fill Valve: $10 – $25
- Flapper: $5 – $15
- Optional: Toilet Repair Kit: $15 – $35 (includes both fill valve and flapper)
So, for a DIY replacement, you can expect to pay between $20 and $50 for all the necessary parts. This is a fraction of the cost compared to hiring a plumber.
Professional Plumber Costs
If you decide to hire a plumber, you’ll need to factor in labor costs in addition to the price of the parts. Here’s what you can expect:
- Parts: $20 – $50 (same as DIY)
- Labor: $130 – $300 (depending on location and plumber’s rates)
Therefore, the total cost of hiring a plumber can range from $150 to $350. The labor cost can vary based on your location and the plumber’s hourly rate. In some areas, emergency or after-hours service calls can significantly increase the price.
Cost Comparison Table
| Expense | DIY | Professional Plumber |
|---|---|---|
| Parts (Fill Valve & Flapper) | $20 – $50 | $20 – $50 |
| Labor | $0 | $130 – $300 |
| Total Cost | $20 – $50 | $150 – $350 |
As you can see, doing it yourself can save you a significant amount of money. The job is simple enough for most homeowners to handle with basic tools and a bit of patience.
Tools and Materials You’ll Need
Before you start, gather all the necessary tools and materials. This will make the process smoother and prevent unnecessary trips to the hardware store.
- New Fill Valve: Choose a universal fill valve that fits most toilets.
- New Flapper: Select a flapper that matches your toilet model or a universal flapper.
- Adjustable Wrench: For loosening and tightening connections.
- Pliers: For gripping and manipulating small parts.
- Sponge or Towel: To clean up any spills.
- Bucket: To drain the toilet tank.
- Gloves: To protect your hands.
- Optional: Screwdriver: May be needed for certain fill valve installations.
Step-by-Step Guide to Replacing Your Toilet Fill Valve and Flapper
Now, let’s get to the actual replacement process. Follow these steps carefully, and you’ll have your toilet working perfectly in no time.
Step 1: Turn Off the Water Supply
The first and most important step is to turn off the water supply to your toilet. Locate the shut-off valve behind the toilet, usually near the floor. Turn it clockwise until the water stops flowing. If you don’t have a shut-off valve, you’ll need to turn off the main water supply to your house. This is usually located in the basement or near the water meter. The EPA provides helpful information on protecting your home’s water supply.
Step 2: Drain the Toilet Tank
Flush the toilet to remove most of the water from the tank. Use a sponge or towel to soak up any remaining water at the bottom of the tank. This will make it easier to work without getting everything wet.
Step 3: Disconnect the Water Supply Line
Using an adjustable wrench, disconnect the water supply line from the bottom of the fill valve. Be careful not to damage the supply line. Have a bucket ready to catch any remaining water in the line.
Step 4: Remove the Old Fill Valve
Most fill valves are held in place by a locknut on the underside of the tank. Use pliers to loosen and remove this locknut. Once the locknut is removed, you should be able to lift the old fill valve out of the tank.
Step 5: Disconnect the Old Flapper
The flapper is usually attached to the flush lever with a chain or strap. Disconnect the chain or strap from the flush lever. Then, detach the flapper from the two small pegs or mounting points at the bottom of the tank.
Step 6: Install the New Fill Valve
Insert the new fill valve into the hole in the bottom of the tank. Make sure the fill valve is properly aligned. Attach the locknut to the underside of the tank and tighten it securely with pliers. Be careful not to overtighten, as this could crack the tank.
Step 7: Connect the Water Supply Line
Reconnect the water supply line to the bottom of the new fill valve. Tighten the connection with an adjustable wrench. Again, be careful not to overtighten.
Step 8: Install the New Flapper
Attach the new flapper to the two pegs or mounting points at the bottom of the tank. Make sure the flapper sits properly over the flush valve opening. Connect the chain or strap to the flush lever. Adjust the length of the chain so that the flapper seals properly but doesn’t stay open after flushing.
Step 9: Turn the Water Supply Back On
Slowly turn the water supply valve back on. Watch for any leaks around the fill valve and water supply line connections. If you see any leaks, tighten the connections slightly.
Step 10: Adjust the Water Level
Once the tank is full, check the water level. The water level should be about an inch below the top of the overflow tube. Most fill valves have an adjustment mechanism to raise or lower the water level. Refer to the manufacturer’s instructions for your specific fill valve model.
Step 11: Test the Flush
Flush the toilet several times to ensure everything is working correctly. Watch for any leaks and make sure the flapper is sealing properly. If the toilet is still running or not flushing correctly, double-check all your connections and adjustments.
Troubleshooting Common Issues

Even with careful installation, you might encounter some issues. Here are some common problems and how to fix them.
- Toilet Still Running:
- Problem: The flapper may not be sealing properly.
- Solution: Adjust the chain length or replace the flapper.
- Weak Flush:
- Problem: The water level may be too low.
- Solution: Adjust the fill valve to increase the water level.
- Leaks:
- Problem: Loose connections.
- Solution: Tighten all connections with a wrench.
- Fill Valve Not Filling:
- Problem: Debris in the fill valve.
- Solution: Clean the fill valve or replace it.
Tips for Choosing the Right Fill Valve and Flapper
Selecting the right replacement parts is crucial for a successful repair. Here are some tips to help you choose the best fill valve and flapper for your toilet.
Fill Valve
- Universal Fit: Opt for a universal fill valve that is designed to fit most toilet models.
- Adjustable Height: Choose a fill valve with adjustable height to accommodate different tank sizes.
- Anti-Siphon Design: Look for a fill valve with an anti-siphon design to prevent backflow contamination.
- Quiet Operation: Consider a fill valve that is designed for quiet operation to minimize noise.
Flapper
- Match Your Toilet Model: If possible, choose a flapper that is specifically designed for your toilet model.
- Universal Flapper: If you can’t find a model-specific flapper, a universal flapper will usually work.
- Material: Choose a flapper made from durable, chlorine-resistant material.
- Adjustable Flapper: Consider an adjustable flapper for a more precise seal.
Maintaining Your Toilet to Prevent Future Problems
Regular maintenance can help prevent future issues and extend the life of your toilet parts. Here are some tips for maintaining your toilet.
- Regularly Check for Leaks: Inspect your toilet for leaks around the base, fill valve, and flapper.
- Clean the Fill Valve: Periodically clean the fill valve to remove any debris or mineral buildup.
- Replace Worn Parts: Replace any worn or damaged parts as soon as you notice them.
- Avoid Flushing Foreign Objects: Only flush toilet paper and waste. Avoid flushing items like diapers, wipes, and feminine hygiene products.
- Use Toilet Bowl Cleaner Sparingly: Harsh chemicals in some toilet bowl cleaners can damage toilet parts.
When to Call a Professional Plumber
While replacing a fill valve and flapper is a relatively simple DIY project, there are times when it’s best to call a professional plumber. Here are some situations where you should consider hiring a pro:
- You’re Not Comfortable Working with Plumbing: If you’re not confident in your DIY skills, it’s best to leave the job to a professional.
- You Encounter Difficulties: If you run into unexpected problems or can’t get the new parts to fit properly, call a plumber.
- You Have a Complex Plumbing System: If you have an older or more complex plumbing system, a plumber can ensure the job is done correctly.
- You Suspect a More Serious Problem: If you suspect there may be a more serious underlying issue, such as a damaged drainpipe, call a plumber.
FAQ: Replacing Toilet Fill Valve and Flapper
Q: How long does it take to replace a toilet fill valve and flapper?
A: It usually takes about 30 minutes to an hour for most DIYers.
Q: What tools do I need for this project?
A: You’ll need an adjustable wrench, pliers, a bucket, a sponge, and gloves.
Q: Can I use a universal fill valve and flapper?
A: Yes, universal fill valves and flappers are designed to fit most toilets.
Q: How do I know if my flapper is leaking?
A: If your toilet runs constantly or you hear it refilling on its own, your flapper may be leaking.
Q: What if I overtighten the connections?
A: Overtightening can crack the tank or damage the fittings. Be careful and avoid excessive force.
Q: How do I adjust the water level in my toilet tank?
A: Most fill valves have an adjustment mechanism. Refer to the manufacturer’s instructions for your specific model.
Q: Is it worth it to replace these parts myself?
A: Absolutely! It’s a simple DIY project that can save you a lot of money compared to hiring a plumber.
Conclusion
Replacing your toilet fill valve and flapper is a straightforward DIY project that can save you money and prevent water waste. By following these step-by-step instructions, you can easily get your toilet working like new again. Remember to take your time, be careful with the connections, and don’t hesitate to call a professional if you encounter any difficulties. With a little effort, you can tackle this task yourself and enjoy a smoothly running toilet.