Have you ever admired the look of floating shelves in a cozy living room or a stylish kitchen? They float gracefully on the wall, and they can change a space entirely. But did you know that installing them is easier than you might think? Many people wonder how to attach floating shelves to the wall without making it a big hassle.
Imagine showcasing your favorite books, plants, or photos on those sleek shelves. It sounds fantastic, right? Here’s the best part: with the right steps, you can do it all by yourself! Attaching floating shelves to the wall lets you display your personal style while keeping your space organized.
In this article, we will guide you through the simple process. You’ll learn the tips and tricks to make your shelves sturdy and secure. Get ready to impress your friends and family with your new skills! Let’s get started on how to attach floating shelves to the wall and turn your vision into reality!
How To Attach Floating Shelves To The Wall: A Complete Guide
How to Attach Floating Shelves to the Wall
Floating shelves add style to any room. To attach them securely, start by finding your wall studs, as these provide strong support. Use a level to ensure the shelves are straight. Drill holes for the brackets and securely attach them. A fun fact? Floating shelves can hold a surprising amount of weight if done right! With a few tools and steps, you can transform your space in no time. Ready to get started?
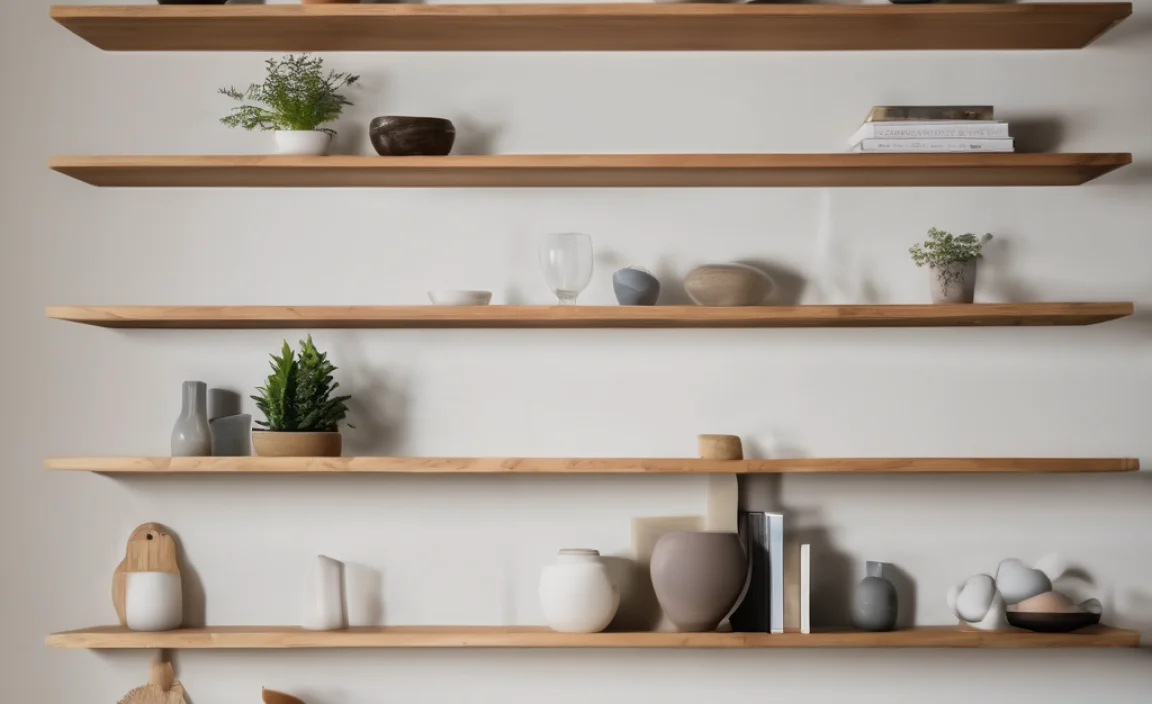
Choosing the Right Location for Your Floating Shelves
Assessing wall space and room layout. Considering weight limits and shelf usage.
Finding the best spot for your floating shelves is important. Start by looking at the wall space. Make sure there’s enough room for shelves to fit. Think about how the room looks and how shelves will be used. Will they hold books, plants, or décor? Weight limits matter too. Shelves can only carry so much. Check if your wall can support them well.
Where should I place my floating shelves?
Place your shelves where they can be seen and used easily. Think about lighting and the height of people using them. This makes it easy to reach items you need.
- Consider the height of the shelves.
- Look at the wall’s surface type.
- Decide what items will go on the shelves.
Materials and Tools Needed
List of materials for installation. Essential tools for the job.
Before you start, gather all your materials and tools. This will make your work easier. Here’s a quick list:
- Materials: Floating shelves, brackets, wall anchors, screws, and a level.
- Tools: Drill, screwdriver, tape measure, and a pencil.
Having everything ready helps you finish faster. It also keeps you focused, so you don’t have to run back and forth for supplies!
What do I need for hanging shelves?
You’ll need shelves, brackets, screws, and some tools like a drill and screwdriver. Make sure to have wall anchors for extra support!
Measuring and Marking for Installation
Tips on accurate measuring techniques. Best practices for marking pilot holes.
Measuring and marking your wall is like preparing for an important exam: get it right, and you’ll ace it! Start by finding the right spot for your floating shelves. Use a level to ensure they’ll sit straight, and don’t forget to measure twice—that’s not just a saying! For marking the pilot holes, use a pencil. It’s easier to erase than a bad test answer.
Here’s a simple way to make sure you stay on track:
| Step | Tip |
|---|---|
| 1 | Use a tape measure for accurate lengths. |
| 2 | Mark where your brackets will go—no need for guesswork! |
| 3 | Check with a level to avoid shelf-wobbling disasters! |
Remember, a little extra time measuring now will save you laughs later when your bookshelf does not look like the Leaning Tower of Pisa!
Preparing the Wall
Identifying wall studs and using anchors. Ensuring a level surface for installation.
To start, find the right spot on your wall. Use a stud finder to locate the wall studs. Studs are strong and help hold the shelves. If there are no studs where you want to hang your shelf, use wall anchors. They add support. Next, check the surface. Use a level to ensure it’s straight. This way, your shelves will not tilt or fall. A level surface is key for a sturdy installation.
How to make sure your shelves are secure?
Use a stud finder and wall anchors for security, and always double-check with a level. This makes sure your shelves won’t fall and can hold your items safely.
- Find wall studs with a stud finder.
- If no studs are available, use wall anchors.
- Check the surface with a level tool.
The Installation Process Step-by-Step
Detailed steps for attaching floating shelves. Troubleshooting common installation issues.
First, gather your tools: a level, drill, and mounting brackets. Start by finding the right spot on your wall. Use a level to mark where your shelves will go. Remember, no one likes a slanted shelf! Next, drill holes for your brackets. Make sure they are spaced evenly. If you hit a stud, that’s great for supporting your shelf. If you don’t, use drywall anchors.
Now, attach the brackets with screws. Ensure they are tight. Don’t want your precious books to take a dive! Finally, it’s time to place the shelves. Give them a gentle push down to make sure they’re secure. If something feels off, double-check your measurements. You don’t want your shelf looking like a rollercoaster!
| Common Issues | Solutions |
|---|---|
| Slanted shelf | Recheck the level and adjust brackets. |
| Bracket breaking | Ensure screws are tight and use stronger anchors. |
| Shelf falling | Consult the weight limit and redistribute items. |
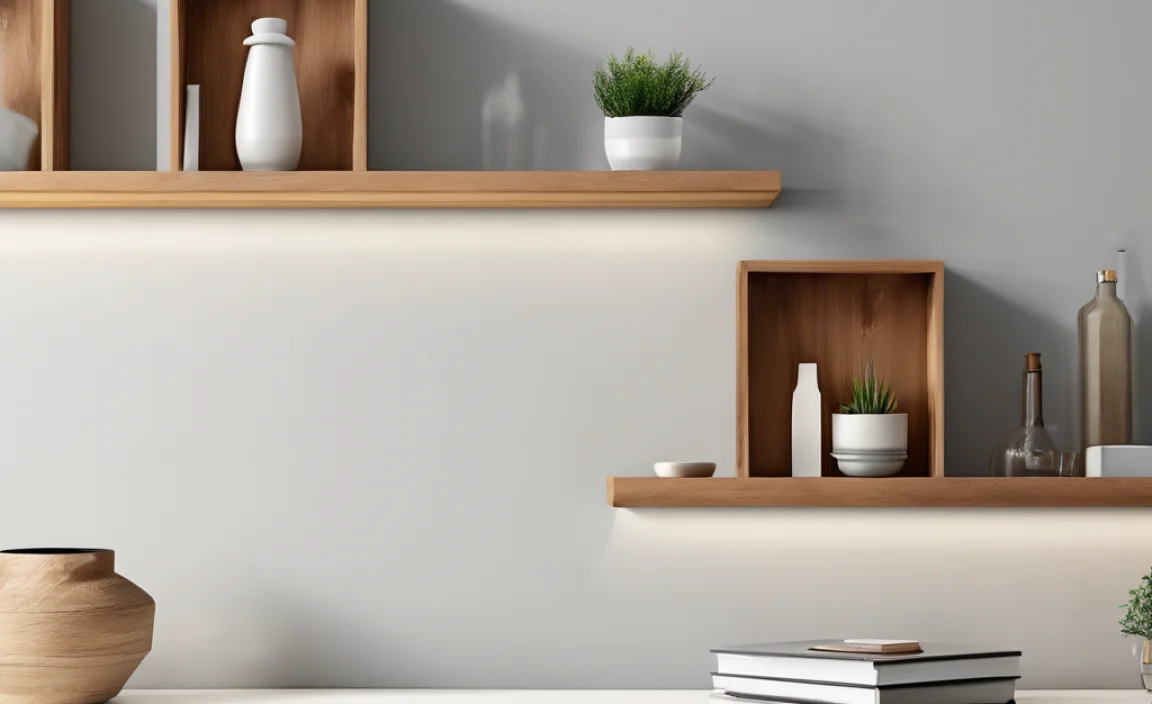
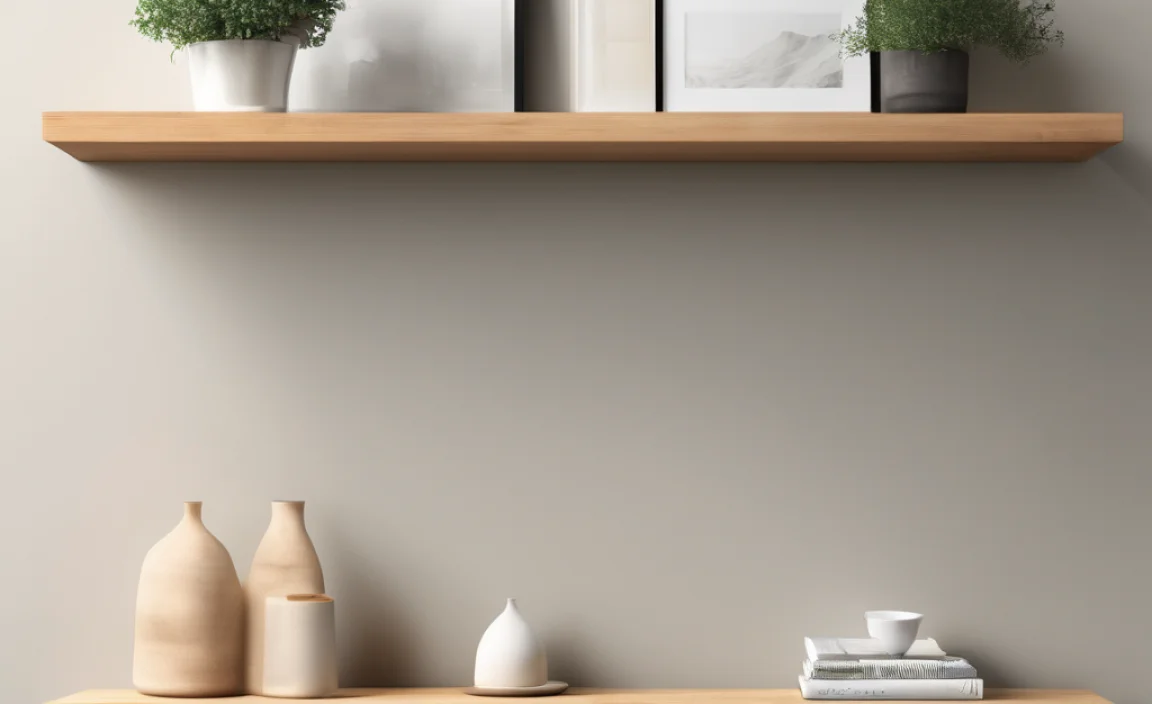
Decorating and Styling Your Floating Shelves
Ideas for arranging items on the shelves. Tips for balancing aesthetics and functionality.
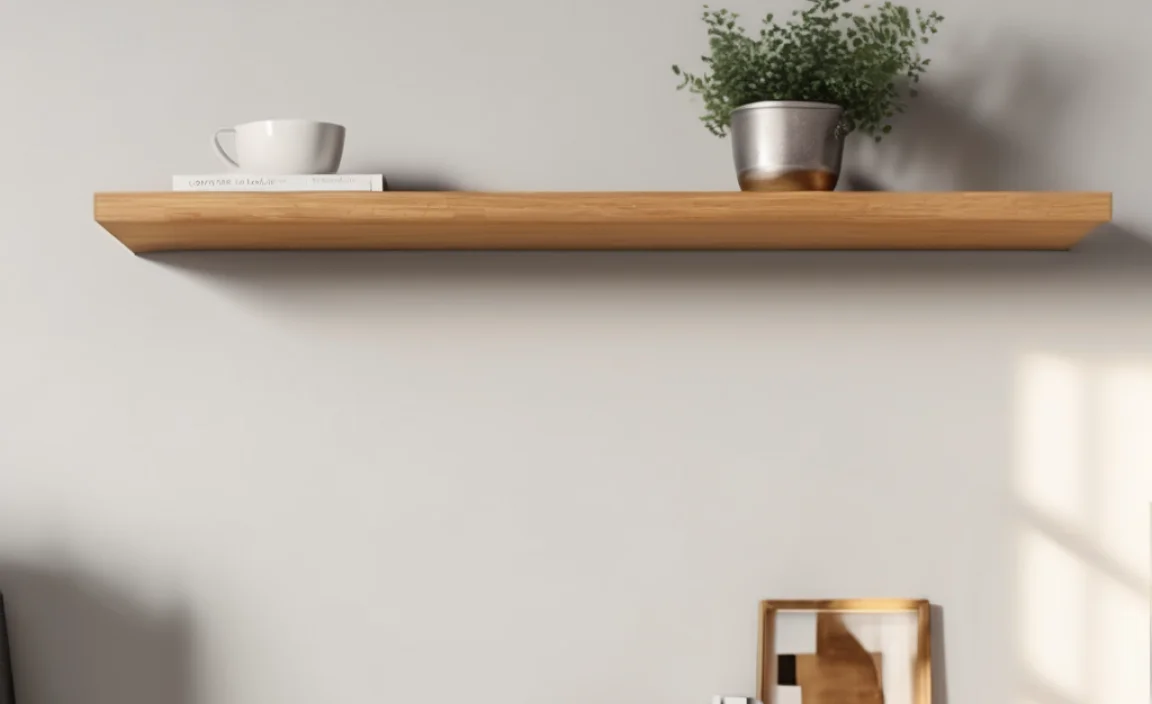
Arranging items on your floating shelves can be fun. Start by mixing different shapes and sizes. Add books, plants, and photos for a lively look. Aim for balance between style and usefulness. Here are some simple tips:
- Place larger items at the back and smaller ones in front.
- Use color to create a theme.
- Mix textures, like wood and metal.
- Leave some empty space for a clean feel.
By following these ideas, your floating shelves will look great and stay practical!
How can I style my floating shelves?
Use a mix of decorative items and functional pieces for the best look. Consider your room’s colors and themes to make it flow.
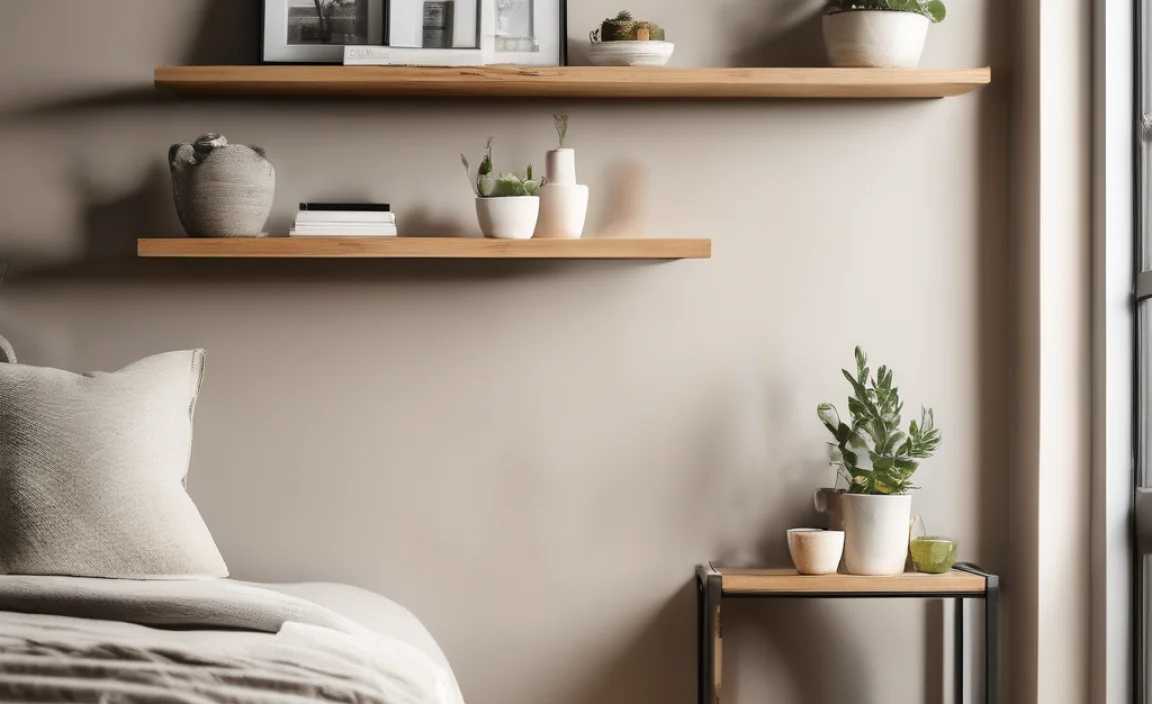
Maintenance and Safety Tips
How to ensure shelf sturdiness over time. Safety considerations for heavy items on shelves.
To keep your shelves strong and safe, check them often. Make sure they are still attached and not wobbly. Dust them regularly to avoid buildup. If you place heavy items on shelves, like books, be careful. Arrange heavier items on the lower shelves. This reduces the chances of tipping. Here are some quick tips:
- Use strong brackets to hold shelves securely.
- Keep heavy items close to the wall.
- Avoid overloading the shelves.
Following these tips helps your shelving last longer and keeps your space safe!
How can I keep my shelves safe over time?
To keep your shelves safe, check their strength often. Ensure they are tightly attached to the wall. Regularly dust and examine them for wear. This can prevent accidents and keep your items secure.
Conclusion
In conclusion, attaching floating shelves to the wall is simple. First, find a stud or use wall anchors. Then, level the shelf for a straight look. Secure it tightly and enjoy your new space. Remember to choose the right tools! If you want to learn more about decorating with shelves, keep reading other helpful articles. Happy decorating!
FAQs
What Tools And Materials Do I Need To Install Floating Shelves On The Wall?
To install floating shelves, you need some tools and materials. First, get a drill with drill bits. You will also need a level tool to make sure the shelves are straight. Don’t forget screws and wall anchors, which help hold the shelves up. Lastly, have a tape measure and a pencil to mark where you want the shelves.
How Do I Determine The Best Height And Location For My Floating Shelves?
To find the best height for your floating shelves, stand next to the wall and look at what you want to put on them. Shelves should be at eye level so you can see everything easily. Make sure they are high enough to avoid bumping your head. For location, pick a spot where you can reach them but not too low that things fall off. You can also think about how they fit with other things on the wall.
What Are The Different Types Of Wall Anchors, And Which One Should I Use For Floating Shelves?
There are several types of wall anchors. Some common ones are plastic anchors, metal anchors, and toggle bolts. For floating shelves, you should use heavy-duty wall anchors like toggle bolts. They hold a lot of weight and keep your shelves secure. Make sure to follow the instructions for the anchors you choose!
How Can I Ensure That My Floating Shelves Can Support The Weight Of The Items I Plan To Place On Them?
To make sure your floating shelves are strong enough, use good quality brackets. Choose shelves made of sturdy materials like wood or metal. When you install them, make sure they are attached to wall studs, which are the strong parts of the wall. Finally, check the weight limit for your shelves and don’t put too much on them. This way, your shelves will hold your stuff safely!
What Are The Steps To Properly Align And Level Floating Shelves During Installation?
To install floating shelves, first, choose where you want them. Then, use a pencil to mark where the brackets will go. Next, use a level to make sure your marks are straight. After that, drill the holes and put in the brackets. Finally, place the shelf on the brackets and check again to make sure it is level.