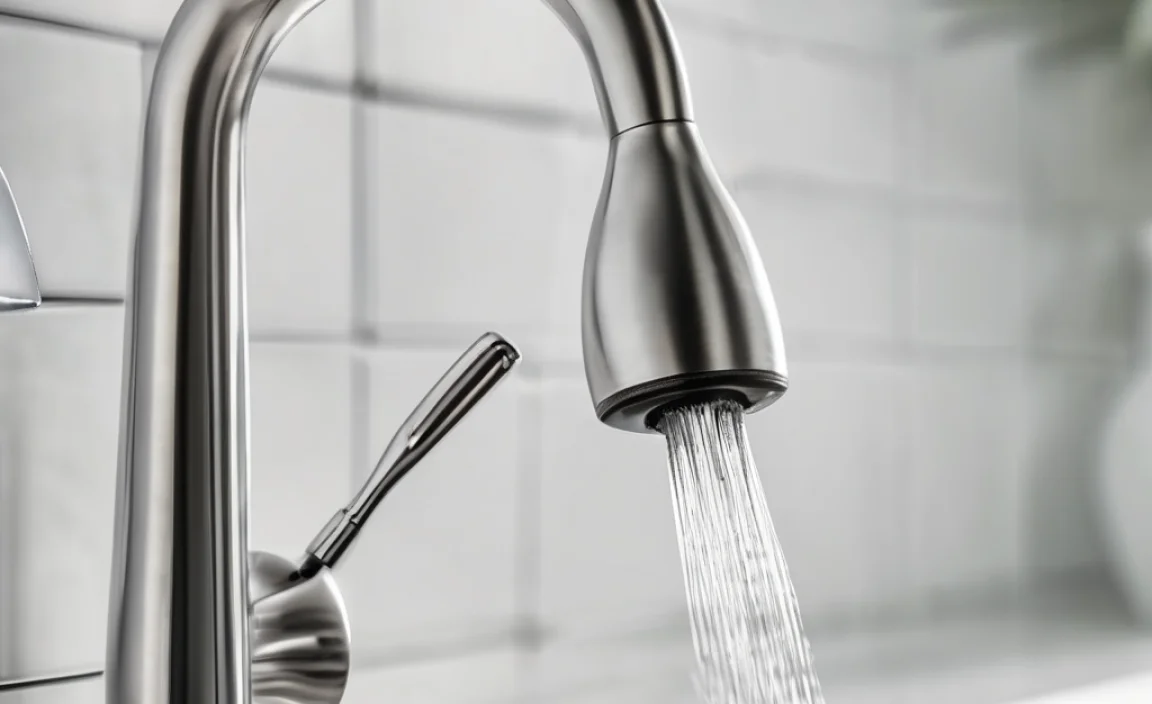
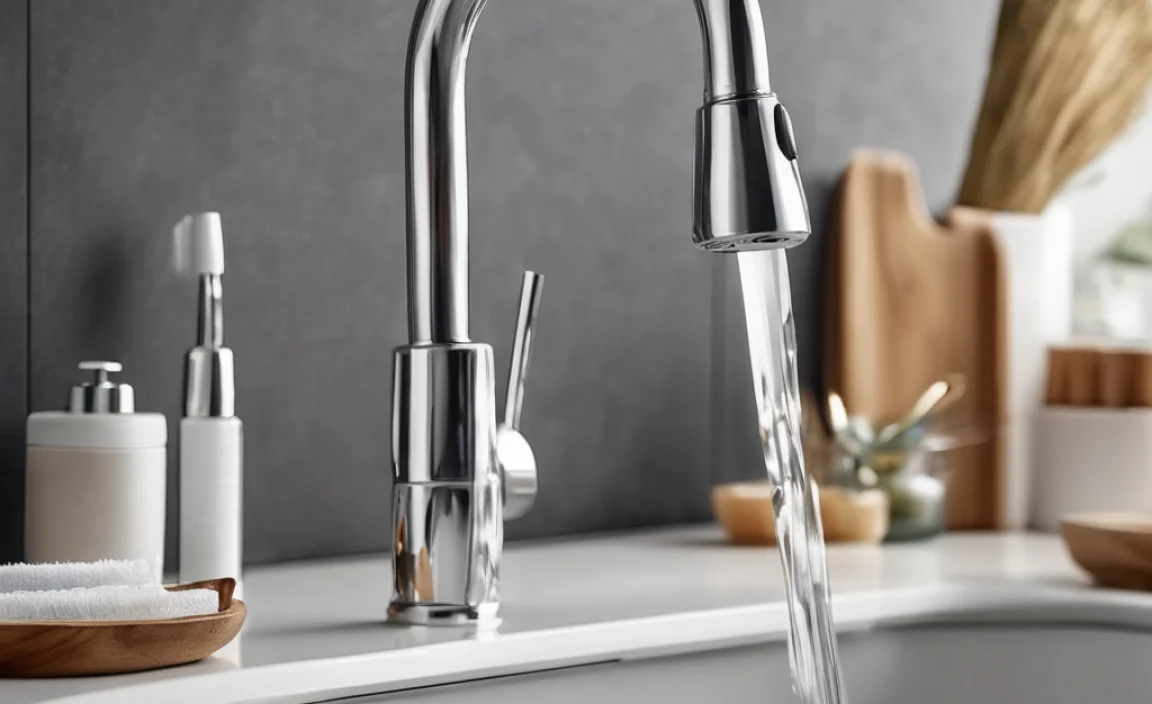
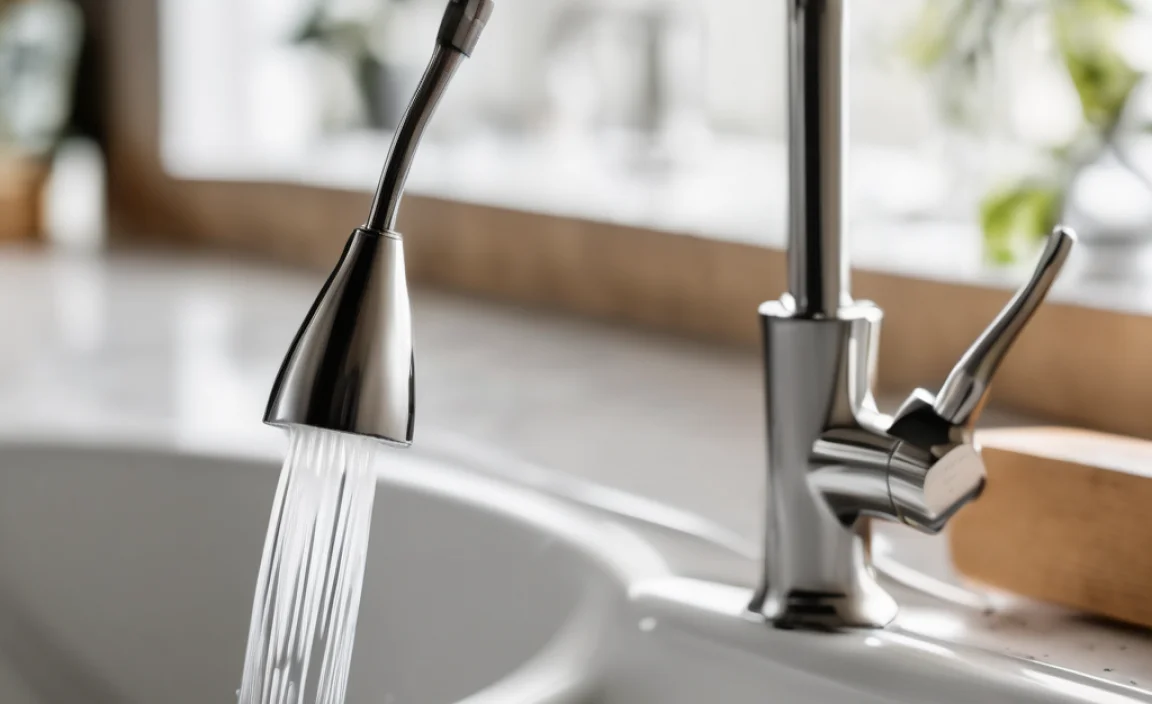
Have you ever wondered why your sink faucet isn’t flowing like it used to? A dirty aerator might be the reason! Cleaning a sink aerator is a simple task that can make a big difference in your water flow. Imagine running the tap and seeing only a weak stream of water. It’s frustrating, right?
Many people don’t realize that their water flow can be easily fixed. Did you know that an aerator can collect dirt and grime over time? Even tiny bits of sand can clog it. Think of it as a little filter for your faucet. When it gets dirty, it can’t do its job well anymore.
In this article, we will show you how to clean a sink aerator. You’ll learn quick tips and tricks to restore your water flow in no time. So, are you ready to bring back that powerful stream of water? Let’s dive in and make your sink work like new again!
How To Clean Sink Aerator – A Step-By-Step Guide
How to Clean Sink Aerator
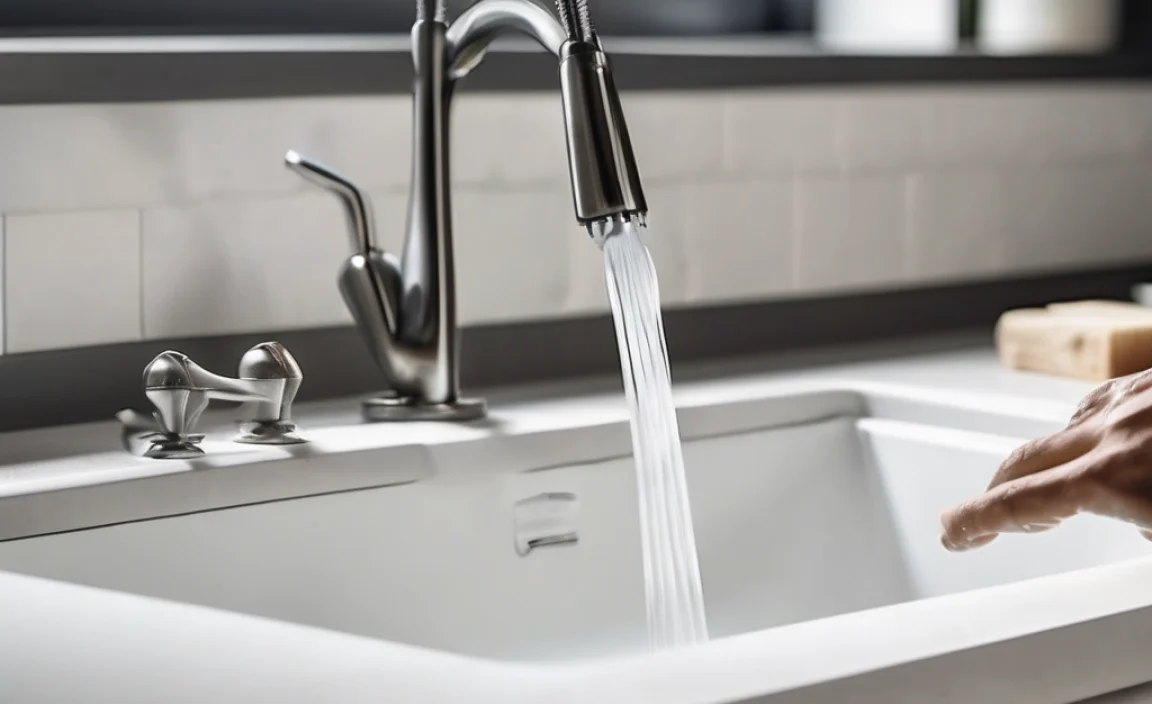
Cleaning your sink aerator is simple and rewarding. Start by unscrewing the aerator from the faucet. Have you ever noticed reduced water flow? This could be due to dirt buildup. A mixture of vinegar and baking soda removes tough stains and mineral deposits effectively. After soaking the parts, rinse thoroughly. Reassemble it, and you’ll enjoy clear, strong water flow again! Maintaining your aerator takes only a few minutes and keeps your sink running smoothly.
What is a Sink Aerator?
Definition and purpose of a sink aerator. Types of aerators commonly found in households.
A sink aerator is a small device attached to the end of a faucet. It mixes air with water, creating a steady stream while reducing water usage. This nifty gadget helps save money and is good for the planet. Households often have three types of aerators: standard, which flows steadily; laminar, offering a smooth stream; and spray, which creates a fun mist. Without an aerator, washing dishes may feel like trying to catch water from a leaky hose—messy and ineffective!
| Type of Aerator | Description |
|---|---|
| Standard | Offers a steady, smooth flow of water. |
| Laminar | Produces a clear, non-splashing stream. |
| Spray | Creates a fine mist, perfect for rinsing. |
Importance of Cleaning Sink Aerators
Impact on water flow and pressure. Maintenance of water quality.
Cleaning sink aerators is important for your home. They help control water flow and pressure. A dirty aerator can reduce water flow, making tasks harder. It can also cause extra pressure, which can damage pipes. Clean aerators ensure you get a steady stream of water. Regular cleaning improves water quality too. If the aerator is dirty, it can let small particles into your drinking water. This makes it taste bad and can be unsafe.
Why is cleaning aerators important?
Cleaning aerators helps improve water flow and pressure. It also ensures better water quality.
Key Benefits:
- Increased water flow
- Consistent water pressure
- Better tasting water
Signs That Your Sink Aerator Needs Cleaning
Reduced water pressure. Noticeable sediment buildup or discoloration.
Wondering if your sink aerator is playing hide-and-seek with water pressure? Look for these signs! If the water comes out weak, that’s a red flag. Sediment buildup is like your aerator’s uninvited guest. If you see gunk or weird colors around the faucet, it’s time for a clean-up! Dirt is sneaky, but your spiffy sink shouldn’t be. So, let’s dive into the world of sparkling clean faucets!
| Signs | Description |
|---|---|
| Reduced Water Pressure | Water comes out less forcefully. |
| Sediment Buildup | Visible dirt or discoloration appears. |
Preparation for Cleaning
Tools and materials needed for the process. Safety precautions to consider.
Before diving into the cleaning adventure, gather your trusty tools. You’ll need a pair of pliers, a soft brush, and a towel. Don’t forget a small bowl to catch any sneaky parts that might escape. Safety is key, so put on those gloves to protect your hands. It’s like giving your hands a little spa day while battling grime! Lastly, ensure the water is turned off. We don’t want a surprise splash party while cleaning!
| Tools | Purpose |
|---|---|
| Pliers | To unscrew the aerator |
| Soft Brush | To scrub away dirt |
| Bowl | To catch any falling pieces |
| Gloves | To keep your hands safe and clean |
Step-by-Step Guide to Cleaning a Sink Aerator
Detailed instructions on how to disassemble the aerator. Cleaning techniques (soaking, scrubbing, rinsing).
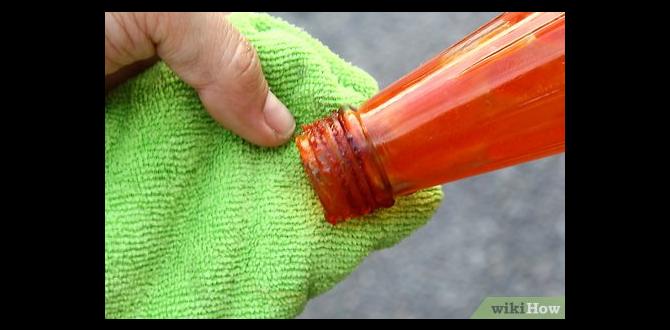
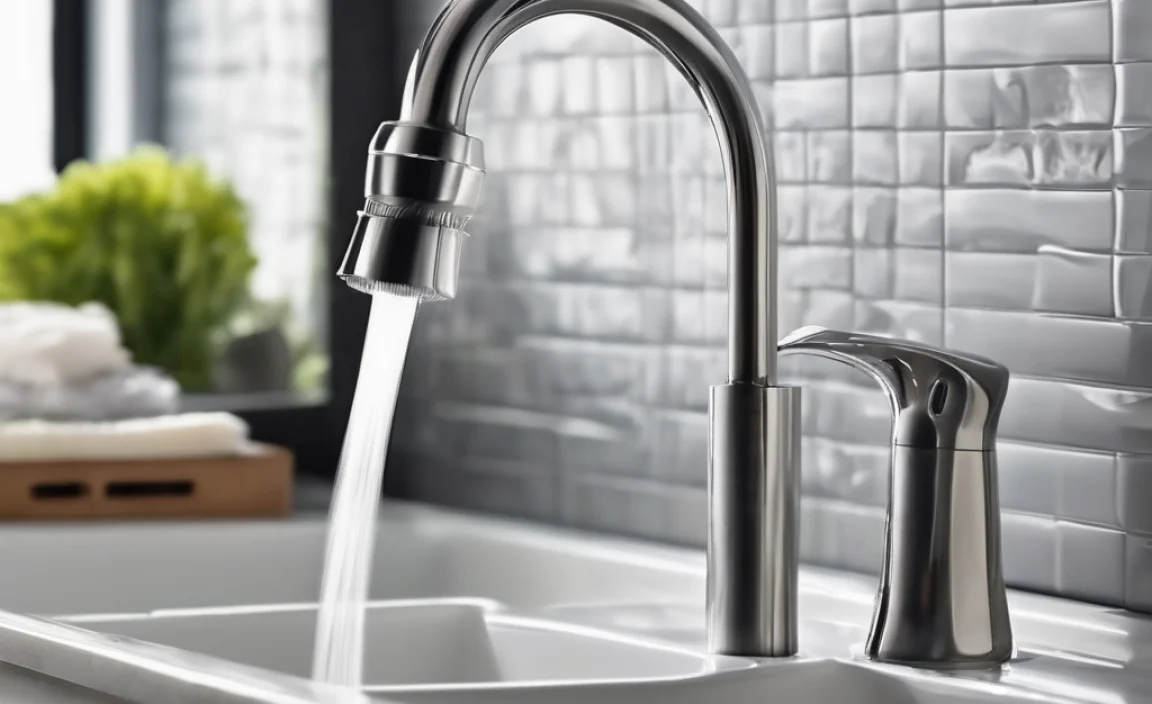
Cleaning a sink aerator is easy and can be done in three simple steps. First, unscrew the aerator from the faucet. You might need a cloth for a better grip, as it can be tricky! Next, soak the aerator in vinegar for about 30 minutes. It helps remove any stubborn build-up. After that, scrub it gently with an old toothbrush. Rinse everything thoroughly under running water. Now you’re ready to reassemble it! Voila! Clean sink, happy you!
| Step | Action |
|---|---|
| 1 | Unscrew the aerator |
| 2 | Soak in vinegar |
| 3 | Scrub and rinse |
| 4 | Reassemble |
How to Prevent Future Clogs in Sink Aerators
Tips for regular maintenance and inspection. Recommendations for products that help reduce buildup.
Keeping sink aerators clean prevents clogs. Regular checks help too. Clean the aerator every few months. This stops dirt from building up. Use a soft brush or cloth for gentle cleaning.
Try these products to reduce buildup:
- Dish soap: A little goes a long way to remove grease.
- Vinegar: It dissolves mineral deposits effectively.
- Water softeners: They help prevent limescale.
By taking these steps, you can enjoy clear water flow. It’s easy to keep your sink happy!
What is the best way to maintain sink aerators?
Check regularly, clean every few months, and use quality products.
Common Mistakes to Avoid When Cleaning Sink Aerators
Overtightening parts during reassembly. Ignoring signs of wear and tear on aerator components.
Cleaning a sink aerator can be tricky. Here are some mistakes to avoid:
- Overtightening parts during reassembly can damage them. Use a gentle touch to avoid cracks.
- Ignoring wear and tear on parts is risky. Always check for cracks or rust. Replace any broken pieces to keep it working well.
Taking care of these details makes cleaning easier and helps your sink aerator last longer.
What happens if you ignore wear and tear on aerator parts?
Ignoring wear can lead to leaks or poor water flow. A simple check can save you trouble later.
When to Replace Your Sink Aerator
Signs that indicate a need for replacement. How to choose the right replacement aerator.
Spotting the need for a new sink aerator is easy. Look for these signs:
- Low water flow
- Dirty or cloudy water
- Visible cracks or damage
Choosing the right replacement is important too. Measure the size and thread type of your current aerator. Check for quality materials, like brass or stainless steel. This helps ensure a long-lasting fit.
When should I replace my sink aerator?
If you notice your faucet is not working well, it might be time to replace the aerator.
Conclusion
Cleaning your sink aerator is easy and important. First, gather your tools like a wrench and vinegar. Next, remove the aerator and soak it in vinegar to remove buildup. Rinse and reattach it carefully. Regular cleaning keeps water flowing smoothly. Now you know how to clean a sink aerator! Try it yourself and enjoy better water pressure. Happy cleaning!
FAQs
What Tools Do I Need To Clean A Sink Aerator Effectively?
To clean a sink aerator, you need a few simple tools. First, grab a wrench to unscrew the aerator from the faucet. You will also need a small brush, like an old toothbrush, to scrub it. Finally, have some vinegar ready to soak and make cleaning easier. That’s it!
How Often Should I Clean My Sink Aerator To Ensure Optimal Water Flow?
You should clean your sink aerator every few months. If you notice the water flow is slow, check it sooner. Cleaning helps keep water flowing smoothly. It’s an easy job that makes a big difference!
What Are The Signs That My Sink Aerator Needs Cleaning?
You might need to clean your sink aerator if the water comes out weak or trickles. Another sign is if you see weird splashes when you turn on the tap. Sometimes, the water might taste strange or have a bad smell. If you notice any of these things, it’s time to clean the aerator!
Can I Soak My Aerator In Vinegar, And How Long Should I Do It For?
Yes, you can soak your aerator in vinegar. Vinegar helps break down the hard stuff that can build up. Soak it for about 30 minutes to 1 hour. After soaking, rinse it well with water. This will make it nice and clean!
What Are The Steps To Disassemble And Reassemble A Sink Aerator For Cleaning?
To clean a sink aerator, first, turn off the water. Next, use your hands or a wrench to twist off the aerator from the faucet. After that, take apart the pieces inside the aerator carefully. Rinse them with water to remove dirt. Finally, put the pieces back together and screw the aerator back onto the faucet. You’re done!