Imagine walking into a room that feels bright and inviting. The secret could be recessed lights. These little lights not only save space but also add a modern touch to your home. Have you ever wondered how to fit recessed lights yourself? It’s not as hard as it seems! Many people think it requires special skills, but with simple steps, you can do it too.
Here’s a fun fact: recessed lights can make even small spaces look bigger. They shine down from the ceiling, giving your room a wide-open feel. Plus, they can highlight your favorite decor! Now, picture your living room transformed with just a few lights.
If you’ve been thinking about upgrading your home lighting, you’re in the right place. In this article, you will learn how to fit recessed lights like a pro. So grab your tools, and let’s get started on making your home shine!
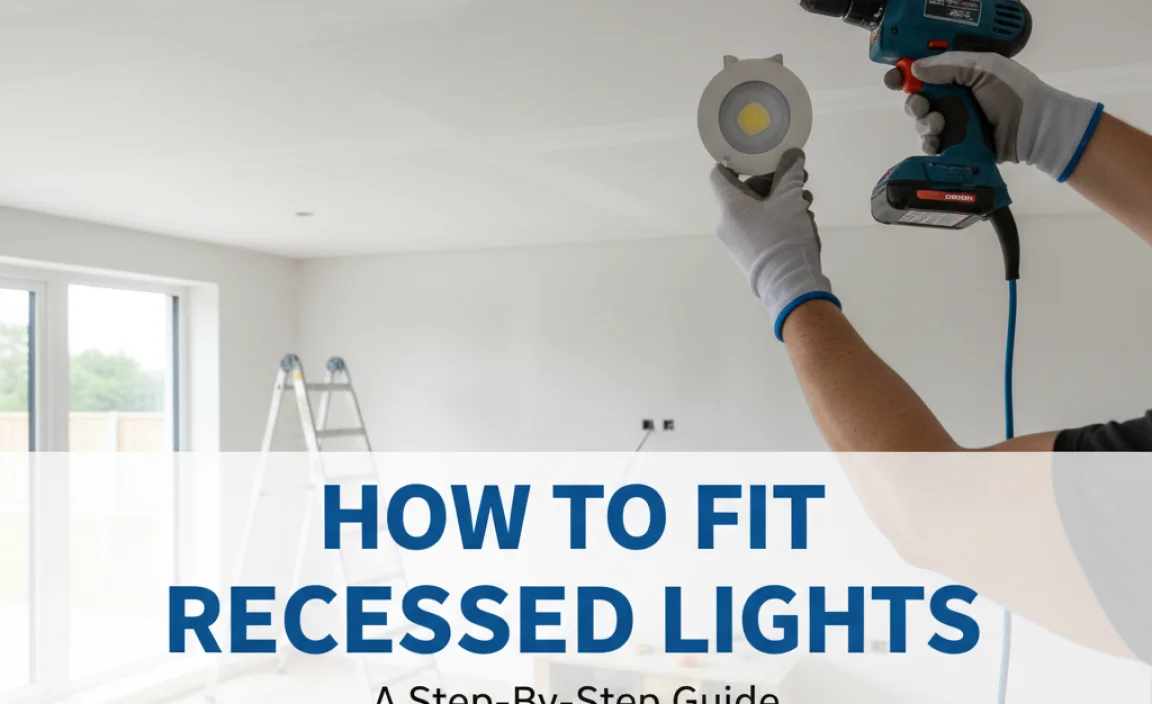
How To Fit Recessed Lights: A Step-By-Step Guide
How to Fit Recessed Lights
Want to brighten up your room with recessed lights? Start by choosing the right location. Measure your ceiling height for perfect spacing and avoid beams. Cut holes carefully for the light fixtures. Then, run wires from the power source to each fixture. Once the lights are in place, connect them, and secure the trims. Did you know recessed lights can make a room feel larger? Enjoy your cozy, well-lit space!
Understanding Recessed Lights
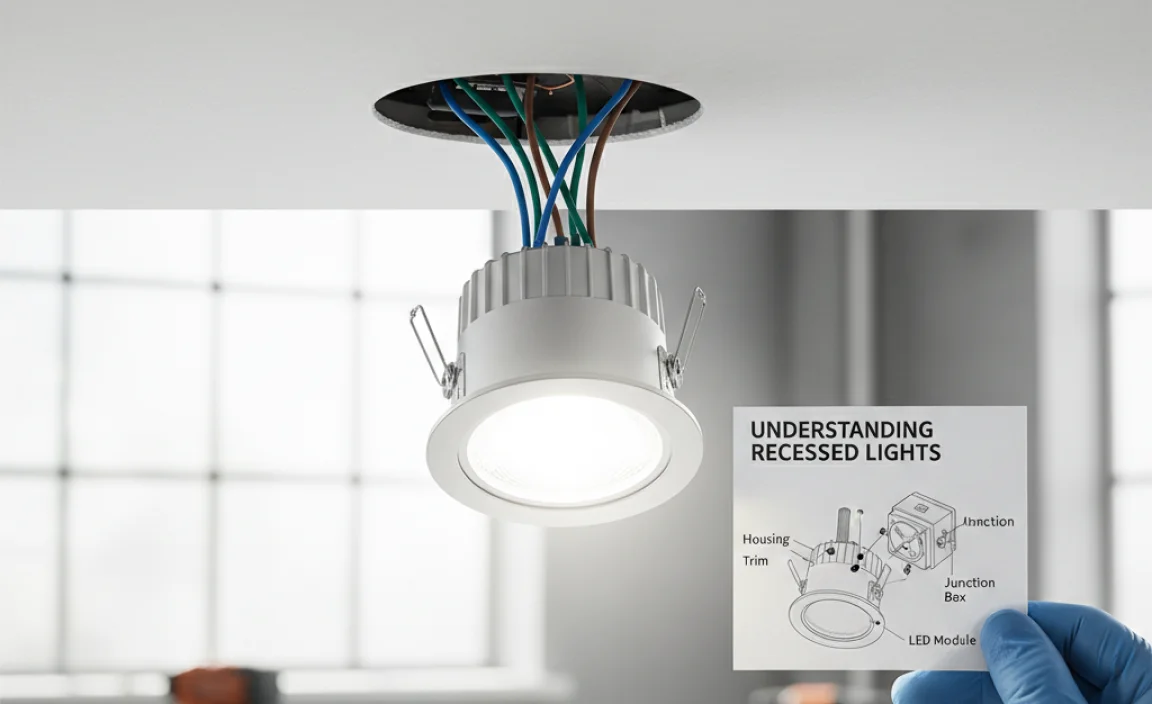
Definition and benefits of recessed lighting. Different types of recessed lights available in the market.
Recessed lights, also called can lights, are light fixtures set into the ceiling. They are great for saving space and adding style. These lights can make rooms look modern and bright. Here are some benefits:
- Saves space – They fit flush with ceilings, freeing up headroom.
- Versatile – You can use them in any room.
- Energy-efficient – Many models use less energy.
Different types of recessed lights include:
- Fixed lights.
- Adjustable lights for directing the beam.
- Shower lights for wet areas.
- Pendant-style lights for added elegance.
What are the benefits of using recessed lights?
Recessed lights save space, are energy-efficient, and can add a modern touch. They are also flexible and can be placed in various rooms to enhance the overall design.
Planning Your Layout
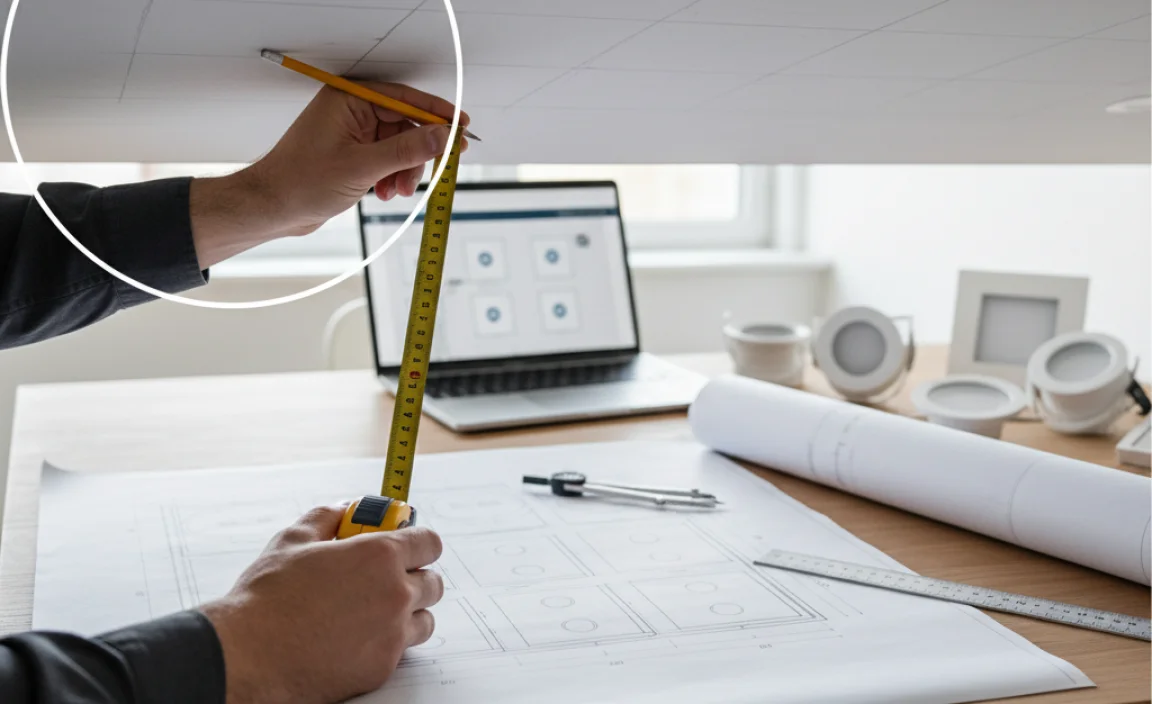
Determining the best locations for recessed lights. Considerations for spacing and beam angles.
Finding the right spots for recessed lights can feel like solving a puzzle. Start by picking areas where you need the most brightness. Think about places like living rooms or kitchens—these spots often need good lighting for activities. Spacing is key; lights shouldn’t be too close or too far apart. A good rule of thumb is to place them about 4 to 6 feet away from walls. Don’t forget about beam angles; wide beams cover more space. Here’s a quick table to help you:
| Room Type | Recommended Spacing | Beam Angle Suggestions |
|---|---|---|
| Living Room | 6-8 ft | 80-100 degrees |
| Kitchen | 4-6 ft | 60-80 degrees |
| Bathroom | 3-4 ft | 40-60 degrees |
Follow these tips and you’ll have lights that brighten your space—without blinding your guests!
Preparing for Installation
Safety precautions to take before starting. Steps to assess existing electrical wiring.
Before you start installing recessed lights, safety is key. Always turn off the power at the breaker box. This keeps you safe from electric shocks. Wear safety goggles and gloves to protect yourself. Next, check your electrical wiring. Make sure it is in good shape and able to handle extra lights. Here’s how:
- Look for any frayed or damaged wires.
- Ensure your existing circuit can support the new lights.
- Use a voltage tester to confirm the power is off.
How do I ensure safe electrical connections?
Check local codes and guidelines. If you’re unsure, consult a licensed electrician for help.
Installation Steps
Stepbystep guide on cutting ceiling holes for fixtures. How to wire recessed lights safely and effectively.
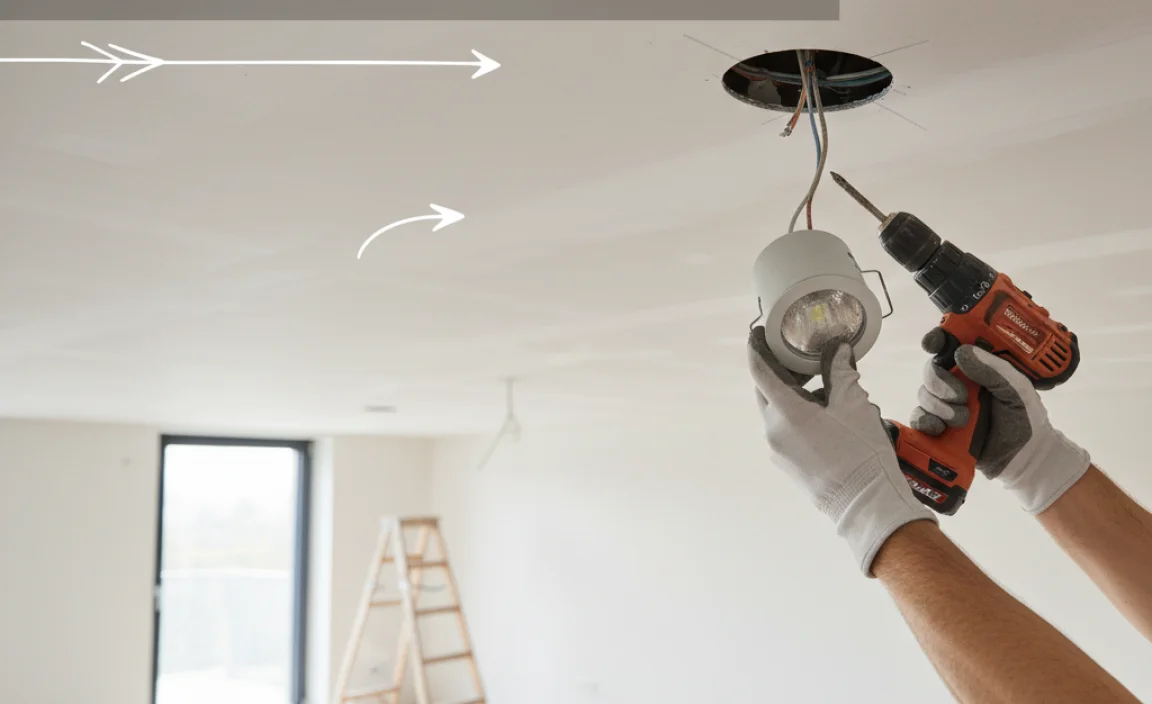
Start by marking the spots on the ceiling for your recessed lights. Use a pencil to outline each hole. Then, use a drywall saw to cut carefully along these lines. This step is crucial for a neat look.
Next, it’s time to wire the lights. Turn off the power first for safety. Connect the wires following the color codes: black to black and white to white. Be sure to secure wires with wire nuts.
Finally, check everything before turning the power back on. Enjoy your new lights!
How do I cut holes for recessed lights?
To cut holes, mark the spots on the ceiling, then use a drywall saw for clean cuts.
Installation Tips:
- Use a stud finder to ensure no beams are in the way.
- Double-check your measurements.
- Keep a vacuum nearby to clean up any dust.
Testing and Troubleshooting
How to test the lights after installation. Common issues and their solutions.
After you install recessed lights, testing is important. First, turn on the power and flip the switch. Check if the lights shine brightly. If they flicker or don’t turn on, there could be issues. Here are some common problems and their solutions:
- Light won’t turn on: Check the bulb and make sure it’s snug.
- Flickering lights: Look for loose wires in the fixture.
- Too dim: Ensure you’re using the correct wattage bulbs.
Troubleshooting can save time. Following these steps can help keep your lights bright and enjoyable.
What should I do first if my recessed lights are not working?
Check the light bulb first. Make sure it is installed correctly and the power is on.
Finishing Touches
Tips for concealing wiring and securing fixtures. Recommendations for selecting trim and bulbs for illumination quality.
Once your recessed lights are up, it’s time for the final touches! To hide those pesky wires, use cable covers; they work like magic! For fixtures, secure them tightly. Think of them as the anchors of your lighting ship, keeping them steady! Choose trim that matches your room’s style, and remember brighter bulbs can light up your home and spirits. For example, go for LEDs for long-lasting glow. Your lights can be bright and fun!
| Feature | Recommendation |
|---|---|
| Bulb Type | LED – Energy-efficient and long-lasting. |
| Trim Style | Pick one that matches your room decor. |
| Wiring | Use cable covers to hide all the mess. |
Energy Efficiency Tips
Importance of energyefficient lighting options. How to choose the right bulbs for your recessed lights.
Choosing the right lighting can save money and help the environment. Energy-efficient lights last longer and use less power. This means lower bills for you! When picking bulbs for your recessed lights, consider the following:
- Look for LED bulbs. They use less energy than regular bulbs.
- Check the brightness. Aim for 800 lumens for a cozy look.
- Consider the color temperature. Warm white creates a friendly vibe.
By making smart choices, you can enjoy bright spaces while being kind to our planet!
Why are energy-efficient lights important?
Energy-efficient lights help save money and reduce energy use. They are better for the environment too!
What should I look for in recessed light bulbs?
Choose LED bulbs for less energy use. Check brightness and color for your desired feel.
Maintenance and Upkeep
Regular maintenance practices for longevity. Recognizing signs your recessed lights may need repairs.
Taking care of your recessed lights is easy and important. Regular checks help them last longer. Clean the light cover often. Dust can hide the shine. If the light flickers or dims, it might need fixing. Always look for strange sounds, too. Here are ways to keep your lights in top shape:
- Check bulbs every few months.
- Clean the fixtures regularly.
- Look for wiring issues.
- Replace burnt-out bulbs right away.
By keeping an eye out for these signs, your lights will glow bright for many years!
How do I know if my recessed lights need repair?
Look for flickering lights or strange noises. If they don’t turn on, it’s time to check. These signals can mean your lights need attention.
Conclusion
In summary, fitting recessed lights is simple with the right steps. Start by choosing the right spots in your ceiling. Measure carefully and install the fixtures securely. Don’t forget to connect the wiring safely. Once you complete the installation, enjoy the bright new look of your space. For more tips, check out guides online or ask an expert!
FAQs
Sure! Here Are Five Related Questions On The Topic Of Fitting Recessed Lights:
Sure! Here are five questions about fitting recessed lights:
1. How do I choose the right size for recessed lights?
Choose lights that fit your ceiling space. Use a measuring tape to check the area.
2. Can I install recessed lights by myself?
Yes, you can! But ask an adult for help. Electricity can be dangerous.
3. What type of light bulb should I use?
Use LED bulbs. They save energy and last a long time.
4. How far apart should I place recessed lights?
Place them about 4 to 6 feet apart. This helps light up the room evenly.
5. Do I need a special tool to install them?
Yes, you will need a drill and a few basic tools. Make sure you have everything ready!
Sure! Please provide the question you would like me to answer.
What Tools And Materials Are Needed To Install Recessed Lights Safely And Effectively?
To install recessed lights, you need a few important tools and materials. First, get a drill to make holes in the ceiling. You’ll also need a measuring tape to space your lights evenly. Don’t forget wire nuts to help connect the wires safely. Lastly, have a ladder ready to reach the ceiling easily.
How Do I Determine The Appropriate Placement And Spacing For Recessed Lights In A Room?
To place and space recessed lights, start by measuring your room. We can divide the room into equal squares or rectangles. For each square, place a light in the center. Keep the lights about two to three feet apart for even brightness. Don’t forget to think about where you’ll need more light, like over a reading chair or table!
What Are The Different Types Of Recessed Lights, And How Do I Choose The Right One For My Needs?
There are several types of recessed lights, like downlights, adjustable lights, and wall washers. Downlights shine straight down, adjustable lights can turn to point at things, and wall washers light up walls evenly. To choose the right one, think about where you’ll use it. Do you want it to light up a whole room or just a piece of art? Also, pick a style that matches your home.
What Are The Electrical Considerations For Wiring Recessed Lights, Including How To Connect Them To A Dimmer Switch?
When you wire recessed lights, you need to think about safety and where to put the wires. First, make sure you turn off the power before you start. You will connect the lights to a dimmer switch, which lets you make them brighter or dimmer. Use the right wires and connect them carefully so everything works well. Finally, always check that everything is safe before turning the power back on.
How Can I Ensure Proper Insulation And Airflow Around Recessed Lights To Prevent Overheating And Maintain Energy Efficiency?
To keep recessed lights safe and save energy, you can do a few things. First, use special caps called “IC” (Insulation Contact) rated lights. These lights let you put insulation right around them safely. Next, make sure there is some space around the lights for air to flow. You can also check that insulation isn’t blocking the airflow. This helps the lights stay cool and use less energy.