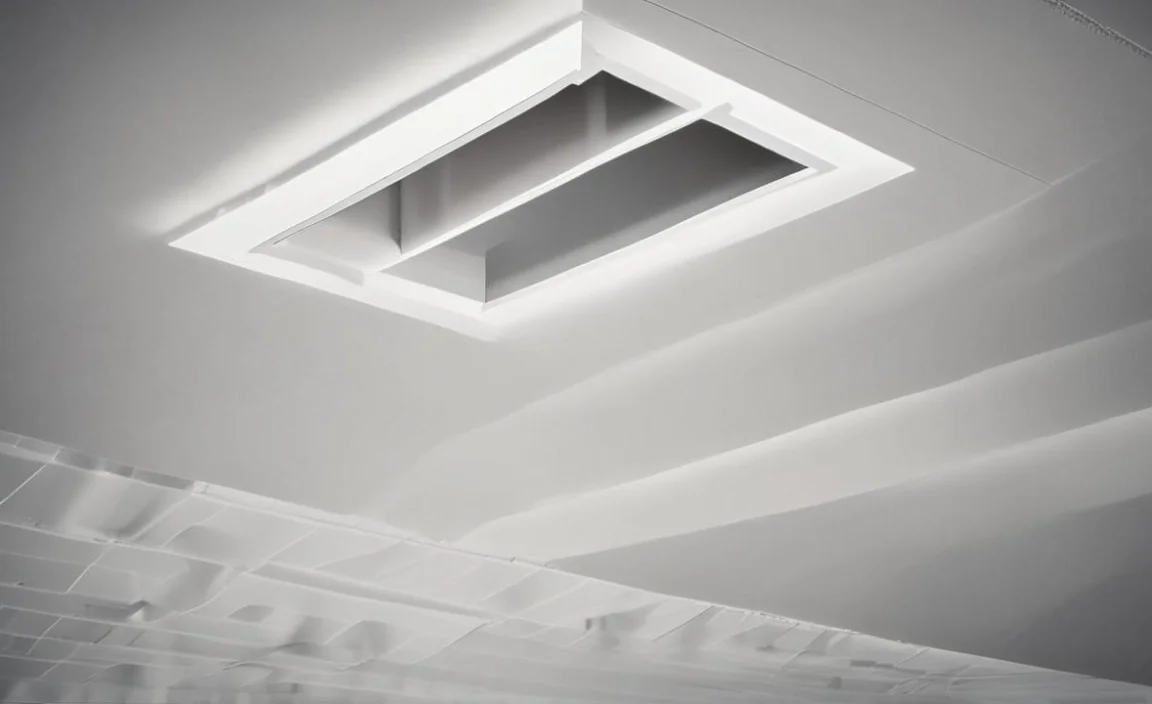
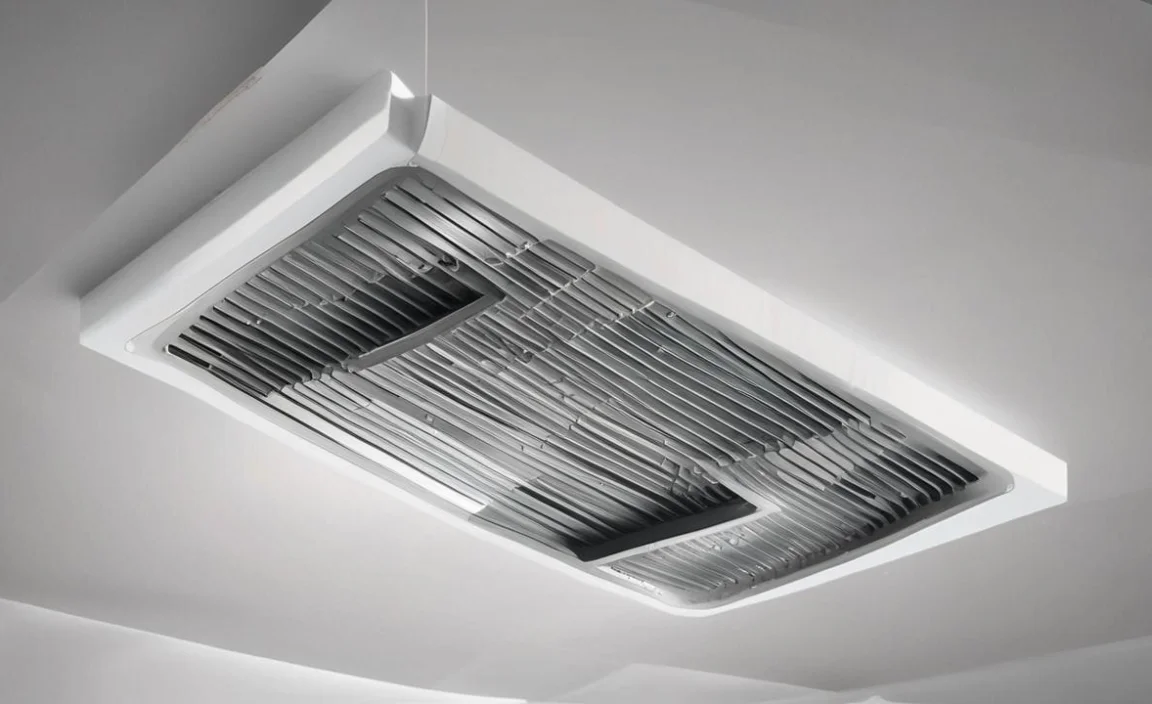
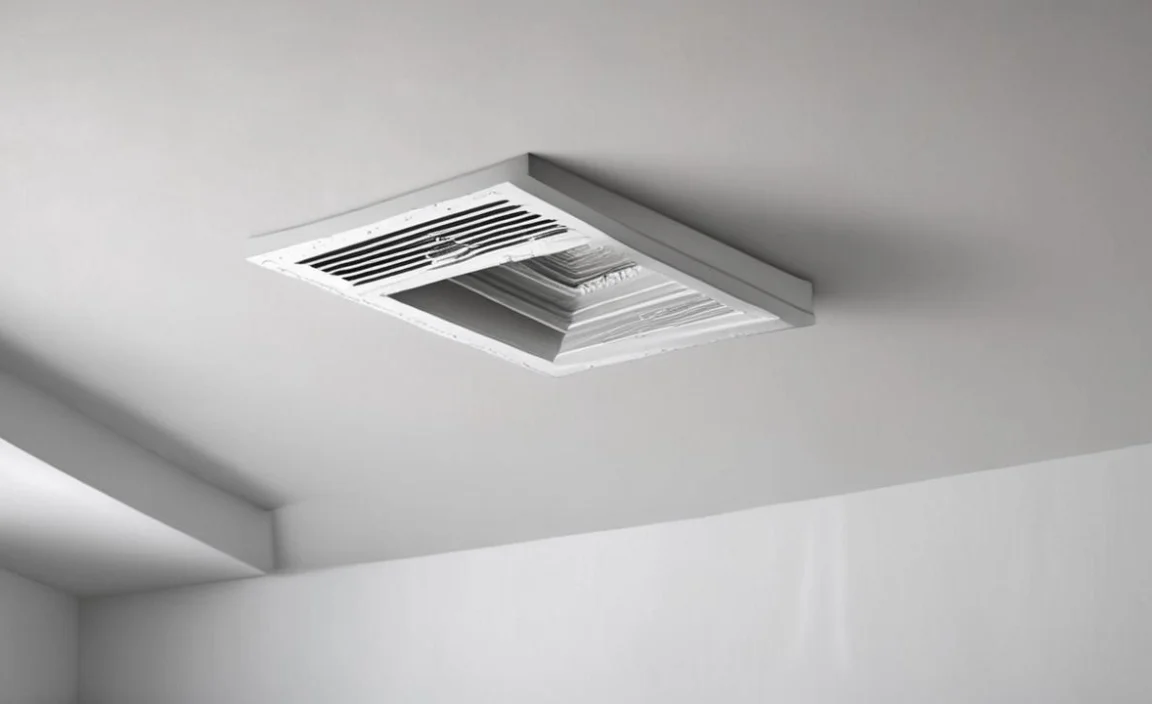
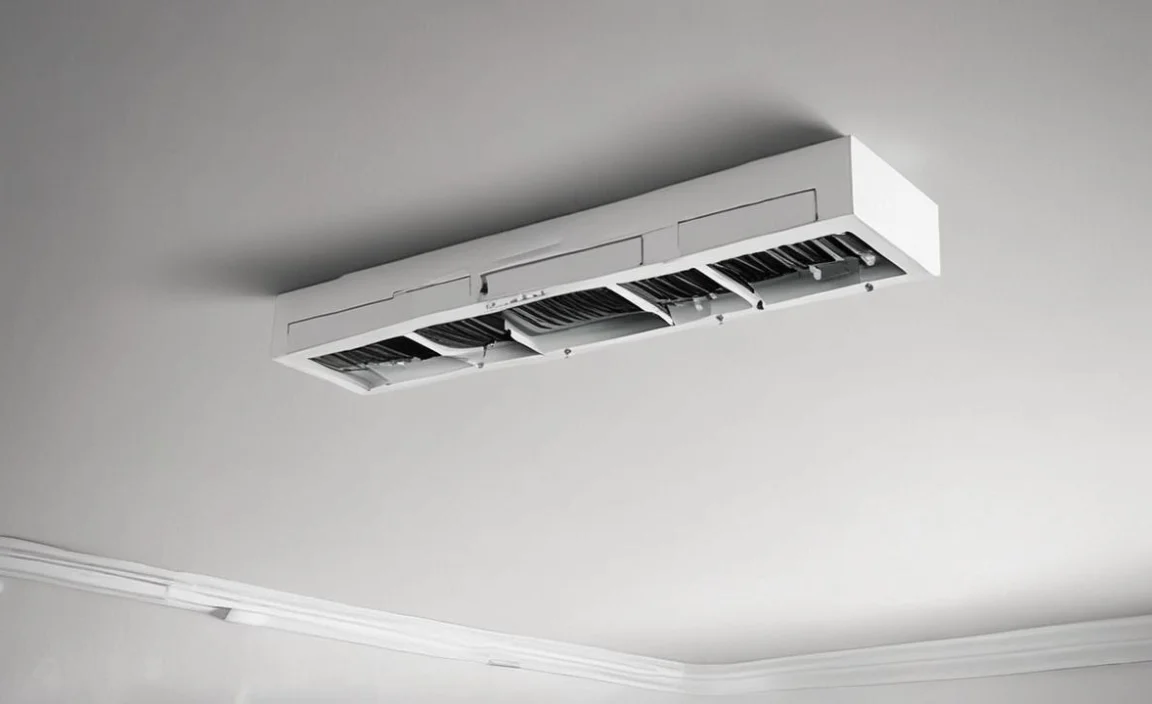
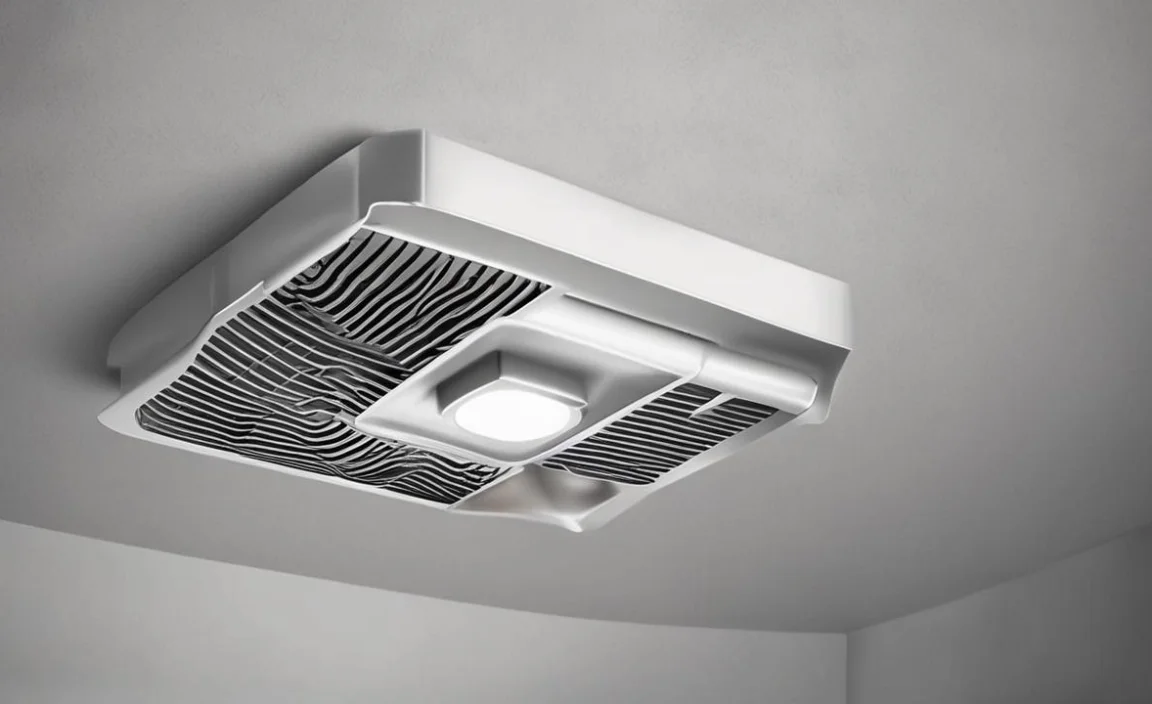
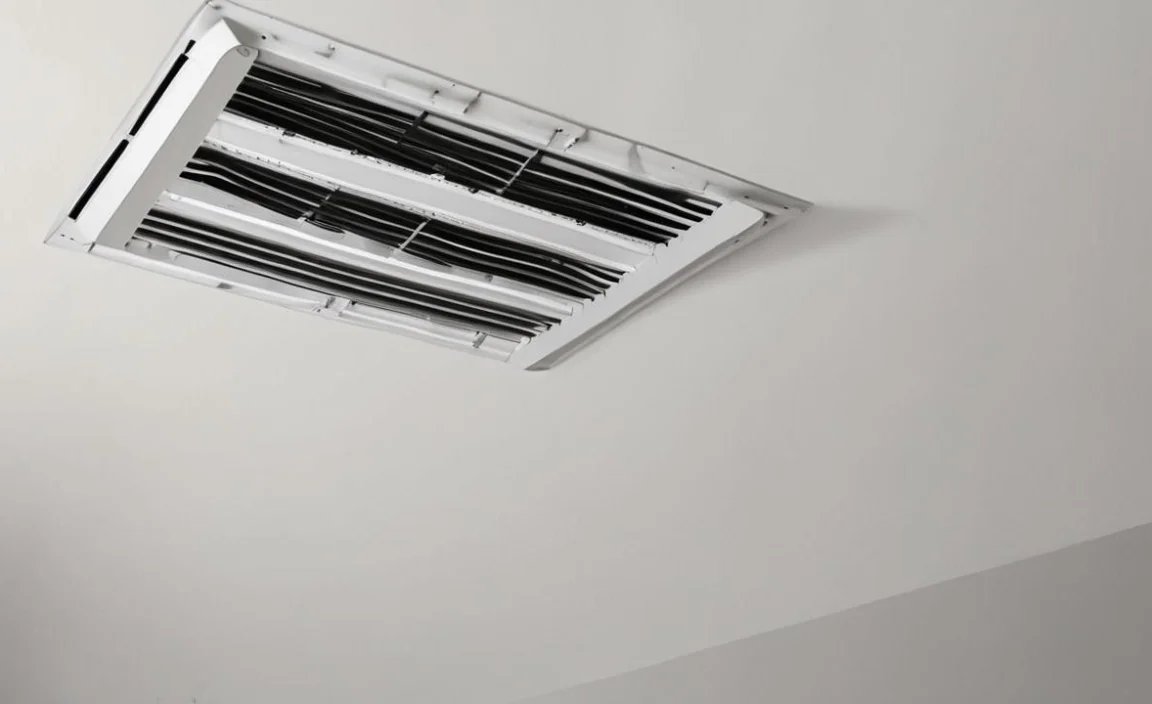
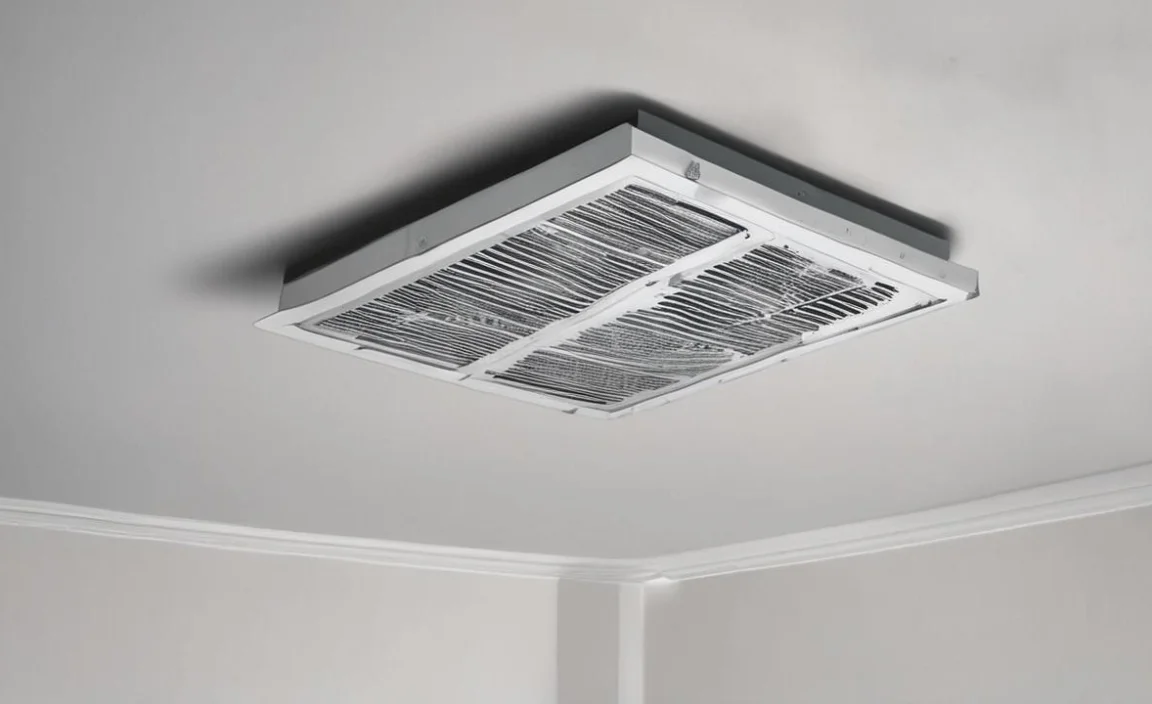
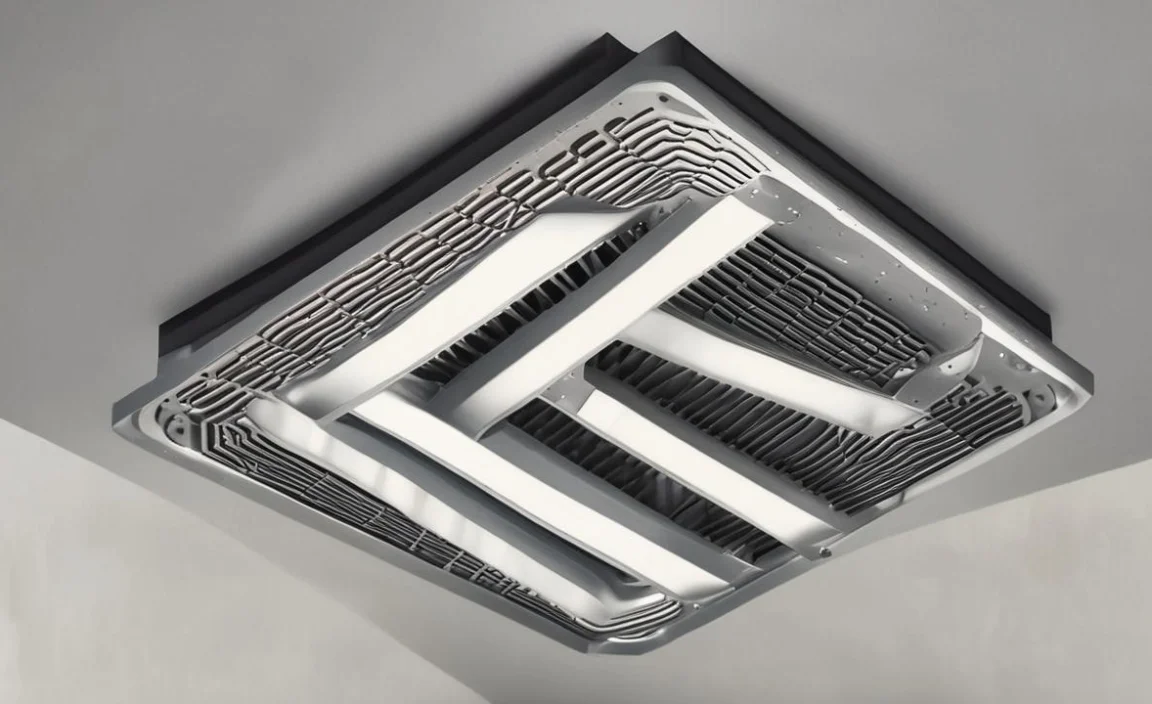
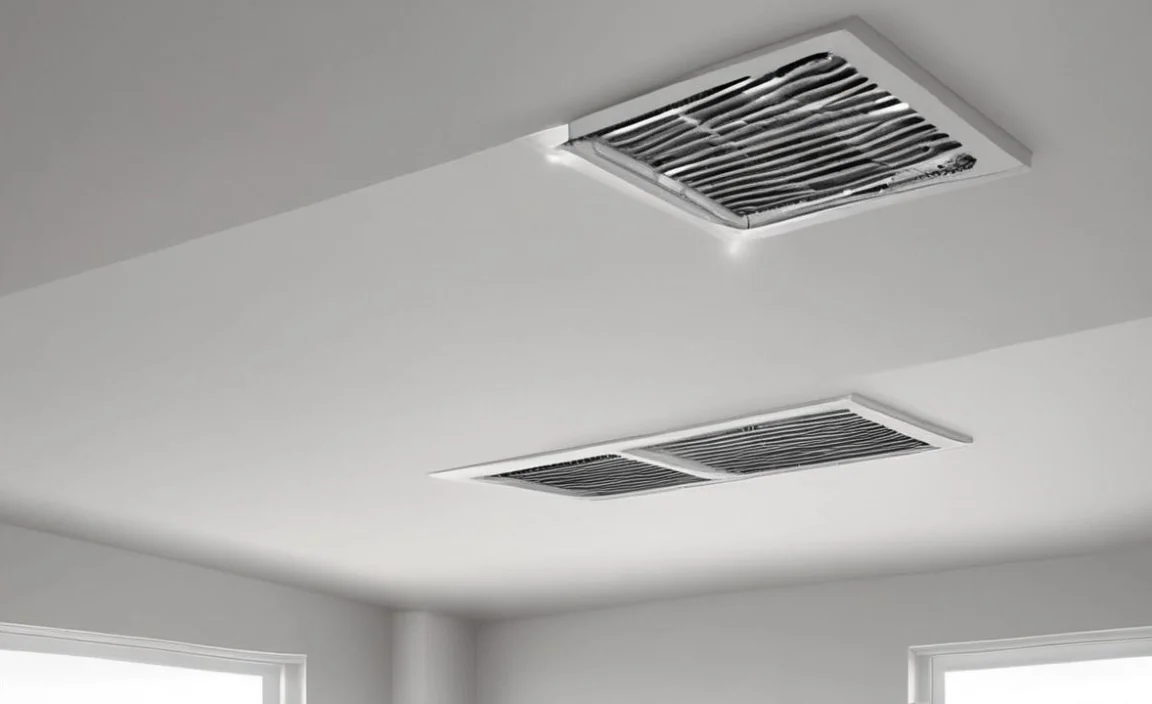
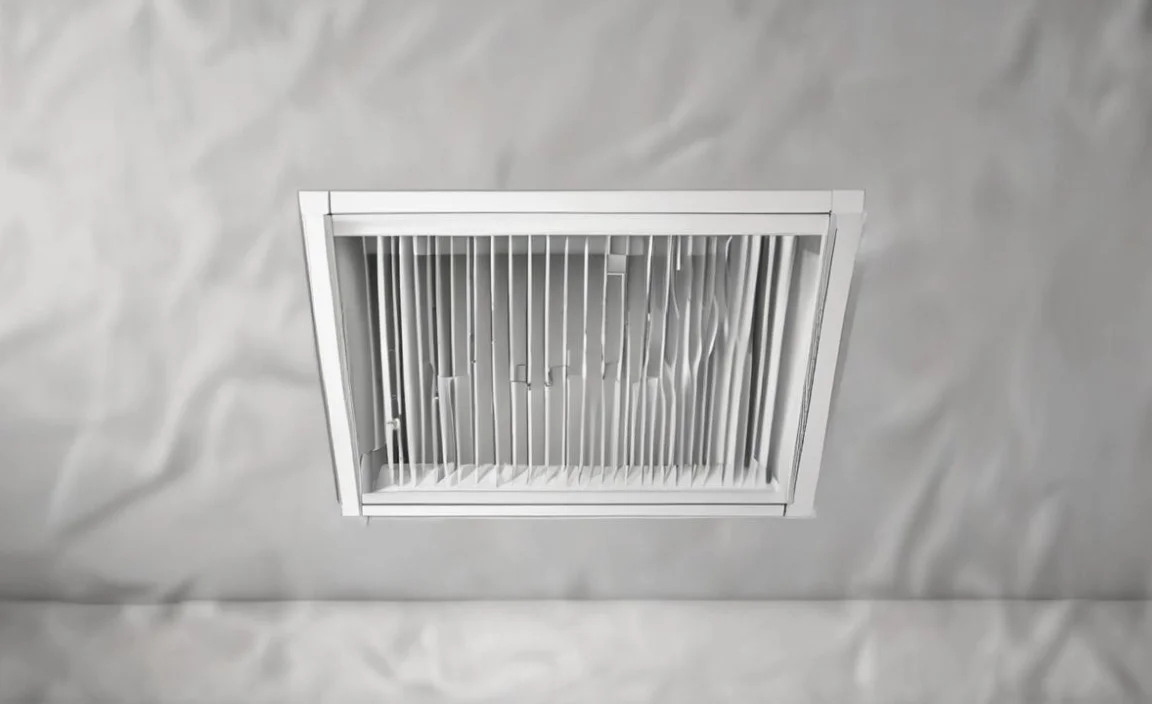
Air duct maintenance indoor air quality and running your HVAC system efficiently. They are responsible for distributing heated or cooled air throughout your home or business, ensuring that every room stays comfortable year-round.
Have you been struggling to cool your home in the summer months? Perhaps the air conditioning isn’t working as well as it should, or maybe you’ve noticed that your ducts are frequently disconnected.
We will discuss its symptoms and how to fix disconnected air duct. We’ll also provide instructions on how to open a duct, repair it, and prevent future disconnections from happening. So read on and learn how to cool your home like a pro.
What Are The Symptoms Of A Disconnected Air Duct?
A disconnected air duct can cause various symptoms that indicate an issue with your HVAC system. Some of the most common symptoms include uneven airflow throughout your home or business, reduced air flow from vents, and increased energy bills due to your system working harder than usual.
You may also notice that certain rooms in your home feel stuffy or uncomfortable while others are too cold or hot. You may also hear strange noises from your HVAC system, such as rattling or whistling. If you’re noticing any of the following signs, it’s time to call an expert:
- Poor indoor air quality
- Strange smells in your home
- Unusual sounds coming from your HVAC system
Tools You Will Need
- A hacksaw
- A drill
- Some screws (in various sizes)
- Drill bit lubricant or WD-40
- Hammer and nail
- Zip ties
- Carpenters level
6 Steps On How To Fix Disconnected Air Duct
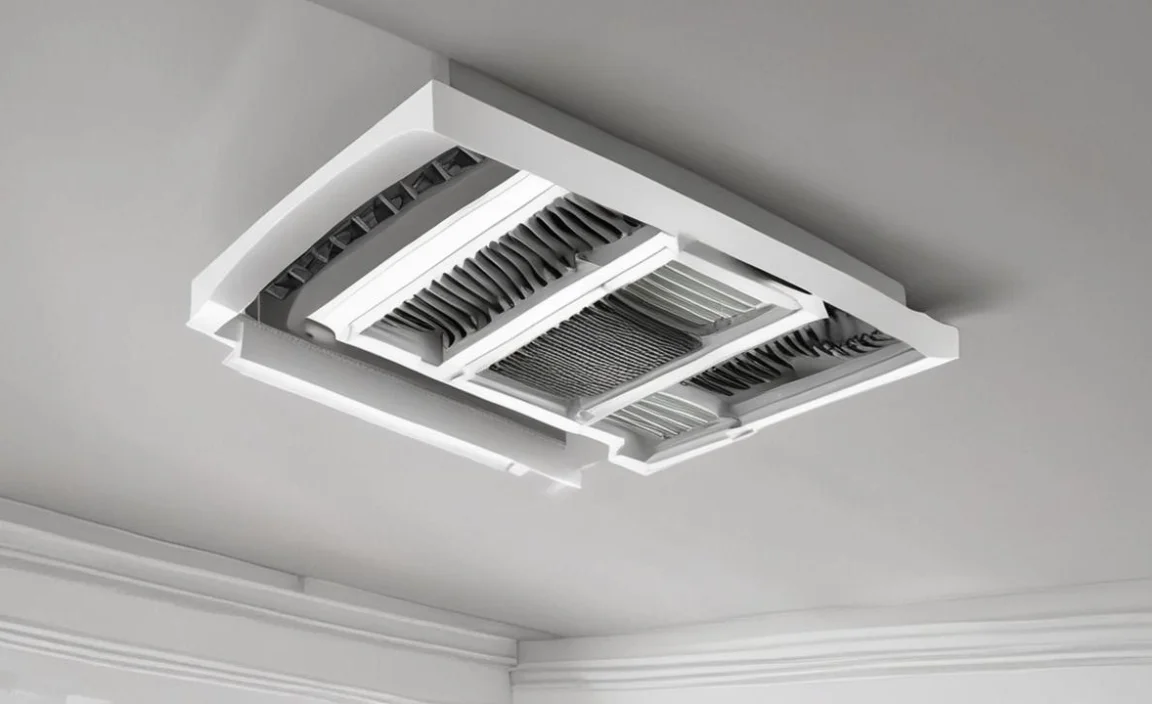
HVAC systems, one of the common issues that homeowners and building managers may encounter is disconnected air ducts. Disconnected ductwork can disrupt the airflow and compromise the efficiency of the system.
This can lead to uneven heating or cooling throughout the space, ultimately affecting comfort levels and energy consumption. Here are effective steps on how to fix disconnected air duct:
Step1: Identify The Disconnected Air Duct
The first step in fixing a disconnected air duct is to identify where the disconnection has occurred. This can usually be done by visually inspecting the ductwork for any visible gaps or separations.
It is important to turn off the HVAC system before attempting to fix the disconnected duct to ensure safety. Once you have located the disconnected section, you can proceed with reconnecting it using appropriate materials such as metal tape or duct sealant.
Step2: Clean The Area
After identifying the disconnected air duct, the next step in fixing the issue is to clean the area surrounding it. Before reconnecting the duct, it is important to ensure that there is no debris or dirt that could interfere with the connection.
Use a vacuum or a damp cloth to remove any dust or particles from both ends of the disconnected duct. This will help to create a clean and secure connection when reattaching the duct, ensuring optimal airflow throughout your home or building.
Step3: Prepare The Necessary Tools

Before you begin fixing a disconnected air duct, it is important to gather the necessary tools. This will ensure that you have everything you need to complete the task efficiently. Some of the tools you may need include a ladder or step stool, gloves, flashlight, duct tape, mastic sealant, zip ties, and a screwdriver or drill.
Having these tools ready beforehand will save you time and prevent any unnecessary delays during the repair process. Remember to always prioritize safety by wearing appropriate protective gear and using caution when working at heights or with electrical components.
Step4: Reconnect The Duct
Reconnecting the air duct is an essential step in fixing a disconnected duct. Start by aligning the ends of the duct and ensuring that they fit together snugly. Use metal duct tape or clamps to secure the connection, making sure there are no gaps or leaks.
It’s important to ensure a tight seal to prevent air leakage and maximize the efficiency of your HVAC system. Once the duct is securely connecte, you can proceed with testing the system to ensure that it is functioning properly. If you’re unsure about reconnecting the duct or if you encounter any difficulties, it’s always best to consult a professional HVAC technician for assistance.
Step5: Inspect For Leaks
After reattaching the disconnected air duct, it is important to inspect for any leaks. Leaks in the air duct system can lead to reduced airflow and decreased efficiency of your HVAC system. To inspect for leaks, you can use a smoke pencil or an infrared camera to identify any areas where air may be escaping.
Pay close attention to joints, seams, and connections, as these are common areas for leaks to occur. Once you have identified any leaks, you can seal them using duct tape or mastic sealant. It is important to ensure that all leaks are properly sealed to optimize the performance of your HVAC system and maintain a comfortable indoor environment.
Step6: Test The System
After completing the previous steps to fix a disconnected air duct, it is important to test the system to ensure that everything is working properly. To do this, turn on your HVAC system and check for any air leaks or strange noises. Make sure that the airflow is consistent throughout your home and that all rooms are being adequately cooled or heated.
If you notice any issues, such as weak airflow or uneven temperature distribution, you may need to revisit the previous steps to ensure that the ducts properly connect and seale. It is also a good idea to schedule regular maintenance checks for your HVAC system to prevent any future issues with disconnected air ducts.
Consider Professional Help
Regarding fixing a disconnected air duct, it may be best to consider professional help. While there are some DIY methods that can be attempted, such as reconnecting the duct or using foil tape to secure it in place, it is important to note that improper repairs can lead to further issues and potentially compromise the efficiency of your HVAC system.
Professional HVAC technicians have the knowledge and experience to properly diagnose and fix disconnected air ducts, ensuring that they are securely connected and functioning optimally.
Additionally, they can also inspect the rest of your HVAC system to identify any other potential issues that may be affecting its performance. So, if you’re unsure about how to fix a disconnected air duct or want to ensure a proper repair, it is recommended to seek professional help.
Another Method To Fix A Disconnected Air Duct
If you’re having trouble opening a disconnected air duct because it’s frozen, consult your local gas company. They may have equipment that can use to thaw and free up the duct. In any case, make sure to follow these tips on how to fix a frozen air duct:
- Heat the duct using a hair dryer or warm water.
- Pry up on one side of the duct until it opens.
- Use a crowbar, chisel, or Stanley knife to remove duct insulation and debris.
- Clean any newly exposed metal with a wire brush and apply silicone sealant.
- Reinstall insulation and line up screw holes
- Replace the fan unit and covers.
Prevent A Disconnected Air Duct From Happening In The First Place
Preventing a disconnected supply air duct from happening in the first place is important for maintaining proper ventilation and reducing energy waste. One way to prevent this issue is to inspect your HVAC system regularly with a professional.
They can identify potential issues with your ductwork and make necessary air duct repairs before they become bigger problematic ducts. Additionally, it is important to ensure that your air ducts are properly installed and sealed to minimize the risk of disconnection.
Finally, avoiding overloading your HVAC system by closing too many air vents or running it constantly can also help prevent a disconnected air duct from occurring. By taking these preventative measures, you can keep your home comfortable and efficient while minimizing the risk of air duct repair cost.
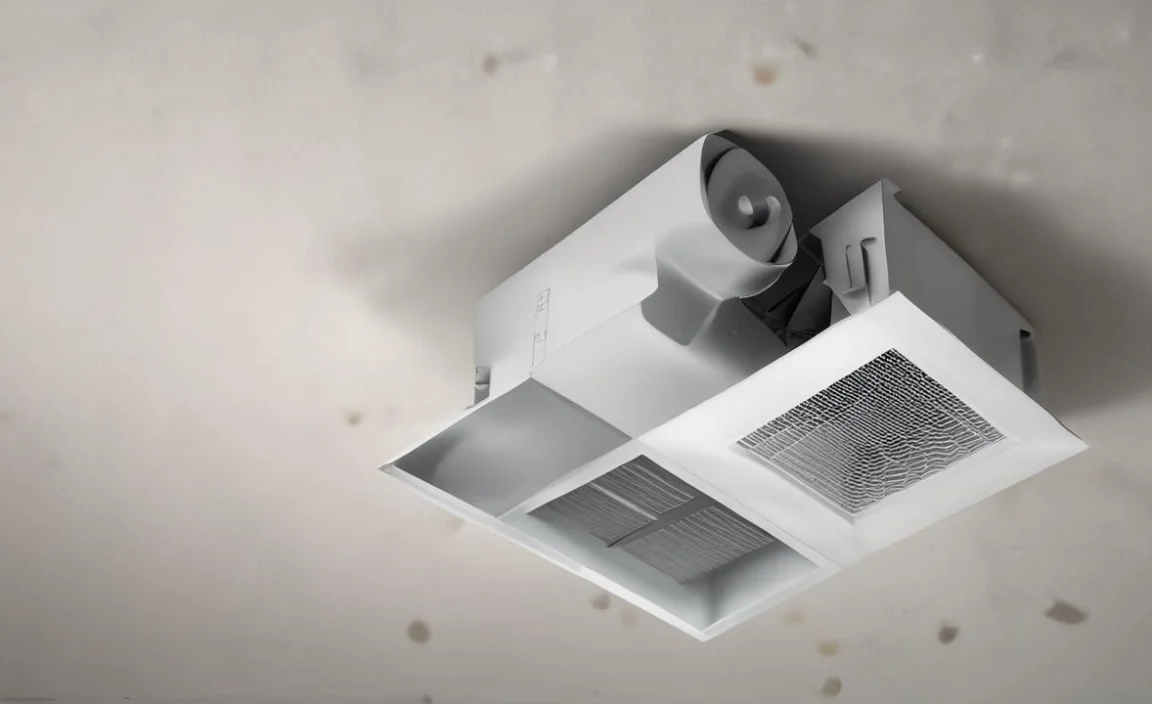
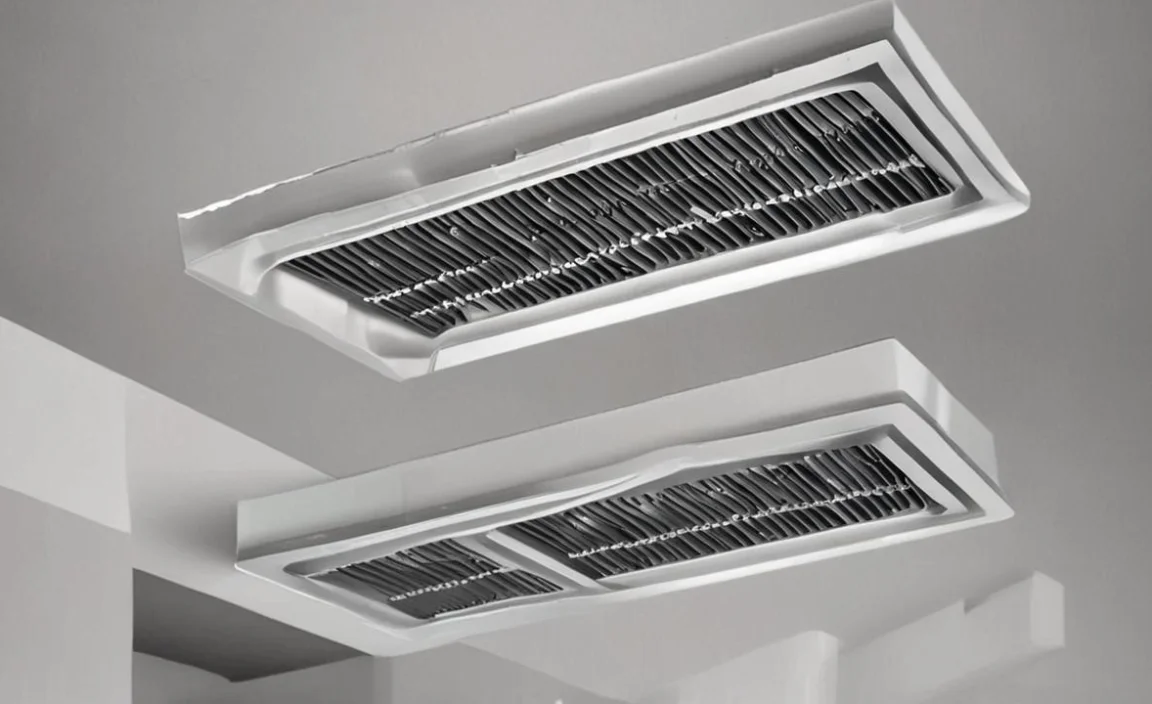
Loose, Leaky, Or Blocked Air Conditioning Or Heating Ducts Fix Guide
One common issue that homeowners may encounter is loose, leaky, or blocked air conditioning or heating ducts. This can lead to inefficient airflow, uneven temperature distribution, and increased energy consumption. To address this problem, a comprehensive guide on fixing loose, leaky, or blocked air conditioning or heating ducts is essential.
It is important to understand the different types of ducts used in the installation process. Return ducts, which draw air from the living space back to the air conditioning system, and rigid ducts, which are more durable and resistant to air duct leaks, commonly use. Proper duct installer is crucial to ensure optimal performance and energy efficiency. To address duct leakage, proper duct sealing techniques should be employed.
How To Open A Disconnected Air Duct?
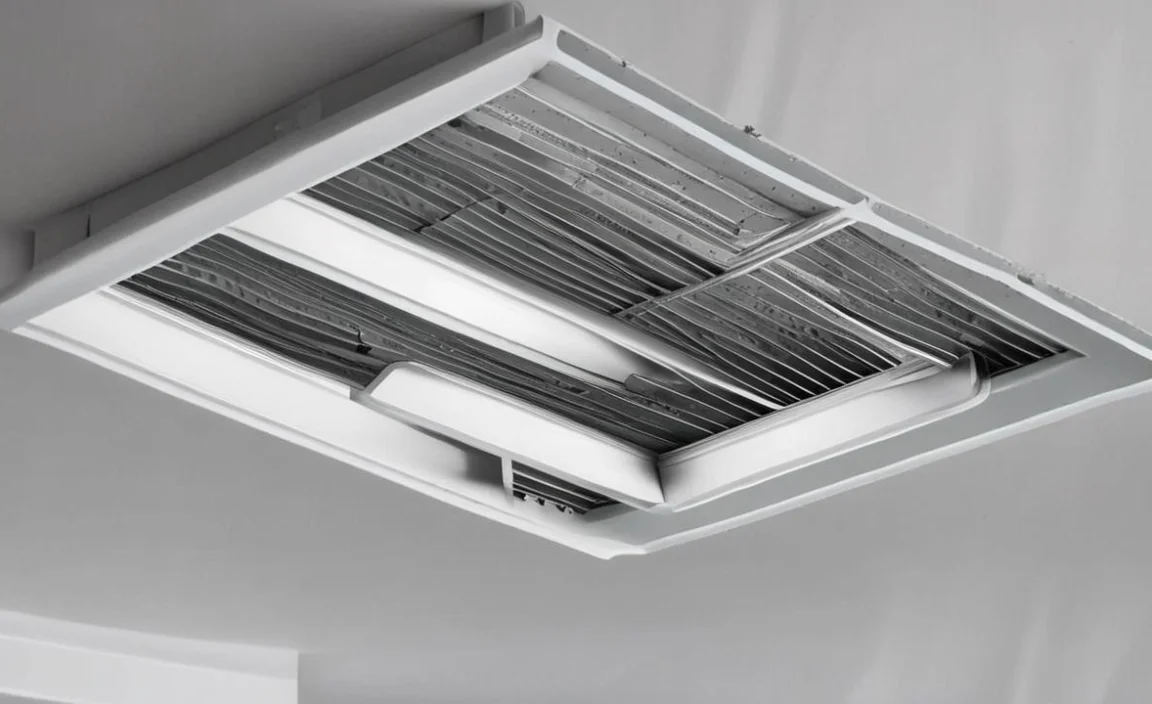
If you’re experiencing a persistent air leak, it’s time to take action. Fixing a disconnected air duct can be daunting, but you can do it successfully with the right tools and instruction. The most important thing to remember is that time is of the essence – do not waste any more time. If you’re having trouble opening a disconnected air duct, follow these steps:
- Try using a plunger – it’s often the simplest solution.
- If that doesn’t work, try using a vacuum cleaner – place the vacuum cleaner’s tube near the duct opening and turn it on.
- If that still doesn’t work, contact a professional – they may have more experience and the right tools to do the job.
- Always wear protective gear when working with air ducts, and ensure the right tools and knowledge to fix the problem.
When To Replace Air Duct
Maintaining a healthy and efficient HVAC system and knowing when to replace air ducts is crucial. Air ducts play a vital role in distributing conditioned air throughout a building, ensuring comfort and proper indoor air quality. However, over time, air ducts can suffer from wear and tear, leading to various issues such as leaks, duck insulation degradation, and even mould growth.
Hence, it is important to be aware of the signs that indicate the need for air duct replacement. One of the key indicators that it may be time to replace air ducts is visible damage. Cracked or disconnected ducts can result in air leakage, reducing system efficiency and increasing energy consumption.
Damage Air Ducts: Why Repairs Are Important And How To Identify Problems
Air ducts play a vital role in delivering conditioned air throughout a building, ensuring optimal indoor air quality and comfort. However, over time, air ducts can become damaged, compromising their effectiveness and potentially causing a variety of problems.
This is why timely repairs are essential. Damage to air ducts can occur due to various reasons, including age, poor installation, or external factors such as rodents or construction mishaps. Identifying these problems is crucial to prevent further damage and maintain the overall performance of the HVAC system.
Common signs of damaged air ducts include noticeable leaky ducts, unusual noises, uneven airflow, and increased energy consumption. If left unaddressed, these issues can lead to reduced cooling or heating efficiency, poor air quality, and, ultimately, higher energy bills.
Conclusion
Suppose you are experiencing any of the following symptoms. In that case, it is time to call an air duct technician to fix the problem: poor air quality, heating or cooling, strange smells, and noisy air conditioning ducts.
A disconnected air duct can cause various airflow issues, from decreased airflow to increased energy bills. Addressing the issue as soon as possible is important to avoid further problems. Following the steps outlined in this article, you can learn how to fix disconnected air ducts and restore proper airflow to your home.
Remember always to prioritize safety when working with heating and cooling systems, and if you are not comfortable with DIY repairs, seek professional help. With a little effort and know-how, you can keep your HVAC system running smoothly and efficiently.
