Many people love to update their old cabinets. Have you noticed how much concealed hinges can change their look? They hide the hardware and make doors look smooth and sleek. If you want to learn how to install concealed hinges on old face frame cabinets, you’re in the right place.
This project sounds tricky, but it can be fun! You can do it with just a few tools. Plus, it can save you money. Let’s explore how to make your cabinets look new again.
Key Takeaways
- Concealed hinges hide hardware for a clean look.
- Measure carefully before starting your project.
- Learn how to install concealed hinges on old face frame cabinets.
- Using the right tools makes the job easier.
- Practice safety when using tools and equipment.
Understanding Concealed Hinges on Cabinets
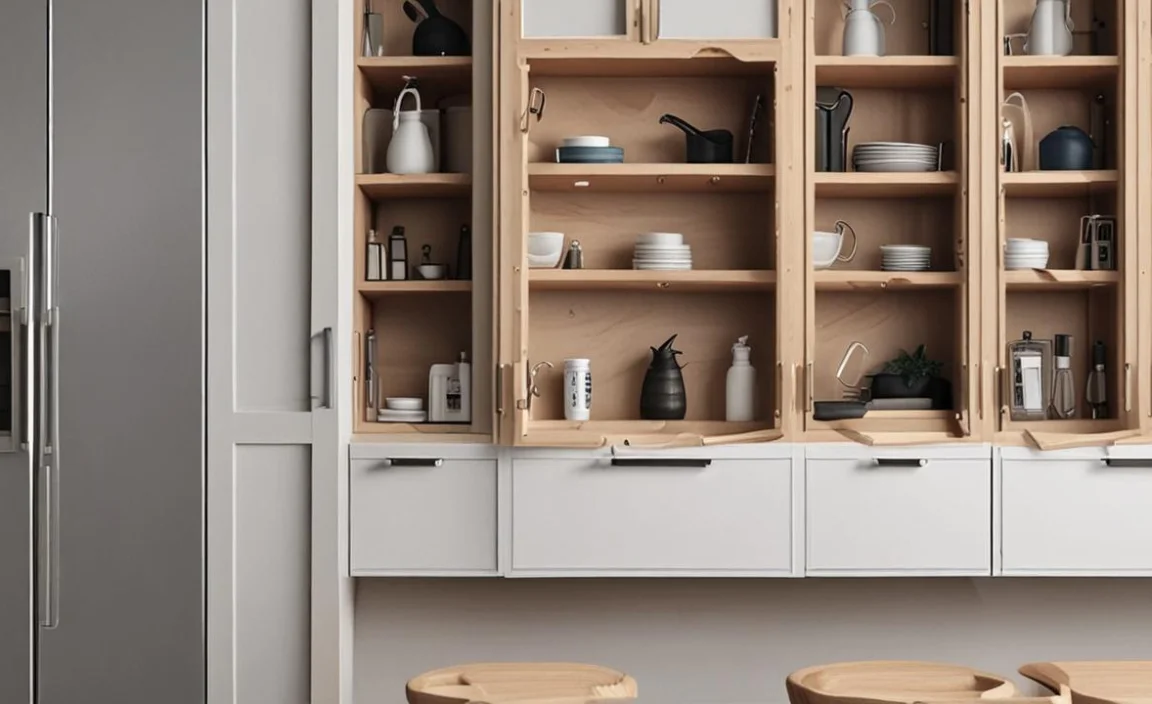
Concealed hinges are hidden from view when the cabinet doors close. This gives cabinets a modern look. They are different from traditional hinges, which stick out. You might wonder why someone would choose concealed hinges. The answer is simple. They make cabinets look more stylish.
When installing concealed hinges, measuring is very important. If you don’t measure correctly, the hinges won’t fit right. This can lead to problems when closing and opening the doors.
- Concealed hinges are popular in modern kitchens.
- They can be adjusted for different door sizes.
- Many styles and finishes are available.
- These hinges can improve the overall look of your cabinets.
- They are easy to use once you learn how.
Understanding how to install concealed hinges on old face frame cabinets is key to a successful project. After learning the basics, you can begin your installation. This will give your cabinets a fresh and updated look.
Fun Fact or Stat: Many cabinets now use concealed hinges for a cleaner design.
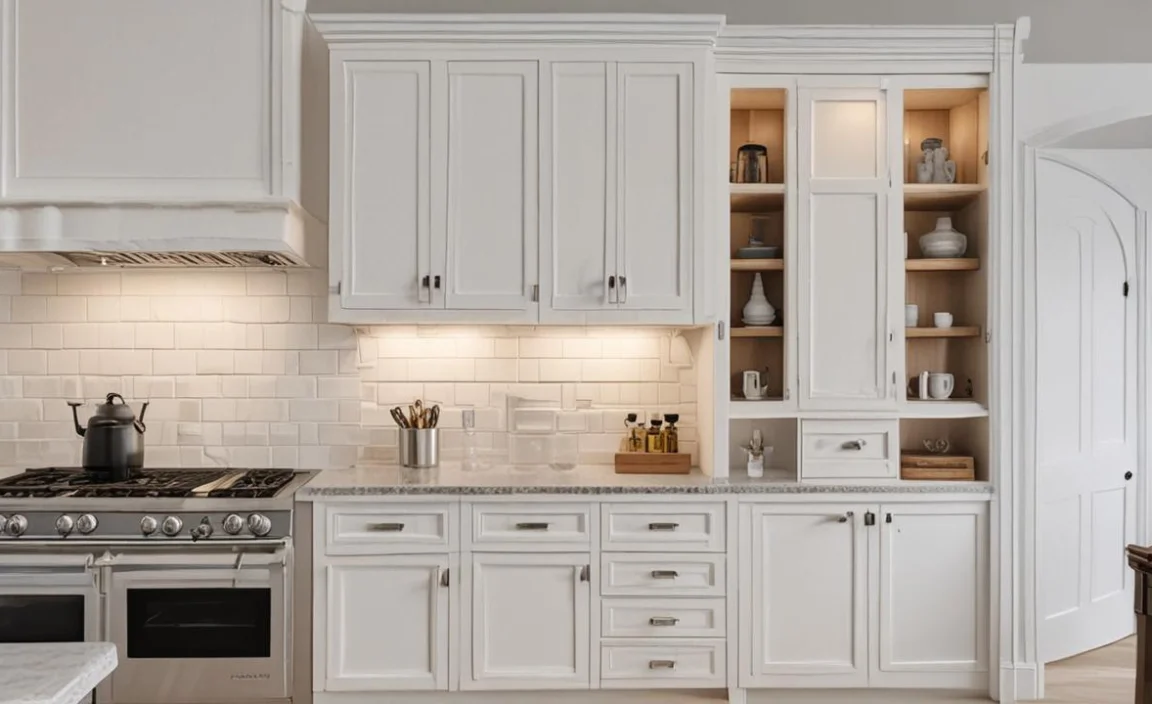
What Are Face Frame Cabinets?
Face frame cabinets have a frame around the front. This frame adds strength and support. They are common in many homes. If you have these cabinets, you might want to update them with concealed hinges.
Imagine opening a cabinet door and seeing a sleek design. This can change your kitchen or bathroom. Many people love this look. They find it easier to clean too.
When you choose concealed hinges, you will need to measure your cabinet frame. This helps you find the right size hinges. A small mistake in measurement can lead to big problems later.
Tools You Will Need for Installation
You need a few tools for this project. Having the right tools makes everything easier. Here’s a list of what you need:
- Drill and drill bits
- Screwdriver
- Measuring tape
- Level
- Pencil for marking
A drill is very important. It helps you make holes for the hinges. You can use a screwdriver to tighten the screws. Measuring tape will ensure that everything is lined up correctly.
Before you start, gather all your tools. Make sure they are in good condition. This way, you can focus on your project without interruptions.
Fun Fact or Stat: Using the right tools can cut your work time in half.
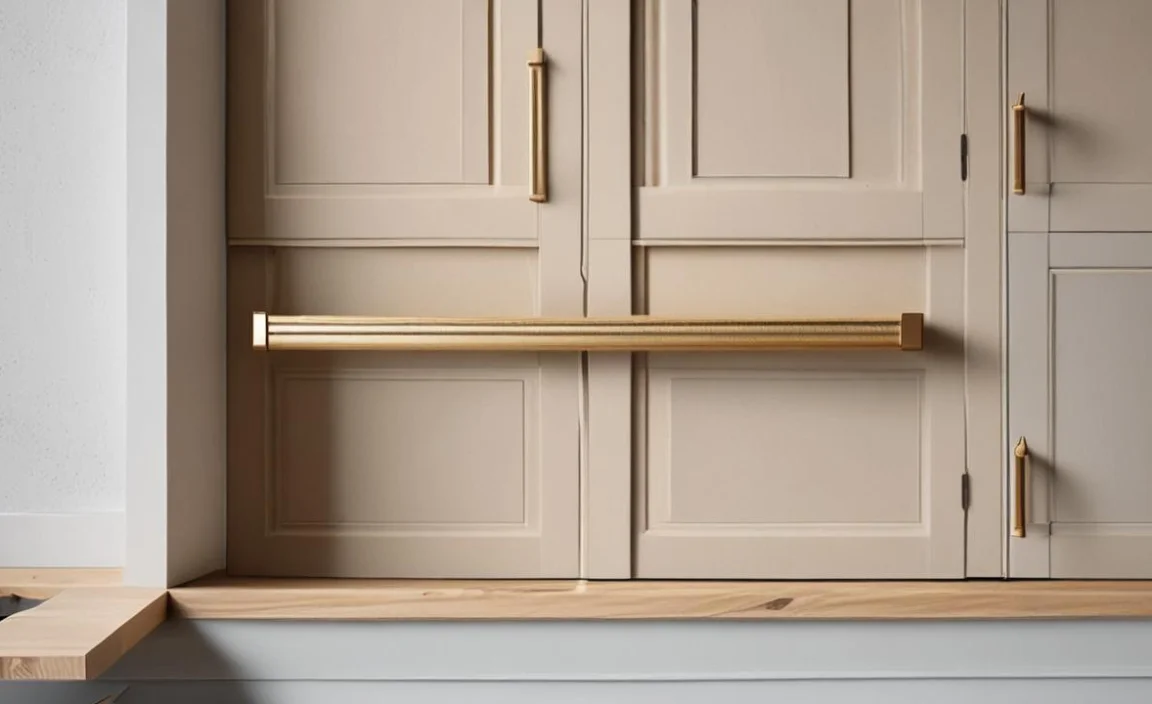
Choosing the Right Concealed Hinges
Not all concealed hinges are the same. Different styles and sizes exist. You need to choose the right ones for your cabinets. When shopping, look for hinges that fit your cabinet’s design.
You may find soft-close hinges. These are great because they close quietly. They prevent slamming, which can help your cabinets last longer.
It’s also important to look at the weight rating of the hinges. Some hinges are made for lighter doors, while others are for heavier ones. Checking weight limits helps you make the best choice for your cabinets.
Fun Fact or Stat: Soft-close hinges can last up to 10 years longer than standard hinges.
Steps on How to Install Concealed Hinges on Old Face Frame Cabinets
Installing concealed hinges may seem complicated. But with the right steps, you can do it yourself. First, gather your materials and tools. Then, follow these steps:
1. Remove the old hinges from the cabinet doors.
2. Measure where the new hinges will go.
3. Mark the spots with a pencil.
4. Drill holes for the hinges.
5. Attach hinges to the doors and frames.
Always check that the doors open and close smoothly. If they don’t, adjust the hinges. This can make a big difference in how the cabinets look and work.
- Remove old hinges carefully.
- Mark new hinge spots accurately.
- Drill only the needed holes.
- Keep doors level and straight.
- Adjust for smooth operation.
You will feel proud once your project is finished. Installing concealed hinges on old face frame cabinets can be rewarding. It’s a simple way to brighten up your space.
Fun Fact or Stat: Many homeowners choose DIY projects to save money.
Preparation Before Installation
Before you start, getting ready is important. Make sure you have everything you need. Lay out your tools. Prepare your workspace too. A clean area helps prevent accidents.
Check your cabinet doors for damage. If they are warped or cracked, consider fixing them first. It’s also a good idea to clean the cabinets. This way, the hinges will stick better, and the doors will look good.
You also need to think about safety. Wear safety goggles when using a drill. This will protect your eyes from dust.
Fun Fact or Stat: A well-prepared workspace can improve your focus.
Measuring and Marking for New Hinges
Measuring and marking are very important steps. If you don’t measure right, your hinges won’t fit. Use a measuring tape to find the correct spot for each hinge.
Mark where you will drill with a pencil. Make sure your marks are straight. You can use a level for this. It helps to guarantee the hinges are even.
Always double-check your measurements. It’s easy to make a mistake. If you do, it can lead to problems later.
Fun Fact or Stat: The old saying “measure twice, cut once” is very true!
Attaching the Hinges to Cabinets
After measuring, it’s time to attach the hinges. Start by drilling holes where you marked them. Make sure to use the correct drill bit size. It should match the size of the hinge screws.
Once you have drilled the holes, place the hinge in position. Use a screwdriver to attach the screws. Make sure to tighten them securely.
Check that the hinge allows the door to open and close smoothly. If it doesn’t, you may need to adjust the screws.
Fun Fact or Stat: Properly installed hinges can last for years without needing adjustments.
Testing the New Hinges
Once you have installed the hinges, testing is important. Open and close the cabinet doors. Make sure they move smoothly. If they don’t, you might need to adjust the hinges.
Check if the doors line up properly. They should be even with the cabinet frame. If one side sticks out, it could look uneven. This can change the whole look of your kitchen or bathroom.
If the doors are wobbly, take a moment to tighten the screws. This can help fix the problem. Make sure everything works well before finishing up.
- Test each door after installation.
- Make sure they open fully.
- Check that doors close securely.
- Look for any gaps or misalignments.
- Adjust as needed for smooth operation.
Testing your new hinges gives you peace of mind. You want to be sure everything works right. This step ensures your hard work pays off.
Fun Fact or Stat: Testing can help catch problems before they become big issues.
What to Do If the Hinges Don’t Fit
Sometimes, hinges may not fit perfectly. If this happens, don’t panic. Look at your measurements again. It’s easy to make a small mistake.
You can also try adjusting the hinges slightly. This might help them fit better. If the hinges are the wrong size, you may need to buy new ones.
Another option is to use hinge shims. These thin pieces help fill gaps and adjust hinges. They can be very useful in fixing fit issues.
Fun Fact or Stat: Most people make at least one small mistake during DIY projects.
Final Adjustments for a Perfect Fit
After testing, you might need to make some final adjustments. Look at how the doors sit. They should line up evenly with the cabinet frame.
If one door hangs lower than the other, adjust the hinges. Sometimes, all it takes is a small twist of the screws.
You can use your level again to check that everything is even. This little step can make a big difference in appearance.
Fun Fact or Stat: A little patience can lead to great results in DIY projects.
Common Mistakes When Installing Hinges
Even simple projects can come with mistakes. It’s easy to overlook details. Knowing common mistakes can help you avoid them.
One mistake is not measuring correctly. This can lead to holes that don’t line up. Another mistake is over-tightening screws. This can break the hinge or damage the cabinet.
Ignoring safety can also be a big mistake. Always wear goggles when using power tools.
Make sure your workspace is clean. A messy area can lead to accidents.
- Double-check your measurements before drilling.
- Don’t rush; take your time with each step.
- Keep tools organized to avoid losing them.
- Check each step before moving on to the next.
- Practice safety with all your tools.
By learning about common mistakes, you can be better prepared. This can help your project go smoothly and look great.
Fun Fact or Stat: Many DIYers learn from their mistakes over time.
Fixing Misaligned Doors
Sometimes, doors may not align after installation. This can happen for many reasons. You might need to adjust the hinge screws to fix the problem.
Start by loosening the screws slightly. Then, try shifting the door until it looks right. Once it looks even, tighten the screws back up.
If this doesn’t work, you may need to install shims. Shims can fill gaps and help realign the doors.
Take your time to get it right. It’s worth the effort for a polished look.
Fun Fact or Stat: Many people overlook small details, but they make a big difference!
Preventing Future Issues
To keep your concealed hinges working well, regular checks are important. Look at the doors now and then. Make sure they still open and close smoothly.
You can also tighten the screws once a year. This can help prevent loosening over time.
Cleaning the hinges can also extend their life. Sometimes, dirt can build up and cause problems. A quick wipe can keep them functioning well.
These small steps can save you time in the future.
Fun Fact or Stat: Regular maintenance can double the lifespan of your hinges.
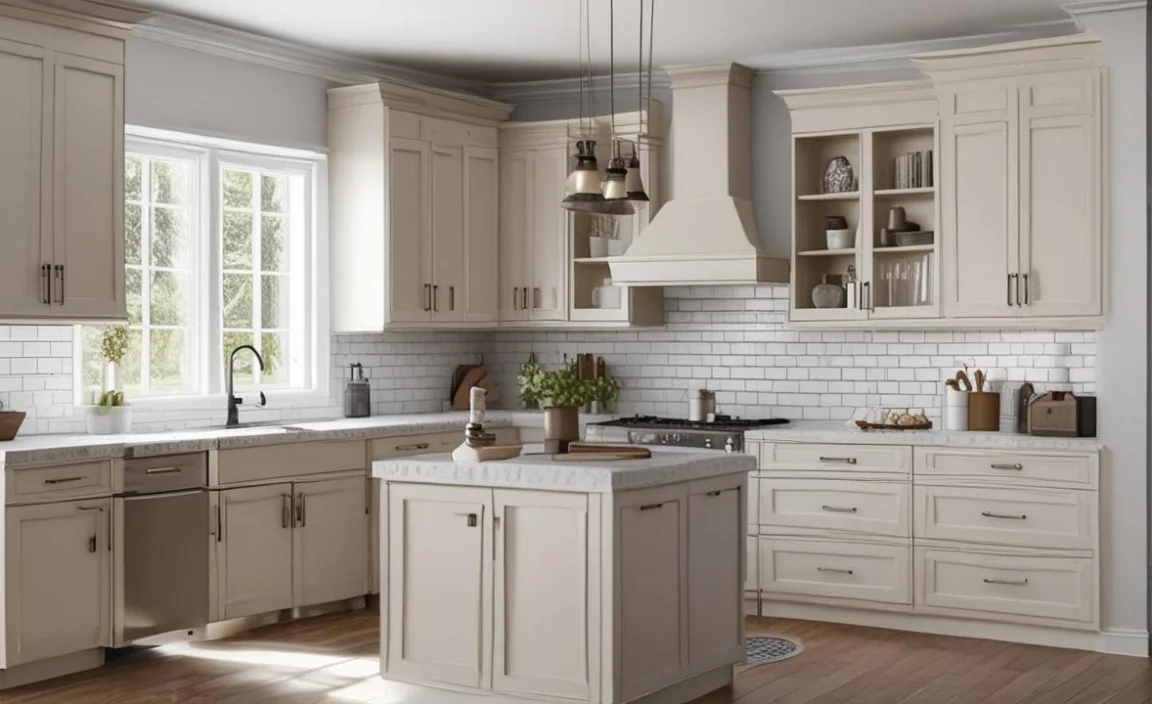
Summary
Installing concealed hinges can be a fun DIY project. You can learn how to install concealed hinges on old face frame cabinets with just a few tools. Remember to measure carefully and take your time. Testing each door ensures everything works smoothly.
If you encounter issues, don’t worry. Adjustments can often fix misaligned doors. With practice, you can update your cabinets easily. A little effort can brighten your space!
Conclusion
Updating old cabinets is a great way to improve your home. Learning how to install concealed hinges on old face frame cabinets is a useful skill. With practice, you can achieve a professional look. Remember to take your time and enjoy the process. Your cabinets will look amazing in no time!
Frequently Asked Questions
Question No 1: What are concealed hinges used for?
Answer: Concealed hinges are used to make cabinets look sleek and modern. They hide the hardware when the doors are closed. This gives a clean and polished appearance. Installing these hinges can transform old cabinets into something fresh and stylish. If you want to learn how to install concealed hinges on old face frame cabinets, you can find guides online.
Question No 2: Can I install concealed hinges myself?
Answer: Yes, you can install concealed hinges yourself! It is a fun DIY project. You only need a few tools and some patience. Just follow the steps, and you will be able to do it. Make sure to measure carefully. This will help ensure that the hinges fit properly. With practice, you will learn how to install concealed hinges on old face frame cabinets without any trouble.
Question No 3: What tools do I need for this project?
Answer: You will need several tools for installing concealed hinges. A drill and drill bits are essential. You also need a screwdriver, measuring tape, and a level. A pencil for marking is very helpful. Having all these tools ready will make your project easier. Once you are equipped, you can start learning how to install concealed hinges on old face frame cabinets.
Question No 4: How do I choose the right hinges?
Answer: To choose the right concealed hinges, consider your cabinet’s design. Look for hinges that fit your cabinet’s size and weight. Some hinges are soft-close, which is a great option. These close gently, preventing slams. Check the weight ratings of the hinges as well. It’s important to find the best match for your needs. This way, your project will be successful!
Question No 5: What if my doors are misaligned?
Answer: If your cabinet doors are misaligned, don’t worry! You can adjust the hinges easily. Start by loosening the screws and shifting the door until it looks even. Once adjusted, tighten the screws again. If the issue persists, consider using shims. They can help realign the doors if needed. Take your time to ensure everything looks perfect!
Question No 6: How can I maintain my concealed hinges?
Answer: To maintain your concealed hinges, check them regularly. Look for any signs of loosening. Tighten the screws once a year to keep them secure. Clean them to avoid dirt build-up, making sure they work smoothly. Regular maintenance can help extend their lifespan. This way, your cabinets will continue to look great for years!
