Have you ever felt uneasy stepping into a shower or using the bathroom? Many people share that fear. Grab bars can help make these spaces safer. But how do you install grab bars correctly?
Installing grab bars may seem tricky, but it’s not as hard as it looks. Imagine giving yourself or a loved one the gift of safety and confidence. You want to make sure everyone can enjoy their home without worry. Did you know that grab bars can prevent a lot of falls in the bathroom? It’s true!
In this article, we’ll show you how to install grab bars step by step. With our easy guide, you will learn the best places to put them and the tools you need. Let’s dive into this important home improvement project together!
How To Install Grab Bars: A Step-By-Step Guide
How to Install Grab Bars
Installing grab bars can boost safety in your home, especially in bathrooms. First, locate the studs in your wall. Use a stud finder for accuracy. Mark where you want to install the bars. Next, drill holes and secure the bars with screws. A fun fact: grab bars can reduce the risk of slips and falls by 80%! Imagine feeling secure while you shower. Grab bars offer both support and peace of mind, helping everyone stay safe at home.
Understanding Grab Bars
Definition and purpose of grab bars. Different types of grab bars available on the market.
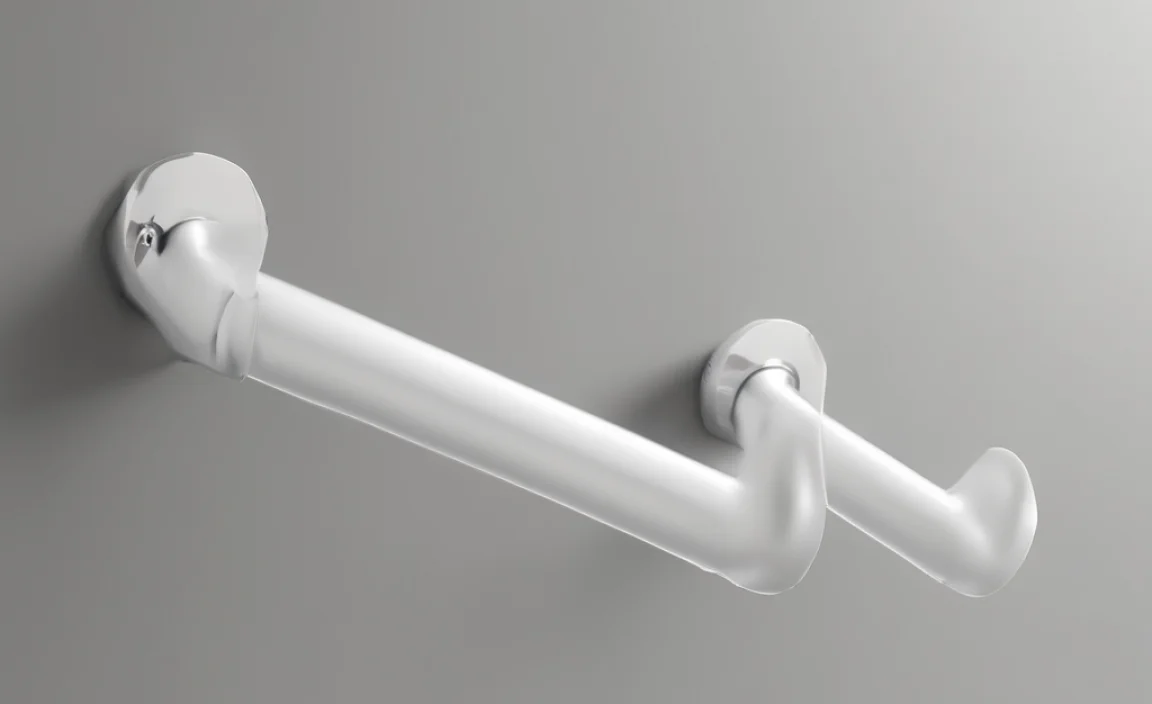
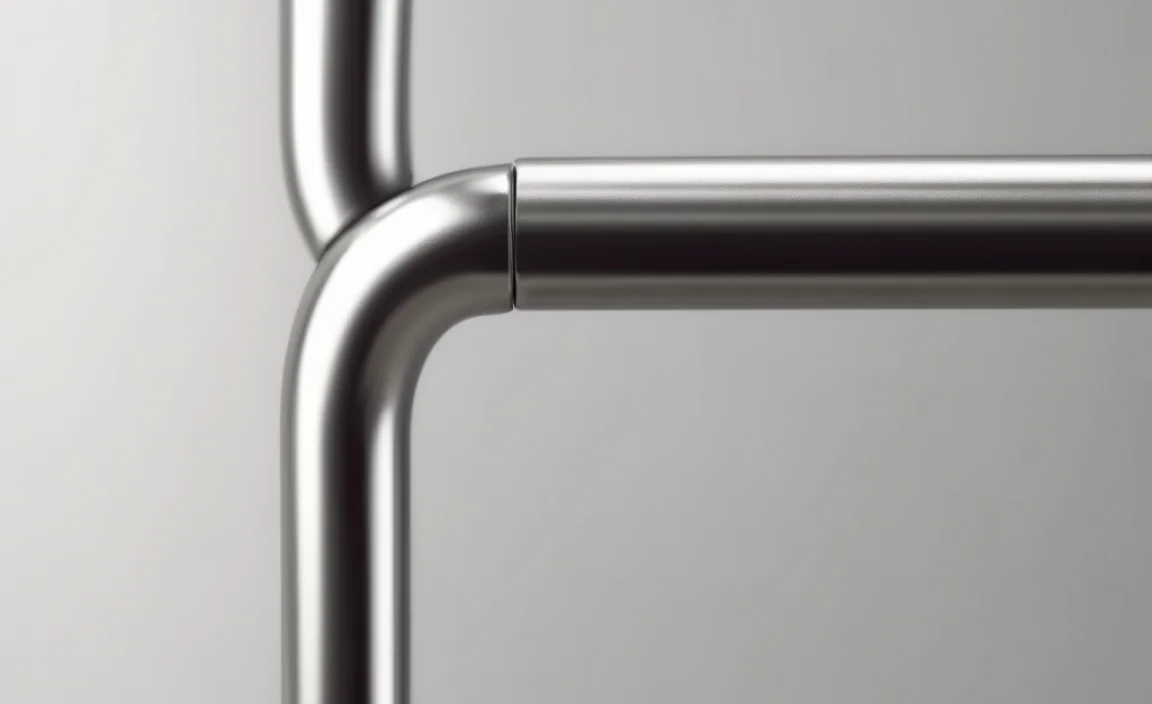
Grab bars are strong bars that help people stay safe when using the bathroom. They give support and prevent falls. You can find grab bars in various styles and sizes. Here are some common types:
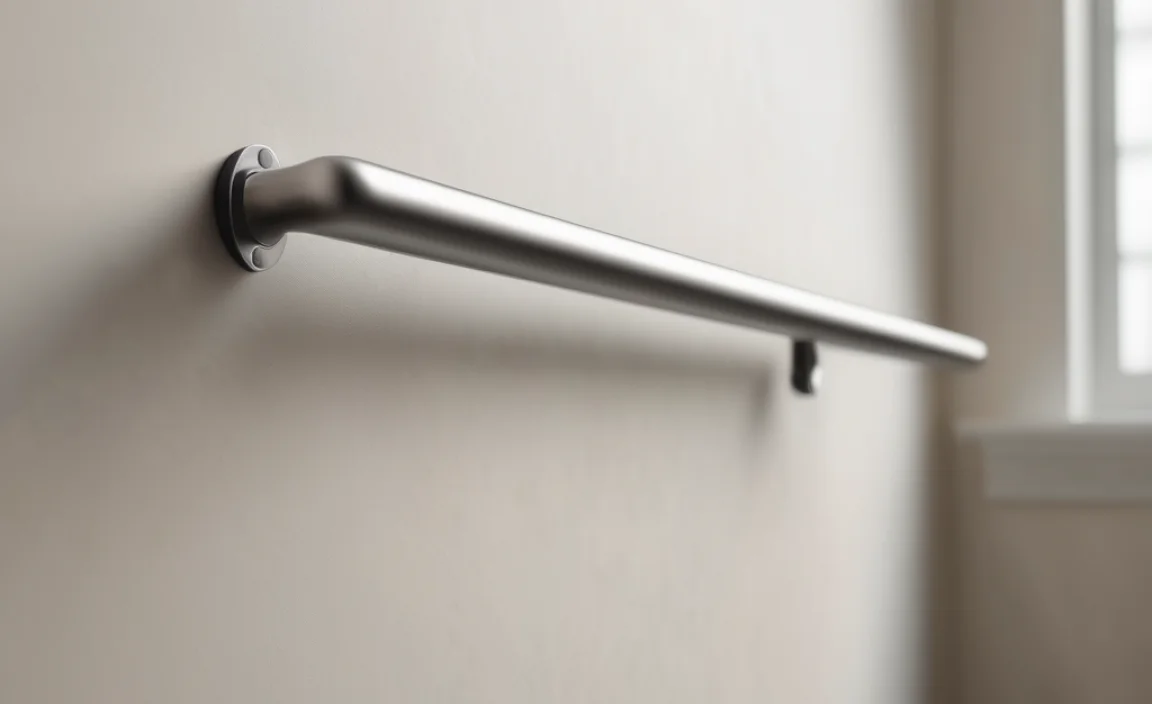
- Straight Grab Bars: The simplest style that goes straight along a wall.
- Curved Grab Bars: These bars have a gentle curve for extra hand-holding space.
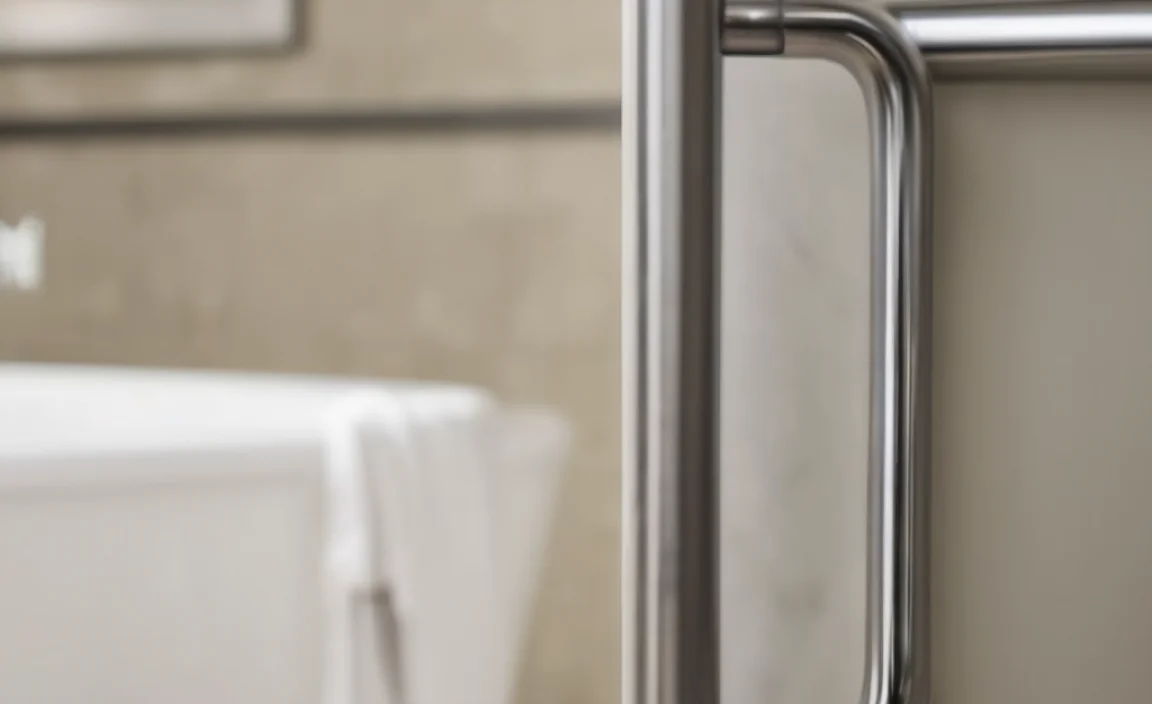
- Corner Grab Bars: They fit neatly into the corner of a shower or tub.
- Transitional Grab Bars: Unique bars that blend function with style.
Choosing the right grab bar can make your home safer and more comfortable.
What is the main use of grab bars?
Grab bars help people stay safe in places like bathrooms and stairways. They provide support while standing or sitting. This reduces the chance of slipping and falling.
Assessing the Need for Grab Bars
Identifying areas for installation in the home. Evaluating the safety needs of individuals using the space.
Making sure you have grab bars in the right spots can make a big difference. Look around your home. Are there places where people might need extra support? Bathrooms and hallways are key areas to check. Think about who will use the space. Are they older, injured, or just need some help moving around? Assess their needs carefully. This helps to decide where grab bars should go. It is an important step for safety.
Where should you install grab bars?
Consider these areas for grab bars:
- Inside the shower or tub
- Next to the toilet
- Along stairways
How do you evaluate safety needs?
Pay attention to these basic needs:
- Balance issues
- Strength in arms and legs
- Frequency of falls or slips
By looking at these factors, you can better protect those in your home. Grab bars can help create a safer living space.
Choosing the Right Grab Bars
Factors to consider when selecting grab bars (material, weight capacity, design). Comparison of various styles and their applications.
Choosing grab bars isn’t rocket science, but it does require some thought! First, think about the material. Grab bars can be metal or plastic, each having pros and cons. Next, check the weight capacity. You want sturdy bars—nobody wants a surprise plunge into the shower! Finally, consider the design. Some bars are pretty sleek while others are, well, not so much. A funny-looking grab bar might just become a family joke! Here’s a quick comparison of styles:
| Style | Material | Weight Capacity | Best Use |
|---|---|---|---|
| Straight | Stainless Steel | 300 lbs | Shower or Bathtub |
| L-Shaped | Aluminum | 250 lbs | Toilet Area |
| Foldable | Plastic | 200 lbs | Small Spaces |
Pick wisely, and you’ll have a stylish grip on safety!
Tools and Materials Required for Installation
List of essential tools needed (drill, screwdriver, etc.). Recommended materials for securing grab bars.
Before you start your great adventure of installing grab bars, you’ll need some trusty sidekicks! Grab your trusty drill and a screwdriver—these tools are key players in your project. Don’t forget some sturdy screws or anchors to keep those bars secure. It’s like building a strong fortress, but for your bathroom! Here’s a quick table to help you gather your gear:
| Tool/Material | Purpose |
|---|---|
| Drill | To create holes |
| Screwdriver | For tightening screws |
| Screws | To hold grab bars |
| Wall Anchors | For solid support |
With these essentials, you’ll be ready to make your space safer and maybe even impress a few grandkids along the way!
Step-by-Step Installation Process
Preparing the installation site (finding studs, measuring). Detailed instructions for mounting grab bars securely.
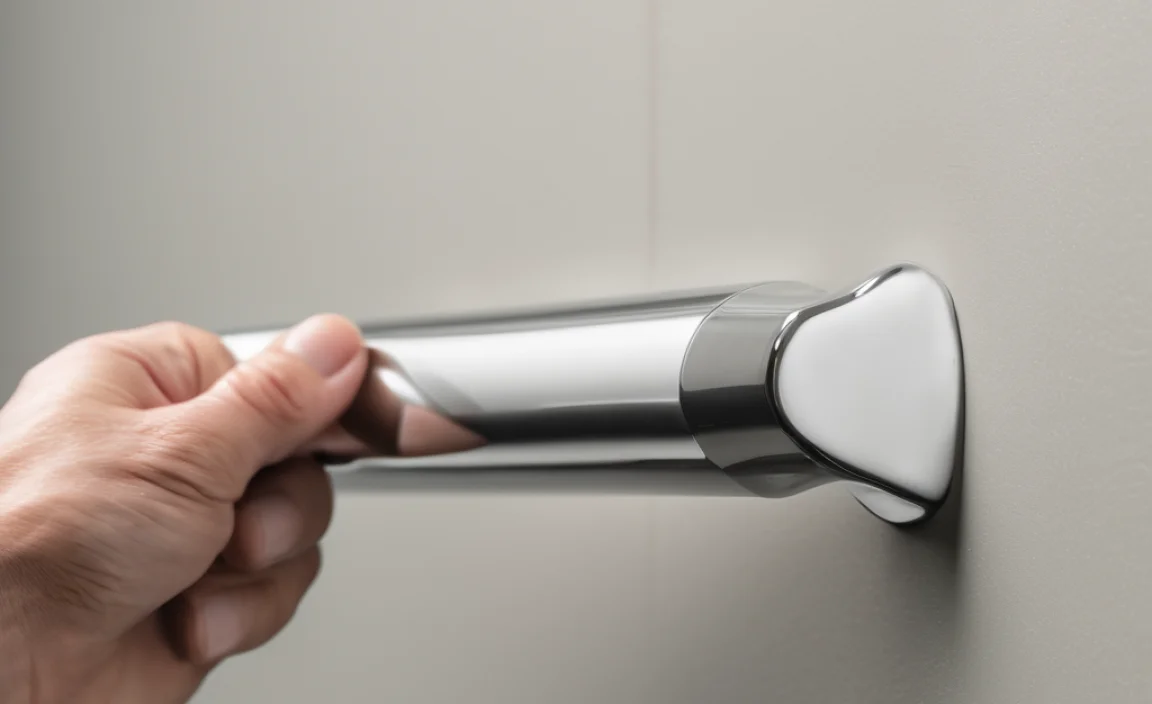
First, find the best spot for your grab bars. Look for the studs in your wall. You can use a stud finder or knock on the wall until you hear a solid sound—like tapping a secret code for superhero strength! After that, measure where the bars will go. Aim for a height of about 33 to 36 inches from the floor. Make it easy to reach, but don’t put it too high!
Next, grab your tools and start mounting. Drill holes in the wall where the studs were marked. Secure the grab bars with screws. Tighten them well—like you’re trying to out-squeeze a toothpaste tube! Double-check everything. You want those bars to hold you up as if they’re your biggest fans during a concert. Remember, proper installation is key for safety!
| Step | Action |
|---|---|
| 1 | Find studs in the wall |
| 2 | Measure height (33-36 inches) |
| 3 | Drill holes at marked spots |
| 4 | Secure grab bars with screws |
| 5 | Double-check for safety |
Common Mistakes to Avoid During Installation
List of errors people often make. Tips for ensuring safety and stability.
Installing grab bars can make your bathroom safer, but common mistakes can trip you up. Many people forget to check the wall studs. This is crucial for a secure fit. Some use the wrong screws, thinking they can save the day – but no one likes a loose grab bar! Don’t skip the level; tilted bars are only fun for circus acts. Remember to test the bar before relying on it. Always prioritize safety!
| Common Mistakes | Tips for Safety |
|---|---|
| Not checking wall studs | Use a stud finder for secure placement |
| Using incorrect screws | Choose heavy-duty screws for stability |
| Skipping the level | Ensure it’s straight for proper use |
| Not testing for strength | Always try it out before using |
Maintenance and Inspection of Grab Bars
Guidelines for regular maintenance to ensure safety. Signs that indicate when grab bars need to be replaced.
Keeping grab bars safe is very important. Check them often to make sure they are strong. Here are some tips:
- Look for rust or holes.
- Check if the bar shakes or moves.
- Clean the grab bars regularly.
- Replace them if they are loose or damaged.
If you notice any of these signs, it’s time to replace the grab bars. Keeping them well-maintained helps you stay safe.
Do grab bars need regular checks?
Yes, grab bars need regular checks for safety. Check them every month!
Additional Resources and References
Links to instructional videos and guides. Contact information for professionals if assistance is needed.
Need a little help installing grab bars? You’re not alone! Many folks look online for tips. So, here are some great resources just for you. Check out these helpful instructional videos and step-by-step guides that will make installation a breeze. And if DIY isn’t your thing, no worries! You can reach out to local professionals who can lend a hand.
| Resource Type | Links |
|---|---|
| Instructional Videos | YouTube Installation Channel |
| Guides | Grab Bar Guide |
| Contact Professionals | Find a Pro |
With these resources at your fingertips, you’ll be ready to tackle the grab bars like a pro. Remember, safety should always come first—just like your favorite superhero!
Conclusion
In conclusion, installing grab bars improves safety in your home. You can choose the right location and type of grab bar. Use proper tools for a secure fit. Always check for stud placement before drilling. For more tips, consider reading guides on installation. Let’s make your home safer together, one grab bar at a time!
FAQs
What Tools And Materials Are Needed For Installing Grab Bars Safely?
To install grab bars safely, you need a few tools and materials. First, get a drill to make holes in the wall. You also need screws to hold the grab bars in place. Use a level to ensure the bars are straight. Finally, have a stud finder to locate strong spots in the wall.
How Do I Determine The Best Location For Installing Grab Bars In My Bathroom?
To find the best spot for grab bars, look where you need support most. You can place them next to the toilet and inside the shower or tub. Make sure they are about waist-high so you can easily reach them. You should also test which areas feel wobbly or slippery. Finally, ask someone for help to make sure they are strong and safe.
What Is The Proper Height For Installing Grab Bars To Ensure Maximum Safety And Accessibility?
To install grab bars safely, they should be about 33 to 36 inches high from the floor. This height is comfortable for most adults to reach. If you are shorter or have kids, you might want them lower. Always check with everyone who will use them so they are just right!
How Can I Ensure That Grab Bars Are Securely Anchored To Support Weight Safely?
To make sure grab bars are safely attached, you should use a stud finder. This tool helps you find wood beams behind the wall. Once you find them, screw the grab bars directly into these beams. You can also use special anchors for walls without beams. Always test the bars to make sure they feel strong before using them.
Are There Different Types Of Grab Bars, And How Do I Choose The Right One For My Needs?
Yes, there are different types of grab bars. Some are straight, while others are curved or foldable. You can choose one based on where you need it, like in the bathroom or by stairs. Make sure it can hold your weight and is easy to grab. Ask an adult for help with installation to keep it safe!