Have you ever sat around a warm, flickering fire? It feels cozy, right? If you want to enjoy that at home or while camping, you might consider a Solo Stove. But do you know how to light a Solo Stove properly? Lighting one can seem tricky, but it’s actually quite easy when you know the steps.
Imagine gathering with friends outdoors on a chilly evening. You want to create that perfect atmosphere with a fire. You don’t want to struggle to start it. You’ll want it to light up quickly. You can learn how to light a Solo Stove like a pro. The key is understanding a few simple tricks.
In this article, we will explore how to light a Solo Stove effortlessly. You will discover important tips and safe methods. Get ready to enjoy evenings filled with warmth and glow!
How To Light A Solo Stove: Step-By-Step Guide And Tips
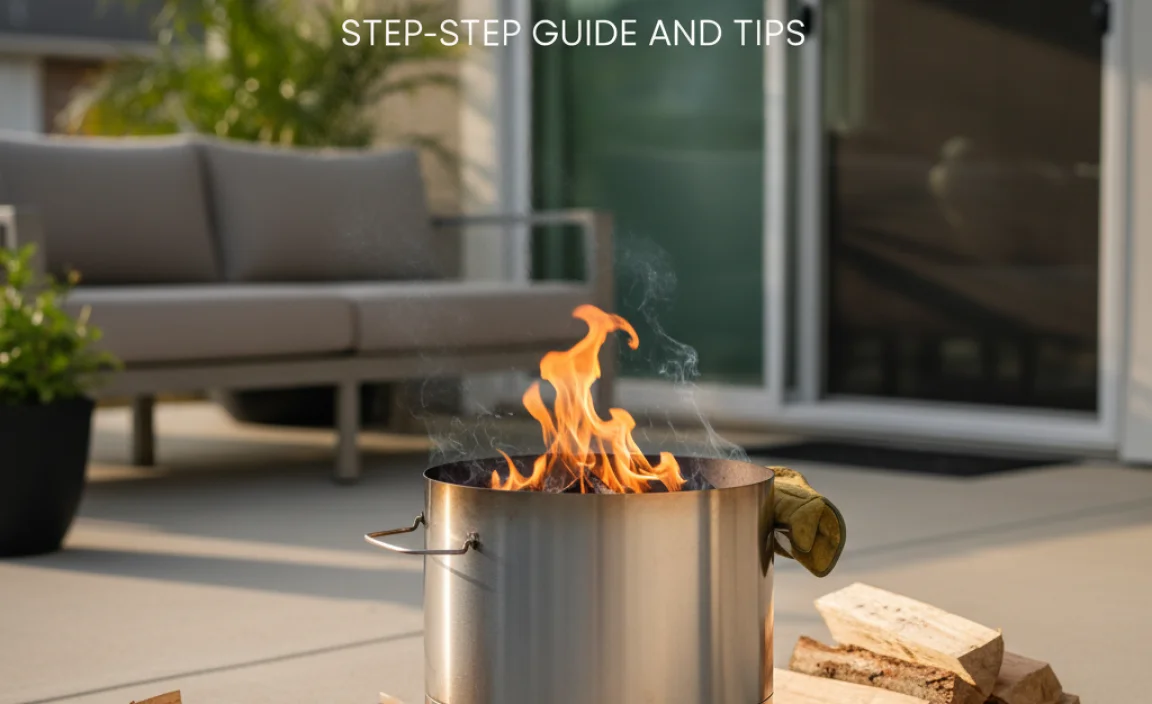
How to Light a Solo Stove
Lighting a Solo Stove is simple and fun! Start by gathering small, dry twigs and some crumpled newspaper. Place the paper in the bottom and stack the twigs above it, leaving space for air. Light the paper, and watch how the design helps the fire grow strong. Did you know that the air flows in from the bottom and up through the top? This creates a cleaner burn, making your outdoor experience more enjoyable.
Necessary Materials for Lighting a Solo Stove
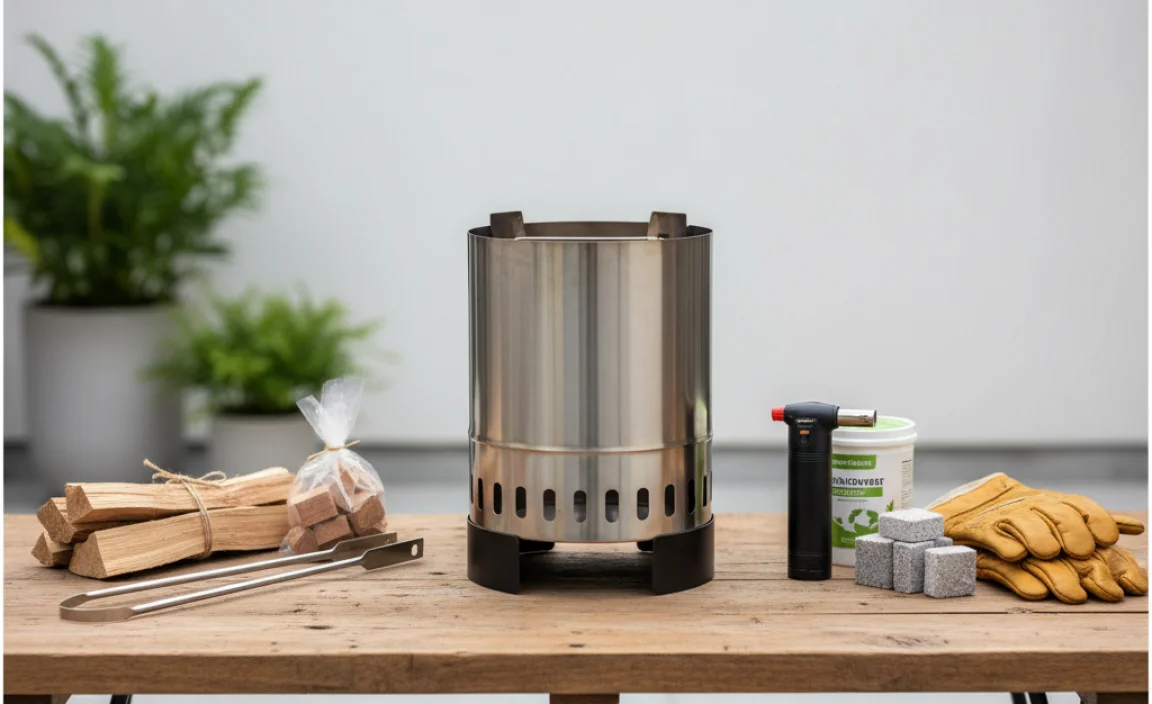
List of recommended kindling and fuel types. Essential tools required for lighting the stove.
To light a solo stove, you need some key materials and tools. The right kindling and fuel make a big difference. Here’s what you should gather:
- Kindling: Dry twigs, small wood pieces, or newspaper.
- Fuel: Hardwood, charcoal, or pellet fuel.
Don’t forget these essential tools:
- Matches or a lighter
- Fire starter (like charcoal starter or natural fire starter)
- Tongs for arranging wood
Gathering the right materials ensures a smooth start to your fire. Happy cooking!
Preparing the Solo Stove for Ignition
Steps for assembling the Solo Stove correctly. Importance of choosing a safe location for setup.
To kick off your solo stove adventure, make sure you assemble it right. First, place the base on a flat surface to keep it stable, just like a table at a fancy restaurant—no wobbly legs allowed! Next, stack the inner and outer sections snugly. Remember, no one likes a leaky boat, so ensure everything fits tight.
| Step | Description |
|---|---|
| 1 | Choose a flat surface. |
| 2 | Assemble the inner and outer sections. |
Now, let’s talk about location! A safe spot is key to a great fire experience. Avoid dry grass or hanging branches; a clear area is best. Think of it like picking a safe playground—no swings that might knock you out! Keep safety in mind, and you’ll be ready to light your solo stove.
Lighting Your Solo Stove
Detailed stepbystep guide on lighting the stove. Tips for getting the best initial burn.
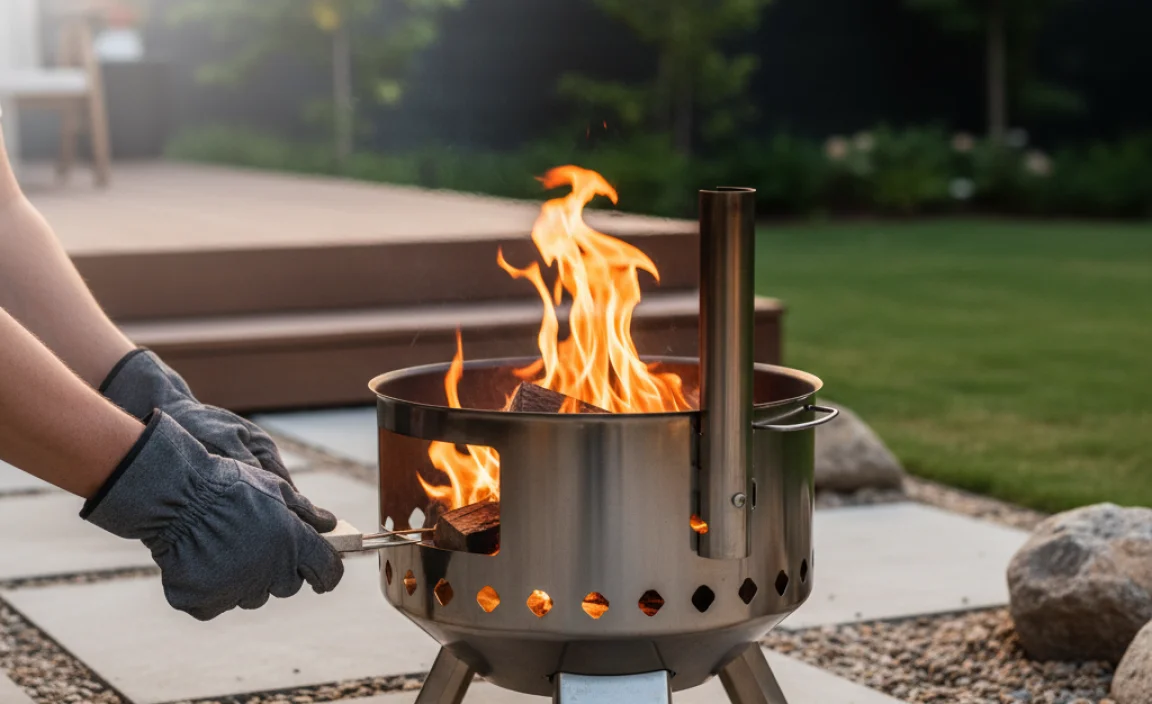
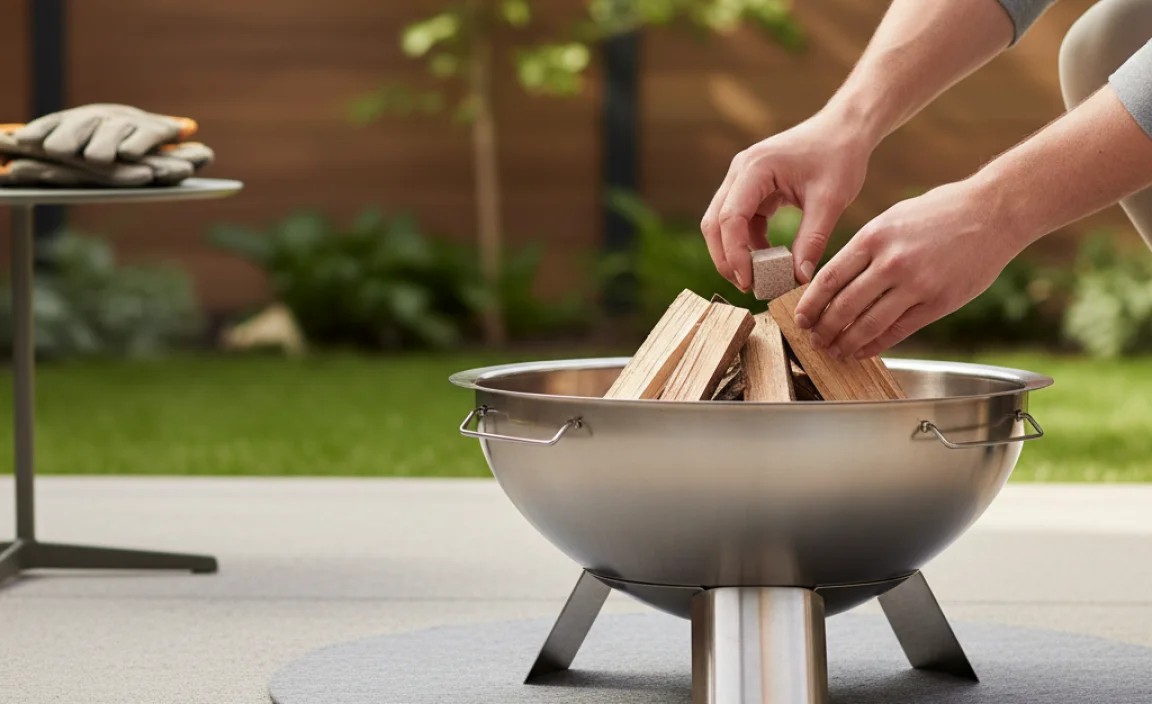
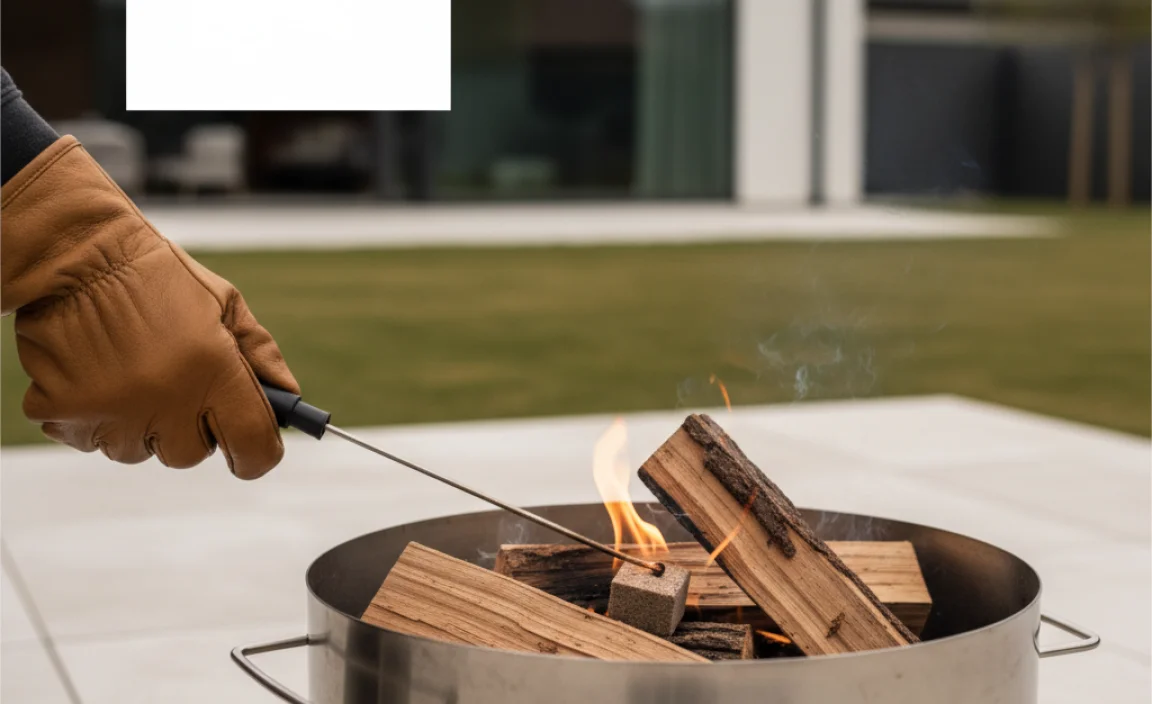
Getting your stove to roar with flames is easy peasy! First, grab some small, dry sticks or twigs. These will be your fire starters, like the opening act of a concert. Next, stack them in a teepee shape inside the stove. Add a crumpled piece of paper at the bottom for extra help. Once everything’s in place, light the paper. Watch closely as the tiny flames dance!
For the best burn, keep the air vents open to let the oxygen flow. This is like giving your fire a big, friendly hug. If you close them too soon, your flames might just sulk. Don’t worry if it takes a minute; good things come to those who wait!
| Step | Tip |
|---|---|
| 1 | Gather small, dry sticks |
| 2 | Stack them in a teepee shape |
| 3 | Add crumpled paper |
| 4 | Light the paper, then enjoy! |
Ensuring a Sustainable Fire
Techniques for maintaining consistent temperature. Managing airflow and fuel efficiently.
To keep your fire going strong, think of it like a pet that needs your care. Managing airflow is key! Adjust the air vents for oxygen flow, letting the flames dance without going wild. Use dry, small pieces of wood; they fuel the fire and keep the temperature steady. Below is a quick look at some tips:
| Technique | Description |
|---|---|
| Airflow | Open vents for a hotter fire or close them to cool things down. |
| Fuel Management | Add dry, small wood pieces regularly. |
| Temperature Control | Monitor the fire. Adjust wood and airflow as needed. |
With the right techniques, you’ll have a cozy fire that makes you feel like a campfire chef. Just remember, it’s all about balance, like juggling marshmallows without dropping any!
Safety Tips for Using a Solo Stove
Fire safety precautions to consider. First aid measures for burns and accidents.
Always stay safe while using a solo stove. Here are some fire safety tips:
- Keep the stove on a flat, stable surface.
- Place it away from dry grass, leaves, and anything flammable.
- Never leave the fire unattended.
If you or someone gets burned, here’s what you can do:
- Run cool water over the burn for 10-20 minutes.
- Cover it with a clean cloth.
- Seek medical help if it’s serious.
What should you do if there is a fire emergency?
Stay calm, call 911, and get to safety immediately.
Troubleshooting Common Issues
Identifying and resolving starting problems. How to handle smoke management issues.
Starting issues with your stove can be frustrating. Check if you have enough dry kindling and logs. Wet wood can cause problems. You might also need to clear the air vents. If smoke is bothering you, try these tips:
- Burn only dry wood.
- Make sure there’s enough air flow.
- Start small with kindling first.
With a little patience, your solo stove can work great. Remember, every fire needs the right fuel and air!
Why is my solo stove smoking?
It may be due to wet wood or a lack of airflow. Ensure your logs are dry and check the ventilation to reduce smoke and enjoy a better fire.
Cleaning and Maintaining Your Solo Stove
Best practices for cleaning
after use. Tips for longterm maintenance to ensure durability.
Keeping your solo stove clean is key to a long, happy life with it. After each use, cool it down and empty the ashes. A dry sponge can easily wipe away sticky spots. Remember, no one likes a dirty stove! For long-term care, store it in a dry place to prevent rust. Treat it with love, and it’ll serve you sizzling meals for years!
| Cleaning Tips | Maintenance Tips |
|---|---|
| Cool down before cleaning | Store in a dry place |
| Empty ashes after each use | Use protective covers |
| Wipe with a sponge | Avoid harsh chemicals |
In fact, keeping it clean might even add some magic to your cooking! Remember, a happy stove cooks tasty meals!
Conclusion
In summary, lighting a Solo Stove is simple! Start with kindling and small logs. Use dry materials for the best fire. Make sure to arrange the wood correctly for airflow. Always follow safety steps. Now you’re ready to enjoy your fire! For more tips, check guides online or ask a friend who has experience. Happy camping!
FAQs
What Type Of Fuel Is Best For Starting A Fire In A Solo Stove?
To start a fire in a Solo Stove, you can use small, dry wood pieces. You can also use kindling, which is tiny sticks or leaves. It’s best to avoid using wet wood because it won’t catch fire easily. Make sure to arrange the wood to let air flow, so the fire burns better. Always be safe when using fire!
How Do You Properly Arrange The Logs Or Fuel In A Solo Stove For Optimal Burning?
To arrange logs in a Solo Stove, start with kindling, like small sticks or dry paper, at the bottom. Next, place larger logs on top, leaning them against each other. Make sure there are spaces between the logs for air to flow. This helps the fire burn better and keep it hot. Always check that the stove is on a level surface for safety.
Are There Specific Techniques For Lighting A Fire In A Solo Stove To Minimize Smoke?
To light a fire in your Solo Stove with less smoke, start with dry, small sticks or kindling. Make a teepee shape with the wood to help air flow. Light the kindling from the bottom so the fire burns up quickly. Add larger pieces of wood once the fire is strong. Always use dry wood to reduce smoke!
How Long Does It Typically Take For A Solo Stove To Reach Optimal Cooking Or Heating Temperature?
A Solo Stove usually takes about 10 to 15 minutes to get really hot. You can start cooking or warming food once it gets to this temperature. It’s great because it uses air to make the fire burn better! Just remember to keep an eye on it while it heats up.
What Safety Precautions Should Be Taken When Lighting And Using A Solo Stove?
When using a Solo Stove, always place it on a flat, stable surface away from anything that can catch fire. You should keep a bucket of water or a fire extinguisher nearby, just in case. Never use it inside your house or in a small space because it needs fresh air. Make sure kids and pets stay far from the stove while it’s lit. Always watch the fire and don’t leave it alone.