Trucks are an integral part of the transportation industry, used for various purposes, from hauling goods to construction work. However, not all trucks are created equal, and sometimes modifications must be made to suit specific needs.
One such modification is shortening the truck frame, which reduces the distance between the front and rear axles. This process is commonly handy to increase manoeuvrability, improve weight distribution, and make the truck more versatile for different applications. At the same time, it may seem daunting, but shortening a truck frame can be a straightforward process with the right tools and knowledge.
Here, we will provide a step-by-step guide on how to shorten a truck frame, including the necessary equipment, safety precautions, and important considerations. So, let’s dive in and learn how to give your truck a much-needed makeover.
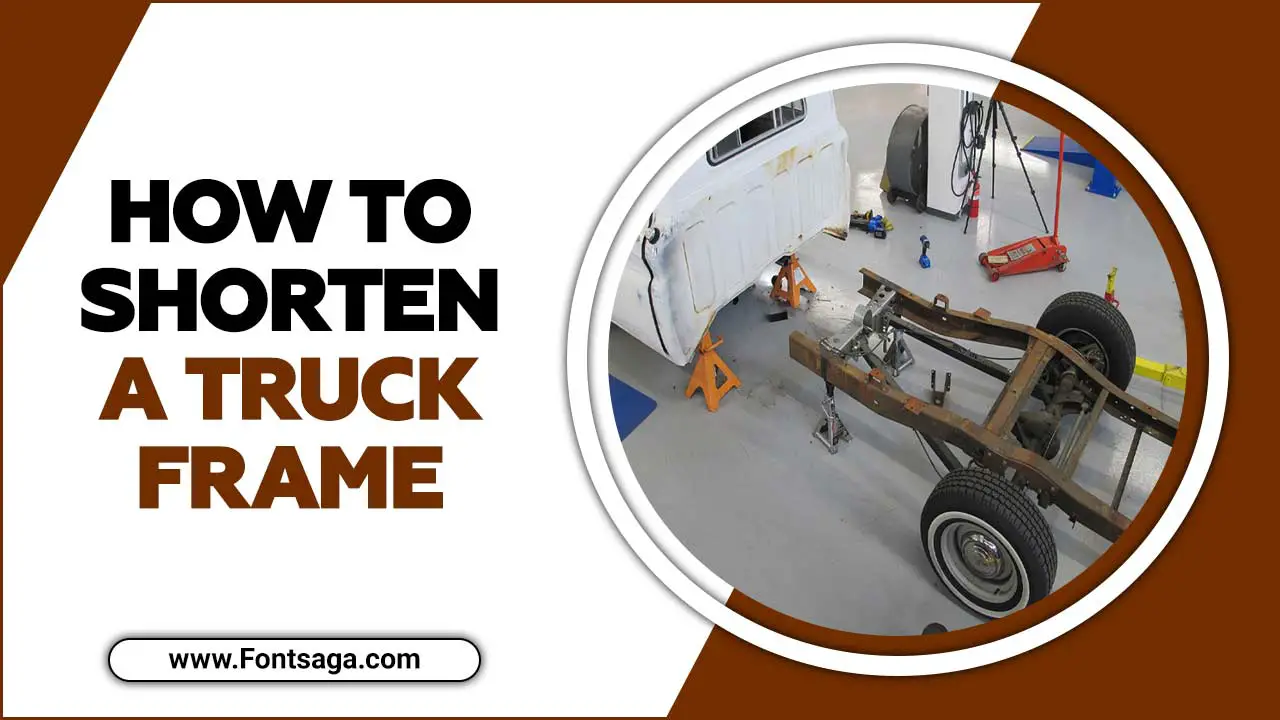
How To Shorten A Truck Frame? – Explained With Steps
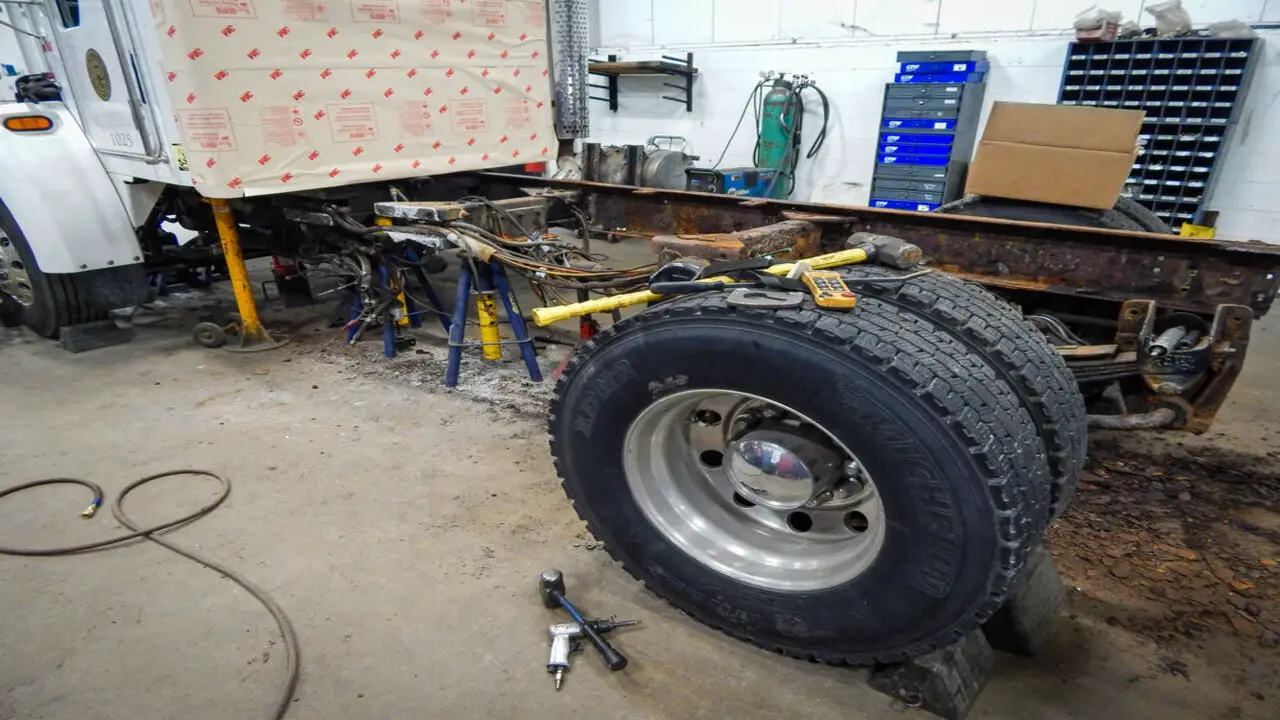
Shortening a truck frame can be a complex and involved process, but with the right tools and knowledge, it is possible to complete this modification successfully. A truck frame is the backbone of any heavy-duty vehicle. It provides the necessary structural support and rigidity to withstand the demanding conditions that trucks are often subjected to.
Please note that shortening a truck frame should only be done by experienced individuals with proper knowledge of automotive modifications and welding shop techniques. It is recommended to consult with professionals or seek guidance from reputable sources before attempting this process. Here are the steps on how to shorten a truck frame:
Step 1: Remove The Bed And Rear Suspension
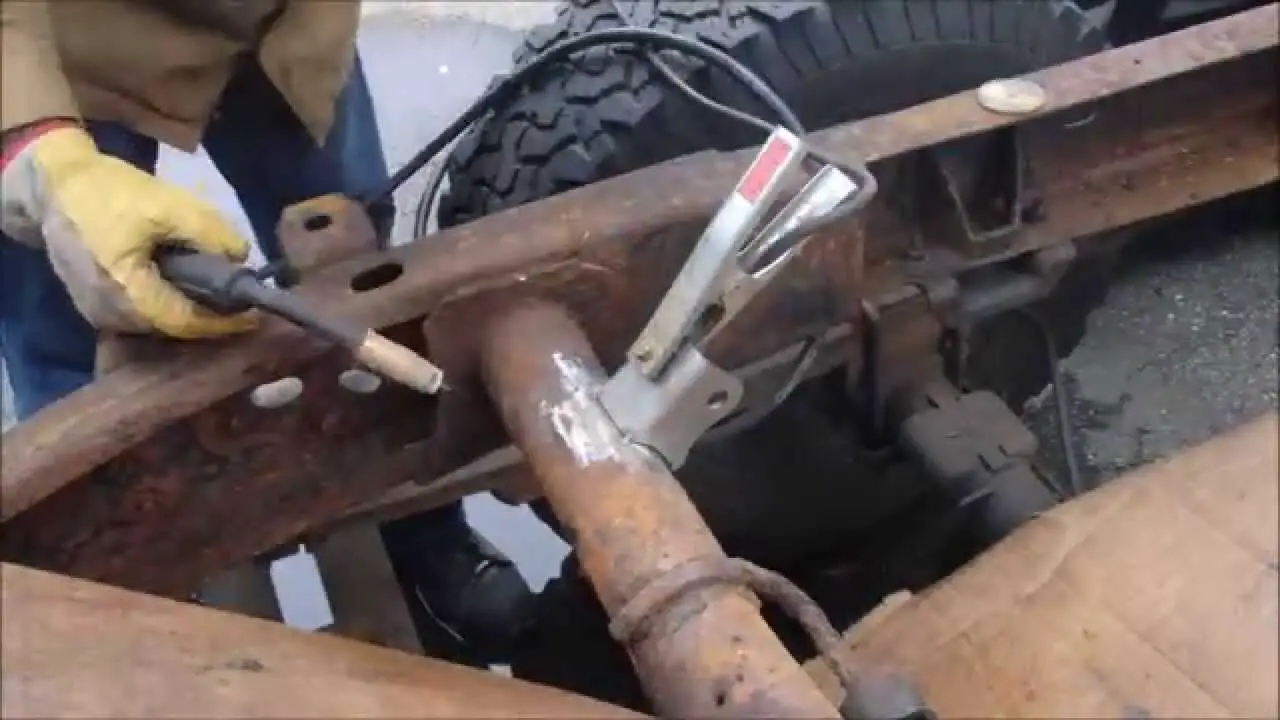
Remove the bed of the truck. You can do this by loosening the bolts that hold it in place and then lifting it off the frame. You can remove the rear suspension once you remove the bed. Typically, you remove the shocks and the leaf springs that hold up the rear axle.
You can now cut the frame to the desired length with the rear suspension removed. Measuring carefully and making precise cuts is important to ensure the original frame is shortened evenly on both sides.
You would strip everything down and disassemble your whole truck down to the frame since that is what we will work with. Ensure you lift your truck’s frame with reliable supports like jack stands. The jack can support the front and rear frame rails. Also, manually support the trans cross member and bolt it to the rear trailing arms.
Step 2: Cut The Frame
Have your truck frame all laid out and supported. You can finally start your actual work. Mark out the lines where you’ll place your cuts to make them more accurate. If needed, you may want to keep the serial number stamped on the frame’s rails, so don’t cut over it or destroy it.
Use a reciprocating saw or angle grinder to cut the frame at the desired length. To ensure accuracy, measure the frame and mark the cut line before cutting. Instead of just the straight or an angled cut, your best bet would probably be a stepped cut. It provides a lot more strength and reliability to the cut. How long or short you want the cut to be made depends on how much you want to shorten your truck frame.
Step 3: Reinforce The Cut
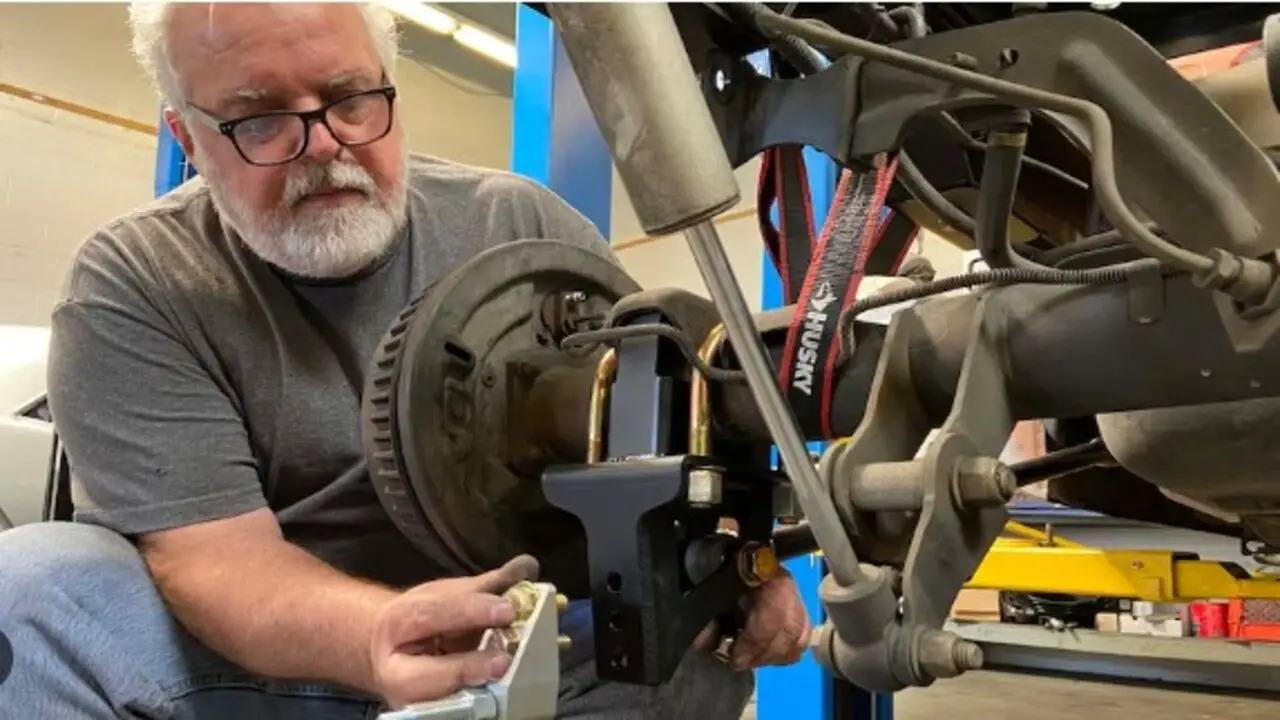
Put a mark and draw a vertical line using a square. Measure how long you want your cut to be and put another mark. Measure the same length from that mark and make another mark. Now, you need to find the centre of the top to bottom of the frame rail.
Put another mark at the rear lines and the front. You then need to draw another straight line connecting all three vertical lines. Reinforce the cut area with steel plates to maintain the frame’s structural integrity. Weld the plates to the frame using a MIG welder, ensuring a strong bond.
This method will give you a well-made stair step to join together perfectly. It’s also easier to align the front and rear frame rails, and the joint is stout when completed.
Step 4: Reinstall Rear Suspension
Before cutting, do not forget to remove the brake and fuel lines if you still want your truck to work when you’re done and prevent your workshop or backyard from burning down. Using a plasma cutter to make all your cuts might make the process much easier, but you’ll do fine with an oxy or acetylene. Also, ensure that your straight lines are properly straight when cutting.
Measure your lengths twice so you don’t need to cut more than once. To make your cuts smoother, you can use a flapper wheel or a sixty-grit grinding disc after you dress your cut areas with a grinder. It’s better if you have someone help you pull both halves together. You should also ensure that you have at least six or more C-clamps and some larger Vise-Grips since they will greatly help you.
Step 5: Ask For Help & Ensure The Right Kind Of Welding
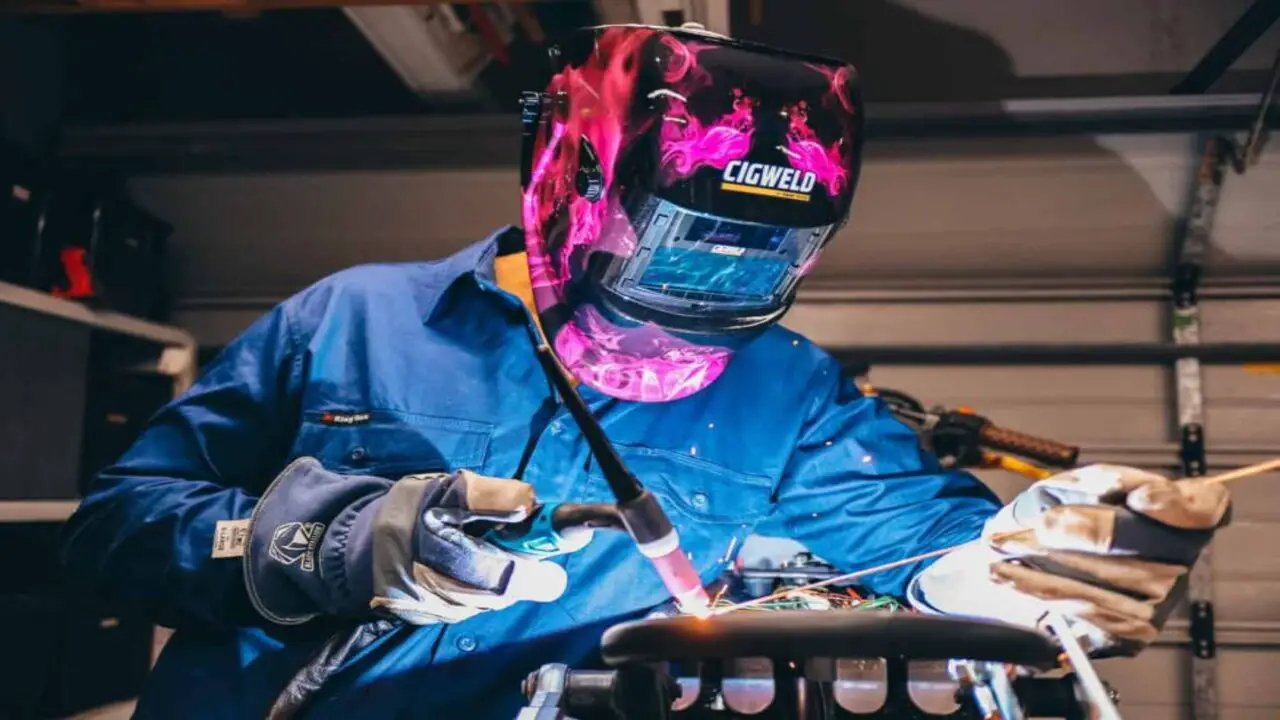
You should ask for help from someone with good welding experience if you are unsure of your abilities. This requires not just a good welder but also good welding knowledge. Taking your time with this would be best since you don’t want to weld so much at once that you warp the rails. You need to do it right in the first go because there is no helping it if you mess it up.
Ensuring you have the right welding skills, rod, and gas type to complete the job is also important. For example, if you are welding heat aluminium, you must use a different type of rod and gas than you would for steel.
Step 6: Reinforce The Weld Areas On The Frame
It would be best if you reinforced the weld areas on the frame to provide some extra strength. It’s better to do it inside the rails so it won’t be as easily visible if someone leans down and looks under your truck. Supporting any other short welds you may have made would be best.
One critical step in shortening a truck frame is reinstalling the rear suspension. This step involves removing the rear suspension, shortening the frame, and then reinstalling the suspension in the new, shortened position. Proper alignment and positioning are crucial to ensure the suspension functions correctly and the truck maintains stability on the road.
Step 7: Reinstall The Bed Onto The Frame Again
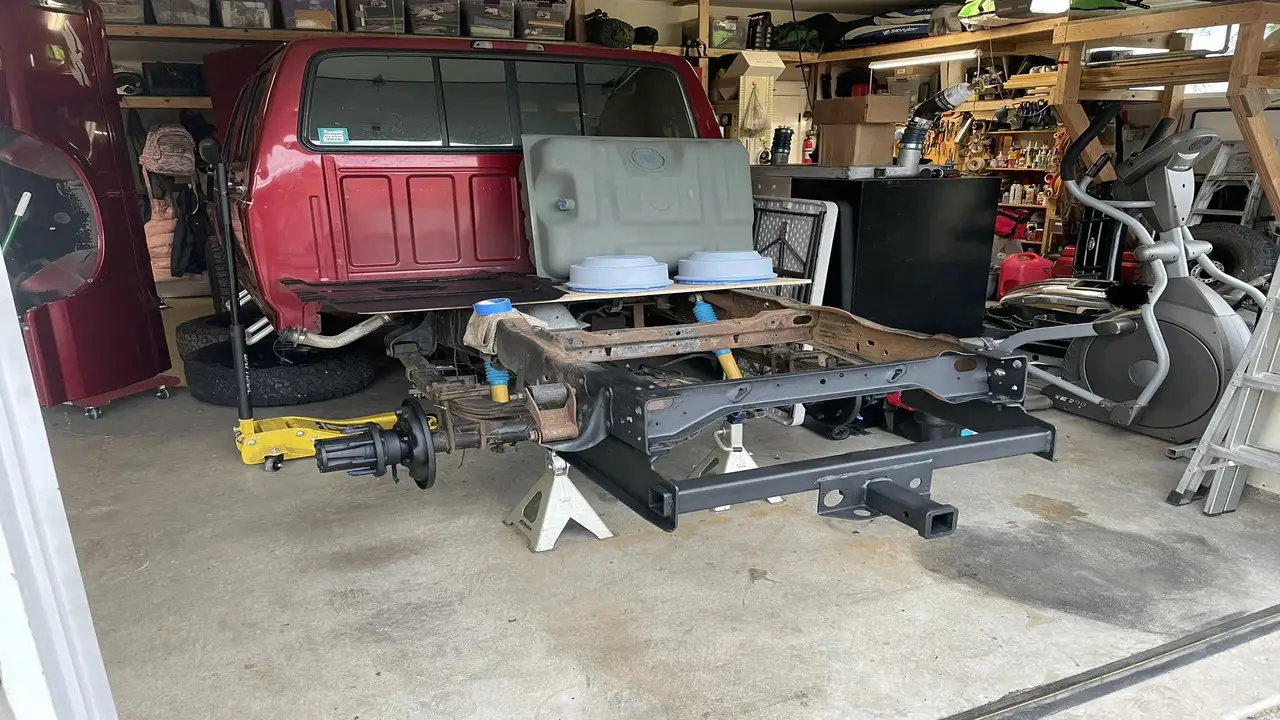
Since the forward-most pair of bed mounts isn’t needed, you can remove them. Reinstall the rear cab mounts back on the frame. Ensure you reinstall the bed onto the frame again, tightening all bolts to the manufacturer’s specifications. We tighten bolts to the manufacturer’s specifications.
Use a torque wrench to apply the necessary torque to the bolts. Double-check that the bolts are tight and secure before using the bed. Finally, if the bed has a headboard, attach it firmly to the frame before using it. After you finish doing that, you are done; you can take a step back and look at the result of your hard work. All remaining is for you to use the sandblaster and paint it or even powder coat it.
Step 8: Brake Lines
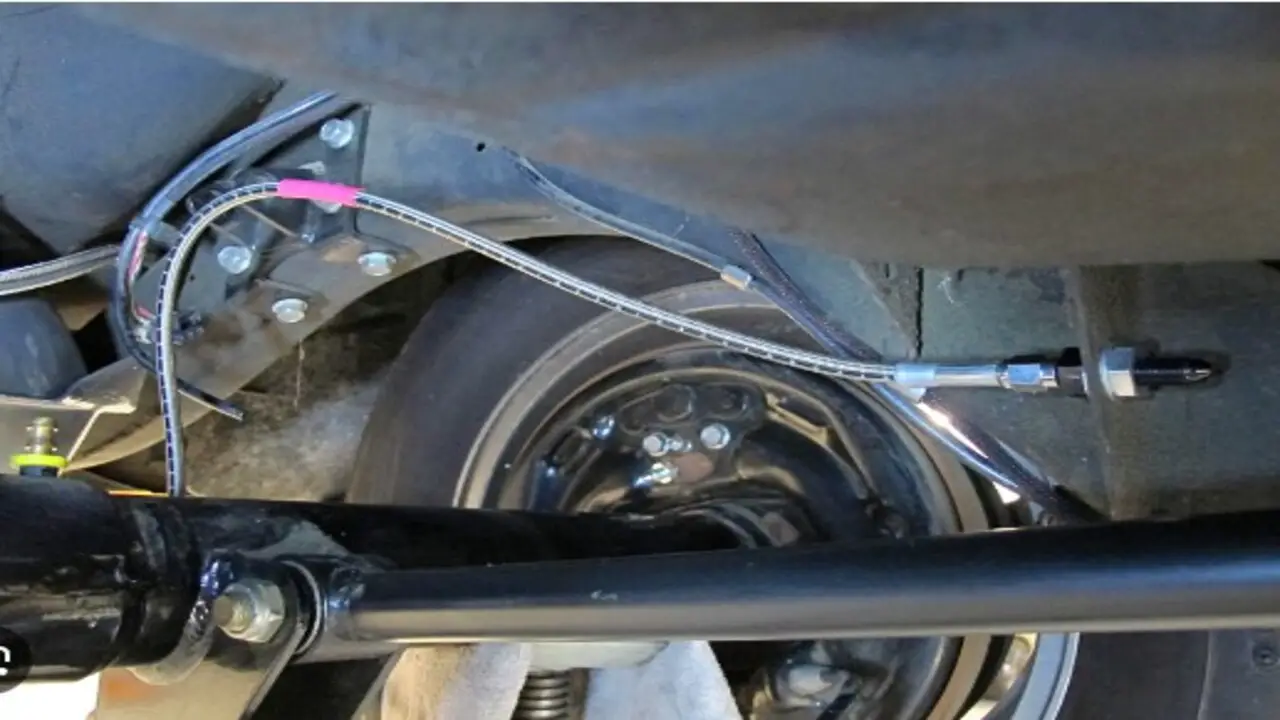
When you shorten a truck frame, you must properly route and connect the brake lines. It’ll ensure safe and reliable braking performance. This can involve repositioning the brake lines, adding new frame sections to the lines, or even installing new brake components altogether.
It’s important to consult a professional mechanic or experienced builder to install and adjust the brake lines properly to meet the specific requirements of your shortened truck frame. By addressing the brake lines properly, you can enjoy a shorter truck frame that looks great and performs even better on the road. There are a few different ways to shorten truck brake lines. Each has its benefits and drawbacks. Here are three of the most common methods:
Cutting the brake line with a saw-tooth blade is the most common method, and it works well for short lines without corroding or rusting. The downside is that this can be dangerous and easily tear the lines if you’re not careful.
- Use a Bypass – A small hole drilled into the line near the brake drum. This allows air to escape, reducing the braking power of the line. Bypasses are usually for short lines in good condition and don’t need much braking power.
- Use Clamps – Clamps are a more specialized tool to pinch the line between two plates so they can’t move. This blocks off air flow and reduces braking power, but it’s often handy on long lines.
Step 9: Drive Shaft
One important aspect of shortening a truck frame is ensuring the drive shaft is the correct length. The drive shaft connects the transmission to the differential and transfers power to the wheels. If the drive shaft is too long or too short, it can cause vibrations, damage to the vehicle, and even accidents. Shortening a truck frame-drive shaft is a fairly simple process that a qualified mechanic can do. The following steps outline the general process:
- Locate and mark the location of the shaft on the truck frame. The shaft should be as close to the truck’s centre as possible to minimize vibration.
- Remove the drive shaft from the truck by unscrewing its bolts and removing it from the frame. It is important to note the ball bearings‘ position before removing them to ensure they are reinstalled in the correct sequence.
- Verify lubricating all ball bearings properly before re-installing the drive shaft into the frame. Tighten all bolts securely and check for any wobbles or vibrations.
Tips For Ensuring A Successful And Professional-Looking Result
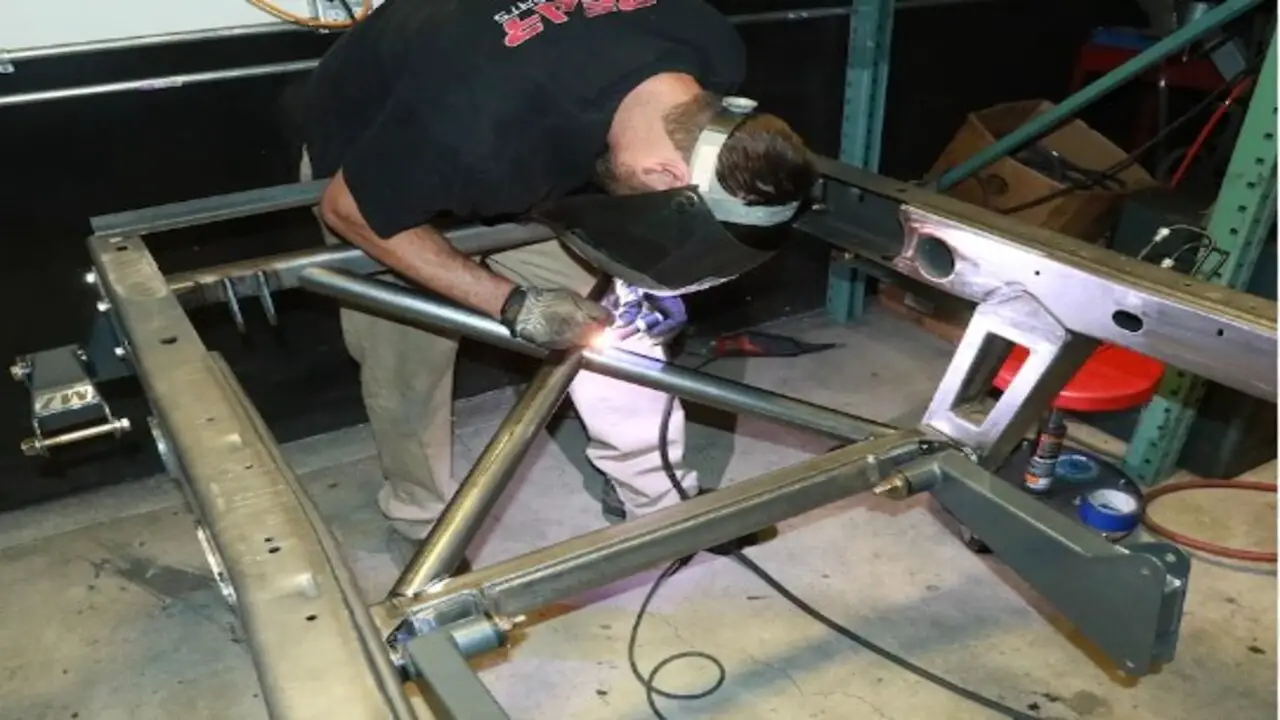
Regarding shortening a truck frame, there are several important tips to remember to ensure a successful and professional-looking result. By following these tips, you can confidently shorten a truck frame, resulting in a successful modification that meets your specific needs.
- Measure Twice, Cut Once: Before starting the shortening process, carefully measure and plan where you will make the cuts. Double-check your measurements to avoid mistakes resulting in a misaligned or uneven frame.
- Use Proper Tools And Equipment: To achieve a clean and precise cut, it is essential to use the right tools and equipment for the job. Invest in high-quality cutting tools and welding equipment to ensure a smooth and accurate process.
- Take Safety Precautions: Shortening a truck frame involves working with heavy machinery and potentially dangerous tools. Prioritize safety by wearing protective gear such as gloves, goggles, and ear protection. Additionally, ensure you work in a well-ventilated area to avoid inhaling fumes from welding or cutting materials.
- Seek Professional Guidance If Needed: If you are unsure about any step of the shortening process or lack experience in metal fabrication, it is best to seek guidance from a professional. They can provide valuable advice and assistance to help you achieve the desired result while ensuring structural integrity and safety.
Legal And Regulatory Considerations For Modified Vehicles
Regarding shortening a truck frame, important legal and regulatory considerations need to be taken into account. Modifying a vehicle’s frame can affect its safety, performance, and compliance with local laws. It is essential to consult with relevant authorities and experts in the field to ensure that any modifications adhere to applicable regulations and standards.
Additionally, it is crucial to consider the impact of frame shortening on the vehicle’s warranty and insurance coverage. Understanding and adhering to the necessary legal and regulatory requirements ensures that your modified truck frame meets all necessary safety standards and remains compliant with local laws.
Final Words
Shortening a truck frame is a complex process that requires careful planning and execution. By following the steps on how to shorten a truck frame, you can successfully shorten a truck frame and achieve the desired results. Remember to take all necessary safety precautions and consult with professionals if needed.
Whether you’re customizing your truck for aesthetic purposes or improving its performance, shortening the frame can be a rewarding project. With the right tools, knowledge, and attention to detail, you can transform your truck into a one-of-a-kind vehicle that meets your specific needs and style. So get started on shortening your truck frame today and enjoy the benefits of a customized ride.
Frequently Asked Questions
[rank_math_rich_snippet id=”s-0e8f8796-e77c-49c4-9bf2-bc56b2686e2b”]

I am passionate about home engineering. I specialize in designing, installing, and maintaining heating, ventilation, and air conditioning systems. My goal is to help people stay comfortable in their homes all year long.
