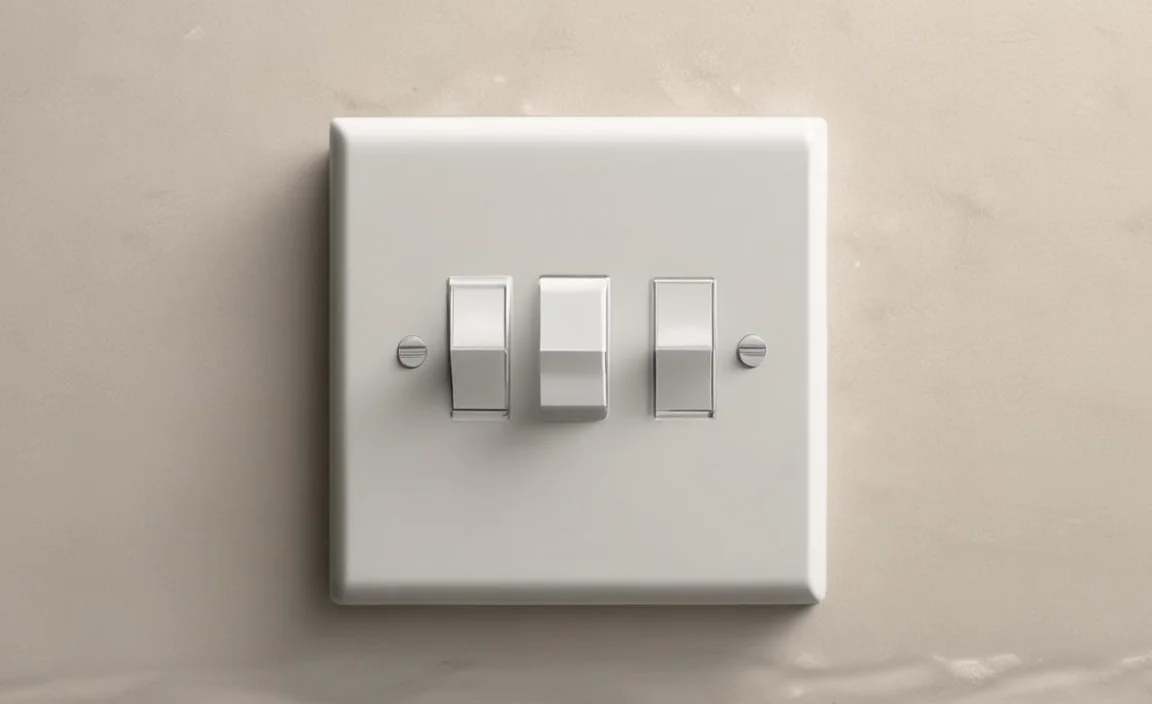
Replacing a light switch may be necessary for a number of reasons. Over time, switches can become worn out or damaged, which can cause them to malfunction or stop working altogether.
Sometimes, a light switch may need to be replaced if it is making crackling or buzzing sounds, which could indicate an electrical problem. Are you tired of flickering lights and outdated switches? Replacing a light switch may seem daunting, but it is actually a simple DIY project that can be done in just a few steps.
Here we will guide you on how to replace a light switch step by step. We will review the necessary tools, safety precautions to take before starting, and how to properly identify and connect the wires. So let’s quickly upgrade your home with this easy-to-follow guide.

How To Replace A Light Switch – Effectively
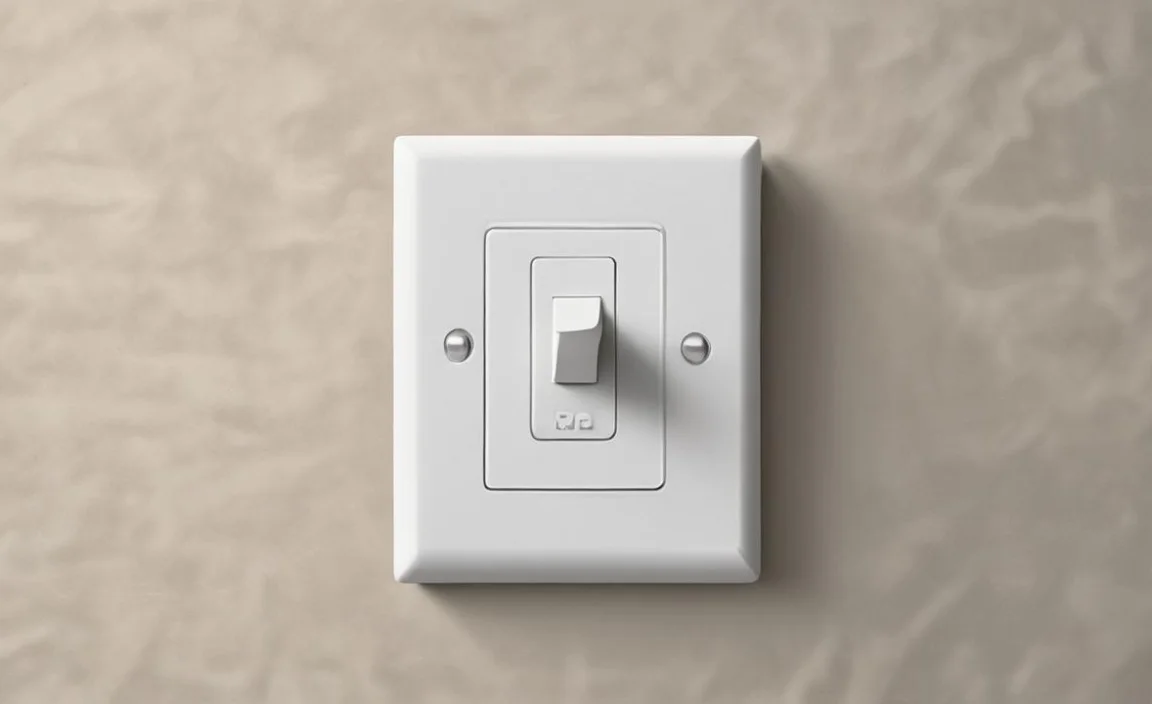
Upgrading your home’s light switches can be an easy and affordable DIY project with great results. Begin by turning off the power at the breaker before removing the cover plate and unscrewing your existing light switch from its electrical box.
It’s important to disconnect wires correctly, ensuring they are connected to their respective terminals on your new light switch after appropriately stripping insulation using wire strippers or pliers if needed.
Always follow the manufacturer’s instructions and safety guidelines before attempting any electrical repair or improvement projects at home. Here is the step-by-step process on how to replace a light switch effectively.
1. Safety Precautions To Take Before Starting
To perform a safe electrical repair like replacing a light switch, it’s critical to take certain safety precautions before beginning. Start by turning off the breaker and testing for voltage presence in the wires using a tester.
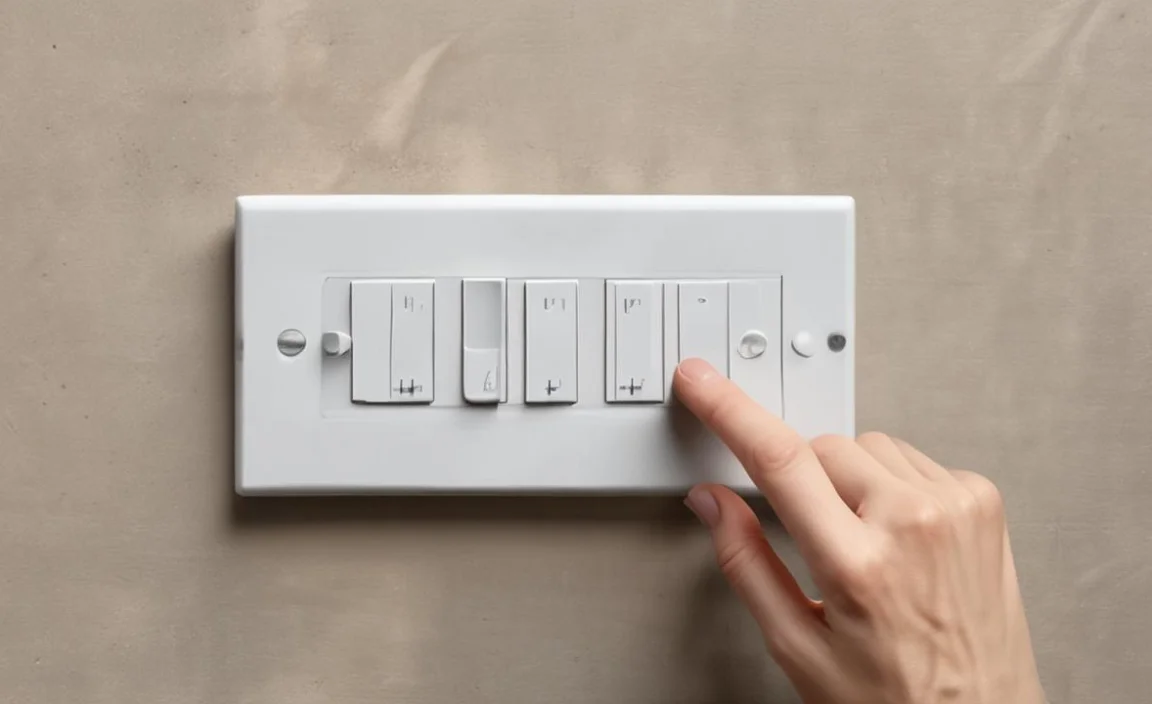
Always wear rubber shoes and avoid wet floors while working with electricity. Make sure your hands are dry and do not wear metal accessories as they conduct electricity. Use specialized tools like pliers, wire strippers, and terminal screwdrivers carefully while connecting wires as per wiring diagrams if required.
2. Gather The Necessary Tools
Before starting an electrical project like replacing a light switch, having all the necessary tools on hand is essential for convenience. These include a screwdriver for unscrewing the old switch from its fixture on the wall or removing its cover plate; a wire stripper for removing insulation from wires; a voltage tester for checking if there is any electrical current present in them; and a new switch that matches your home decor.
Before proceeding with this DIY project, remember to turn off the power supply to the single-pole or three-way circuit breaker connected to your light fixture. Double-check using a voltage tester that there is no current flow in any of the wires you’ll handle during this process.
Following the manufacturer’s instructions for wiring diagrams when connecting wires can reduce your risk of injury while working on this good idea for home improvement.
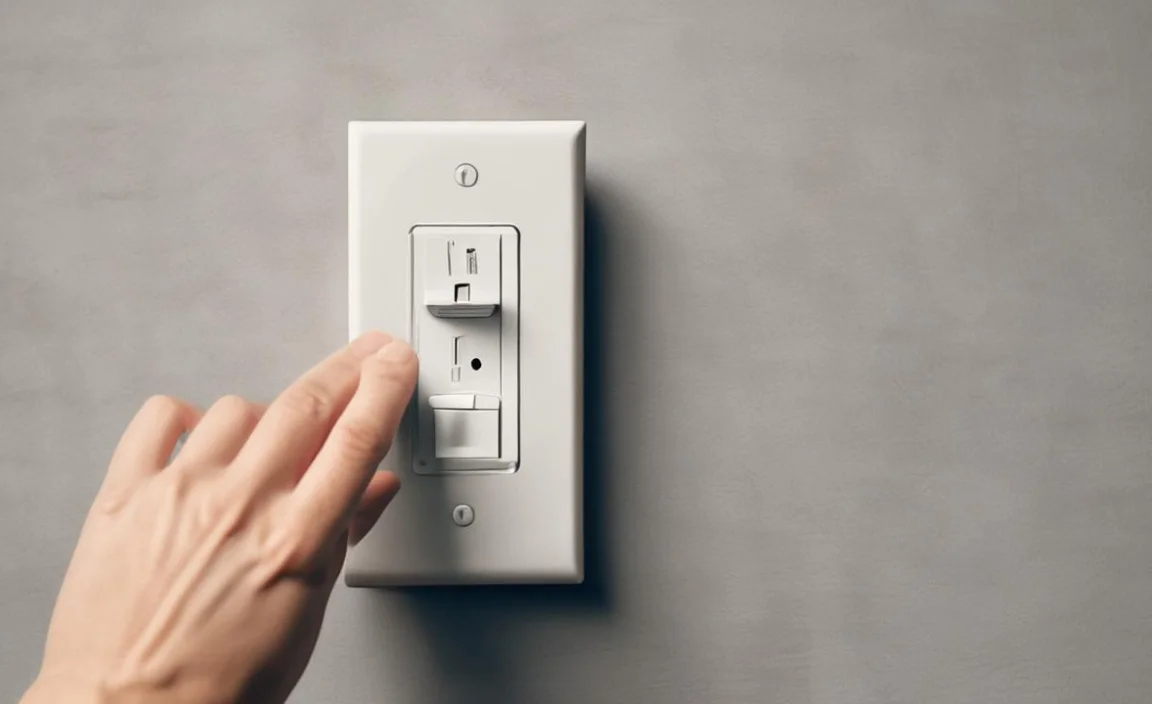
3. Unscrew The Old Switch
Replacing a light switch requires taking essential precautions to ensure safety. Always turn off the power at the circuit breaker before unscrewing an existing light switch from its electrical box. Using a voltage tester ensures no current flows through wires when disconnecting them from an old switch and labeling them for future reference.
Follow manufacturer’s instructions when attaching wires to a new light switch and screwing it into place in an electrical box. Ensure safe wire connections for single-pole or three-way switches with ground wires connected to green terminal screws or bare copper wire secured by clockwise-wound terminal screws under wire connectors or side screws.
4. Identify The Wires
Before replacing your light switch, always turn off the circuit breaker that supplies power. Double-check using a voltage tester to ensure no electrical current flows through the wires.
You’ll see three types of wiring in your box: black or red “hot” wires that carry electricity from your fuse or circuit breaker box to your switches and outlets; white neutral wires that carry electricity back to your panel; and bare ground wires that protect against electric shock in case of an electrical fault.
You should use a voltage tester to determine which one is hot before doing any work on them. Remember to follow manufacturer instructions while connecting the new switch.
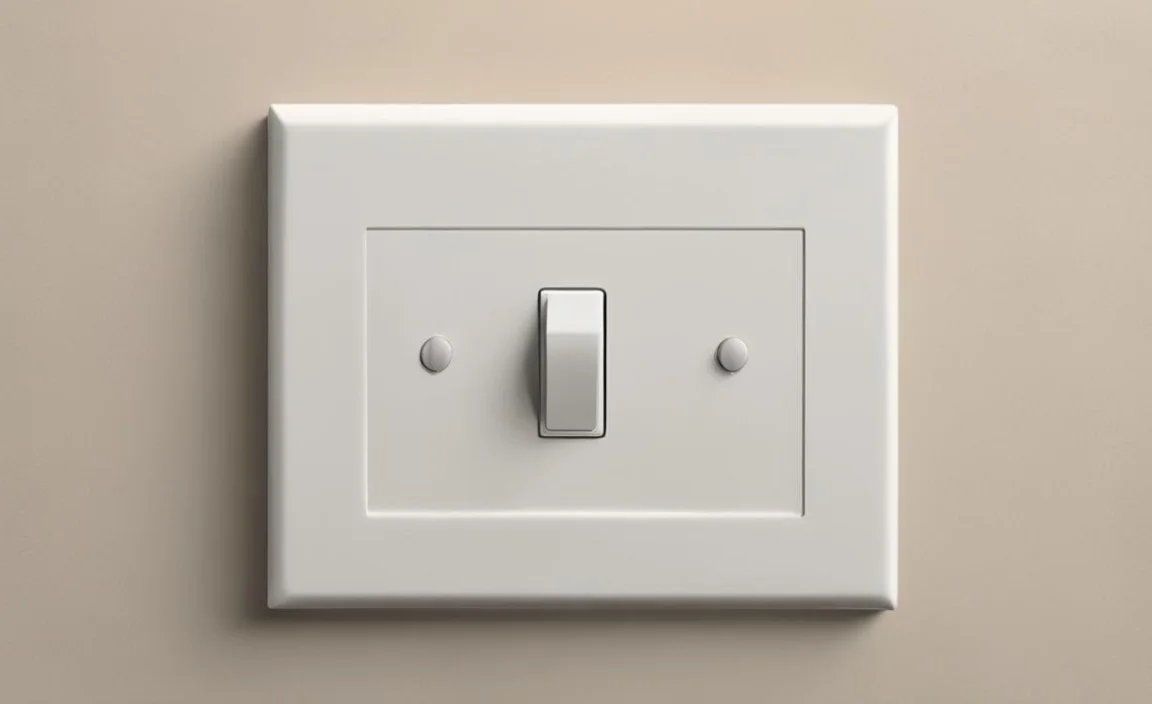
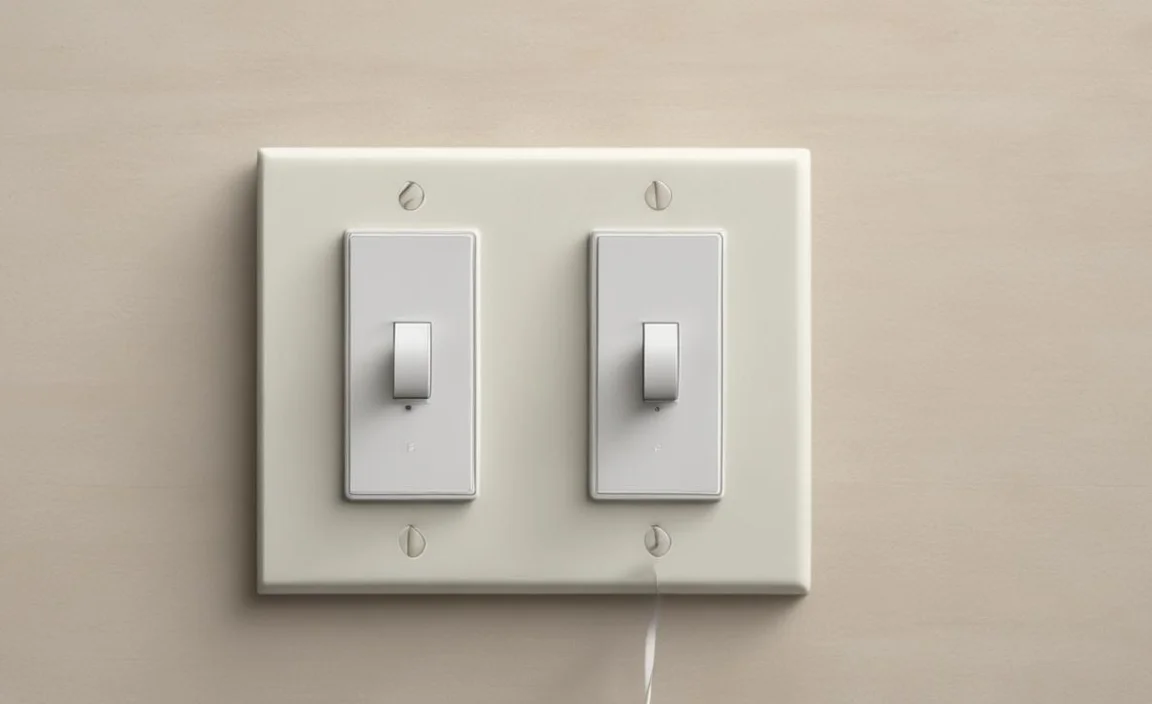
5. Connect The New Switch
When you replace a light switch and need to connect a new one, follow these simple steps. Begin by ensuring that you have turned off the power supply at your breaker box before removing the old switch. Then use pliers and screwdrivers to remove any wires connected to your old light fixture.
After that, carefully attach those same wires to their corresponding terminals on your new light switch following manufacturer instructions. Once you’ve finished attaching all necessary wiring, double-check each connection for any loose connections using a voltage tester or wiring diagrams as needed.
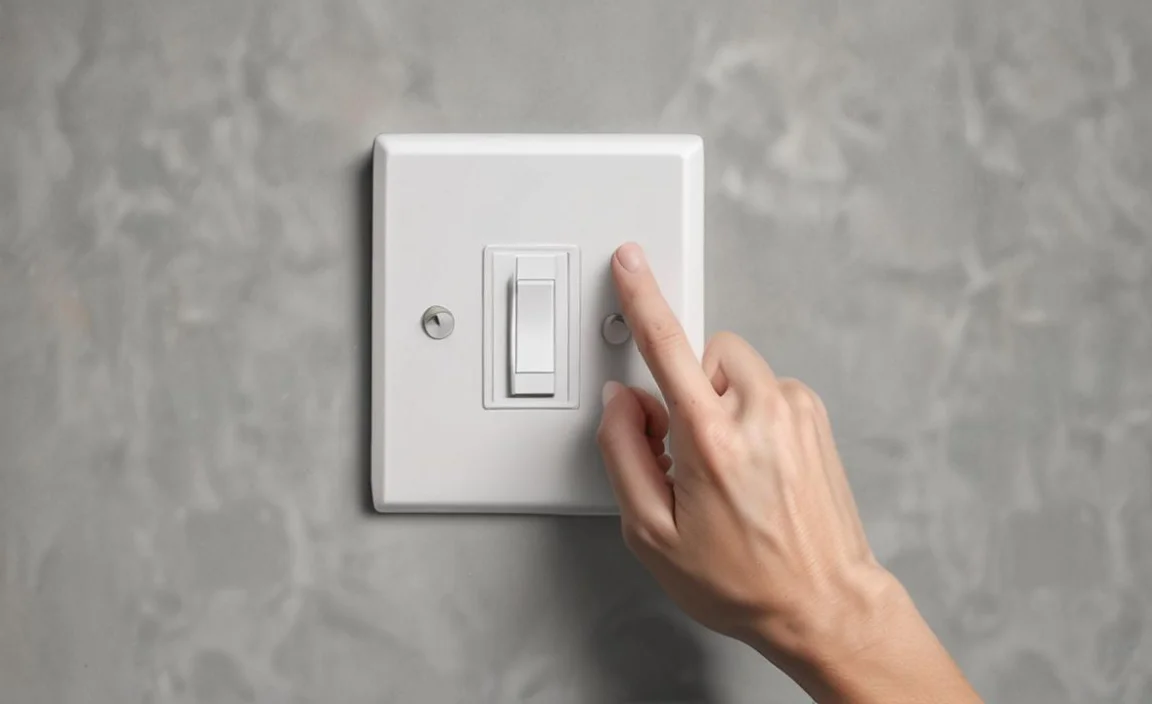
6. Test The New Switch
To ensure your safety while testing your new light switch after installation, follow these steps. First, turn off the power at the circuit breaker. Then use a voltage tester to check if any electrical current flows through the wires.
If it’s safe to proceed, flip the light switch on and off several times to test its functionality. Once you are sure everything works all right and there are no loose wire connections or potential hazards, replace the cover plate by screwing it back into place.
7. Secure The Switch In Place

To secure the new light switch in place, turn off power to the switch at the circuit breaker before beginning any work. Take a screwdriver and use it to attach your new switch to its corresponding electrical box, ensuring that it is flush with the wall and level. Verify that all wire connections are secure and tightly fastened using needle-nose pliers.
This DIY project requires basic wiring and electrical repair knowledge, but it’s a good idea for homeowners looking for a home improvement project. Don’t forget about safety precautions! You can consult a licensed electrician if you’re unsure how to connect wires properly or need help with newer switches.
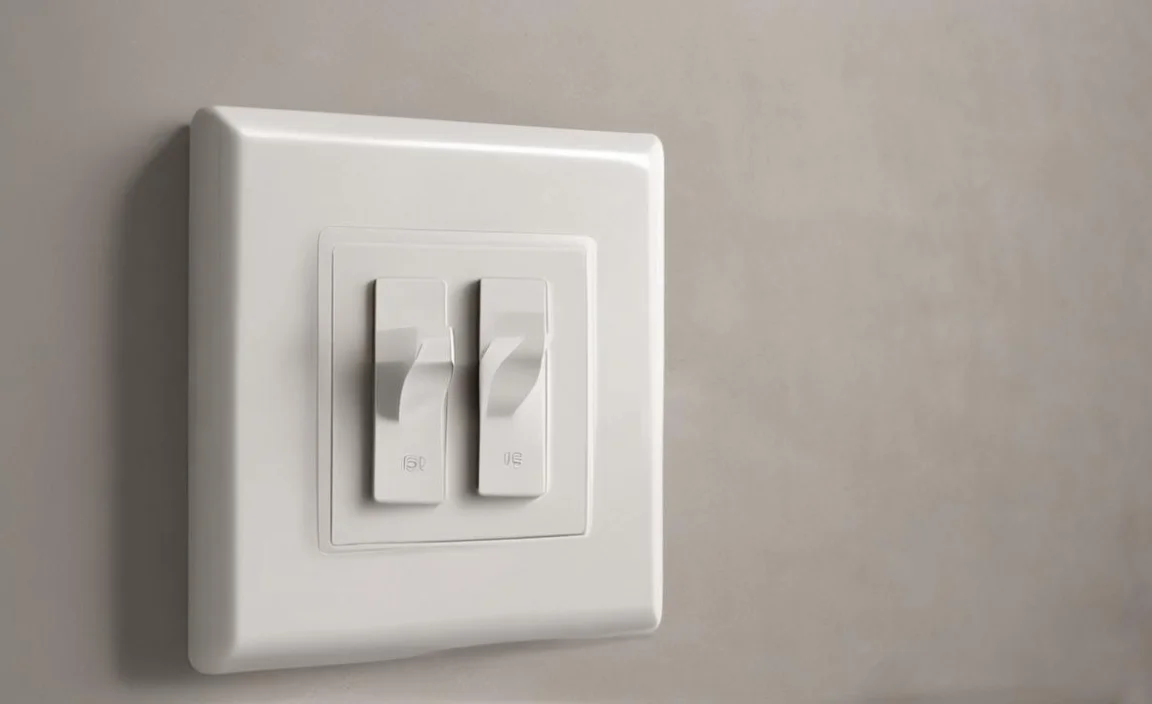
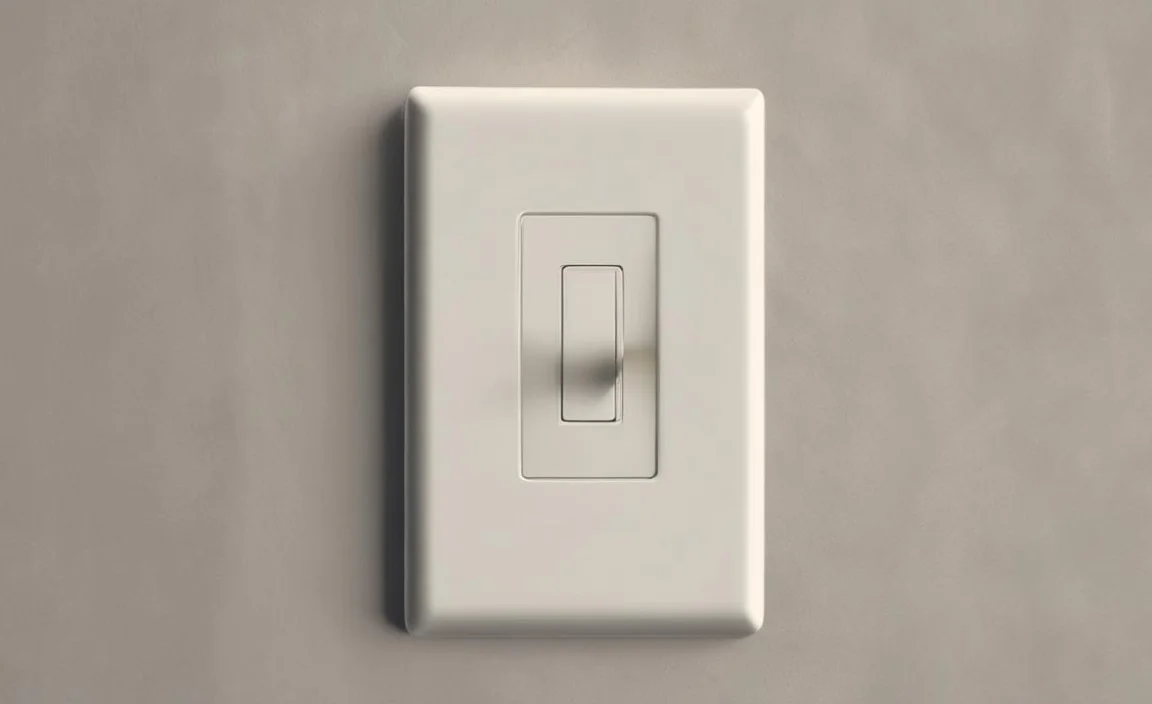
8. Replace The Switch Cover
When replacing a light switch cover after installing a new one, you must turn off the power before working on it. Use your screwdriver to remove the screws that hold it and keep them aside. Aligning and securing your new switch cover with more screws is easy as pie. You can then turn on the power and test your newly installed light switches.
9. Turn The Power Back On
After replacing a light switch, always take safety precautions by turning off the power before doing anything else. Before restoring power to the switch, double-check that all wire connections are properly secured using a screwdriver or pliers. Use a voltage tester to verify that no electrical current flows through the wires.
And then, turn on the circuit breaker or replace the fuse to restore power. Test your new switch by turning on your light fixture and ensuring it operates correctly. If you notice any issues with your light or switch during testing, turn off the power again and recheck your wiring connections.
10. Test The Switch Again
After installing a new light switch, testing it to ensure proper functionality is important. Start by confirming that the power is off before proceeding with any tests. Use a voltage tester to check for any electrical current running through the wires before turning on the power.
Once you confirm there’s no electrical current, turn on the power and test the new switch by turning it on and off multiple times. After successful testing, turn off the power again while securely attaching the cover plate.
Safety Tips For Replacing Light Switches
It’s essential to prioritize safety when replacing a light switch. Before starting any electrical work, always turn off the power and use a voltage tester to ensure no electrical current is running through the wires. Additionally, use proper tools like pliers, needle-nose pliers, screwdrivers, wire strippers, and connectors as per the manufacturer’s instructions.
While working on the wiring or terminals, avoid touching a bare copper wire or metal parts of the switch. If you’re unsure how to proceed at any point in the process, it’s best to seek help from a licensed electrician.
Benefits Of Upgrading Your Light Switches
Upgrading your light switch is a great DIY project with many benefits for your home improvement plans. You will benefit from improved energy efficiency, enhanced aesthetics, and additional safety features by installing newer switches. Smart switches come equipped with convenient controls through smartphone apps or voice commands, making managing appliances easy.
Always follow the manufacturer’s instructions while handling wiring when undertaking an electrical project like this one at home. Use proper tools such as a voltage tester, screwdriver, needle-nose pliers, wire stripper and terminal connectors. Seek the help of a licensed electrician if you are unsure about anything during the installation process.
Conclusion
Replacing a light switch is not as difficult as it may seem. With the right tools and safety precautions, you can successfully replace your old light switch with a new one. Upgrading your light switches ensures that they function properly and adds to your home’s aesthetic appeal.
It’s always better to be safe than sorry, so pay close attention to our safety tips before starting the process. Follow our DIY guide on how to replace a light switch and enjoy the benefits of a well-functioning and stylish addition to your home.
Always turn off the power before beginning any electrical work, and use caution when handling wires. With a little patience and attention to detail, you can complete this project in no time and enjoy properly functioning lights again.
