Losing your sink plug doesn’t mean a watery mess! You can easily plug your sink using everyday household items. Try a plastic bag filled with water, a dishcloth secured with a rubber band, or even overlapping coins. These quick fixes will stop the drain and let you get back to your tasks without the hassle.
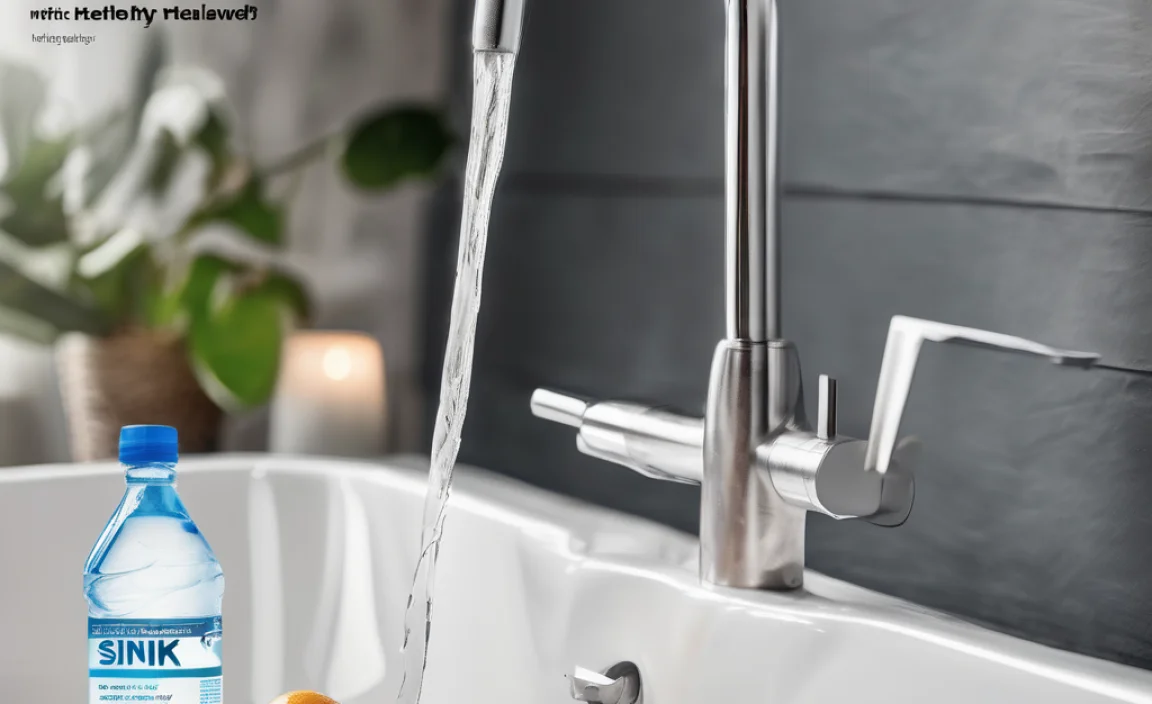
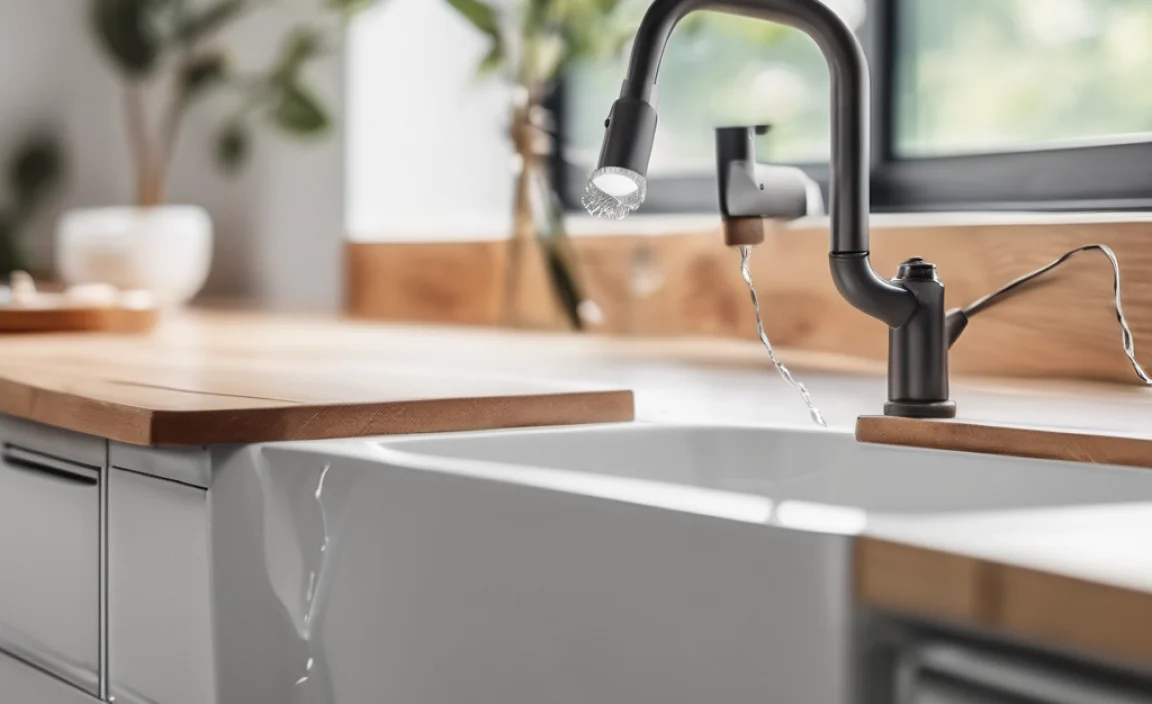
Ever gone to fill up your sink only to realize the plug is missing? It’s a common problem that can be super annoying. Whether you’re washing dishes, giving the dog a bath, or just need to soak something, a missing plug can throw a wrench in your plans.
But don’t worry! You don’t need to run to the store or call a plumber. There are plenty of simple, DIY ways to plug a sink without a plug. We’re going to walk you through several easy methods using things you probably already have around the house. Let’s get started and solve this sink situation together!
Easy Ways to Plug a Sink Without a Plug
Okay, let’s dive into the practical stuff. Here are some simple, effective ways to plug your sink when that pesky plug goes missing. Each method uses common household items and takes just a few minutes to set up.
Method 1: The Plastic Bag Trick
This is a super quick and easy fix that works surprisingly well.
- What you’ll need: A plastic bag (like a sandwich bag or small grocery bag) and water.
- How it works: The water-filled bag creates a seal in the drain, blocking the water from escaping.
Steps:
- Grab a plastic bag: Make sure it’s clean and doesn’t have any holes.
- Fill it with water: About halfway full should do the trick.
- Tie a knot: Securely tie the bag to prevent leaks.
- Place it in the drain: Gently push the water-filled bag into the drain opening. Make sure it covers the entire hole.
- Test the seal: Turn on the water slightly to see if the bag is creating a good seal. If it leaks, add a little more water to the bag or try a larger bag.
Method 2: Dishcloth and Rubber Band
This method uses a dishcloth to create a barrier and a rubber band to hold it in place.
- What you’ll need: A clean dishcloth and a rubber band.
- How it works: The cloth blocks the drain, and the rubber band secures it so water can’t easily push it away.
Steps:
- Gather your supplies: Get a clean dishcloth and a sturdy rubber band.
- Fold the dishcloth: Fold the dishcloth into a small, compact square.
- Secure with a rubber band: Wrap the rubber band tightly around the middle of the folded cloth.
- Place it in the drain: Push the cloth into the drain opening, rubber band side down. Make sure it fits snugly.
- Test the seal: Run some water to see if the cloth is blocking the drain effectively. Adjust the position if needed.
Method 3: Coin Power
This method is great if you have a bunch of spare change lying around.
- What you’ll need: Several coins (quarters, nickels, or dimes work best).
- How it works: Overlapping the coins creates a barrier that covers the drain opening.
Steps:
- Collect your coins: Gather a handful of coins. The more, the better.
- Dry the drain area: Make sure the area around the drain is dry so the coins don’t slip.
- Overlap the coins: Start placing the coins over the drain opening, overlapping them to create a solid layer.
- Cover the drain: Continue adding coins until the entire drain is covered.
- Test the seal: Slowly turn on the water to see if the coins are holding. You might need to adjust their placement to stop any leaks.
Method 4: The Sponge Solution
A sponge can be a surprisingly effective plug, especially if it’s the right size.
- What you’ll need: A clean sponge.
- How it works: The sponge expands when wet, creating a tight seal in the drain.
Steps:
- Find a suitable sponge: Look for a sponge that’s slightly larger than the drain opening.
- Wet the sponge: Dampen the sponge with water so it’s pliable.
- Squeeze out excess water: You don’t want it dripping, just damp.
- Insert the sponge: Push the sponge into the drain opening. It should fit snugly.
- Test the seal: Turn on the water to see if the sponge is blocking the drain. If it leaks, try a larger sponge or squeeze the current one in tighter.
Method 5: DIY Clay Plug
This method is a bit more involved but can create a custom-fit plug if you have some modeling clay on hand.
- What you’ll need: Modeling clay (the non-hardening type), plastic wrap.
- How it works: The clay is molded to fit the drain, and the plastic wrap prevents it from sticking.
Steps:
- Prepare the clay: Take a lump of modeling clay and soften it by kneading it in your hands.
- Cover the drain: Place a small piece of plastic wrap over the drain opening. This will keep the clay from sticking to the sink.
- Mold the clay: Press the clay over the plastic wrap, shaping it to cover the entire drain. Make sure the edges are sealed against the sink surface.
- Test the seal: Carefully turn on the water to see if the clay plug is working. If there are any leaks, press down on the edges to create a better seal.
- Remove carefully: When done, carefully remove the clay plug and peel off the plastic wrap.
Choosing the Right Method for Your Sink
Not all sinks are created equal, and some methods might work better than others depending on the size and shape of your drain. Here’s a quick guide to help you choose the best approach.
| Method | Best For | Pros | Cons |
|---|---|---|---|
| Plastic Bag | Standard drains | Quick, easy, uses common items | Can be flimsy, may leak |
| Dishcloth & Rubber Band | Drains with a lip or edge | More secure, reusable | Requires a good rubber band |
| Coins | Shallow drains | Readily available, easy to adjust | Can be tedious, may not seal well |
| Sponge | Drains that are slightly smaller than the sponge | Absorbent, creates a tight seal | Can be difficult to find the right size |
| DIY Clay Plug | Unusual drain shapes | Customizable, creates a good seal | Requires modeling clay, a bit more effort |
Tips for a Better Seal
Getting a good seal is key to successfully plugging your sink. Here are a few extra tips to keep in mind.
- Clean the drain area: Make sure the area around the drain is clean and free of debris. This will help your makeshift plug create a better seal.
- Use warm water: Warm water can help some materials, like sponges and cloths, expand and create a tighter fit.
- Adjust as needed: Don’t be afraid to adjust the position or size of your makeshift plug. A little tweaking can make a big difference.
- Don’t overfill the sink: Even with a good seal, a makeshift plug might not be as strong as a regular one. Avoid filling the sink to the very top.
When to Call a Plumber
While these DIY methods can be great for temporary fixes, there are times when it’s best to call a professional. Here are a few situations to watch out for:
- Persistent leaks: If you can’t get any of these methods to create a reliable seal, there might be an issue with your drain itself.
- Drain damage: If the drain is cracked or damaged, a makeshift plug might not be enough to prevent leaks.
- Frequent plug loss: If you’re constantly losing your sink plug, it might be time to invest in a replacement or have the drain assembly checked.
Calling a plumber ensures the issue is properly addressed and prevents potential water damage or other problems down the line. You can find reliable plumbers through online directories like the Better Business Bureau or by asking for recommendations from friends and neighbors.
Maintaining Your Sink and Drain
Regular maintenance can help prevent future issues with your sink and drain. Here are a few simple tips to keep things running smoothly:
- Clean the drain regularly: Pour hot water down the drain regularly to flush out debris. You can also use a mixture of baking soda and vinegar to clear minor clogs.
- Use a drain strainer: A drain strainer catches hair and other debris before they can clog the drain.
- Avoid harsh chemicals: Harsh drain cleaners can damage your pipes. Opt for natural alternatives or enzymatic cleaners instead.
- Check for leaks: Periodically check under the sink for leaks. Addressing leaks early can prevent water damage and costly repairs.
FAQ: Plugging a Sink Without a Plug
Let’s tackle some frequently asked questions to ensure you’ve got all the info you need!
What if I don’t have a plastic bag?
No problem! You can use plastic wrap instead. Just layer several sheets over the drain opening, pressing down to create a seal. You might need to use a bit more to get a good block.
Will these methods work for a bathtub drain?
Some of these methods can work for a bathtub drain, but you might need larger materials. For example, use a bigger sponge or a larger, thicker cloth. The coin method is unlikely to work well in a bathtub.
How long will these makeshift plugs last?
These are temporary fixes, so they might not last for extended periods. Check the seal regularly and replace the plug as needed. For long-term solutions, consider buying a universal replacement plug.
Can I use paper towels instead of a dishcloth?
Paper towels can work in a pinch, but they’re not as durable as a dishcloth. They might fall apart when wet, so you’ll need to use a lot of them and replace them frequently.
Is it safe to use food to plug a sink?
While you *could* use something like a ball of bread dough, it’s not recommended. Food can break down and cause clogs. Stick to non-food items for a cleaner, more reliable solution.
What if the drain is an unusual shape?
For oddly shaped drains, the clay method is your best bet. You can mold the clay to fit any shape. Just make sure to use plastic wrap to protect the sink surface.
Where can I buy a universal replacement plug?
You can find universal replacement plugs at most hardware stores, home improvement centers, and online retailers like Amazon or Home Depot. They’re an inexpensive and convenient solution for lost or damaged plugs.
Conclusion
So, there you have it! Several easy and effective ways to plug a sink without a plug. Whether you’re dealing with a missing plug in the bathroom, kitchen, or even the laundry room, these methods can help you get the job done without a trip to the store. From the simple plastic bag trick to the more custom clay plug, there’s a solution for every situation.
Remember, these are temporary fixes. If you find yourself constantly needing to plug your sink, it might be time to invest in a replacement plug or address any underlying issues with your drain. But in a pinch, these DIY methods will save the day. So go ahead, give them a try, and don’t let a missing plug stop you from getting things done!