Have you ever tried to change a light bulb but faced a tricky LED ceiling light? It can feel like a puzzle. Many people wonder, “How do I remove my LED ceiling light safely?” It might seem complicated, but it doesn’t have to be. With the right steps, you can do it yourself.
Imagine standing on a chair, ready to reach up. You look at the fixture and think, “This can’t be that hard!” It might surprise you to learn that removing an LED ceiling light is easier than you think. Knowing how to do it can save you time and money.
In this article, we’ll guide you through the process step by step. We’ll share tips and tricks that make it simple. By the end, you’ll feel confident tackling your LED ceiling light. So, let’s dive in and light up your home with confidence!
How To Remove Led Ceiling Light: A Step-By-Step Guide
Removing an LED ceiling light can seem tricky, but it’s simpler than you think! First, cut the power to avoid shocks. Then, gently twist or pull the light fixture to release it. Did you know some lights have clips that hold them in place? Always check for these before tugging. Once removed, replace the bulb or fixture as needed. With these easy steps, you will light up your space in no time!
Understanding LED Ceiling Lights
Types of LED ceiling lights and their features. Benefits of using LED lighting in homes.
LED ceiling lights come in different types. You can find flush mounts, recessed lights, and pendant lights. Each has unique features! Flush mounts sit close to the ceiling, saving space. Recessed lights shine down from above, perfect for a cozy glow. Pendant lights hang, giving style and brightness to a room.
Using LEDs at home has great perks! They use less energy and last longer than old bulbs. In fact, they last up to 25 times longer! This saves you money on bills and time looking for a ladder to change bulbs. Plus, they come in many colors, so you can make your space a little brighter—literally and figuratively!
| Type of LED Light | Key Feature |
|---|---|
| Flush Mount | Space-saving design |
| Recessed Light | Bright, overhead lighting |
| Pendant Light | Stylish and decorative |
So, if you want your home to shine bright and save some cash, say hello to LED lights! Remember, the longer they last, the less you need to wrestle with that ladder!
Safety Precautions Before Removal
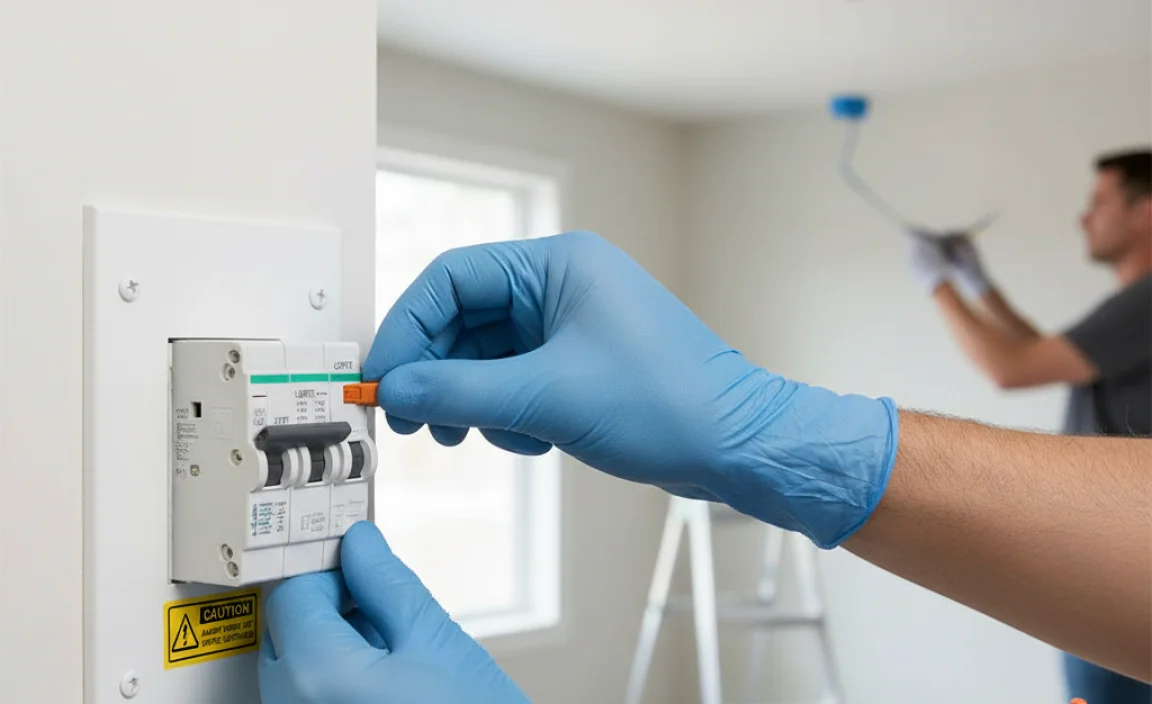
Importance of turning off the power supply. Using protective gear and tools.
Before you start, it’s super important to turn off the power supply. This step can save you from a shocking surprise! Next, wear protective gear like gloves and goggles. You might feel like a superhero, but at least you’ll be safe! Having the right tools helps too. No one wants to use a fork to fix a light. Here’s a quick table for your safety gear:
| Safety Gear | Purpose |
|---|---|
| Gloves | Protect your hands |
| Goggles | Shield your eyes |
| Tools | Make the job easier |
Remember, safety first! After all, we want you in one piece, not as a light bulb in the dark!
Tools Required for Removal
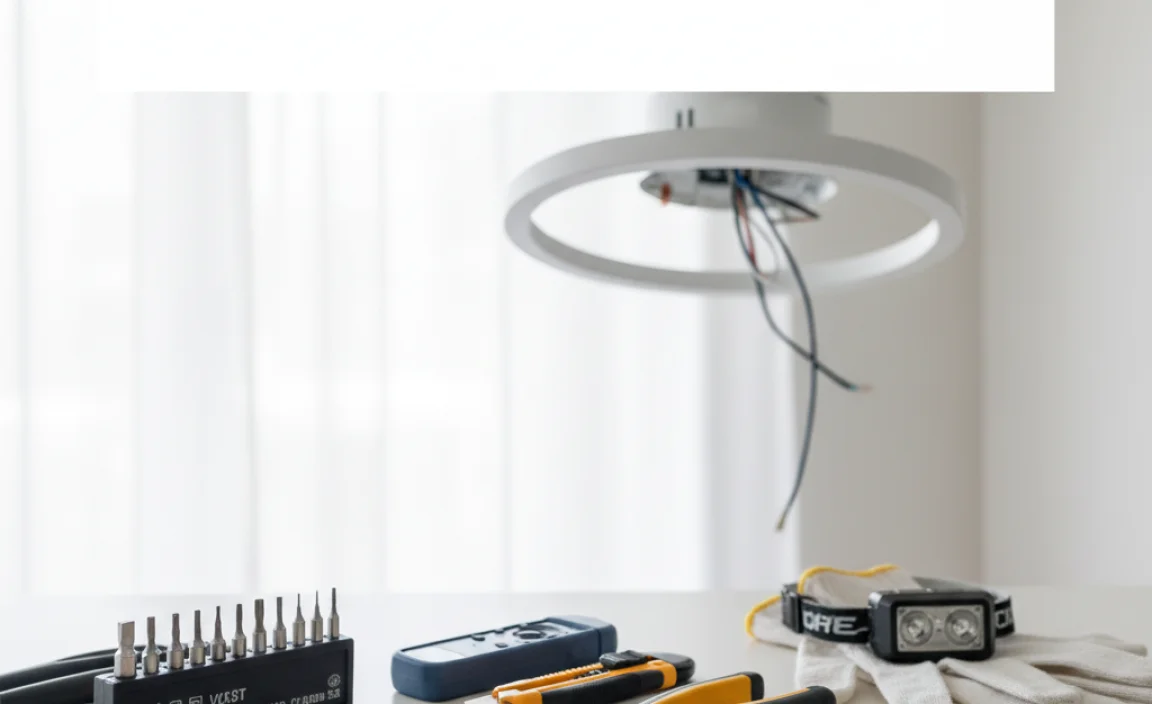
List of essential tools (screwdrivers, pliers, etc.). Optional tools that may simplify the process.
To safely remove a LED ceiling light, you’ll need a few tools. These tools help you do the job right and make it easier. Here’s what you should gather:
- Screwdriver: A flathead and Philips head are great choices.
- Pliars: They help with grip and pulling wires.
- Ladder: Necessary for reaching the ceiling safely.
Optional tools to simplify the process include:
- Voltage Tester: To check for live wires.
- Wire Strippers: For easy wire connections.
Having these tools ready will make removal easier and safer!
What tools do I need to remove a LED ceiling light?
You need basic tools for removal. These include screwdrivers and pliers. A ladder is also very important. Optional items like voltage testers and wire strippers make the job easier.
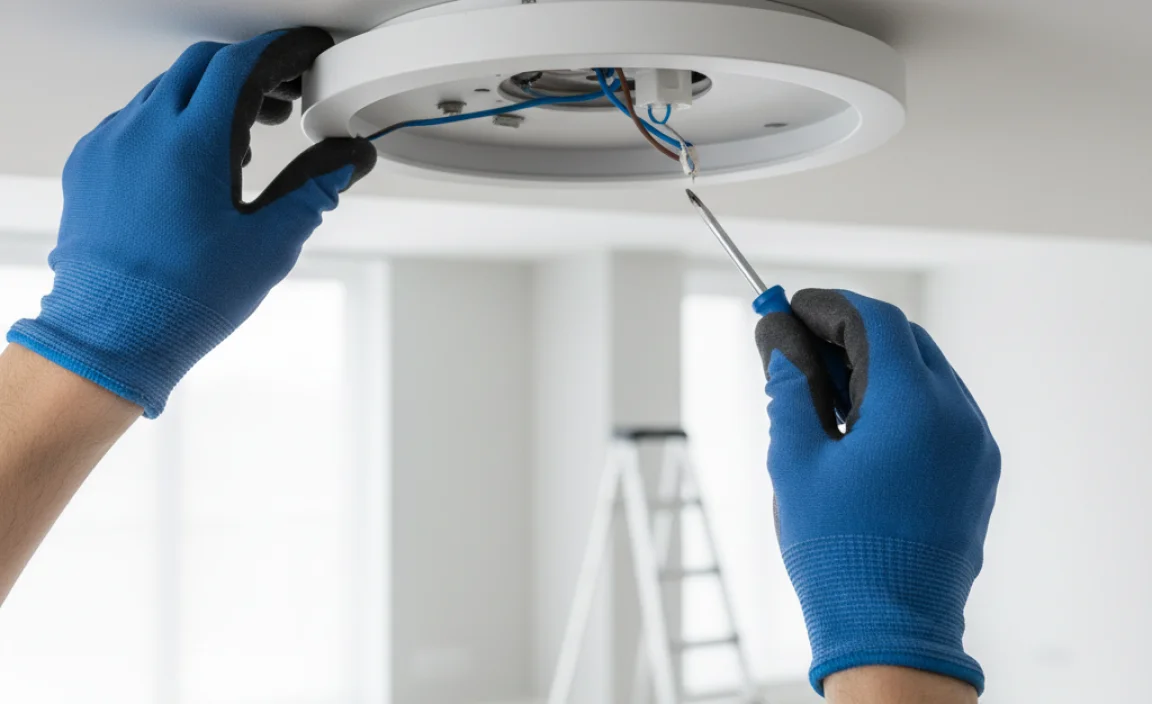
Step-by-Step Guide to Remove LED Ceiling Light
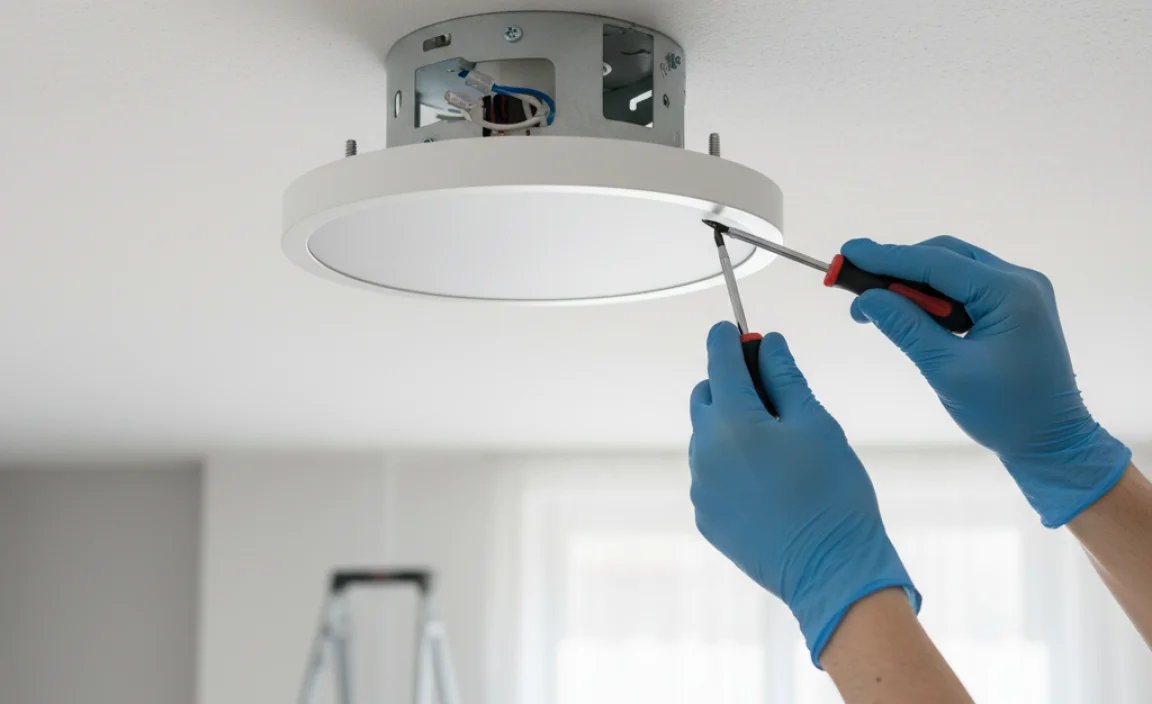
Detailed instructions for different types of LED lights. Common challenges and how to overcome them.
Removing LED ceiling lights can seem tricky, but it’s easy! First, identify what type of LED light you have. There are flush mounts, recessed lights, and pendant lights. Each requires a different removal method. Here’s how you can handle common challenges:
- Flush mounts: Twist or pull down gently. Check for any screws.
- Recessed lights: Carefully pull straight down. Use a ladder if needed.
- Pendant lights: Unscrew the bulb and detach the fixture.
Always turn off the power before starting. This keeps you safe! If it’s stuck, don’t force it; try wiggling it gently instead. Patience is key!
What should I do if my LED light won’t come out?
If your LED light won’t budge, check for hidden screws or clips. Sometimes, a bit of gentle twisting helps. Remember to keep the power off for safety!
Disposing of LED Ceiling Lights Responsibly
Understanding recycling options for LED lights. Guidelines for safe disposal of hazardous components.
Many people don’t know that LED lights can be recycled. They are not like regular trash. Most LED bulbs have small parts that can be harmful. Finding a good place to recycle them is key. Some stores offer recycling programs. It’s safe to be careful with hazardous materials. Follow these steps for safe disposal:
- Check local recycling rules.
- Remove broken parts carefully.
- Use a proper container for disposal.
Taking time to dispose of these lights responsibly helps the planet!
How should I dispose of LED ceiling lights?
Take them to a recycling center or your local waste facility that deals with electronics. Some stores also have drop-off points. Always check your community’s guidelines for disposal.
Replacing LED Ceiling Lights
Tips for selecting new fixtures. Quick installation guide for new LED ceiling lights.
Choosing shiny new fixtures for your ceiling can be fun! Consider energy efficiency and style. You want lights that fit your mood; warm or cool, it’s your call! Look for long-lasting options—they are great to lighten your home and keep cash in your pocket! Installation is usually a breeze. Just follow the steps below:
| Step | Description |
|---|---|
| 1 | Turn off the power at the circuit breaker. Safety first! |
| 2 | Remove old fixtures carefully. |
| 3 | Connect wires from the ceiling to the new light. |
| 4 | Secure the fixture and restore power. |
| 5 | Enjoy your bright new lights! |
Now, go ahead, and light up your life! Remember, it’s all about having fun with it! Who knew changing lights could also brighten your day?
Common Issues During Removal and Solutions
Troubleshooting potential problems (e.g., stubborn screws). When to seek professional help.
Removing a LED ceiling light can be a bit tricky. One common problem is dealing with stubborn screws. These screws might be rusty or just refuse to budge. Try using a little bit of lubricant and the right screwdriver. If they still won’t come out, you might need a backup plan!
Another issue is awkward angles. Sometimes the light is in a spot that feels like a yoga pose gone wrong. **If you’re feeling stuck, don’t hesitate to call in a pro.** A qualified electrician can save you time and potential mishaps. Remember, it’s better to be safe than to accidentally create a new DIY horror story!
| Issue | Solution |
|---|---|
| Stubborn screws | Use lubricant or the correct screwdriver. |
| Awkward angles | Consider hiring a professional. |
Maintenance Tips for LED Ceiling Lights
Best practices for prolonging LED light lifespan. Cleaning and care instructions.
Taking care of your LED ceiling lights can make them last longer and shine brighter. First, keep them clean! Dust often collects and dims their glow. Use a soft cloth or a duster to wipe them. No need to use secret cleaning potions—warm, soapy water does the trick.
| Tip | Description |
|---|---|
| Keep Them Dust-Free | Wipe with a soft cloth every month. |
| Avoid Moisture | Don’t clean with wet rags or sprays. |
| Check Connections | Inspect wires for safety every year. |
Another tip? Make sure they stay cool! Heat can spoil your lights. Instead of turning them on when it’s sizzling outside, wait until the sun goes down. Treat your LEDs like stars; they shine best in the dark!
Conclusion
To remove an LED ceiling light, start by turning off the power. Use a ladder to reach the fixture safely. Carefully unscrew or unclip the light. Remember to handle it gently. Once removed, you can replace it or fix it. For more tips, check out guides online. You’ve got this; each step will make it easier!
FAQs
What Tools Do I Need To Safely Remove An Led Ceiling Light Fixture?
To safely remove an LED ceiling light fixture, you need a few tools. First, get a ladder so you can reach the light. You’ll also need a screwdriver to take it apart. Make sure you have safety goggles to protect your eyes. Lastly, turn off the power at the circuit breaker to stay safe while working.
How Do I Turn Off The Power To The Led Ceiling Light Before Removal?
To turn off the power, first, look for the circuit breaker box in your home. Find the switch that controls the ceiling light. Flip that switch to the “off” position. You can also unplug any lamps nearby for extra safety. Finally, use a flashlight to check if the light is off before removing it.
Are There Specific Safety Precautions To Take When Removing An Led Ceiling Light?
Yes, there are safety precautions to take. First, turn off the power to the light at the switch or circuit breaker. Next, wear safety goggles to protect your eyes and gloves to keep your hands safe. Make sure to use a sturdy ladder if the light is high up. Finally, be careful when handling the light, as it can break easily.
What Steps Should I Follow To Disconnect The Wiring From An Led Ceiling Light?
First, turn off the power to the light at the main switch. Next, use a ladder to reach the light safely. Then, take off the light cover if there is one. After that, carefully unhook the wires by twisting off the wire nuts. Finally, make sure all wires are separated before you take the light down.
How Do I Replace A Ceiling Light Fixture After Removing The Led Light?
First, make sure the power is off by switching off the circuit breaker. Then, gently pull down the wires from the ceiling. Connect the new light fixture’s wires to the ceiling wires. Match the colors: black to black, white to white, and green or bare to green or bare. Finally, attach the fixture to the ceiling and turn the power back on.