Vinyl flooring is an excellent solution that offers various benefits, including durability, affordability, and easy maintenance. Installing vinyl flooring on stairs with nosing is a great way to enhance the look of your stairs while adding an extra layer of protection.
However, installing vinyl flooring on stairs with nosing can be daunting, especially for those with little experience in flooring installations. Fortunately, with the right tools, materials, and guidance, it is possible to install vinyl flooring on stairs with nosing like a pro.
We will take you through the step-by-step process of How to install plywood subfloor over joists. We will cover everything from preparing the surface to installing the nosing and cutting the vinyl planks. Our guide is designed to be easy to follow, even for beginners, and includes helpful tips and tricks.
Types Of Plywood Available
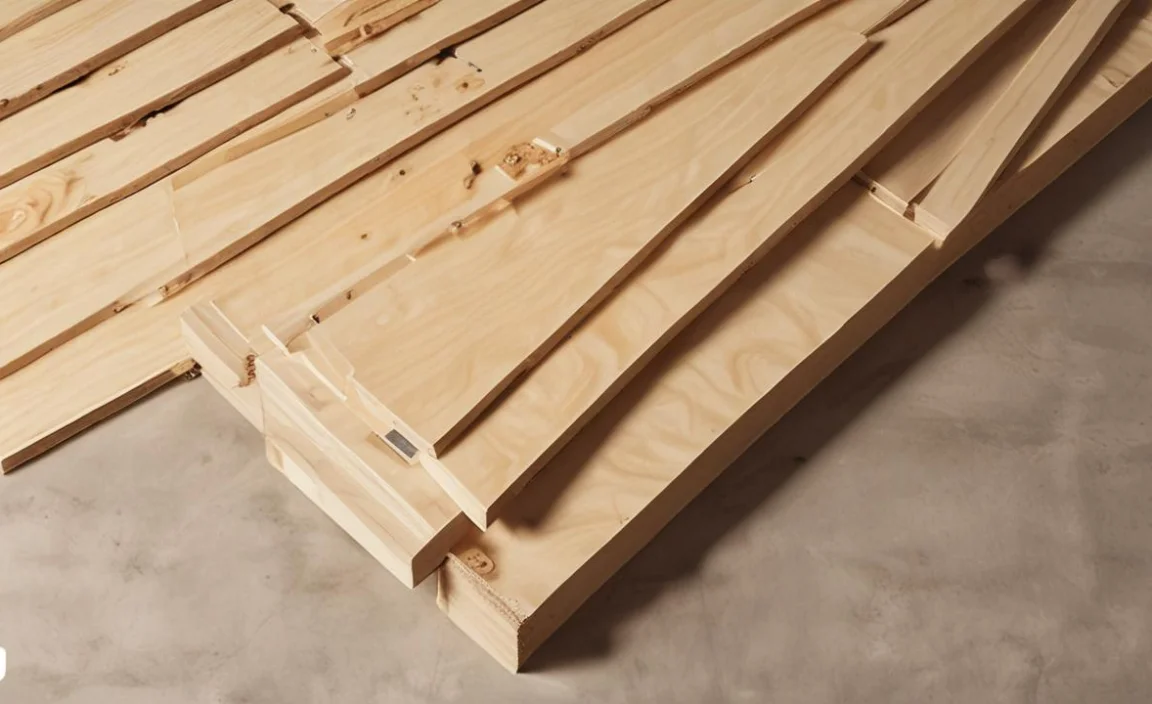
There are several types of plywood available for subfloor installation. CDX plywood is the most common, with a rough surface suitable for most applications. ACX plywood has a smoother surface, ideal for areas with a more finished appearance.
Tongue and groove plywood fits together snugly, creating a stronger subfloor. Underlayment plywood is thin and used as a base for other flooring materials. Marine plywood is waterproof, perfect for moisture-prone areas. The thickness of plywood ranges from 1/2 inch to 3/4 inch, depending on joist spacing and weight load.
Tools And Materials Needed For Installing Plywood Subfloor Over Joists
- When installing a plywood subfloor over joists, there are several essential tools and materials that you will need. These include:
Circular saw or table saw: This will be used to cut the plywood sheets to the correct size - Tape measure: To ensure accurate measurements when cutting the plywood.
- Drill: For securing the plywood to the joists with screws.
- Screwdriver or screw gun: To drive the screws into the plywood.
- Level: To ensure that the subfloor is level and even.
- Plywood sheets: Choose a high-quality plywood that is suitable for subflooring. The thickness of the plywood will depend on your specific needs and local building codes.
Screws: Use screws that are long enough to penetrate through the plywood and securely attach it to the joists. - Construction adhesive: Apply adhesive between the joists and plywood for added stability.
- Safety equipment: Don’t forget to wear safety glasses, gloves, and a dust mask when working with power tools and handling construction materials. By having these tools and materials on hand, you’ll be well-equipped to tackle your plywood subfloor installation project efficiently and effectively.
7 Easy Steps On How To Install Plywood Subfloor Over Joists
Installing a plywood subfloor over joists is an important step in the construction or renovation process. Remember, it is important to follow proper safety precautions when working with power tools and materials. If you are unsure about. Here are the steps how to install plywood subfloor over joists:
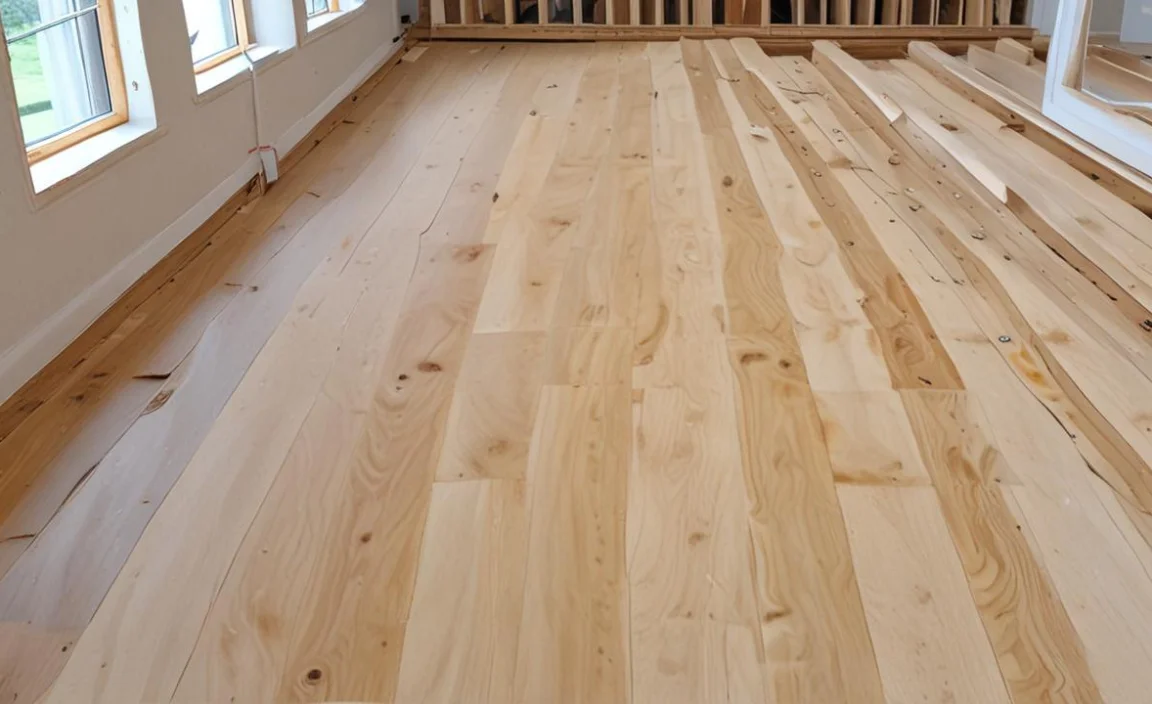
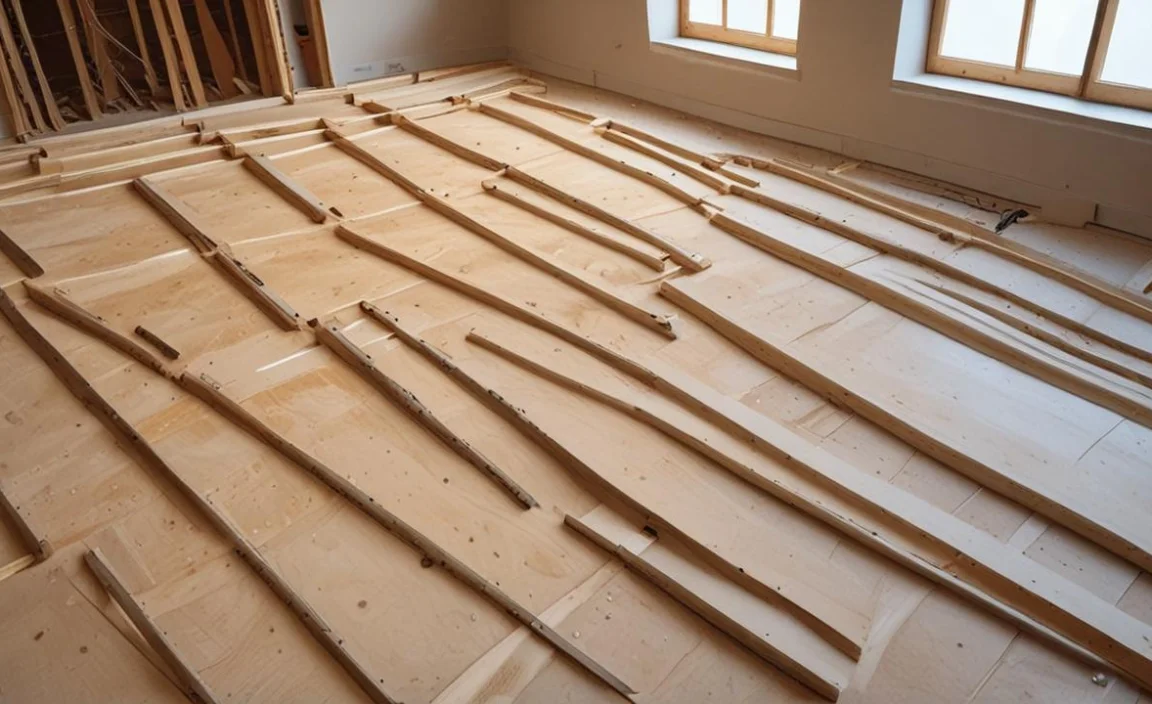
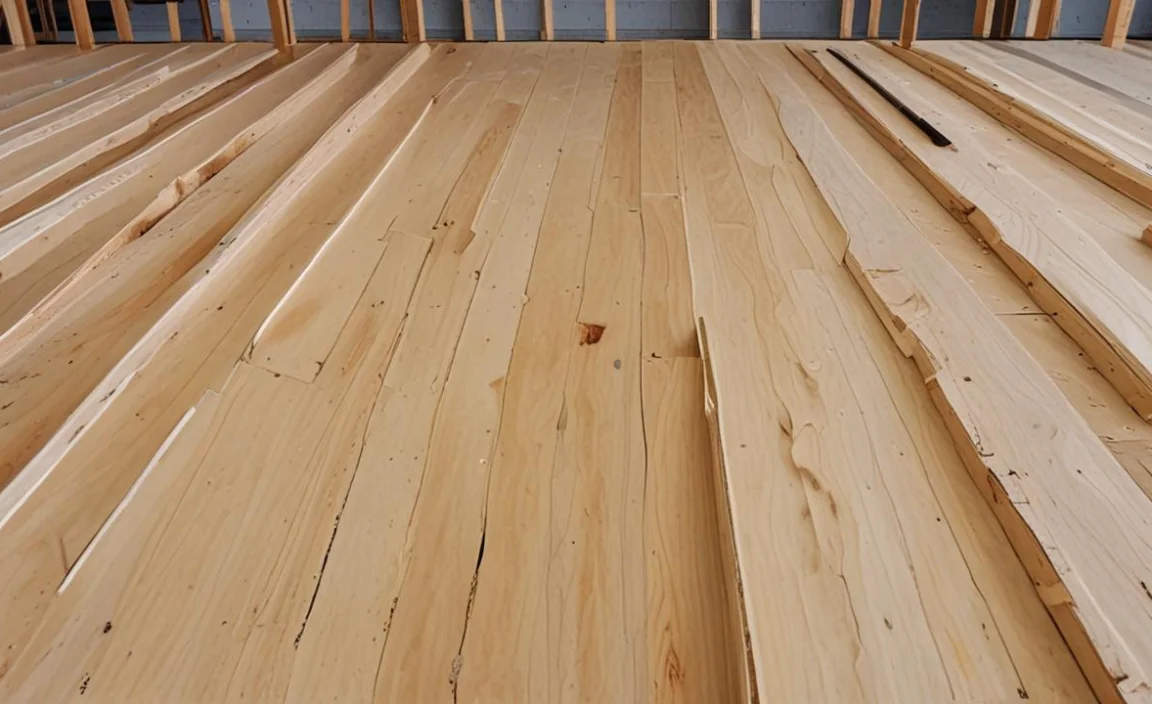
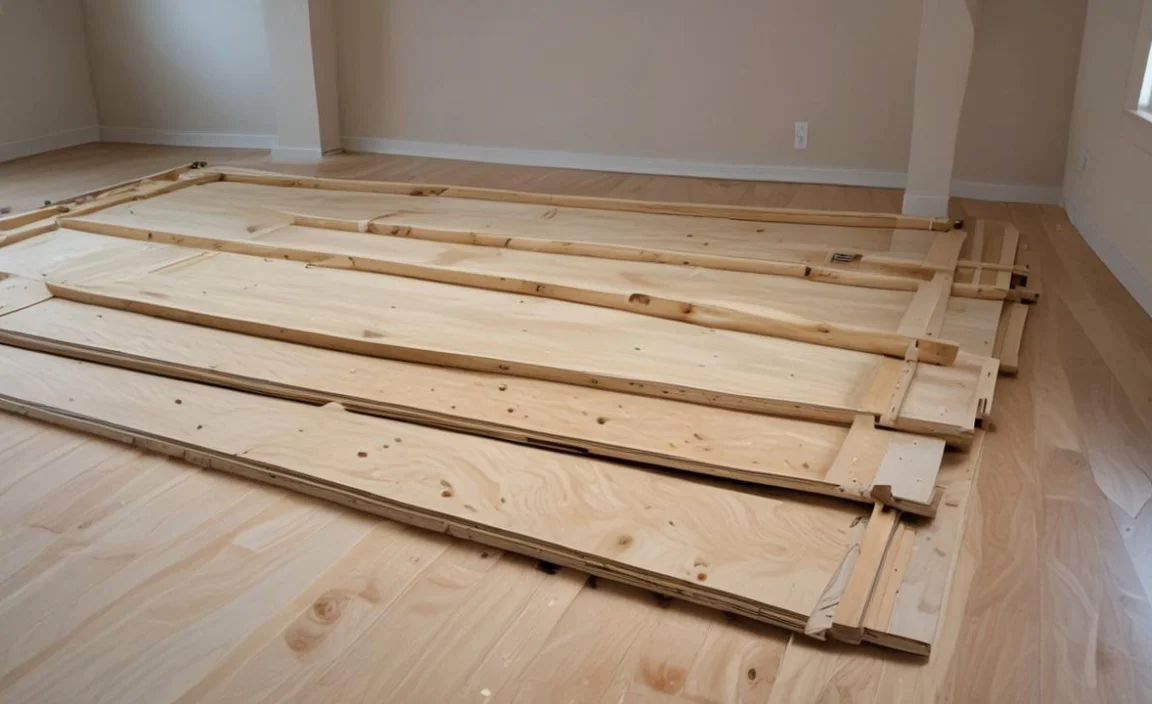
- Measure and cut the plywood: Start by measuring the dimensions of the area where you will be installing the subfloor. Use these measurements to cut the plywood sheets to fit.
- Lay out the first row: Begin by laying out the first row of plywood sheets perpendicular to the direction of the joists. Make sure to leave a small gap between each sheet for expansion.
- Secure the plywood: Use a nail gun or screws to secure the plywood sheets to the joists. Make sure to place fasteners approximately 6 inches apart along each joist.
- Stagger the seams: When laying out subsequent rows, stagger the seams so that they do not align with each other. This will help provide additional strength and stability to your subfloor.
- Fill any gaps or holes: Once all of the plywood sheets are installed, fill any gaps or holes with wood filler or putty. Sand down any rough edges or uneven surfaces before proceeding.
- Install a vapor barrier (optional): Depending on your specific needs and local building codes, you may choose to install a vapor barrier between the subfloor and finished flooring material. This can help prevent moisture from damaging your subfloor.
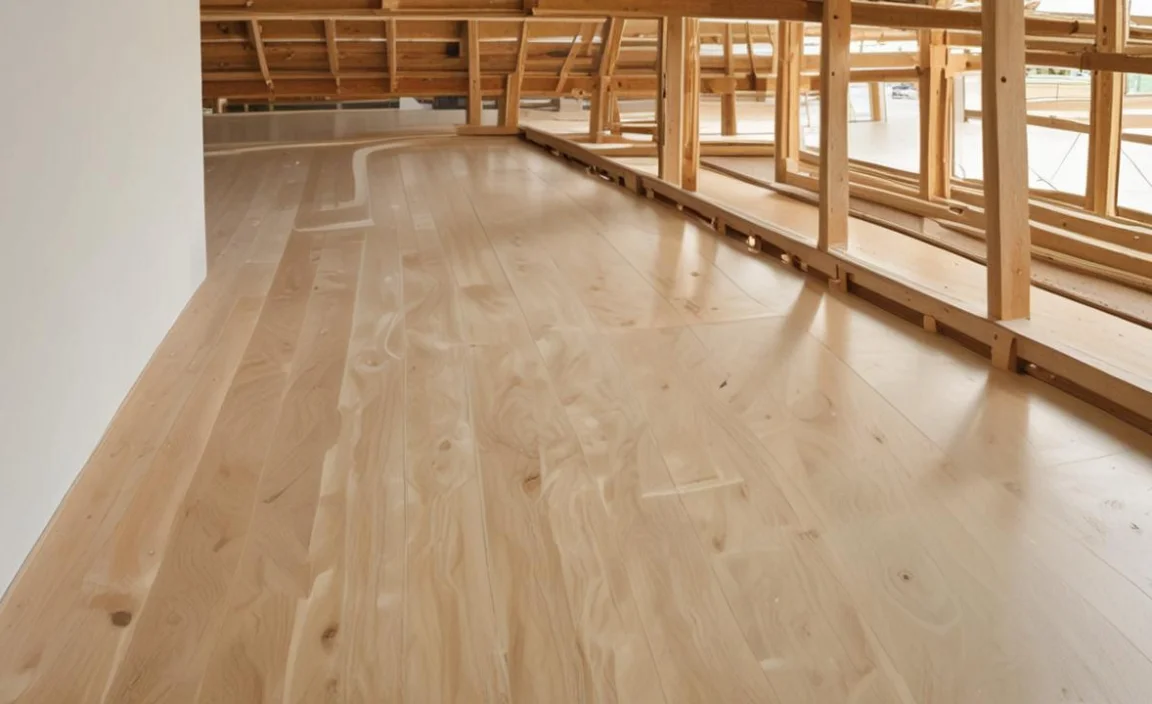
- Finish with underlayment (if necessary): If you plan on installing certain types of flooring, such as laminate or vinyl, you may need to add an underlayment on top of your plywood subfloor for added cushioning and soundproofing.
Benefits Of Installing A Plywood Subfloor
The benefits of installing a plywood subfloor in your home are numerous. Increased durability and stability of your flooring are some of the primary benefits. Plywood is a strong and sturdy material that can withstand heavy foot traffic and furniture weight without showing wear and tear.
This means your flooring will last longer and require fewer repairs or replacements. Installing a plywood subfloor provides another benefit of improving insulation and reducing noise. Plywood can help regulate your home’s temperature by preventing heat loss or gain through the flooring.
Additionally, it can help absorb sound from footfalls, ensuring your home is quieter and more peaceful. Finally, plywood subfloors are relatively easy and inexpensive to install compared to other subflooring materials. Proper installation allows you to enjoy the benefits of a plywood subfloor for years.
Preparing Joists for Plywood Subfloor Installation
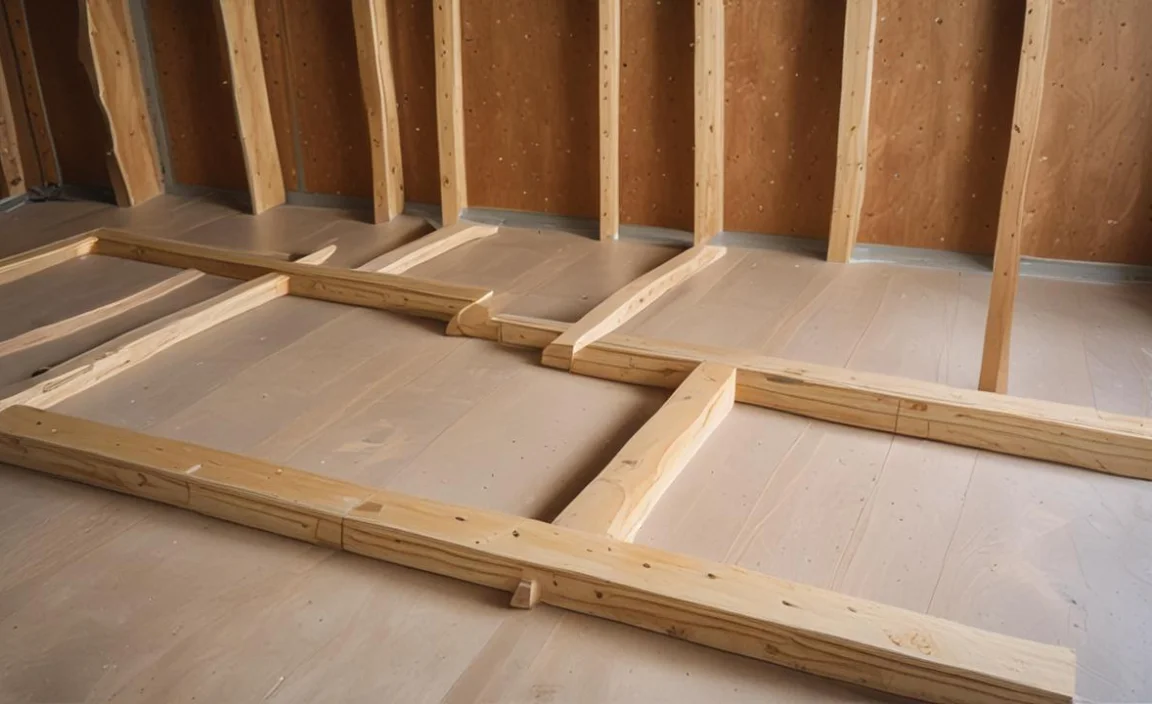
When installing a plywood subfloor, proper preparation of the joists is crucial. Before beginning any work, it is important to ensure that the joists are level and in good condition. Replace any damaged or warped joists before continuing with the installation.
Once the joists are in good condition, they should be swept clean of any debris or dust that may interfere with the adhesion of the subfloor. The next step is installing blocking between the joists at regular intervals to add stability and prevent movement.
This can do using wooden blocks or metal brackets. Once the blocking is in place, it is time to install the plywood subfloor. Cut the subfloor to size and lay it out over the joists, staggering the seams to add strength. The subfloor should be secured to the joists using screws or nails at regular intervals, ensuring a tight fit. Finally, the subfloor should be sanded and smoothed to ensure a level surface.
Tips For A Successful Plywood Subfloor Installation
Plywood subfloor installation is an important step in any construction project, whether renovation or new construction. A good subfloor ensures that the final flooring finish is level, sturdy, and long-lasting. Here are some tips for a successful plywood subfloor installation.
First, make sure you have the right materials and tools. You’ll need a subfloor adhesive, screws, and plywood panels. Use a high-quality adhesive that ensures the plywood will stay in place. Second, ensure that the subfloor is level and free of debris.
This means leveling the surface with a self-leveling compound and removing protruding nails or screws. Third, stagger the plywood panels to prevent weak spots and create a stronger overall structure. Fourth, use plenty of screws to secure the panels to the joists. Make sure to space the screws evenly, approximately 6 inches apart. Fifth, the seams of the panels create a smooth transition between panels.
Common Issues To Avoid During Installation
Regarding installation, several common problems can cause homeowners frustration and headaches. One of the most important things to remember is always to follow the manufacturer’s instructions carefully.
This includes properly preparing the installation site, selecting the right tools and equipment, and taking all necessary safety precautions. Another common problem during installation is improper alignment of installed materials. This can cause gaps, unevenness, and other problems that can compromise the integrity of the installation.
To avoid this, it is important to take the time to carefully measure and mark the installation site before starting work. Other common problems to watch out for are improperly secured materials, poor ventilation, and inadequate insulation.
These issues can lead to problems down the line, such as moisture build-up, energy loss, and even structural damage. By planning and executing your installation project carefully, you can avoid these and other common pitfalls and ensure your project succeeds.
Conclusion
Installing a plywood subfloor over joists is crucial in any flooring project. A plywood subfloor provides stability, durability, and a smooth surface for your finished floor. You can ensure a successful and long-lasting subfloor by following the proper installation process and using the right tools and materials.
Remember to prepare your joists properly, secure the plywood sheets tightly, and address any common issues during installation. With a well-installed plywood subfloor, you can enjoy the benefits of a sturdy and level surface that will support your flooring for years.
We’ve discussed how to install plywood subfloor over joists. So, roll up your sleeves, gather your tools, and get ready to install a plywood subfloor that will serve as the foundation for your beautiful new floor.
Frequently Asked Questions
[rank_math_rich_snippet id=”s-be1ad335-bc78-48e0-818a-ddf315c21a4e”]
