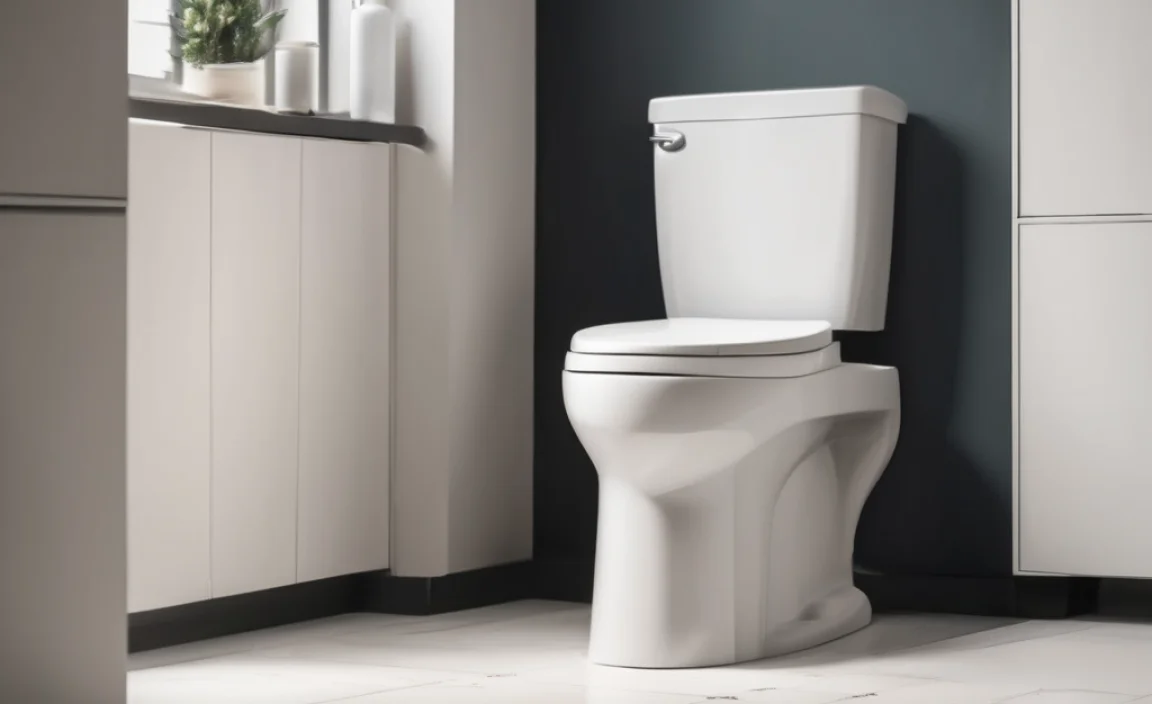
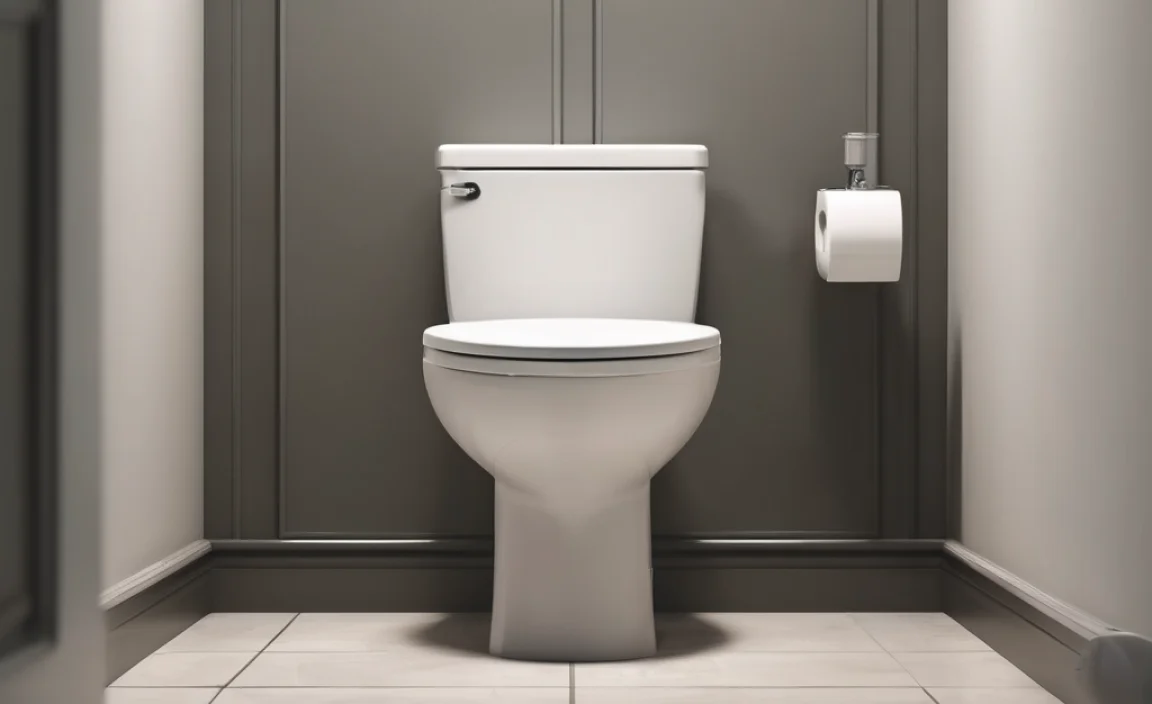
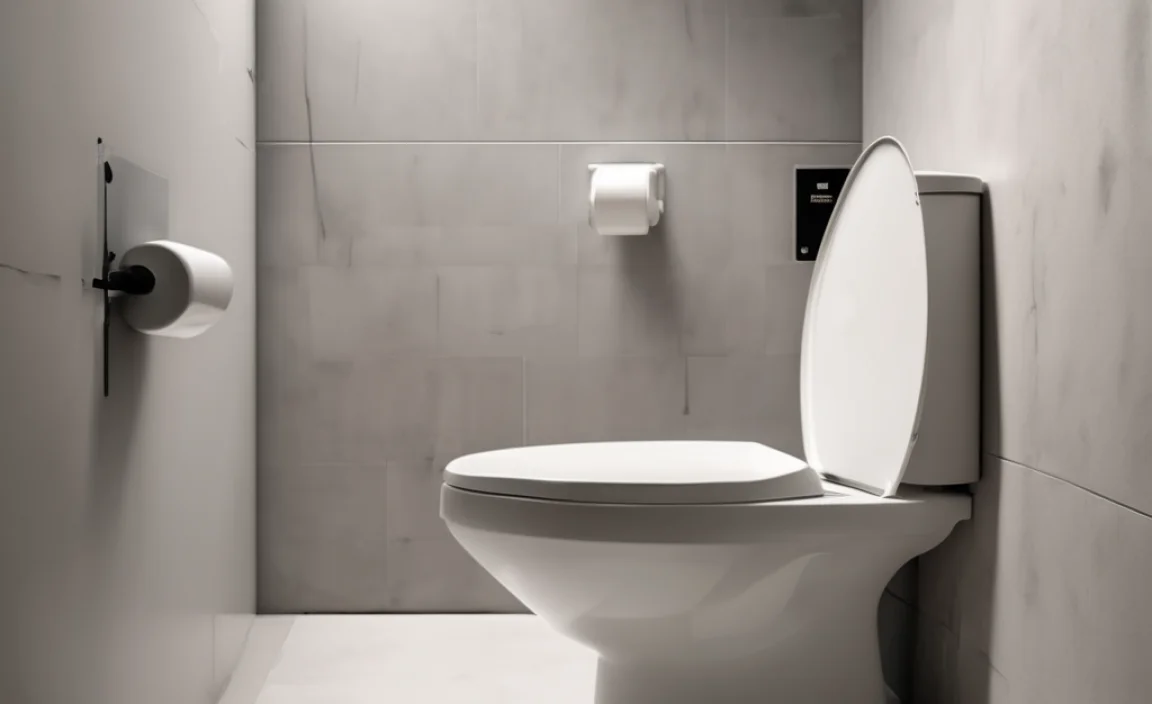
Securing your toilet to the floor is usually a simple job. First, clear away old caulk and remove the old bolts. Next, position the toilet, use shims if needed, and install new bolts with washers. Finally, tighten the bolts evenly and apply fresh caulk around the base. This keeps the toilet stable and prevents leaks.
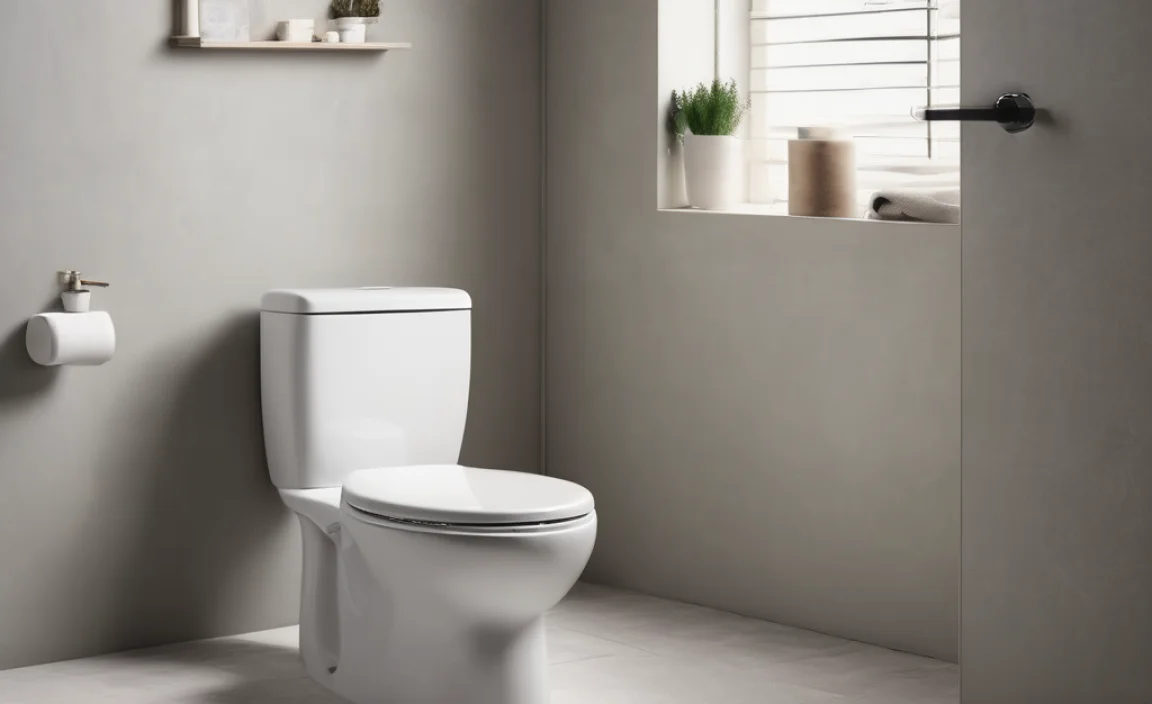
Is your toilet wobbly? Does it rock every time you sit down? A loose toilet isn’t just annoying; it can lead to leaks and even damage your floor. Don’t worry, you don’t need to call a plumber! Securing a toilet to the floor is a straightforward DIY project that anyone can handle.
In this guide, I’ll walk you through each step. We’ll cover everything from gathering your tools to tightening the last bolt. By the end, you’ll have a stable, secure toilet and the satisfaction of fixing it yourself. Let’s get started!
Tools and Materials You’ll Need
Before you start, gather these tools and materials. Having everything on hand will make the job go smoothly.
- New Toilet Bolts and Washers: These are essential for a secure connection.
- Adjustable Wrench: For tightening the bolts.
- Putty Knife or Scraper: To remove old caulk.
- Caulk Gun and Waterproof Caulk: To seal the base of the toilet.
- Shims (if needed): To level the toilet on uneven floors.
- Gloves: To protect your hands.
- Safety Glasses: To protect your eyes.
- Shop Towels or Sponge: For cleaning up spills.
- Small Bucket: To bail out excess water from the bowl.
- Hacksaw or Bolt Cutters (optional): If the old bolts are stuck.
Step-by-Step Guide to Securing Your Toilet to the Floor
Follow these steps to properly secure your toilet. Take your time and be careful to avoid damaging the toilet or floor.
Step 1: Prepare the Area
Start by prepping the area around the toilet. This ensures you have a clean workspace.
- Turn Off the Water Supply: Locate the shut-off valve behind the toilet and turn it clockwise to stop the water flow.
- Flush the Toilet: Hold down the flush handle to remove as much water as possible from the tank and bowl.
- Remove Remaining Water: Use a small bucket or sponge to remove any remaining water from the bowl.
- Disconnect the Water Supply Line: Use an adjustable wrench to disconnect the water supply line from the toilet tank. Have a towel ready to catch any drips.
Step 2: Remove the Old Toilet
Now, carefully remove the old toilet. This step requires some patience and caution.
- Remove the Bolt Caps: Pry off the plastic caps covering the bolts at the base of the toilet. A flathead screwdriver can help.
- Loosen the Bolts: Use an adjustable wrench to loosen the bolts. If they’re rusted or stuck, try spraying them with penetrating oil and let it sit for a few minutes. If they still won’t budge, you may need to use a hacksaw or bolt cutters to cut them off.
- Rock the Toilet Gently: Once the bolts are removed, gently rock the toilet back and forth to break the caulk seal.
- Lift the Toilet: Carefully lift the toilet straight up and off the flange. It’s best to have someone help you with this, as toilets can be heavy.
- Place on Protective Surface: Place the toilet on an old blanket or cardboard to protect it from damage.
Step 3: Clean the Flange and Floor
With the toilet removed, clean the flange and the surrounding floor area.
- Remove Old Caulk: Use a putty knife or scraper to remove all traces of the old caulk around the base of the toilet.
- Inspect the Flange: Check the flange for any cracks or damage. If it’s damaged, you may need to replace it. Here’s a guide on how to replace a toilet flange from The Spruce: How to Replace a Toilet Flange
- Clean the Floor: Clean the floor around the flange to remove any debris or residue.
Step 4: Install New Toilet Bolts
Install new toilet bolts into the flange. This ensures a secure and stable connection.
- Insert Bolts: Place the new bolts into the slots on the flange. Use wax ring to hold them in place.
Step 5: Position the Toilet
Carefully position the toilet over the flange, aligning the bolt holes.
- Carefully Lower the Toilet: Gently lower the toilet onto the flange, aligning the bolt holes with the bolts.
- Apply Gentle Pressure: Press down gently on the toilet to seat it properly on the wax ring.
- Check for Level: Use a level to check if the toilet is level. If it’s not, use shims to level it.
Step 6: Secure the Toilet with Bolts and Washers
Secure the toilet by tightening the bolts and washers. This step ensures a stable and leak-free installation.
- Add Washers and Nuts: Place the washers and nuts onto the bolts.
- Tighten the Bolts: Use an adjustable wrench to tighten the bolts. Tighten them evenly, alternating between each bolt to ensure even pressure. Be careful not to overtighten, as this can crack the porcelain.
- Check Again for Level: After tightening the bolts, check again to make sure the toilet is still level. Adjust shims if necessary.
- Trim Shims: If you used shims, trim any excess with a utility knife so they are flush with the base of the toilet.
Step 7: Apply Caulk
Apply caulk around the base of the toilet to seal it and prevent leaks.
- Load Caulk Gun: Load a tube of waterproof caulk into the caulk gun.
- Apply Caulk: Apply a bead of caulk around the base of the toilet, where it meets the floor.
- Smooth the Caulk: Use a wet finger or a caulk smoothing tool to smooth the caulk line for a clean, professional finish.
Step 8: Reconnect Water Supply and Test
Reconnect the water supply and test the toilet to ensure everything is working properly.
- Reconnect Water Supply Line: Reconnect the water supply line to the toilet tank.
- Turn On Water Supply: Slowly turn the water supply valve counterclockwise to turn the water back on.
- Check for Leaks: Check for any leaks around the base of the toilet and the water supply line. Tighten connections if necessary.
- Flush the Toilet: Flush the toilet several times to ensure it’s working properly and that there are no leaks.
Dealing with Common Problems
Sometimes, you might encounter issues during the installation process. Here’s how to handle some common problems.
Problem: Rusted or Stuck Bolts
Solution: Spray the bolts with penetrating oil and let it sit for a while. If they still won’t budge, use a hacksaw or bolt cutters to cut them off.
Problem: Uneven Floor
Solution: Use shims to level the toilet. Place the shims between the toilet and the floor, and trim any excess after the toilet is secured.
Problem: Leaks After Installation
Solution: Check all connections to ensure they are tight. If the leak is coming from the base of the toilet, you may need to remove the toilet and replace the wax ring.
Problem: Damaged Flange
Solution: If the flange is cracked or damaged, you’ll need to replace it. This is a more involved process, but it’s essential for a secure and leak-free installation.
Tips for a Successful Installation
Here are some additional tips to ensure your toilet installation goes smoothly:
- Use the Right Tools: Having the right tools will make the job much easier.
- Don’t Overtighten: Overtightening the bolts can crack the porcelain. Tighten them evenly and just enough to secure the toilet.
- Take Your Time: Rushing the job can lead to mistakes. Take your time and follow each step carefully.
- Get Help If Needed: If you’re not comfortable doing the job yourself, don’t hesitate to call a plumber.
- Check Local Codes: Ensure your installation meets local plumbing codes.
Types of Toilet Flanges
Understanding the different types of toilet flanges can help you choose the right one for your needs. Here’s a comparison of common types:
| Type of Flange | Description | Pros | Cons |
|---|---|---|---|
| Standard PVC Flange | Made of PVC, this is the most common type. | Affordable, easy to install, corrosion-resistant. | Can crack under heavy stress. |
| Metal Ring Flange | Features a metal ring for added strength. | More durable than PVC flanges. | Can be more expensive. |
| Offset Flange | Used to slightly adjust the toilet’s position. | Allows for minor adjustments in toilet placement. | May not be as strong as standard flanges. |
| Deep Seal Flange | Provides a deeper seal for better leak protection. | Excellent leak prevention. | Can be more difficult to install. |
Choosing the Right Toilet Bolts
Selecting the right toilet bolts is crucial for a secure installation. Here’s a breakdown of common types:
| Type of Bolt | Material | Pros | Cons |
|---|---|---|---|
| Brass Bolts | Made of brass. | Corrosion-resistant, durable. | More expensive than other options. |
| Stainless Steel Bolts | Made of stainless steel. | Excellent corrosion resistance, strong. | Can be pricier than standard bolts. |
| Plastic Bolts | Made of plastic. | Affordable, easy to install. | Less durable, prone to breaking. |
| Standard Metal Bolts | Typically zinc-plated steel. | Cost-effective, widely available. | Can corrode over time. |
FAQ: Securing Your Toilet to the Floor
Here are some frequently asked questions about securing a toilet to the floor.
- Why is my toilet wobbly?
- A wobbly toilet is usually caused by loose bolts, a damaged flange, or an uneven floor. These issues prevent the toilet from sitting securely on the floor.
- Can I reuse the old bolts?
- It’s not recommended. Old bolts can be corroded or weakened, which can compromise the stability of the toilet. Always use new bolts for a secure installation.
- What if the bolts are too long?
- If the bolts are too long, you can use a hacksaw or bolt cutters to trim them after the toilet is secured. Be careful not to damage the porcelain when cutting.
- How often should I replace the wax ring?
- The wax ring should be replaced every time you remove the toilet. It’s a crucial part of the seal and can deteriorate over time, leading to leaks.
- Do I really need to caulk around the base of the toilet?
- Yes, caulking is important. It seals the base of the toilet, preventing water from seeping underneath and causing damage to the floor. It also helps to keep the toilet stable.
- What kind of caulk should I use?
- Use a waterproof caulk specifically designed for bathrooms. Silicone caulk is a good choice because it’s flexible and resistant to mold and mildew.
- How do I know if my toilet flange is damaged?
- Check the flange for cracks, breaks, or corrosion. If it’s significantly damaged, it will need to be replaced to ensure a proper seal and secure toilet installation.
Conclusion
Securing your toilet to the floor is a manageable DIY project that can save you money and prevent potential water damage. By following these step-by-step instructions, you can confidently tackle this task and enjoy a stable, leak-free toilet.
Remember to take your time, use the right tools, and don’t hesitate to ask for help if you need it. With a little effort, you’ll have your toilet secured in no time, and you can take pride in another successful home improvement project. Happy fixing!