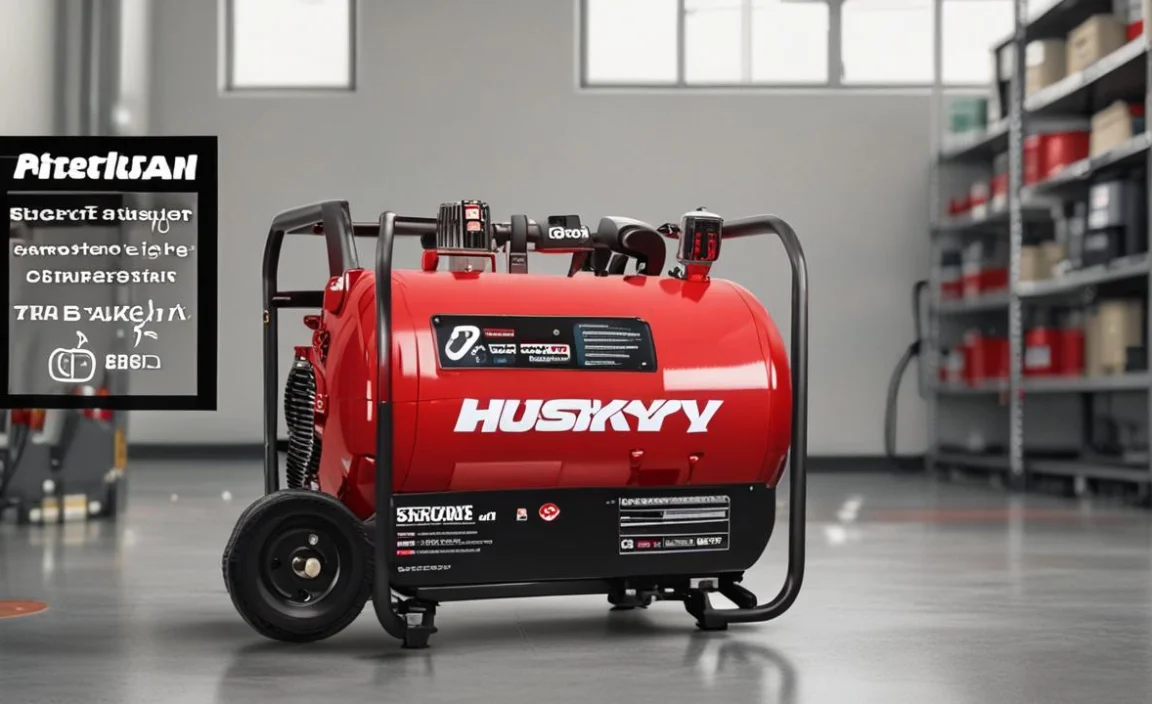
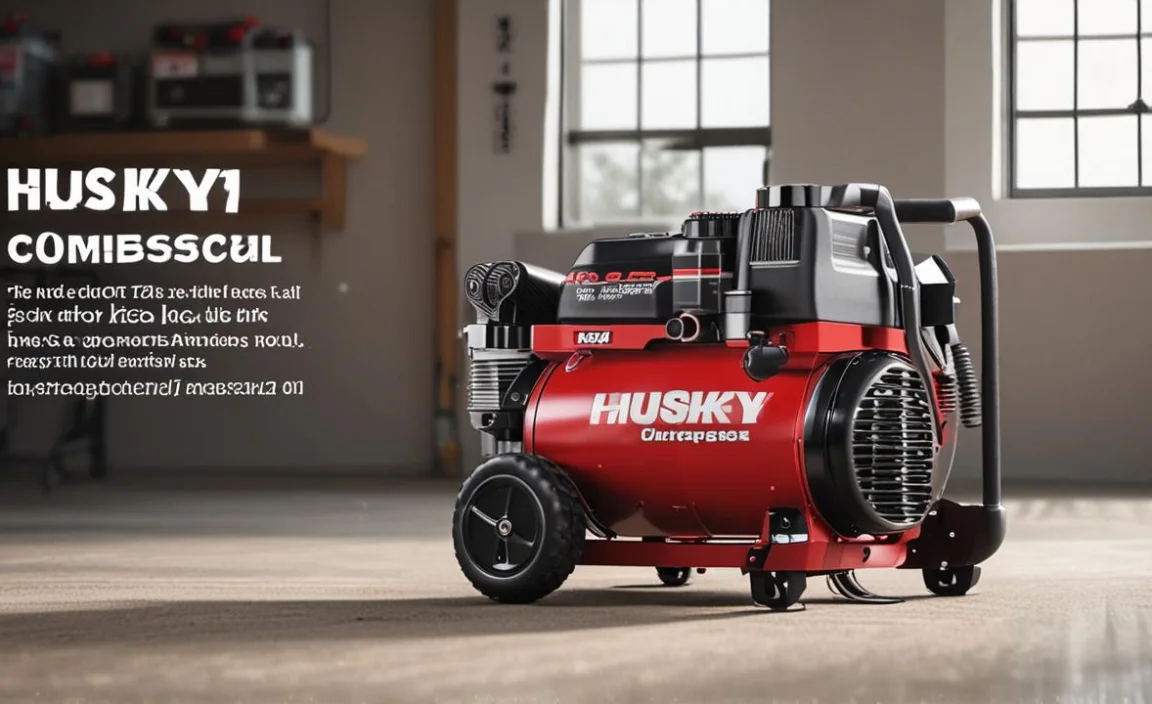
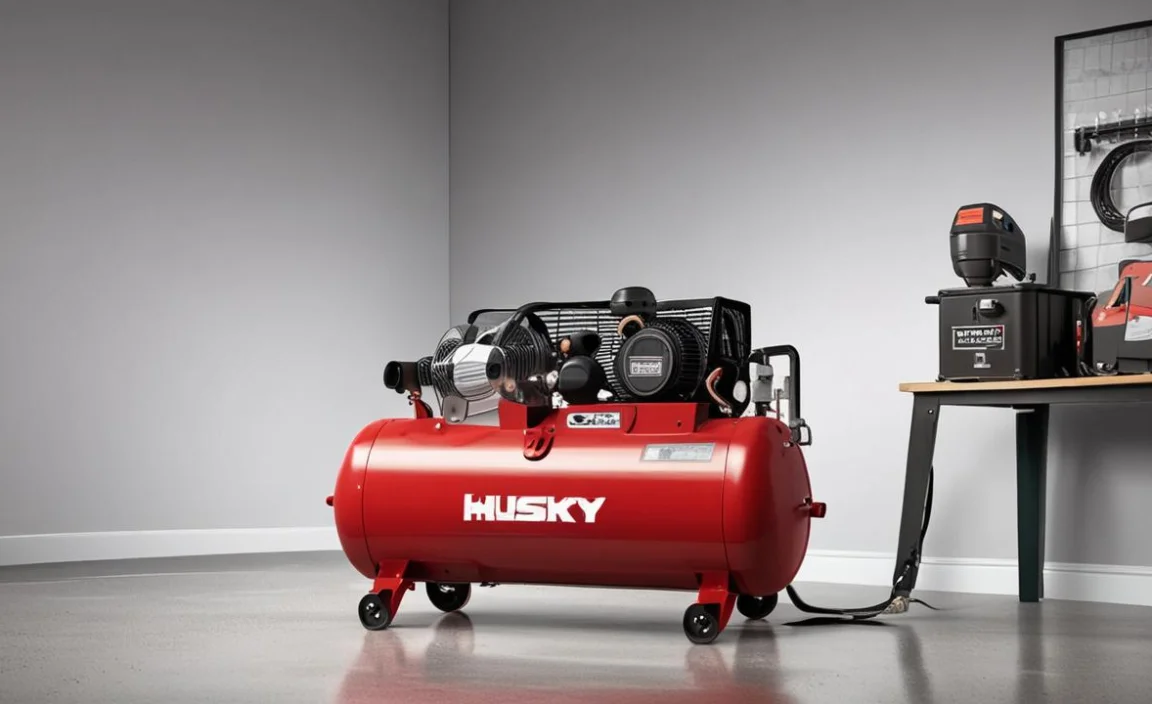
The Husky 20 gallon 175 psi air compressor is a powerful and reliable machine designed to meet all your air compression needs. This compressor is the perfect tool for those needing a reliable and efficient project machine.
With a 20-gallon tank capacity and a maximum pressure of 175 psi, this compressor can provide a steady stream of compressed air to power various tools and equipment. The manufacturer designed 20 gallon 175 psi air compressor for durability. Its powerful motor with high-quality materials can handle even the toughest jobs. Here we will discuss the features of the husky 20-gallon 175 psi air compressor and installation processes.
Features Of This Air Compressor
This Air Compressor is a powerful and durable machine designed for heavy-duty use. It features a 1.5 HP induction motor that delivers up to 175 PSI of pressure, allowing it to power a wide range of air tools.
The compressor comes equipped with an oil-free pump, which reduces maintenance requirements and ensures long-lasting performance. Other features include a large capacity air tank, a quick-connect fitting for easy tool changes, and a high-flow regulator that provides consistent performance.
How To Set Up And Install The Husky 20 Gallon 175 PSI Air Compressor
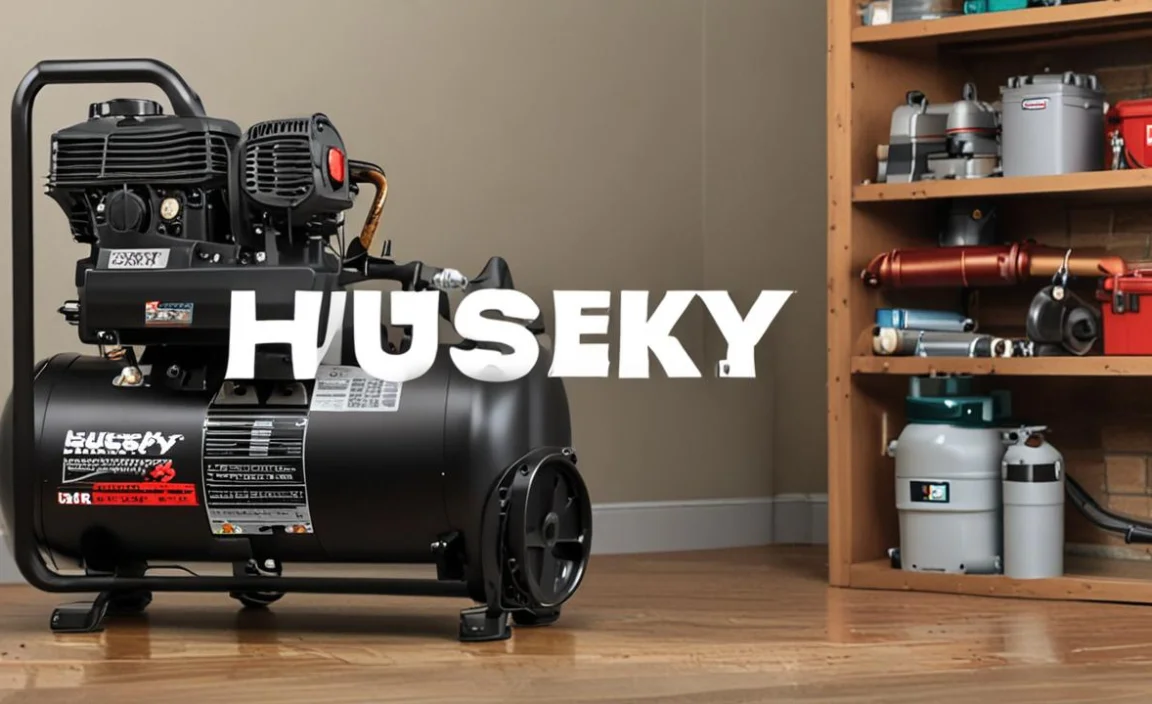
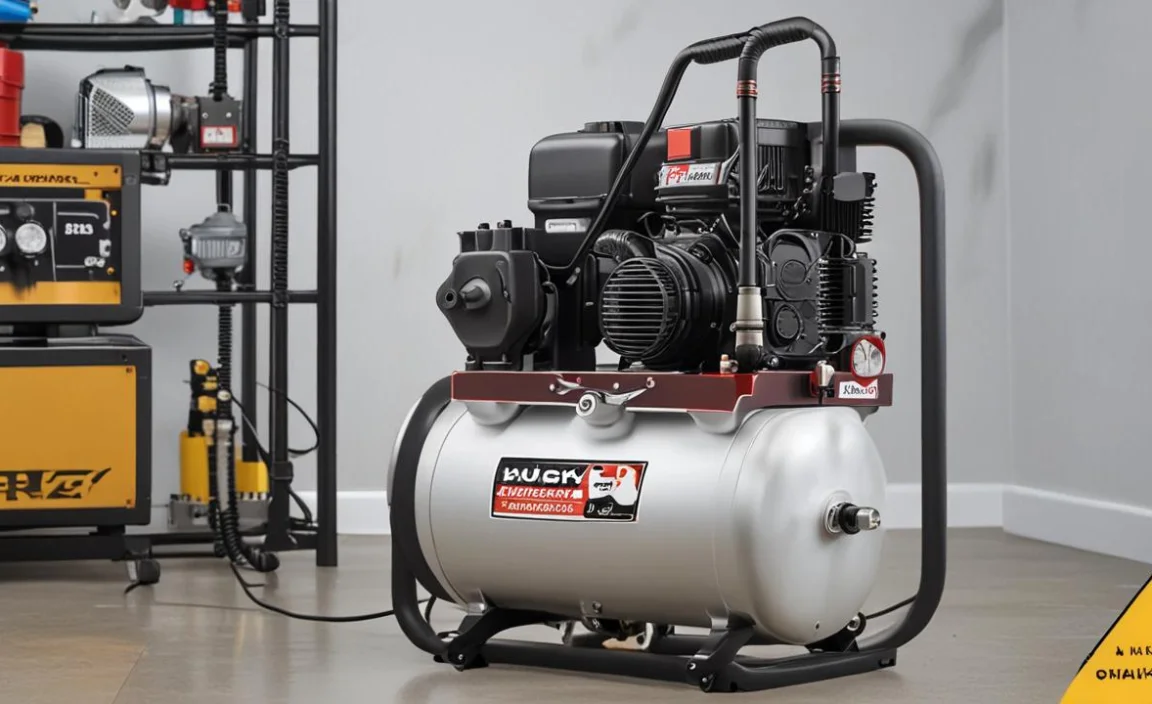
Husky 20 Gallon 175 PSI Air Compressor is an important tool for anyone who needs to power pneumatic tools or inflate tires. The designers have designed this air compressor to provide high performance and durability in a compact package.
It has a 20-gallon tank that can hold enough air to power most pneumatic tools for extended periods of time. One of the biggest advantages of this air compressor is its high maximum pressure of 175 PSI. This means it can quickly deliver a lot of compressed air, providing plenty of power for even the most demanding pneumatic tools.
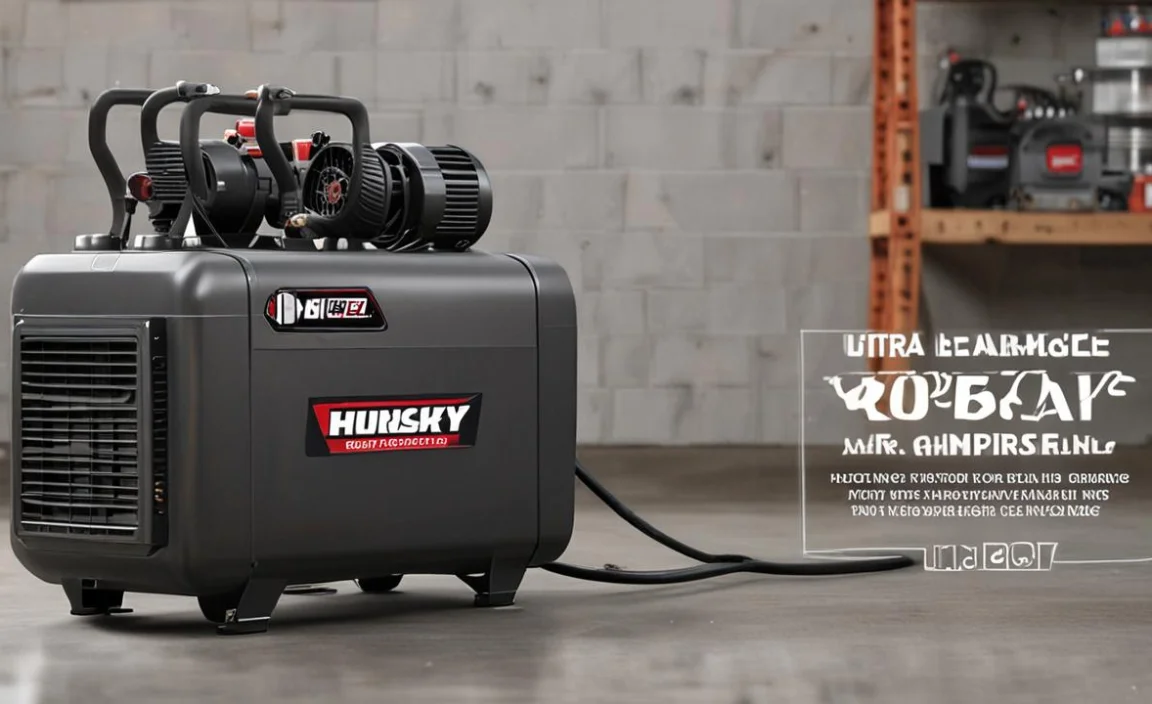
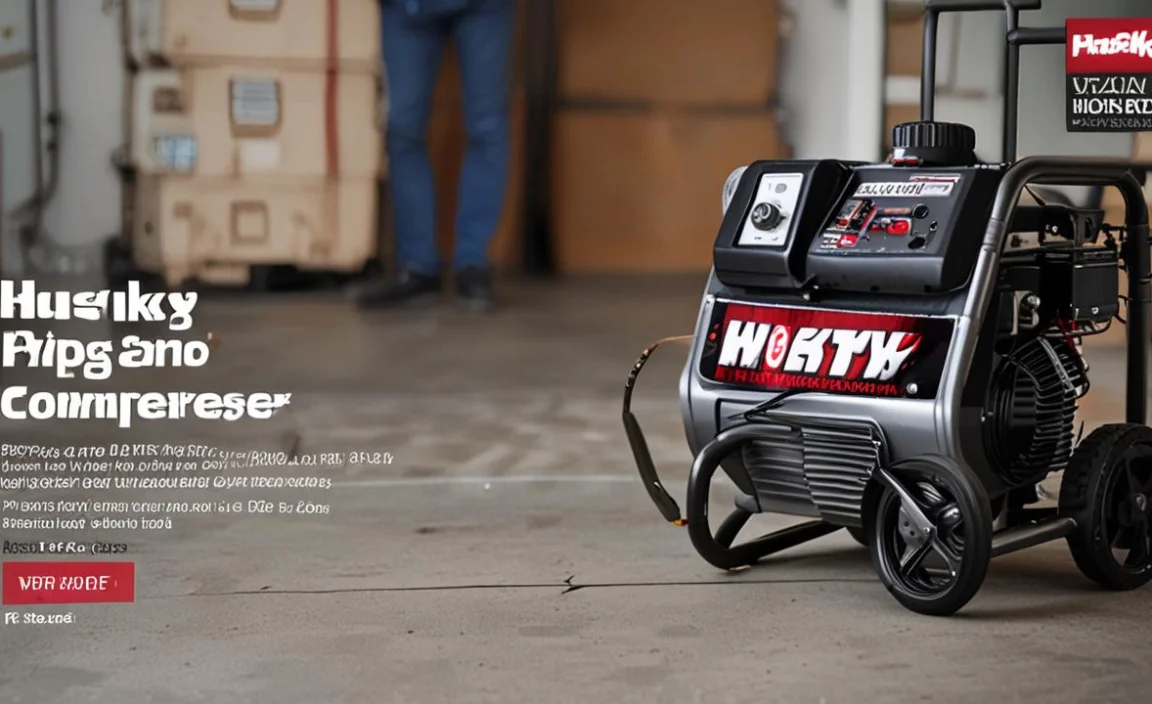
Another advantage of this air compressor is its portability. It has two wheels and a handle, making moving around the workshop or garage easy. This makes it ideal for DIY enthusiasts or professionals who need to move their tools around frequently. Here are step-by-step processes on how to install a husky 20-gallon 175 psi air compressor.
Choosing The Right Spot For Your Air Compressor
Selecting the appropriate location for your Air Compressor is crucial for its efficient and safe operation. Look for a well-ventilated area with ample space around the compressor for proper airflow. Avoid placing it in dusty, dirty, or humid environments that could clog the system or cause rust.
The right spot should also allow easy access for maintenance and inspection. Consider noise levels and ensure it does not disturb others during operation. By placing your air compressor in an optimal location, you can extend its lifespan and maximize its performance for various tasks.
Unpacking And Assembling The Air Compressor
Upon receiving your Air Compressor, carefully unpack all the components and lay them out. Refer to the provided instruction manual to assemble the compressor properly. Make sure all connections and fasteners are securely tightened to ensure stability.
During this process, check for any visible damage or missing parts and contact the manufacturer if necessary. Proper assembly is essential for the safe and efficient operation of the air compressor. Taking the time to assemble it correctly will save you potential headaches later on and ensure you can confidently use your compressor.
Installing The Wheels And Handles
Enhance the portability of your 20 Gallon 175 PSI Air Compressor by installing the wheels and handles. Attach the provided wheels to the designated mounting points after assembling the compressor. Ensure that they are properly fastened and aligned to support the weight of the compressor.
Next, attach the handles to make maneuvering the compressor effortless. The wheels and handles allow you to move the air compressor around the worksite easily, providing flexibility and convenience. This feature is especially valuable for transporting the compressor between various locations during projects.
Connecting The Air Intake Filter And The Pressure Switch
To optimize the performance of your 20 Gallon 175 PSI Air Compressor, connect the air intake filter and pressure switch. The air intake filter is essential for preventing dust and debris from entering the compressor and protecting the internal components from damage.
Attach it to the designated inlet to ensure clean air intake. Additionally, connect the pressure switch, which enables the compressor to regulate the pressure levels automatically. The pressure switch controls when the compressor turns on and off, maintaining the desired pressure for your applications. These components work together to enhance the compressor’s efficiency and prolong lifespan.
Attaching The Discharge Tube And The Pressure Relief Valve
Properly attach the discharge tube and pressure relief valve to your Air Compressor for safe and effective operation. The discharge tube connects to the compressor’s outlet, allowing compressed air to flow to your tools and equipment. Ensure it is securely fastened to prevent leaks.
Additionally, install the pressure relief valve to safeguard against overpressure situations. The pressure relief valve releases excess pressure if it exceeds safe levels, protecting the compressor and the user from potential hazards. These components are critical for maintaining a controlled and secure air compression system.
Installing The Power Cord And Plugging It In
Prepare your Air Compressor by installing the power cord and connecting it to a suitable power outlet. Check the power cord and ensure no visible signs of damage or fraying. Carefully insert the plug into the designated socket on the compressor.
Then, plug the other end into a compatible power supply that matches the compressor’s requirements. It’s essential to use a stable power source with the correct voltage and current to avoid damage to the compressor and ensure safe operation. Once plugged in, your air compressor is ready to power your pneumatic tools.
Adding Oil To The Pump And Checking The Oil Level
If your Air Compressor requires oil for its pump, follow these steps to ensure smooth operation. Refer to the user manual to identify the correct type and amount of oil needed. Open the designated oil fill port and slowly pour the recommended oil into the pump.
Avoid overfilling, as this can lead to performance issues. After adding the oil, close the fill port securely. Regularly check the oil level to ensure it remains within the recommended range. Proper lubrication is essential for the pump’s longevity and efficient compressor functioning.
Testing The Air Compressor And Adjusting The Pressure Regulator
After setting up your 20 Gallon 175 PSI Air Compressor, it’s crucial to conduct a thorough test before using it with tools or equipment. Turn on the compressor and allow it to build up pressure. Listen for any unusual noises or vibrations and inspect for air leaks.
If any issues are detected, address them before proceeding. Once the compressor is running smoothly, adjust the pressure regulator to set the desired air pressure level for your specific applications. Properly adjusted pressure ensures optimal tool performance and safety during operation.
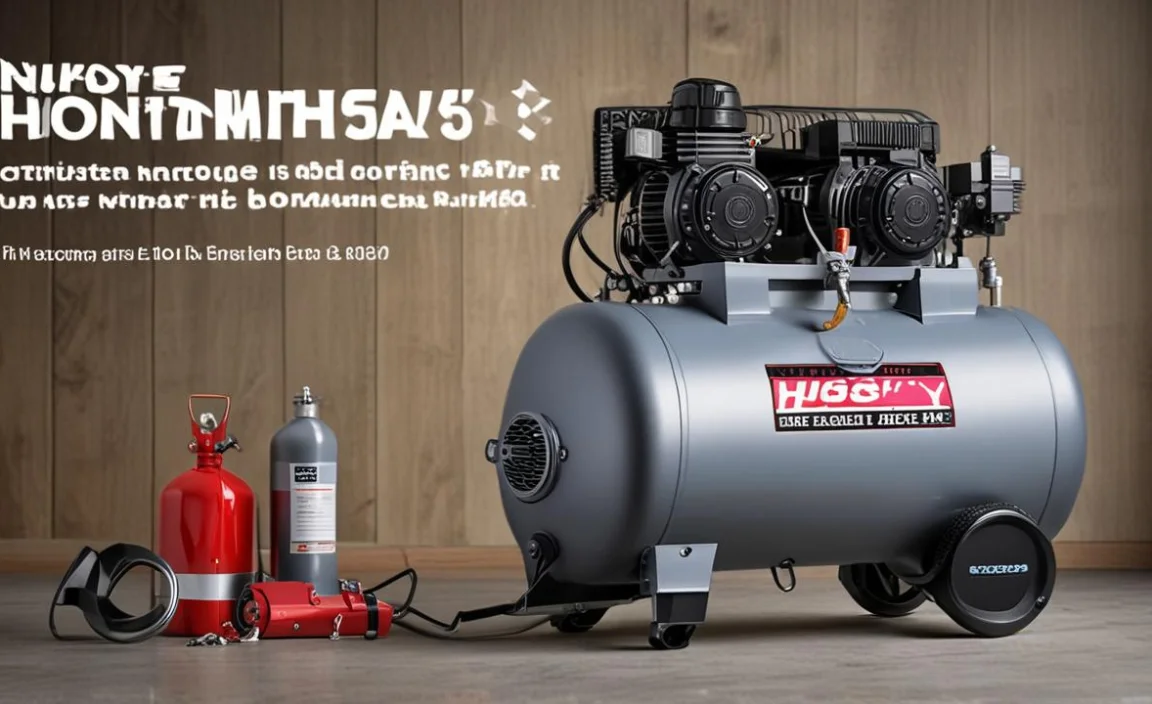
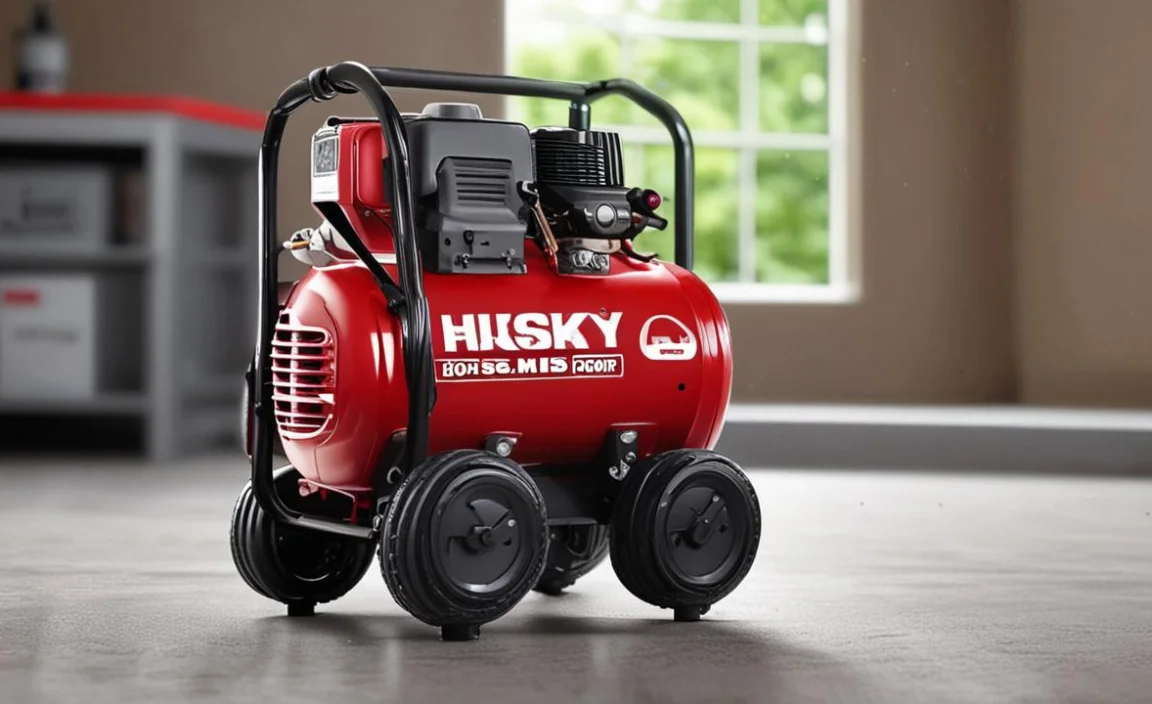
Benefits Of Using This Air Compressor
This Air Compressor offers a range of benefits that make it a valuable addition to any workshop or job site. Its substantial 20-gallon tank and a high maximum pressure of 175 PSI can handle various pneumatic tools and tasks.
The included wheels and handles enhance the compressor’s portability, making it easy to move around as needed. Its durable construction ensures longevity and reliability, even under heavy use. Whether for DIY enthusiasts or professional contractors, this air compressor provides consistent and efficient performance, enabling users to complete their projects easily.
Conclusion
The Husky 20 gallon 175 psi air compressor is a powerful and reliable tool that is perfect for a wide range of applications. With its high-pressure output and large storage capacity, this compressor can power various pneumatic tools and equipment, making it an essential addition to any workshop or job site.
This air compressor will surely deliver the desired results and success if you are a professional contractor. Its sturdy build and dependable performance make it a great investment providing years of dependable service. So if you are looking for a high-quality air compressor that can handle all your pneumatic needs, look no further than this air compressor.
FAQ’s
[rank_math_rich_snippet id=”s-c30a45d9-57e6-4b22-a870-6fe08afbcc24″]
