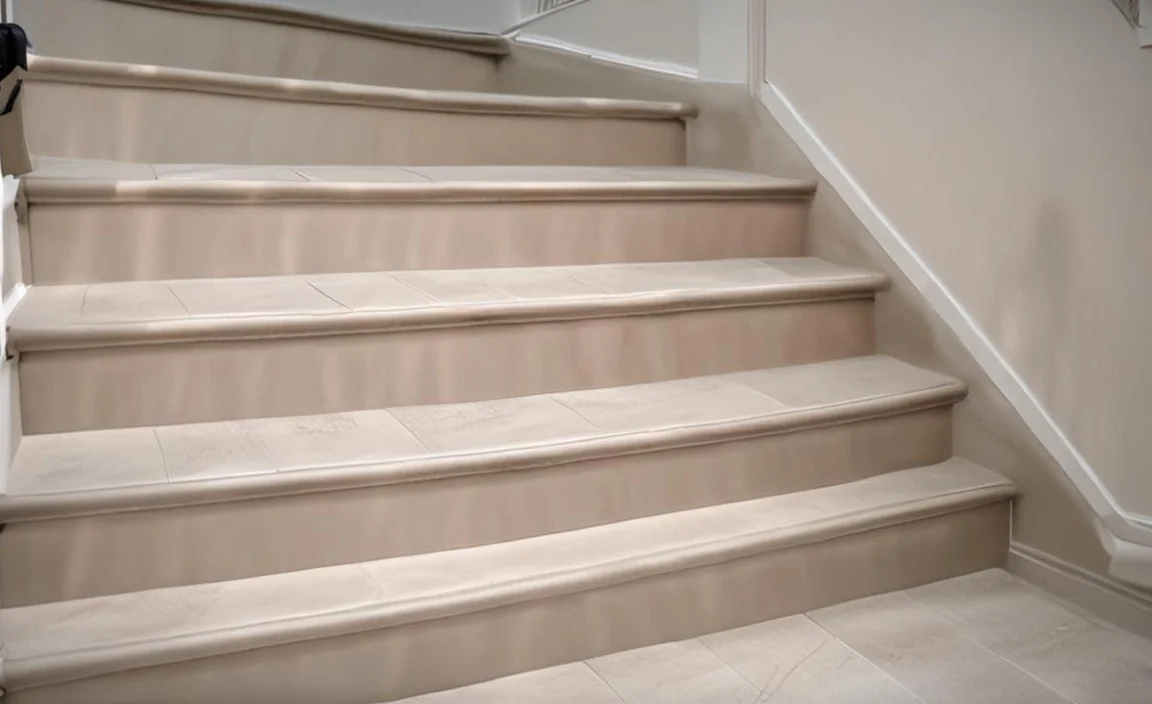
Vinyl flooring is an excellent solution that offers several benefits, including durability, affordability, and easy maintenance. Installing vinyl flooring on stairs with nosing is a great way to enhance the look of your stairs while adding an extra layer of protection.
However, installing vinyl flooring on stairs with nosing can be a daunting task, especially for those with little experience in flooring installation. Fortunately, with the right tools, materials, and guidelines, it is possible to install vinyl flooring on stairs like a pro.
We will walk you through how to install vinyl flooring on stairs with nosing. We will cover everything from preparing the surface to installing the nose and cutting the vinyl planks. Our guide is designed to be easy to follow, even for beginners, and includes helpful tips and tricks.
Types Of Vinyl Flooring Suitable For Stairs
Several types of vinyl flooring are suitable when installing vinyl flooring on stairs with nosing. Luxury vinyl planks are popular as they offer durability and a wide range of styles and designs. Vinyl sheet flooring is another option, especially for covering large areas, as it comes in large rolls. Vinyl tiles are easy to install and come in various patterns and colors, providing flexibility in design.
If you’re looking for quick and easy installation, self-adhesive vinyl planks with peel-and-stick backing are a great choice. Additionally, it’s important to consider the thickness and wear layer of the vinyl flooring to ensure it can withstand foot traffic on stairs. To enhance safety, vinyl flooring with a textured surface for added slip resistance is also recommended.
How To Install Vinyl Flooring On Stairs With Nosing Effectively
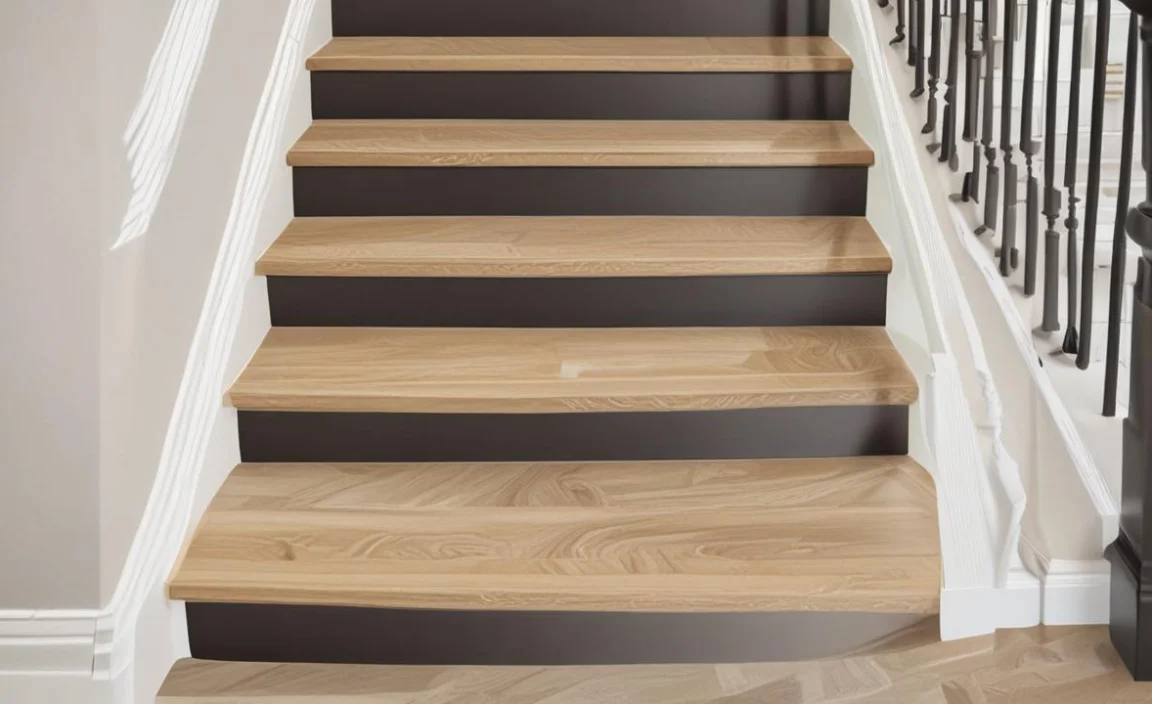
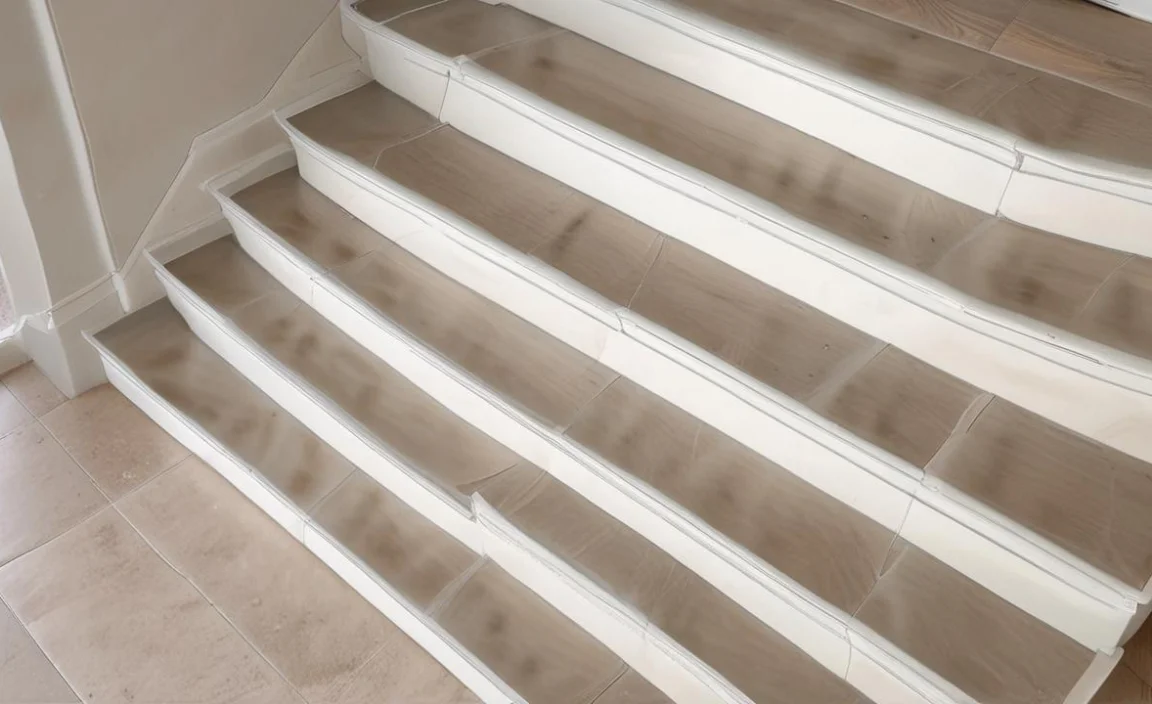
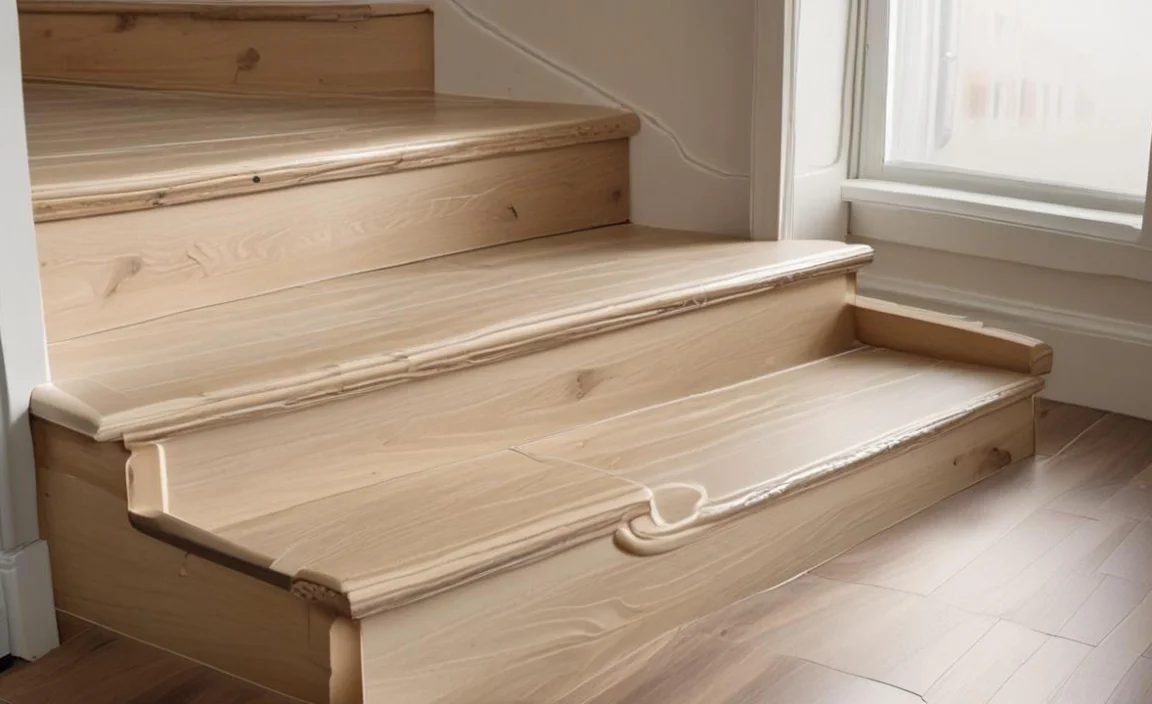
To install vinyl flooring on stairs with nosing, start by measuring and preparing the stairs. Choose the right vinyl flooring and nosing that suit your needs. Next, remove any existing flooring and thoroughly clean the stairs. Apply adhesive to the back of the vinyl flooring and press it firmly onto the stairs, ensuring a secure bond. Then, install the nosing on the edge of each step for added safety and durability.
Trim any excess vinyl and secure the edges with adhesive or molding. By following these steps and using the correct tools and materials, homeowners can easily install vinyl flooring on their stairs with nosing, creating a durable and stylish staircase. Here is How to install vinyl flooring on stairs with nosing.
The Essential Tools And Materials For Installation
Before installing vinyl flooring on stairs with nosing, gathering all the essential tools and materials is important. First, measure and prepare the stairs to ensure a proper fit. Then, gather the necessary items: vinyl planks, adhesive, a utility knife, measuring tape, and a trowel. Remove any existing carpet or flooring and thoroughly clean the surface.
Safety Precautions To Follow During Installation
During the installation process of vinyl flooring on stairs with nosing, it is important to prioritize safety precautions. To ensure a safe installation experience, remember to wear protective eyewear and gloves when handling tools and materials. Adequate ventilation is essential to avoid inhaling fumes from adhesives or solvents. Use a sturdy ladder or scaffolding for stability when working on higher areas.
Maintaining a clean and clutter-free work area is crucial to prevent tripping hazards. Lastly, always follow the manufacturer’s instructions for the safe use and storage of tools and materials. By following these safety precautions, you can ensure a smooth and accident-free installation process.
Preparing The Stair Surface
Remove any existing carpet or other flooring materials from the stairs to prepare the stair surface for vinyl flooring installation. Ensure the stair surface is clean, dry, and smooth before installing. Use a pry bar to remove any old adhesive or staples that may be present on the stairs. Fill in cracks or gaps in the stair surface using a suitable filler or leveling compound.
Additionally, sand down any rough spots on the stairs to create a smooth and even surface for the vinyl flooring. By taking these preparatory steps, you’ll ensure a solid foundation for the vinyl flooring installation process.
Measuring And Cutting Vinyl Planks
Accurate measurements and precise cuts are essential when installing vinyl flooring on stairs. To ensure a seamless finish, use a tape measure and a straight edge to measure and mark the dimensions of each vinyl plank. Take your time and double-check your measurements before cutting to minimize errors and material wastage. A utility knife or a vinyl cutter can be used for clean and precise cuts.
nvesting in the right tools for the job to achieve a professional-looking result is important. Remember to measure and cut each plank individually, considering the stair tread’s width and the riser’s width. With careful attention to detail, you can achieve a durable and visually appealing vinyl floor installation on your stairs.
Positioning And Fixing The Vinyl Flooring
To position and fix the vinyl flooring on stairs with nosing, start by measuring and marking the position of the nosing on each step. This will ensure accurate alignment and a professional finish. Next, use adhesive or double-sided tape to secure the vinyl flooring to the stairs, creating a strong bond.
Care to align the edges of the vinyl flooring with the nosing for a seamless look. To ensure a secure installation, apply hand pressure or use a roller to attach the vinyl flooring to the stairs firmly. Trim any excess vinyl and neatly tuck the edges under the nosing for a clean and polished appearance.
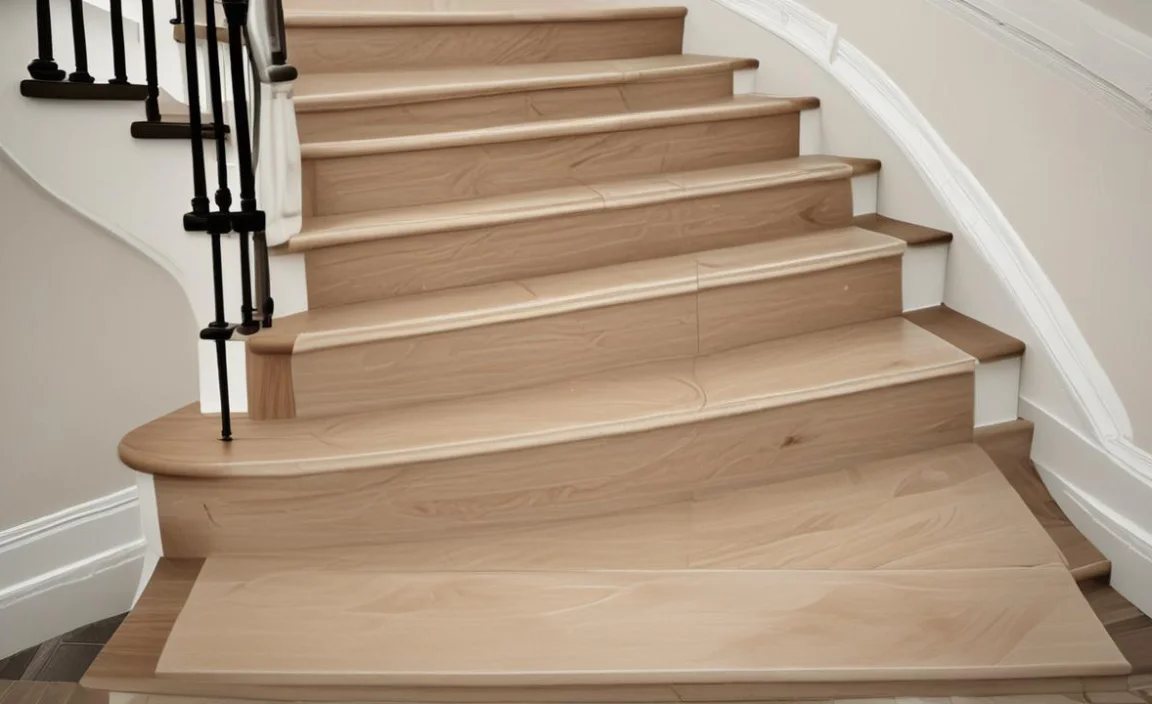
Installing The Stair Nosing
Installing stair nosing is essential in installing vinyl flooring on stairs with nosing. Stair nosing protects the edges of the stairs and gives a polished and finished look to the overall installation. Before applying the nosing, it is important to ensure the stairs are clean and free from debris or adhesive residue.
Take precise measurements of each stair and cut the nosing accordingly using a saw or a utility knife. Apply adhesive to the back of the nosing and firmly press it onto the stair tread. Use a roller or wood block to eliminate air bubbles to ensure proper adhesion.
Common Mistakes To Avoid While Installing Vinyl Flooring On Stairs
When installing vinyl flooring on stairs, it is important to avoid common mistakes to ensure a successful and durable installation. One common mistake is not properly preparing the stairs before installation. This includes cleaning the surface, removing old flooring or adhesive residue, and repairing damaged areas.
Another mistake is incorrectly measuring and cutting the vinyl flooring. Accurate measurements are crucial to ensure a proper fit and minimize waste. It is also important to securely fasten the flooring with adhesive or nails to prevent shifting or lifting.
Neglecting to use a stair nosing is another mistake to avoid. A stair nosing provides added safety and durability by protecting the edges of the stairs. Lastly, not properly sealing the edges and seams of the vinyl flooring can lead to water damage and premature wear.
It is important to use an appropriate sealant or caulk to ensure a watertight seal. By avoiding these common mistakes, homeowners can ensure a successful and long-lasting installation of vinyl flooring on stairs.
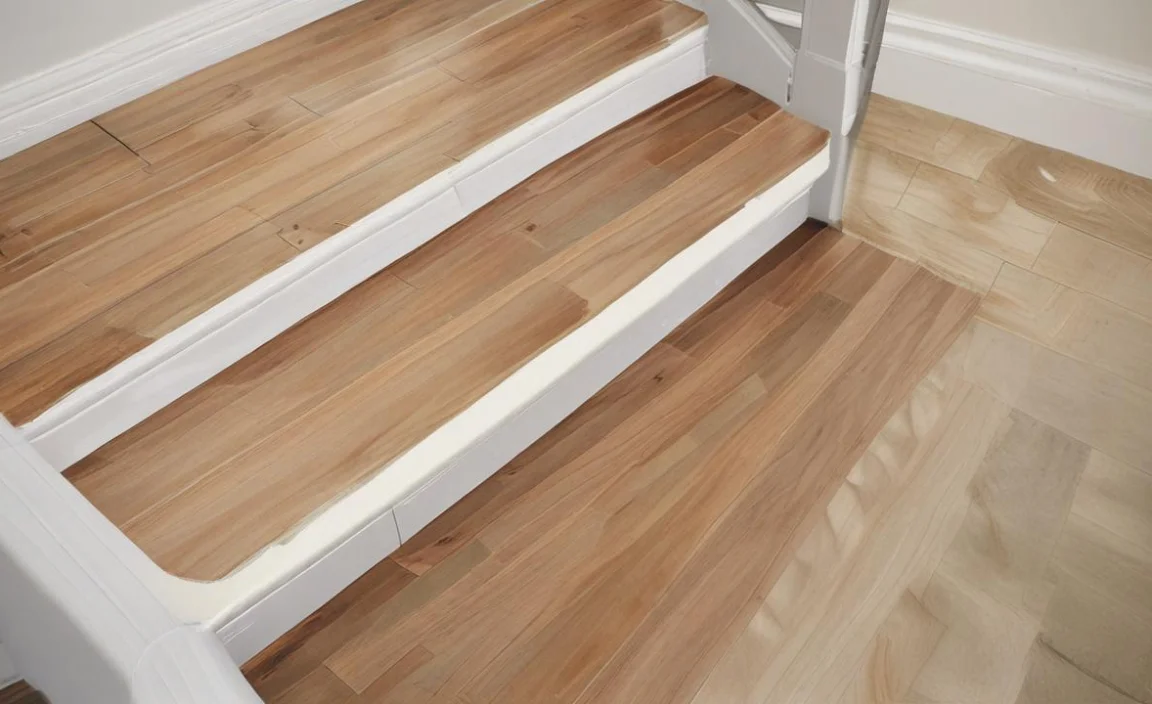
Advantages Of Using Vinyl Flooring On Stairs
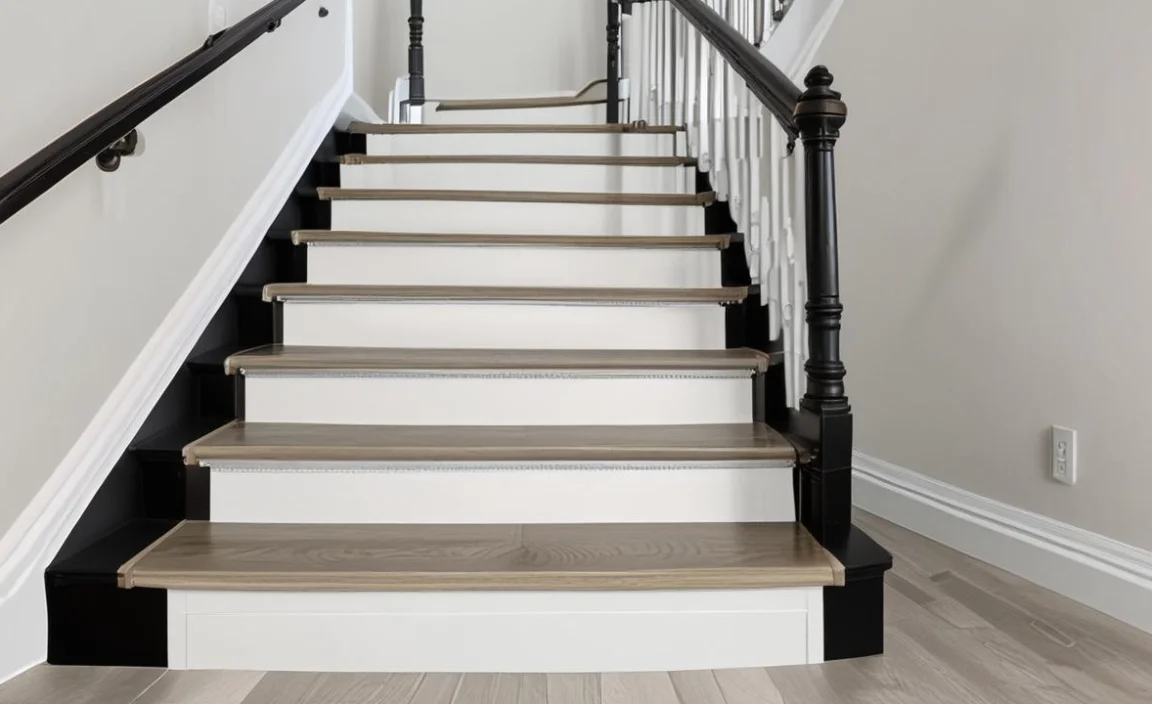
Vinyl flooring offers several advantages when it comes to installing it on stairs. One of the key benefits is its durability, which makes it an excellent choice for high-traffic areas like stairs. Additionally, vinyl flooring is easy to maintain, requiring minimal effort to keep it looking its best.
Safety is another advantage, as vinyl flooring on stairs often comes with a nosing that provides added grip and reduces the risk of slips and falls. Furthermore, vinyl flooring is versatile, coming in various colors and patterns to match any existing decor. Finally, vinyl flooring is cost-effective compared to other options, making it a budget-friendly choice for stair installations.
Durability And Maintenance Of Vinyl Floors
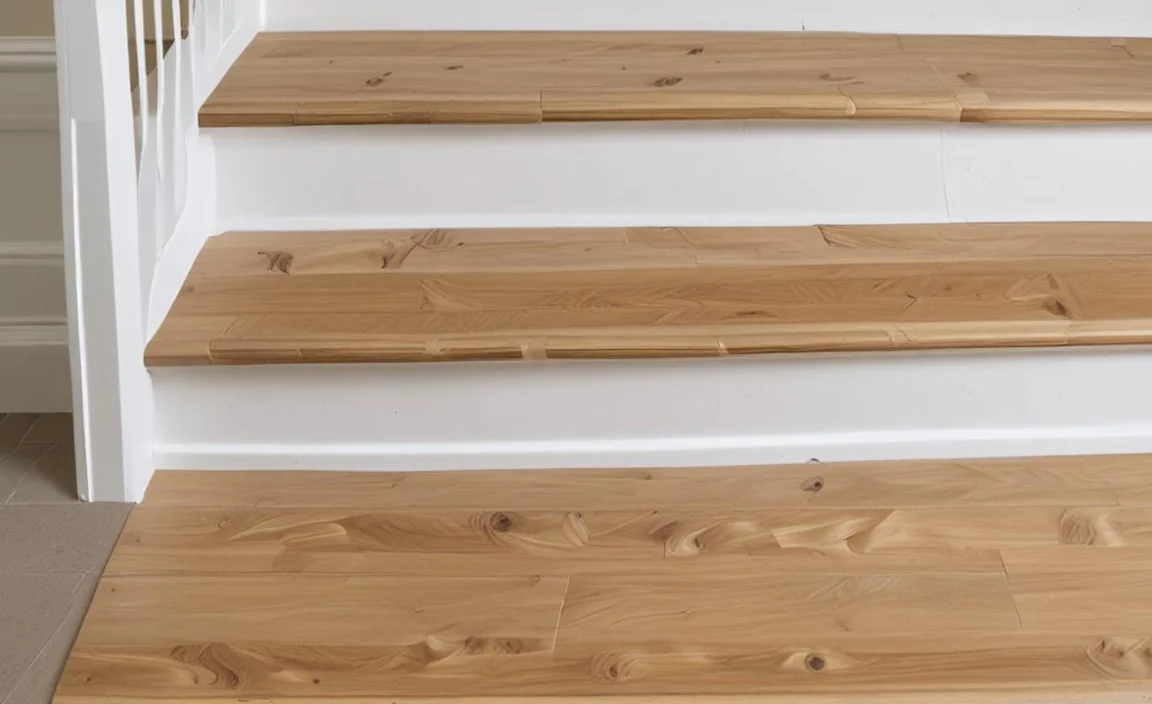
Vinyl flooring on stairs is highly durable, capable of withstanding heavy foot traffic, and resisting wear and tear. Its non-porous surface makes it resistant to stains, spills, and scratches, ensuring long-lasting quality. Maintenance of vinyl floors is also a breeze, requiring only regular sweeping and occasional mopping to keep them looking their best.
With proper installation and care, vinyl flooring on stairs can maintain its durability and visual appeal for many years. Additionally, vinyl floors are moisture-resistant, making them an excellent choice for areas prone to spills or high humidity. Homeowners can enjoy the durability and low maintenance of vinyl flooring, knowing that it will withstand the demands of everyday life.
Conclusion
It is important to follow the proper steps and precautions to ensure a successful installation of vinyl flooring on stairs with nosing. By choosing the right type of vinyl flooring for stairs, understanding the installation process, and using the necessary tools and materials, you can enjoy the many advantages of vinyl flooring.
These include durability, easy maintenance, and various design options. However, avoiding common mistakes such as incorrect measurements or improper fixing of the vinyl planks is crucial. By following this ultimate guide on how to install vinyl flooring on stairs with nosing, you can achieve a professional-looking finish and enhance the aesthetics and functionality of your stairs with vinyl flooring.
Frequently Asked Questions
[rank_math_rich_snippet id=”s-b192a221-d39a-4acc-abac-6914c3123d27″]
