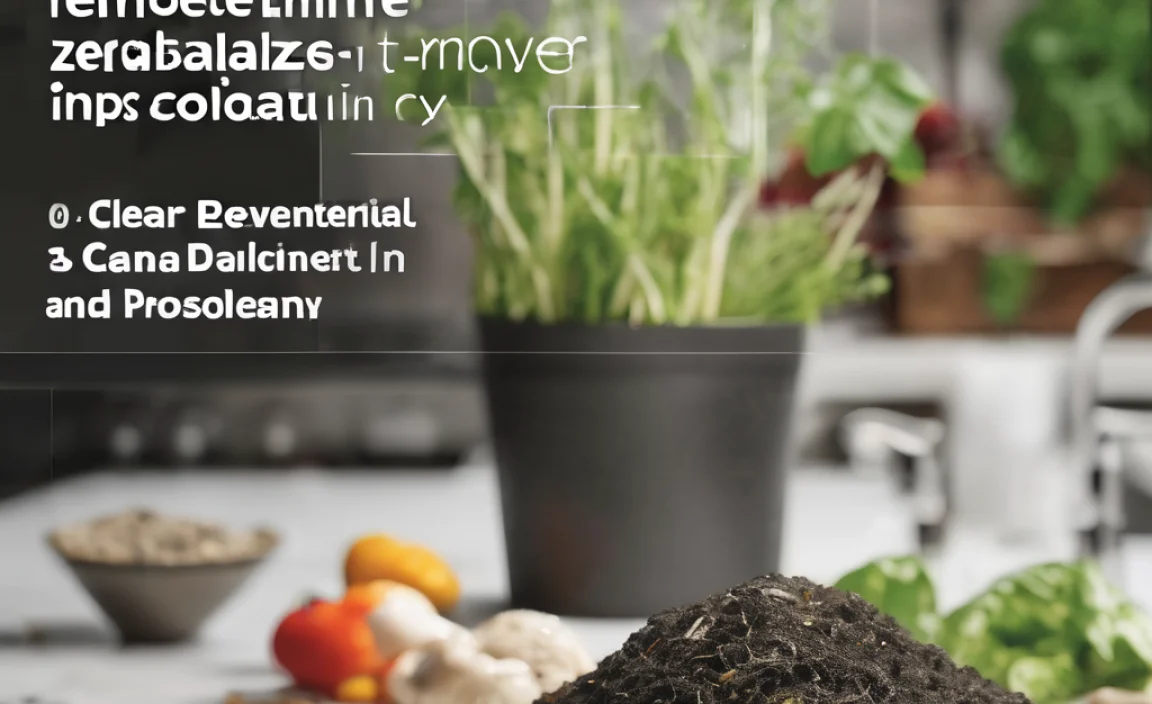
Nobody wants their kitchen to smell like a science experiment gone wrong! If you’re new to composting, you might be surprised by the occasional whiff of something less than pleasant coming from your kitchen compost bin. But don’t worry, that’s a totally normal hurdle, and it doesn’t mean you have to give up on being a composting superstar. We’ve got some super simple, really effective ways to keep that kitchen air fresh and breezy. Let’s dive into making composting smell-free and easy!
Unmasking the Kitchen Compost Odor Mystery
So, what’s the deal with that smell? Honestly, it’s usually a sign that things are a little out of balance in your compost bin. Think of it like baking a cake – if you add too much of one ingredient, it won’t turn out quite right. Compost is similar. The main culprits are usually too much moisture, not enough air, or the wrong kinds of food scraps going in.
The goal is to create an environment where beneficial microbes can happily break down your food scraps in an “aerobic” way, which means with oxygen. When things get too wet and packed, anaerobic (without oxygen) bacteria take over, and those are the ones that produce that stinky, rotten-egg smell. Learning to recognize these signs is your first step to banishing kitchen compost odor for good.
Why Keeping Your Kitchen Compost Odor-Free Matters
Let’s be real: a pleasant kitchen is a happy kitchen. Nobody enjoys cooking or relaxing in a space that’s battling unpleasant smells. Beyond just comfort, managing compost odor means you’re doing a better job of composting. This means your compost will break down faster and turn into that rich, dark “black gold” that your garden will absolutely love.
Plus, when your composting system is working right, you’re diverting more waste from the landfill, which is a huge win for the environment. It’s all about making this eco-friendly habit as enjoyable and easy as possible. We want you to feel proud of your composting efforts, not embarrassed by a funky smell!
Genius Solutions: Your Kitchen Compost Odor Action Plan
Ready to tackle those smells head-on? Here’s your step-by-step guide to a fresh-smelling kitchen compost bin. We’ll cover everything from what you toss in to how you manage your bin.
1. The Art of the “Browns” and “Greens” Balance
This is probably the most important rule of composting, and it’s super simple once you get the hang of it. Think of your food scraps as “greens” (like fruit peels, veggie scraps, coffee grounds) and your other compostable materials as “browns” (like torn-up paper towels, cardboard, dry leaves). Greens are rich in nitrogen and moisture, which can lead to smells if unbalanced. Browns are high in carbon and provide structure and air pockets.
The Sweet Spot: Aim for a ratio of about 2 to 3 parts browns to 1 part greens. Don’t stress over exact measurements! Just try to add a bit of brown material every time you add food scraps. This helps soak up excess moisture and improves airflow.
Examples of “Greens” (Nitrogen-Rich):
- Fruit scraps and peels
- Vegetable scraps and peels
- Coffee grounds and filters
- Tea bags (check if they’re compostable)
- Eggshells (rinsed and crushed)
Examples of “Browns” (Carbon-Rich):
- Shredded newspaper (black and white ink only)
- Cardboard (torn into small pieces, un-waxed)
- Paper towels and toilet paper rolls
- Dry leaves
- Sawdust (from untreated wood)
- Straw or hay
2. Master the Art of Moisture Control
A compost bin shouldn’t be soggy! Too much moisture is a fast track to anaerobic conditions and stinky smells. Your compost should feel like a wrung-out sponge – damp, but not dripping.
How to Fix It:
- Add More Browns: If your bin is looking a bit wet, stir in plenty of shredded newspaper, torn cardboard, or dry leaves. These will act like a sponge.
- Drain Excess Liquid: If you have a bin with a drainage spout, make sure it’s open and draining. If not, you might need to carefully tip the bin to let excess water out.
- Cover Wet Scraps: When you add moist “green” scraps, always try to cover them with a layer of “browns.”
3. Give Your Compost the Air It Needs (Aeration)
Just like we need to breathe, the microbes in your compost need oxygen. When compost is compacted or sitting too long without being disturbed, it can become anaerobic and lead to odors. Regular stirring is key!
Easy Aeration Techniques:
- Stirring Tools: Use a compost aerator tool, a pitchfork, or even a sturdy stick to gently turn and mix your compost every week or two. This breaks up clumps and lets air circulate.
- Ventilated Bins: If you’re using a kitchen compost pail, ensure it has good ventilation. Many have charcoal filters to help with this, which we’ll talk about next!
- Layering Counts: When you add new scraps, especially greens, try to break them up a bit and mix them into the existing material.
4. The Magic of Activated Charcoal Filters
Many popular kitchen compost pails come with a lid that has a slot for a small, circular filter. These filters are usually made of activated charcoal. This stuff is amazing at absorbing odors!
How They Work: Activated charcoal has a porous structure that traps odor molecules. It’s like a tiny odor magnet. As smells rise from your compost, the air passes through the filter, and the odor particles get stuck.
Maintenance is Key: These filters don’t last forever. You’ll need to replace them periodically. Check your bin’s user manual, but generally, they need replacing every 1-3 months, depending on how much you compost. It’s a small but mighty step against kitchen compost odor.
5. Be Selective About What You Compost
Not everything is compost-friendly, and putting the wrong things in can lead to major stink issues and attract pests.
Avoid These Odor-Causing Offenders:
- Meat, Fish, and Dairy Products: These decompose slowly, attract pests, and create really strong, unpleasant odors. It’s best to keep them out of a beginner’s home compost bin.
- Oily Foods: Large amounts of cooking oils or greasy foods can coat other materials, preventing airflow and leading to smells.
- Diseased Plants: While garden centers often say to compost these, it’s safer to avoid them in a home system, especially if you’re new. They can spread disease.
- Pet Waste: Dog and cat feces can contain pathogens that shouldn’t be in compost used for a home garden.
“When in doubt, leave it out” is a good motto when you’re starting out!
6. Burying Smelly Scraps
Even with the best intentions, sometimes you’ll have scraps that are a bit pungent, like onion peels or certain vegetable trimmings. A simple trick is to “bury” them in your compost bin.
How to Do It:
- Add your smelly scraps to the bin.
- Cover them completely with a layer of “browns” or existing compost material. Stirring them in a bit also helps.
This creates a barrier, contains the odors, and helps them break down faster when they’re surrounded by the right materials.
7. The Power of Baking Soda
Baking soda is a fantastic, natural deodorizer that can work wonders in a pinch. It’s mild, safe, and readily available.
How to Use It:
- Sprinkle It In: Whenever you add a particularly smelly batch of food scraps, or if you notice a lingering odor, sprinkle a tablespoon or two of baking soda directly onto the compost material.
- Mix Gently: Give the bin a gentle stir to help distribute the baking soda.
Baking soda helps neutralize acidic odors and can absorb some of the smell, making your kitchen a happier place.
8. Regular Emptying and Cleaning of Your Kitchen Pail
This might seem obvious, but it’s easy to let your kitchen compost pail get too full. Overflowing bins are prime spots for smells to develop and spread.
Best Practices:
- Empty Frequently: Aim to empty your kitchen compost pail into your main compost bin (or your municipal collection bin) every couple of days, or at least when it’s two-thirds full.
- Wash It Out: Don’t just dump the scraps and refill. Give your kitchen pail a good rinse with hot water every week or so. For a deeper clean, use a mild dish soap and water, or a diluted vinegar solution.
- Dry Thoroughly: Make sure the pail is dry before you put the lid back on to prevent moisture buildup.
9. Consider Your Overall Composting Location
Where you keep your main compost bin matters too. While this is more about the outdoor bin, it can indirectly affect kitchen smells if your collection point isn’t ideal.
Outdoor Bin Tips:
- Shade is Good: A compost bin in full, blazing sun can overheat, leading to more intense odors and faster drying out. Partial shade is often best.
- Good Airflow: Ensure your outdoor bin isn’t completely sealed. Many bins have vents, or if you’re using a pile, ensure it doesn’t get too compacted.
- Proper Drainage: The bin should be on soil or have holes at the bottom to allow excess water to drain away. Avoid placing it on concrete or plastic where water can pool.
For more on setting up your outdoor compost system, check out the EPA’s guide to composting. They offer great foundational advice.
Troubleshooting Common Kitchen Compost Odor Issues
Even with the best efforts, you might encounter a recurring problem. Here’s a quick rundown:
| Symptom | Likely Cause | Solution |
|---|---|---|
| Rotten Egg Smell (Sulfurous) | Anaerobic conditions (too wet, not enough air) | Add dry browns, stir well, ensure bin is not waterlogged. Empty and clean pail more often. |
| Ammonia Smell (Urine-like) | Too many “greens” (nitrogen-rich materials) | Add plenty of “browns” (carbon-rich materials) like shredded paper or cardboard. |
| Sour or Moldy Smell | Too wet and compacted, possibly from food scraps sitting too long | Stir thoroughly, add dry browns, ensure good ventilation and frequent emptying of the kitchen pail. |
| Fly or Pest Attraction | Exposed food scraps, meat/dairy included, or bin not sealed properly. | Bury food scraps under browns, avoid meat/dairy, ensure pail lid fits snugly. Check your outdoor bin for pest issues. |
Beyond the Bin: Maintaining a Fresh-Smelling Kitchen
Keeping your kitchen compost odor-free is a holistic effort. It’s not just about the bin itself, but also about how you handle scraps in your kitchen before they even get there.
Quick Kitchen Wins:
- Rinse and Repeat: Quickly rinse out containers that held food scraps before adding them to the pail. This removes residual food bits that can decay and smell.
- Chop It Up: Smaller pieces of food scraps break down much faster. Chop up larger pieces before tossing them in.
- Keep Surfaces Clean: Wipe down your kitchen counters after preparing food. Any stray bits can contribute to a less-than-fresh environment.
- Good Ventilation: Ensure your kitchen has good airflow. Open windows when you’re cooking or cleaning, or use your range hood.
Choosing the Right Kitchen Compost Pail
The pail you choose for those kitchen scraps can make a big difference. While many work well, some features are better for odor control:
| Feature | Benefit for Odor Control | Consideration |
|---|---|---|
| Activated Charcoal Filter | Traps and absorbs odors released from scraps. | Needs regular replacement (budget for this). |
| Gasketed Lid / Airtight Seal | Minimizes odor escaping. | Ensure it can still be opened easily for regular emptying. |
| Ventilation Holes (with filter capability) | Allows air exchange to prevent anaerobic conditions, while the filter catches smells. | Look for pails designed with this combination. |
| Easy-to-Clean Material (e.g., stainless steel, durable plastic) | Prevents buildup of odor-causing residue. | Ensure it’s dishwasher safe or easy to scrub by hand. |
For reliable options, you can look at popular brands recommended by reputable gardening resources like Gardening Know How, which often review products based on functionality and odor control.
Conclusion: Your Fresh-Air Composting Journey
See? Kitchen compost odor isn’t a scary monster that will ruin your composting dreams. By understanding the simple science behind it – balancing your greens and browns, managing moisture and air, and using smart tools like charcoal filters – you can easily keep your kitchen smelling as fresh as a spring breeze. Remember to empty your pail regularly, give it a good clean now and then, and don’t be afraid to sprinkle in a little baking soda when needed.
Embracing these tips means you’re not just avoiding smells; you’re creating a more efficient composting system that benefits your garden and the planet. You’re well on your way to becoming a composting pro. So go ahead, enjoy your fresh-smelling kitchen and the amazing compost you’re creating!
FAQ: Your Kitchen Compost Odor Questions Answered
Q1: How often should I empty my kitchen compost pail?
A1: It’s a good idea to empty your kitchen compost pail every 2-3 days, or whenever it’s about two-thirds full. This prevents food from sitting too long and developing odors.
Q2: Can I compost citrus peels? They seem to make things smell weird.
A2: Yes, you can compost citrus peels! However, in large quantities, their acidity can sometimes slow down composting or cause a slightly pungent smell initially. Make sure to balance them with other scraps and add some browns.
Q3: My compost pail has a charcoal filter. Do I need to do anything else?
A3: The charcoal filter is great for absorbing odors, but it needs to be replaced every 1-3 months to remain effective. Check your pail’s instructions for replacement.
Q4: Is it normal for my compost to smell a little bit?
A4: A healthy compost bin should smell earthy and like soil. If you’re getting strong, foul odors, it’s a sign that something needs adjusting, like adding more browns or stirring it.
Q5: What’s the difference between “greens” and “browns” and why is it important for odor?
A5: “Greens” are moist, nitrogen-rich materials (like food scraps) that can cause odors if not balanced. “Browns” are dry, carbon-rich materials (like paper and cardboard) that help absorb moisture and provide air pockets, crucial for preventing smells.
Q6: Can I put coffee grounds in my kitchen compost?
A6: Absolutely! Coffee grounds are considered “greens” but are generally great for compost. They add nitrogen and help with the breakdown process. Just be sure to balance them with browns.

I am passionate about home engineering. I specialize in designing, installing, and maintaining heating, ventilation, and air conditioning systems. My goal is to help people stay comfortable in their homes all year long.