Ever look at your kitchen scraps – those banana peels, coffee grounds, and veggie bits – and wonder if there’s a better way than just tossing them in the trash? You’re not alone! It can feel like a waste, and our landfills are getting pretty full. But what if I told you those scraps are pure gold for your garden? Turning kitchen waste into something useful might sound complicated, but it’s really quite simple. We’re going to walk through turning your kitchen compost dreams into reality, right here in the USA. Ready to get started?
Kitchen Compost in USA: Your Essential Beginner’s Guide
Hey there, I’m Troy D Harn, and I firmly believe that making your home a little greener and a lot more sustainable shouldn’t be a headache. If you’re curious about kitchen composting in the USA but aren’t sure where to begin, you’ve come to the right place. Think of this as your friendly chat with a neighbor who’s been there and done that, simplifying everything so you can feel confident and get rolling.
Composting might sound like something for seasoned gardeners with sprawling backyards, but it’s surprisingly accessible for everyone, from apartment dwellers to homeowners. We’ll cover the basics, tackle common concerns, and help you find the perfect composting method for your lifestyle.
Why Compost Your Kitchen Scraps? The Big Wins!
Before we dive into the ‘how,’ let’s talk about the ‘why.’ Composting kitchen scraps offers some fantastic benefits:
- Reduces Landfill Waste: Food scraps make up a significant portion of what goes into landfills. Composting diverts this waste, decreasing methane gas emissions (a potent greenhouse gas) from decomposition in landfills. The EPA highlights this as a major environmental benefit.
- Creates Nutrient-Rich Soil: Compost is often called “black gold” for a reason! It’s packed with nutrients that enrich your soil, improving its structure, water retention, and aeration. This means healthier plants and better yields for your garden or houseplants.
- Saves Money: By making your own compost, you reduce the need to buy expensive fertilizers and soil amendments for your garden.
- Connects You to Nature: There’s a satisfying sense of accomplishment in transforming everyday waste into something valuable for the earth.
Kitchen Compost in USA: What Can You Compost?
This is where many people hesitate, wondering what’s safe and what’s not. The good news is that a wide variety of kitchen scraps are compostable. Think of it as a balance between “greens” (nitrogen-rich) and “browns” (carbon-rich).
The “Greens” (Nitrogen-Rich Materials):
- Fruit and vegetable scraps (peels, cores, rinds, wilted greens)
- Coffee grounds and filters
- Tea bags (remove any staples or plastic tags)
- Eggshells (crush them first!)
- Grass clippings (in moderation)
- Plant trimmings (non-diseased)
The “Browns” (Carbon-Rich Materials):
- Dry leaves
- Shredded newspaper (black and white ink only)
- Cardboard (torn into small pieces)
- Paper towels and napkins (if not soiled with grease or chemicals)
- Wood chips or sawdust (from untreated wood)
- Straw or hay
What NOT to Compost (Especially for Beginners):
It’s just as important to know what to keep out of your compost bin, especially when you’re starting. These items can attract pests, smell bad, or introduce pathogens.
- Meat, fish, and bones: These can attract rodents and other pests, and they decompose slowly, creating unpleasant odors.
- Dairy products (milk, cheese, yogurt): Similar to meat, these can attract pests and create foul smells.
- Oily or greasy foods: These can slow down the decomposition process and lead to odors.
- Diseased plants: You don’t want to spread plant diseases to your garden.
- Weeds that have gone to seed: While some weeds can be composted, those with seeds might end up sprouting in your compost or garden.
- Pet waste (dog, cat feces): These can contain harmful pathogens and are best avoided unless you have a specialized composting system.
- Chemically treated wood or yard waste: Pesticides and chemicals can harm your garden soil.
- Coal or charcoal ash: These can contain sulfur and iron in amounts harmful to plants.
Choosing Your Kitchen Composting Method
The best composting method for you depends on your living situation, how much space you have, and how hands-on you want to be. Here are some popular options for kitchen compost in the USA:
1. Outdoor Composting Bins (The Classic Approach)
This is what most people picture when they think of composting. It’s great for homeowners with a backyard.
Types of Outdoor Bins:
- Stationary Bins: These are enclosed bins, often made of plastic or wood. They’re good for containing the compost and retaining heat and moisture. You typically add materials to the top and harvest finished compost from a door at the bottom.
- Tumblers: These are enclosed, barrel-like bins that you can rotate or “tumble.” Tumblers make turning the compost much easier, which speeds up decomposition. They also offer good pest protection.
- Open Piles: The simplest method! You just create a pile in a corner of your yard. This requires more space and can be more prone to pests and drying out if not managed well. It’s less tidy for a beginner.
Pros:
- Can handle larger volumes of scraps.
- Relatively simple to set up and maintain.
- Effective for breaking down a wide range of organic materials.
Cons:
- Requires access to an outdoor space (yard, patio).
- Can take a few months to a year to produce finished compost.
- Might require some effort to turn and manage moisture.
2. Worm Composting (Vermicomposting)
This is an excellent option for people with limited outdoor space, like apartment dwellers or those with small yards. Worms do the work of breaking down your food scraps.
You’ll need a special worm bin, often a plastic container with drainage, and specific types of worms, usually Red Wigglers (Eisenia fetida). They happily munch on your kitchen scraps and produce nutrient-rich worm castings (worm poop), which are incredible for your plants.
- Suitable for: Small spaces, apartments, balconies, indoor use.
- What to feed: Fruit and vegetable scraps, coffee grounds, tea bags, crushed eggshells, paper products.
- What to avoid: Citrus in large amounts, onions, garlic, meat, dairy, oily foods, and anything you wouldn’t compost outdoors.
You can buy a worm bin kit or easily make one yourself. For detailed instructions on setting up a worm bin, check out resources from university extension offices, like those from University of Maryland Extension.
Pros:
- Space-efficient, suitable for indoors or small outdoor areas.
- Produces high-quality compost (worm castings) relatively quickly.
- Minimal odor if managed correctly.
- Engaging and educational, especially for kids.
Cons:
- Requires specific types of worms.
- Cannot process as large a volume of material as outdoor bins.
- Sensitive to temperature extremes; needs to be kept within a certain range.
- Certain foods need to be avoided.
3. Bokashi Composting
Bokashi is a bit different. It’s a fermentation process rather than a decomposition process, using a special inoculated bran or material to pickle your food scraps. It can handle almost all food waste, including meat and dairy.
You use an airtight Bokashi bin, add your food scraps, sprinkle it with the Bokashi bran, and press it down. You repeat this until the bin is full, then let it ferment for about two weeks. The result is a pre-compost that still needs to be buried in soil (in a garden bed, a large planter, or added to a traditional compost pile) to fully decompose. It also produces a liquid byproduct that can be diluted and used as a plant fertilizer.
Pros:
- Can compost nearly all food scraps, including meat, dairy, and oily foods.
- Very space-efficient; bins are small and can be kept indoors.
- Fast pre-composting process (around two weeks).
- Reduces odors significantly due to the fermentation process.
Cons:
- Requires purchasing a Bokashi bin and the special inoculated bran.
- The fermented material still needs to be buried to finish decomposing, so it’s not a standalone composting solution for apartment dwellers without access to soil.
- The fermented material can have a strong pickly smell, though not usually unpleasant.
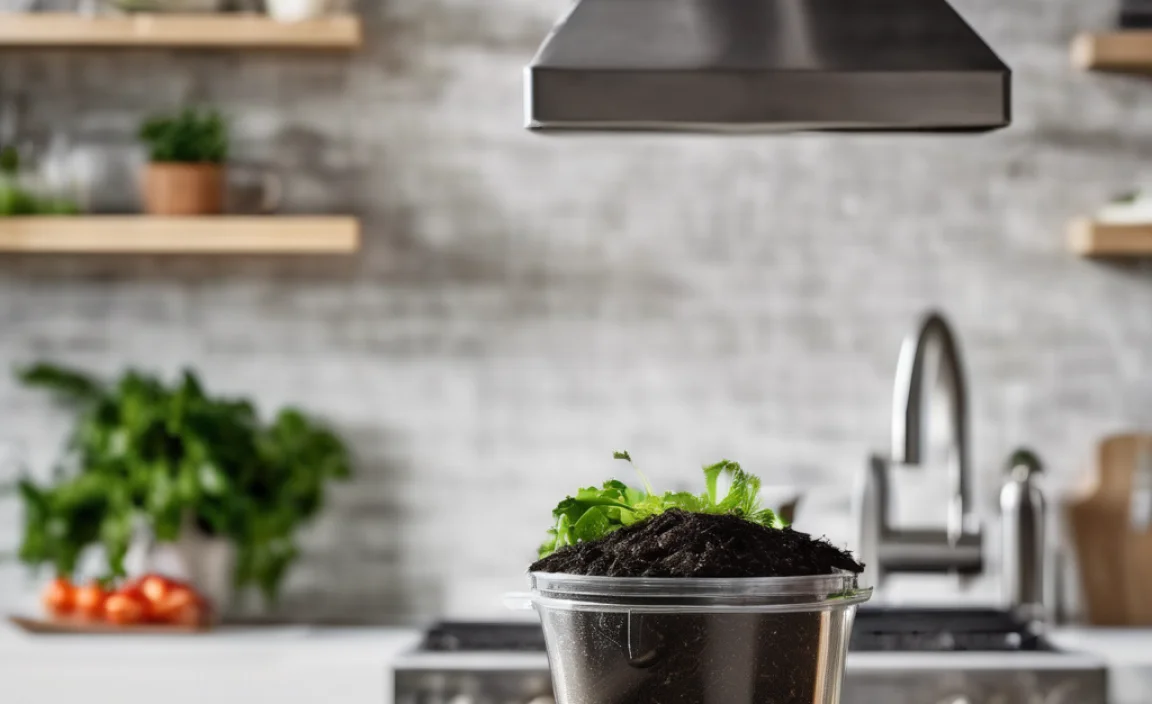
4. Electric Kitchen Composters (Food Cyclers)
These countertop appliances are the fastest way to reduce food waste. They use heat and aeration to dry and dehydrate food scraps, turning them into a soil amendment in a matter of hours (typically 4-8 hours).
They can handle a wide range of food scraps, similar to Bokashi, and are very compact. The end product is a dry, nutrient-dense material that can be further composted in soil or added directly to plants.
Some popular brands include Lomi, FoodCycler, and Vitamix FoodCycler. While convenient, they do require electricity and an initial investment.
Pros:
- Extremely fast process.
- Very convenient and easy to use.
- Reduces food waste volume by up to 90%.
- Can handle most food scraps, including meat and dairy.
- Compact and suitable for small kitchens.
Cons:
- High upfront cost.
- Requires electricity to operate.
- The end product is a dehydrated food material, not fully decomposed compost; it often benefits from further decomposition in soil.
- Ongoing electricity costs.
For those with a yard, a 3-bin system is a popular and efficient outdoor setup. This allows you to have compost in different stages of decomposition. You can find great guides on building them through university extension programs or reputable gardening sites.
Step-by-Step: Getting Started with an Outdoor Compost Pile
Let’s focus on the most common and accessible method for many homeowners: the outdoor compost pile or bin. It’s straightforward, and you’ll be making usable compost in no time.
Materials You’ll Need:
- A Location: Choose a partially shaded, well-drained spot in your yard. It should be accessible year-round.
- A Bin (Optional but Recommended): A store-bought compost bin, a DIY wooden bin, or even wire mesh fencing can create a contained space. A tumbler is another excellent option if you prefer easier turning.
- Kitchen Compost Caddy: A small container with a lid to collect scraps in your kitchen.
- Tools for Turning: A pitchfork, compost aerator, or shovel.
- Water Source: A hose or watering can.
- Greens and Browns: Your kitchen scraps (greens) and yard/paper waste (browns).
The Process: Layering is Key!
Think of building your compost pile like making a layered cake. A good ratio is generally 1 part greens to 2-3 parts browns. This balance is crucial for efficient decomposition and preventing odors.
- Start with Browns: Begin with a base layer of 4-6 inches of brown materials (like twigs, shredded cardboard, or dry leaves). This helps with drainage and aeration from the start.
- Add Your “Greens”: Add a layer of your collected kitchen scraps on top of the browns. Chop larger scraps into smaller pieces to speed up decomposition.
- Cover with Browns: Always cover your green layer with a layer of brown materials. This is a critical step to prevent odors and deter pests. Aim to make this brown layer about twice as thick as the green layer.
- Add Water: Lightly moisten the layers as you build. The compost should feel like a damp sponge – wet enough to hold together when squeezed, but not dripping water.
- Continue Layering: Keep adding layers of greens and browns, always ending with browns.
- Turn Your Pile: Regularly turning or “aerating” your compost pile is important. This introduces oxygen, which the microorganisms need to break down the organic matter, and helps distribute moisture. Aim to turn it at least once a week, especially if you’re using a stationary bin. Tumblers make this easy – just give them a spin!
- Monitor Moisture: Check the moisture level regularly. If it’s too dry, add water. If it’s too wet, add more brown materials and turn it. A well-balanced pile shouldn’t smell bad; bad smells usually indicate too much moisture or not enough aeration/browns.
When is Compost Ready?
Finished compost will be dark, crumbly, and smell earthy, like rich soil. You shouldn’t be able to recognize the original materials. This process can take anywhere from 2 months to a year, depending on how actively you manage your pile, the materials you use, and the weather.
How to Harvest:
- For stationary bins, you can often access finished compost from a hatch at the bottom.
- For tumblers, empty the entire contents once it’s ready.
- If you have an open pile, you can simply dig out the finished compost from the bottom, leaving the newer material at the top to continue decomposing.
Sifting your compost through a screen can remove any larger, undecomposed pieces, which can be added back to your active compost pile.
Fast-Tracking Your Kitchen Compost: Tips for Success
Want to speed up the process? Here are a few tricks:
- Chop it Up: The smaller the pieces, the faster they break down. Mince those fruit peels and veggie scraps!
- Balance is Key: Maintain that perfect ratio of greens to browns. Too much of one without the other will slow things down.
- Keep it Moist: A dry pile decomposes very slowly. A damp sponge is your goal.
- Aerate Regularly: Oxygen is your friend. Turning your pile or tumbling your bin introduces it.
- Add Finished Compost: If you have a bit of finished compost, adding a shovel-full to a new pile can introduce beneficial microbes that kickstart decomposition.
Troubleshooting Common Compost Problems
Even with the best intentions, you might run into a few snags. Here’s how to fix them:
Problem: Your compost pile smells bad (like rotten eggs or ammonia).
Solution: This usually means it’s too wet or has too many greens.
- Add more brown materials (shredded newspaper, dry leaves, sawdust).
- Turn or aerate the pile thoroughly to introduce oxygen.
- If using a bin, ensure it has adequate drainage.
Problem: Your compost pile is not heating up or decomposing.
Solution: It’s likely too dry or needs more greens.
- Add water, making it damp like a wrung-out sponge.
- Add more nitrogen-rich “green” materials (fruit and vegetable scraps, coffee grounds, grass clippings).
- Turn the pile to mix materials and distribute moisture.
Problem: Pests (flies, rodents) are showing up.
Solution: This is usually due to exposed food scraps or improper materials.
- Always cover fresh kitchen scraps with a thick layer of brown materials.
- Avoid adding meat, dairy, and oily foods.
- Ensure your compost bin has a lid and is securely enclosed.
- For tumblers, make sure the lid is closed tightly.
A healthy compost pile should smell earthy and pleasant, not foul. If you’re struggling, don’t get discouraged! Revisit the basics of balancing greens and browns and ensuring proper moisture and aeration.
Composting in Different US Regions: Considerations
The USA is a vast country with diverse climates, which can impact your composting efforts. Here are a few regional tips:
- Hot, Dry Climates (Southwest): Moisture is your biggest challenge. you’


I am passionate about home engineering. I specialize in designing, installing, and maintaining heating, ventilation, and air conditioning systems. My goal is to help people stay comfortable in their homes all year long.