Feeling a little stuck with your lasagna compost pile? You’re not alone! Many beginner composters run into a few common snags. These can make you think lasagna composting isn’t for you, but trust me, it’s a fantastic way to create nutrient-rich soil. We’ll walk through the usual suspects and share simple, easy fixes.
This guide is packed with straightforward solutions to get your compost cooking in no time. Let’s dive in and tackle those composting challenges head-on!
What is Lasagna Composting, Anyway?
Before we fix problems, let’s quickly recap what lasagna composting is. Think of it like making a layered cake for your garden. Instead of flour and frosting, we use alternating layers of “greens” (nitrogen-rich materials) and “browns” (carbon-rich materials).
This method is called “lasagna” because of its stacked layers, much like the Italian dish. It’s a fantastic no-turn composting technique that relies on a healthy balance of ingredients and good aeration to break down materials efficiently. The idea is to create an environment where beneficial microbes and tiny creatures can do their work without much interference from you.
Common Lasagna Composting Problems and Their Solutions
Even with the best intentions, your lasagna compost pile might not be cooperating. Here are some of the most common issues and how to easily fix them so you can get back to happy composting.
Problem 1: My Lasagna Compost Smells Bad!
This is probably the most common, and most worrying, problem for new composters. A stinky pile usually means something is out of whack, most likely too much of one thing or not enough air.
Why it happens:
- Too much “Greens” (Nitrogen): Greener materials like kitchen scraps (fruit peels, vegetable waste) and fresh grass clippings are packed with nitrogen. Too much nitrogen can lead to anaerobic conditions (lack of oxygen) and create that rotten egg or ammonia smell.
- Lack of Airflow: If your layers are too compact and wet, air can’t get in. This anaerobic environment is a breeding ground for stinky bacteria.
- Anaerobic Decomposition: When oxygen is scarce, bacteria that thrive in wet, low-oxygen environments take over, producing foul odors.
Here’s how to fix it:
Don’t panic! A smelly pile is usually salvageable. Here’s what to do:
- Add More “Browns”: This is your number one defense against smells. Bury any smelly green materials with a generous layer of carbon-rich browns like shredded cardboard, dry leaves, or straw. Aim for at least a 2:1 ratio of browns to greens by volume.
- Aerate Your Pile: Gently poking holes in the pile with a pitchfork or a sturdy stick can help introduce oxygen. You can also try carefully turning the outer layers inward and vice-versa, but remember, the beauty of lasagna composting is that it often requires minimal turning. Focus on creating air pockets.
- Check Moisture Levels: Your compost pile should be as damp as a wrung-out sponge, not soaking wet. If it’s too wet, add more dry brown materials to absorb excess moisture and improve airflow.
- Bury Odorous Items: Ensure that all kitchen scraps are well-covered by brown materials. This helps contain odors and prevents attracting pests.
Problem 2: My Lasagna Compost Isn’t Heating Up (Or Not Heating Up Enough)
A hot compost pile is a sign that the microbes are hard at work. If your pile is lukewarm or just sitting there, it’s not breaking down materials as quickly as it could.
Why it happens:
- Too few “Greens”: A lack of nitrogen-rich materials means the microorganisms don’t have enough “food” to generate heat.
- Too many “Browns”: While browns are essential, too many can slow down the decomposition process and keep the pile from reaching composting temperatures.
- Pile is Too Small: Compost piles need a certain mass (ideally at least 3 feet x 3 feet x 3 feet) to generate and retain enough heat. Smaller piles lose heat too quickly.
- Too Dry: Microbes need moisture to be active. A dry pile won’t heat up efficiently.
- Lack of Air: While not always the primary cause for a cold pile, very poor aeration can eventually slow down microbial activity.
Here’s how to fix it:
Getting your compost pile to heat up is all about balance and getting the ingredients right.
- Add More “Greens”: If your pile is dominated by browns, it’s time to add more nitrogen. You can add fresh kitchen scraps, grass clippings (in thin layers to avoid matting), or even some coffee grounds.
- Adjust the Brown-to-Green Ratio: If you suspect too many browns, try adding a layer of greens. If it’s too many greens and you’re already smelling it, then refer back to Problem 1. The sweet spot is typically around 25-30 parts carbon to 1 part nitrogen by weight, but by volume, a good starting point is often 2-3 parts browns to 1 part greens.
- Increase Pile Size: If your pile is too small, consider starting a new one alongside it or adding more materials to reach the recommended minimum size.
- Add Moisture: If the pile feels dry, water it. Use a hose or watering can to moisten it thoroughly. Remember, like a wrung-out sponge!
- Fluff and Aerate: Gently turning or poking holes can sometimes help kickstart decomposition, especially if the pile has become too compacted.
Problem 3: My Lasagna Compost is Too Wet
A soggy compost pile is a common issue, especially if you’re adding a lot of kitchen scraps or if your pile is exposed to a lot of rain.
Why it happens:
- Too Many High-Moisture “Greens”: Materials like fruit and vegetable scraps, wet grass clippings, and coffee grounds contribute a lot of water.
- Rainfall: If your compost pile is uncovered and exposed to heavy rain, it can quickly become waterlogged.
- Poor Drainage: Building your pile directly on compacted, impermeable soil can prevent excess water from draining away.
- Lack of “Browns”: Browns act like a sponge. If you don’t have enough, they can’t absorb excess moisture from the greens.
Here’s how to fix it:
Don’t let your compost turn into a swamp! Here’s how to dry it out.
- Add Lots of Dry “Browns”: This is your primary solution. Pile on shredded cardboard, newspaper, dry leaves, straw, or sawdust. Mix them in as best you can to absorb the moisture.
- Cover Your Pile: During rainy seasons, use a tarp, a piece of plywood, or even a compost bin lid to protect your pile from excess water. Make sure it still allows some airflow.
- Improve Drainage: If your pile is on a concrete patio, consider placing it on a layer of coarse gravel or some wooden pallets to allow water to drain from the bottom. If it’s on soil, try to loosen the soil underneath.
- Aerate: Gently poke holes or turn the pile to help trapped moisture evaporate.
- Reduce High-Moisture Additions: Go easy on the wet kitchen scraps for a while and focus on adding drier materials.
Problem 4: My Lasagna Compost is Too Dry
Conversely, a compost pile that’s too dry won’t decompose effectively because the microbes need water to live and work.
Why it happens:
- Not Enough “Greens” or Water: A mix that’s too heavy on browns, or simply lacking sufficient moisture from the start, will dry out.
- Hot, Dry Weather: Sunny and windy conditions can quickly dry out the surface layers of your compost pile.
- Poor Insulation: A small or uncontained pile can lose moisture more rapidly.
- Not Watered Enough: If you haven’t been actively watering, especially during dry spells, it can become too dry.
Here’s how to fix it:
Rehydrating a dry compost pile is straightforward.
- Water Thoroughly: Use a hose with a spray nozzle or a watering can to thoroughly moisten the entire pile. Aim for that “wrung-out sponge” consistency throughout. Water in layers as you add new material if necessary.
- Add More “Greens”: Incorporating more nitrogen-rich materials will add moisture and the food microbes need to get working.
- Cover the Pile: While you want air, a light cover during very hot, dry periods can help retain some moisture. Avoid plastic wraps that don’t allow aeration.
- Bury Dry Materials: If you notice dry pockets, try to mix them in or bury them within the pile where moisture is better retained.
Problem 5: My Lasagna Compost is Attracting Pests (Rodents, Flies, etc.)
Nobody wants unwanted guests in their compost.
Why it happens:
- Uncovered Food Scraps: Exposed kitchen scraps are a buffet for rodents and insects.
- Wrong Materials: Adding meat, dairy, or greasy foods can be highly attractive to pests and slow down composting.
- Pile Too Dry or Too Wet: While not the primary attractant, extreme conditions can sometimes encourage certain pests.
- Using a Bad Bin: Bins with large gaps or poor design can offer easy access.
Here’s how to fix it:
Keep your compost a healthy habitat for microbes, not a playground for pests.
- Bury All Food Scraps: Always cover fresh kitchen scraps with a thick layer of browns. This is the most important step.
- Avoid “No-No” Items: Never add meat, bones, dairy products, oils, or greasy foods to your compost pile. These are major pest attractants and can create foul odors. For peace of mind, also avoid diseased plants.
- Maintain Proper Moisture and Aeration: A well-balanced, actively decomposing pile is less attractive to pests than a neglected, smelly, or stagnant one.
- Use a Well-Designed Compost Bin: Opt for bins with sturdy construction and smaller openings. Some bins have enclosed bottoms or rodent-proof mesh.
- Consider a Tumbler: For extreme pest concerns, a sealed tumbling composter can be a good solution, as it’s harder for pests to access and easier to manage moisture and aeration.
Problem 6: My Lasagna Compost Layers Are Not Breaking Down
You’ve patiently added layers, but nothing seems to be happening.
Why it happens:
- Incorrect Brown-to-Green Ratio: Too many browns will lead to slow decomposition, while too many greens can lead to a soggy, anaerobic mess that’s also slow to break down.
- Lack of Moisture: Microbes need water to thrive and break down materials.
- Lack of Aeration: Compacted layers prevent oxygen from reaching the microorganisms.
- Materials Are Too Large: Large pieces of cardboard or branches take much longer to decompose.
- Pile is Too Cold: As discussed in Problem 2, a cold pile isn’t an active pile.
Here’s how to fix it:
Get those materials working for you by encouraging microbial activity.
- Adjust the Ratio: Ensure you have a good balance of greens and browns. If it’s mostly browns, add greens. If it’s too wet and smelly, add more browns.
- Add Water: Check the moisture – if it’s dry, water it well.
- Aerate: Gently poke holes or turn the pile to introduce air.
- Chop Materials Smaller: Break down large cardboard pieces, twigs, and larger food scraps. The smaller the pieces, the more surface area for microbes to work on.
- Add a Starter: If your pile is completely inactive, you can add a shovelful of finished compost or healthy soil to introduce a good community of decomposers.
Troubleshooting Table: A Quick Reference
Here’s a handy table to quickly identify and solve common lasagna composting issues.
| Problem | Likely Cause | Primary Solution | Secondary Solution |
|---|---|---|---|
| Smells Bad | Too many greens, lack of air | Add more browns, aerate | Bury food scraps, check moisture |
| Not Heating Up | Too many browns, too small, too dry | Add greens, increase size, add water | Aerate, adjust ratio |
| Too Wet | Excess rain, too many wet greens, poor drainage | Add dry browns, cover pile | Improve drainage, reduce wet additions |
| Too Dry | Too many browns, hot/windy weather, not watered | Water thoroughly, add greens | Cover lightly, bury dry parts |
| Attracting Pests | Exposed food, wrong materials | Bury food scraps well, avoid meat/dairy/oils | Maintain balance, use a good bin |
| Not Breaking Down | Poor ratio, dry, no air, large pieces | Adjust ratio, add water, aerate, chop materials | Add compost starter |
Understanding Your Compost Ingredients: Greens vs. Browns
The key to successful lasagna composting (and most composting!) lies in understanding and balancing your “greens” and “browns.” Getting this right is the best way to prevent most problems from cropping up in the first place.
“Greens” (Nitrogen-Rich Materials)
These materials are typically moist and provide the nitrogen that microorganisms need to grow and reproduce. They are the “activators” of your compost pile.
- Kitchen Scraps: Fruit and vegetable peels, coffee grounds, tea bags, eggshells.
- Fresh Grass Clippings: Use in thin layers to avoid matting.
- Plant Trimmings: Soft, green plant matter from pruning.
- Manure: From herbivores like chickens, cows, or rabbits (avoid pet waste).
“Browns” (Carbon-Rich Materials)
These materials are usually dry and provide the carbon that serves as an energy source for the microbes. They also help create air pockets and absorb excess moisture.
- Dry Leaves: A fantastic free resource in the fall!
- Shredded Cardboard and Newspaper: Use plain, unbleached cardboard and black-and-white newspaper. Avoid glossy paper.
- Straw and Hay: Great for bulking up the pile.
- Wood Chips and Sawdust: Use in moderation, as they break down slowly.
- Twigs and Small Branches: Chop them up.
A good general guideline for lasagna composting is to aim for a ratio of about 2-3 parts browns to 1 part greens by volume. This can vary, so observing your pile is key. For example, if your pile starts smelling sour, you likely need more browns.
Tips for Building a Successful Lasagna Compost Pile
Prevention is always better than cure. Here are some tips to set up your lasagna compost for success from the get-go!
- Choose the Right Spot: Find a location that is well-drained, gets some sun (to help heat it up), but isn’t baking in direct sun all day (which can dry it out too quickly).
- Start with a Layer of Browns: This helps with drainage and aeration from the base. Use twigs, straw, or shredded cardboard.
- Layer Alternately: Think of it like making lasagna. Add a layer of greens, then a layer of browns, then greens, then browns. Aim for brown layers to be slightly thicker than green layers to maintain that balance.
- Chop Materials: Smaller pieces break down faster. Chop up those kitchen scraps and break down cardboard.
- Add Water as You Go: Lightly water each layer as you add it, especially the dry brown layers. It should be moist, not soggy.
- Don’t Compact Too Much: Avoid stomping down the layers too hard, as this reduces airflow.
- Be Patient: Lasagna composting is a no-turn method, meaning it takes longer. Be patient and let nature do its work.
- Know What to Avoid: As mentioned, steer clear of meat, dairy, oils, diseased plants, and pet waste.
When to Harvest Your Lasagna Compost
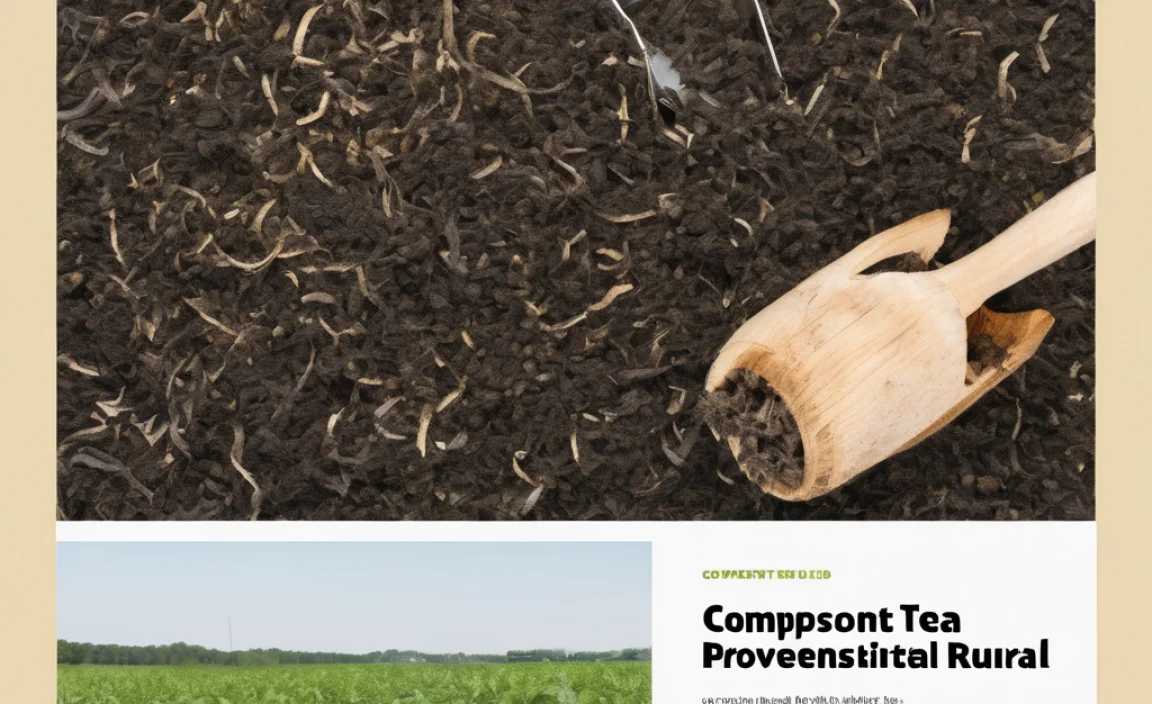
The ultimate reward for your composting efforts is the dark, crumbly, nutrient-rich compost. But when is it ready?
Mature compost will:
- Look dark brown or black, like rich soil.
- Be crumbly and loose in texture.
- Have an earthy smell, like a forest floor after rain.
- No longer resemble the original materials (you shouldn’t be able to identify food scraps or paper).
- Be cool to the touch.
It can take anywhere from 3 months to over a year to get finished compost, depending on your materials, climate, and how well balanced your pile was. If you’re troubleshooting problems, it might take a little longer.
Once it’s ready, you can harvest by digging compost from the bottom of the pile, or by sifting the entire pile if you’re starting a new one.
Conclusion
Lasagna composting is a powerful, no-fuss way to turn waste into garden gold. While you might encounter a few bumps along the way – like a smelly pile, a dry patch, or slow decomposition – these challenges are almost always fixable. By understanding the simple principles of balancing greens and browns, managing moisture, and ensuring good airflow, you can easily troubleshoot and overcome any lasagna composting problems.
Keep observing your pile, don’t be afraid to add a little of what’s missing, and remember that patience is a gardener’s best friend. Soon, you’ll be harvesting that beautiful, dark, nutrient-rich compost, ready to give your plants a fantastic boost. Happy composting!
Frequently Asked Questions About Lasagna Composting Problems
Why is my lasagna compost pile so hard?
A hard pile usually means it’s too dry and compacted, or if it’s been too wet, it can become matted down. Solution: Gently poke in some water and aerate the pile by poking holes with a pitchfork. Add more greens if it seems too dry to break down.
Can I compost leaves in my lasagna pile?
Absolutely! Dry leaves are excellent “brown” materials and a cornerstone of lasagna composting. However, if they’re very dry and dusty, they can blow away. It’s best to shred them or mix them with slightly moister materials.
How do I know if I have enough “greens” or “browns”?
Smell is your best indicator. If it smells like ammonia or rotten eggs, you likely have too many greens. Add more browns. If it’s not heating up and seems inert, you may need more greens.
Do I really never have to turn a lasagna compost pile?
The concept of lasagna composting is “no-turn,” meaning you build it and let it break down over time. However, if you encounter problems like bad smells or a complete lack of activity, gently aerating (poking holes) or even a light turn can help speed things up and correct imbalances.
How do I start a lasagna compost pile from scratch?
Begin by choosing a suitable spot. Add a base layer of coarse brown material (like twigs). Then, alternate layers of greens (kitchen scraps, grass clippings) and browns (dry leaves, shredded cardboard), trying to maintain a rough 2-3:1 ratio of browns to greens by volume. Water each layer lightly as you go.
My compost is taking forever! What am I doing wrong?
Several factors can slow down decomposition: pile size (too small), insufficient moisture, poor aeration, or an unbalanced green-to-brown ratio. Ensure your pile is at least 3x3x3 feet, feels like a wrung-out sponge, and has plenty of air pockets. Chopping materials smaller also helps.

I am passionate about home engineering. I specialize in designing, installing, and maintaining heating, ventilation, and air conditioning systems. My goal is to help people stay comfortable in their homes all year long.