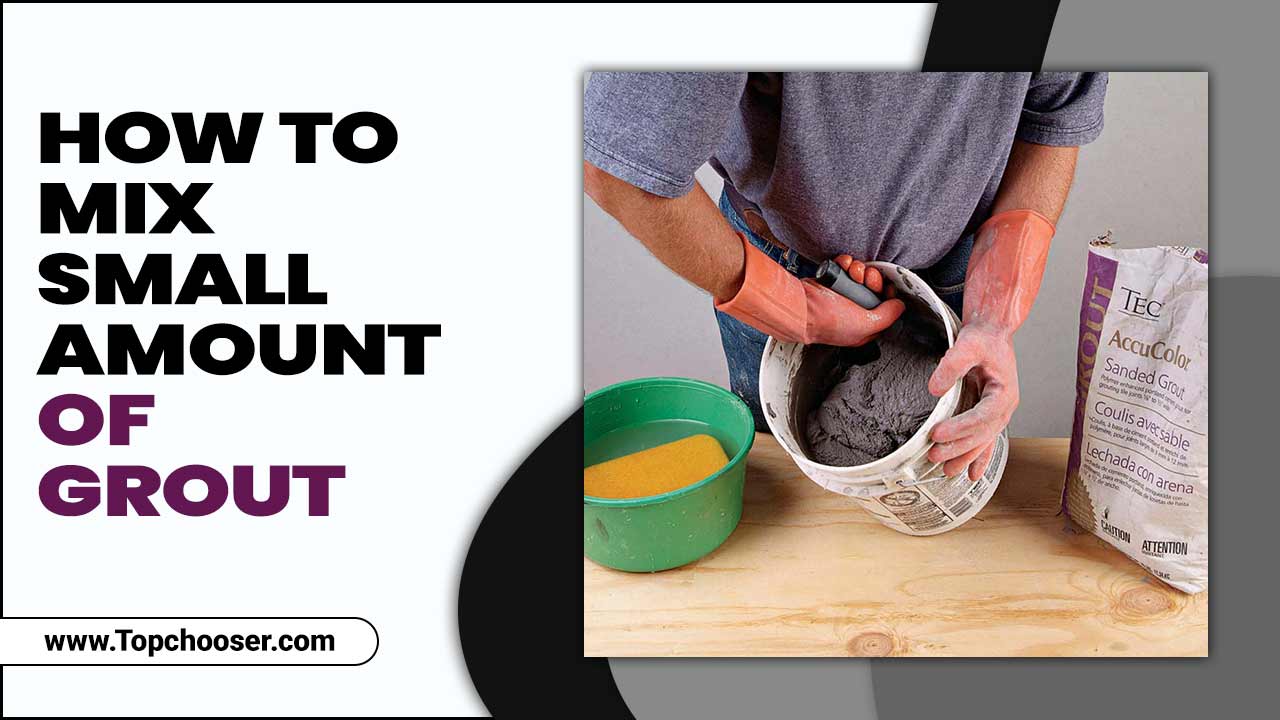
Grout is essential for any tile installation project, as it not only holds the tiles in place but also helps create a clean and finished look. However, purchasing a large grout bag may not be cost-effective or practical regarding small tile projects such as repairing a cracked tile or filling in gaps between tiles.
Knowing how to mix a small amount of grout lines can be handy in such cases. While the process may seem straightforward, certain techniques and tips can ensure perfect consistency and avoid wastage. We will discuss the step-by-step process of how to mix small amount of grout. So, let’s dive in and learn the proper techniques for mixing a small amount of grout tile color to complete your tile installation or repair project easily.
Types Of Grout
Grout is an essential material used in various construction and renovation projects to fill the gaps between white tiles or stones, providing stability, support, and a finished appearance. Several types of grout are available, each offering different properties and advantages depending on the specific application.
- Epoxy Grout: a more durable and stain-resistant option, suitable for high-traffic areas or areas prone to moisture.
- Coloured Grout: available in various shades to match or complement your tile, offering a decorative touch.
- Pre-Mixed Grout: a convenient option that comes ready to use, eliminating the need for mixing.
How To Mix Small Amount Of Grout – Follow The Step Blow
Grout is a great way to add color, texture, and durability to your tile and grout joint surfaces. However, mixing too much of the product can lead to excess grout filling, bleeding stained surfaces, and bubbling tile adhesive residue.
To avoid these problems, mix a small amount of grout well with a trowel or your hands. Be sure to let the grout dry for at least 24 hours before using any paint or secondary sealant. Here, we will discuss how to mix small amount of grout.
Tools You Will Need For Mixing Grout:
- Small mixing bucket or container
- Grout mixing paddle or drill attachment
- Measuring cup or scale
- Water
- Grout float or trowel
Prepare The Mixing Area And Tools
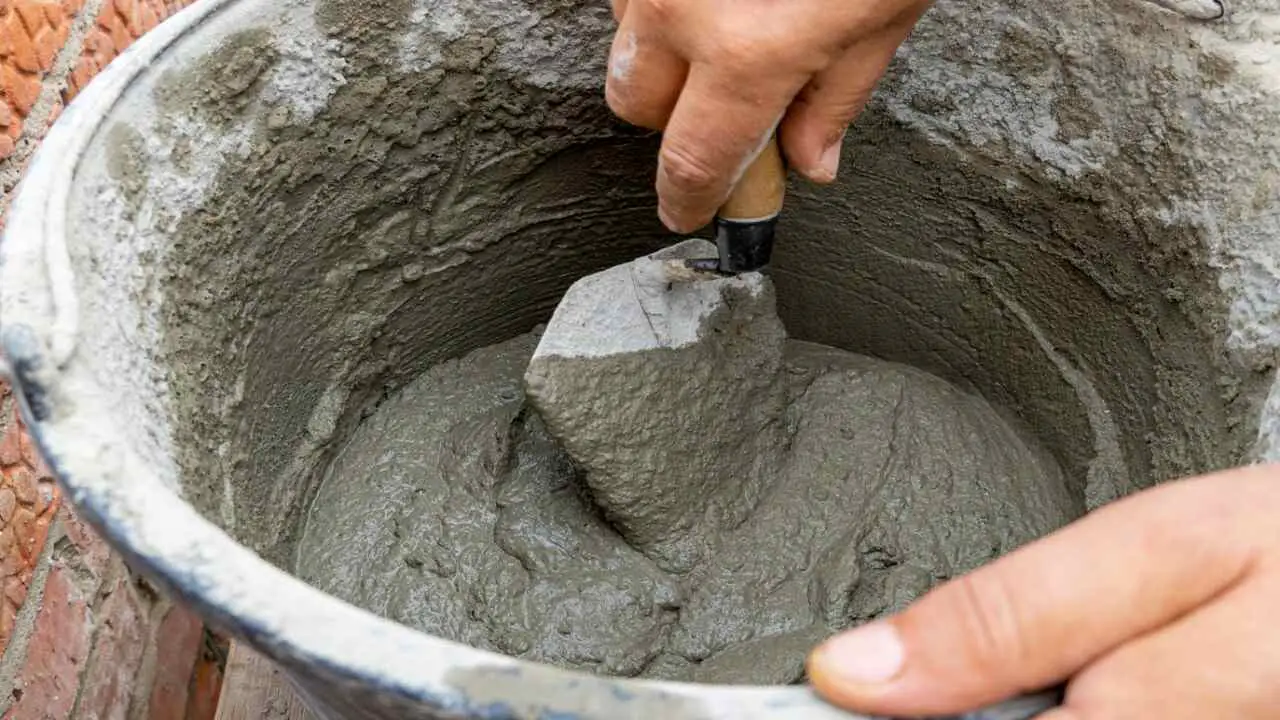
To prepare the mixing area, clean it thoroughly and remove any debris or dust. Use a drop cloth or plastic sheeting to protect the surrounding area. Measure the appropriate amount of grout using a measuring cup and pour it into a clean bucket. Attach the grout mixing paddle to a power drill and secure it.
Gradually add the recommended amount of water to the bucket while continuously mixing with the paddle. Mix until the grout becomes smooth and lump-free, which usually takes a few minutes.
Add The Grout To The Bucket
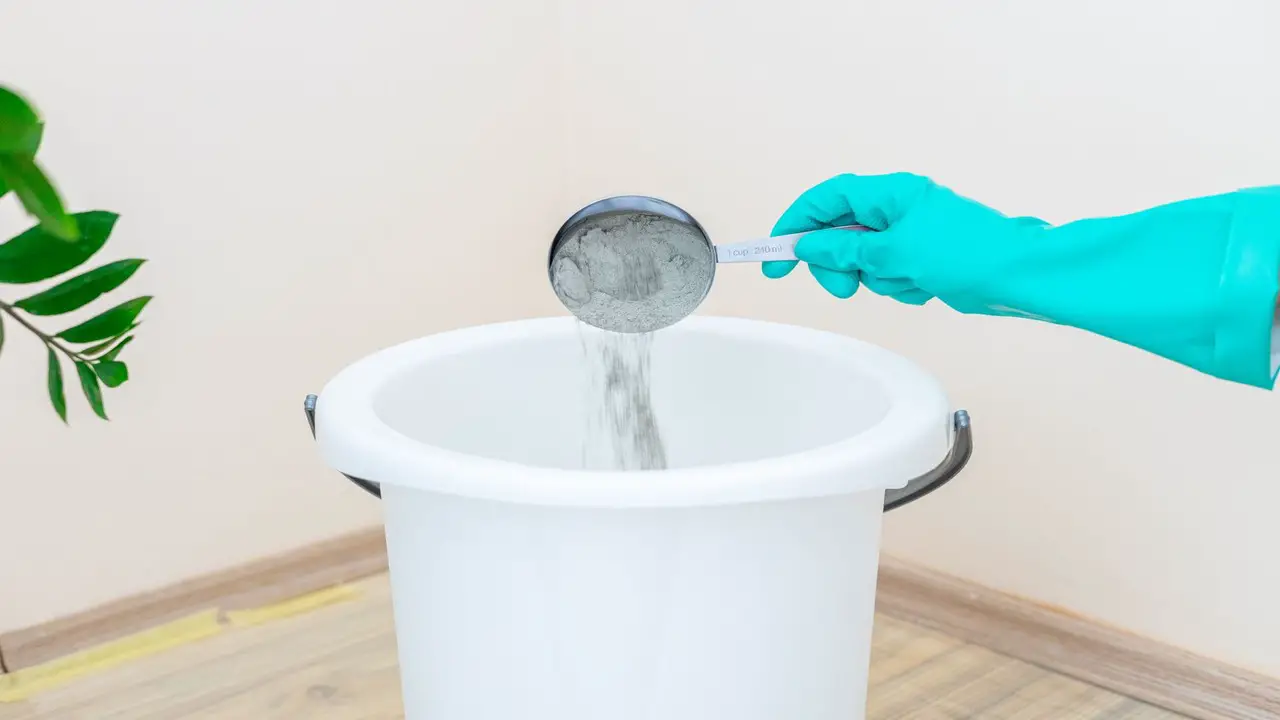
Gather the necessary materials and perfect tools to mix a small amount of grout. Find a suitable, clean bucket for the job. Measure the desired amount of grout accurately and add it to the bucket. Slowly pour water into the bucket while mixing the grout with a mixer or electric drill attachment.
Expert advice is crucial regarding mixing small amounts of grout. A filler is a substance used to fill gaps or cracks in various materials, such as grout. The dribble of water was barely enough to moisten the dry grout mixture. A container of water is essential for mixing small amounts of grout.
Add Water To The Grout
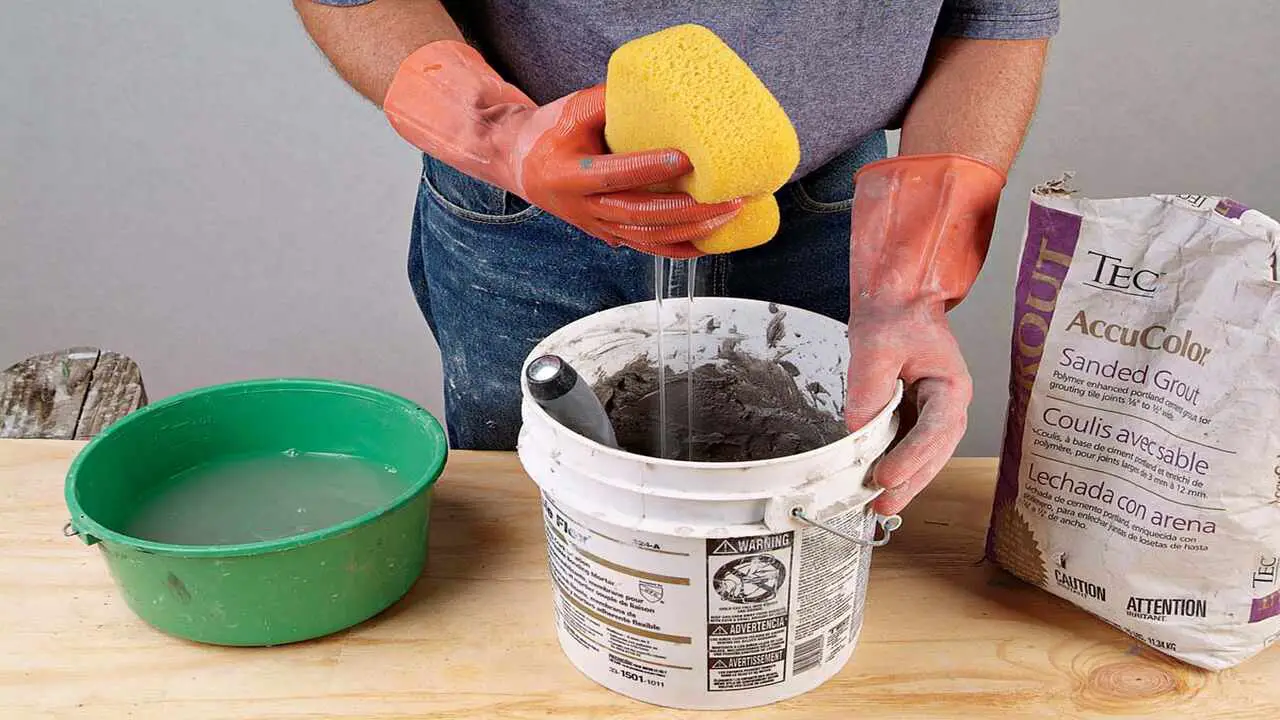
When working with grout, following proper procedures for optimal results is important. One crucial step is adding water to the grout to create a small mixture. This ensures the grout reaches the right consistency for application. Start by gathering materials: a clean mixing container, grout trowel, and desired amount of grout powder ratio.
Measure the precise amount needed for the project. Gradually add small amounts of water to the container, avoiding a runny mixture. Add water in increments, mixing thoroughly after each addition. Continuously check the consistency, aiming for a paste-like smoother texture that holds its shape. Avoid adding too much water, leading to weak and brittle grout. Once the desired consistency is achieved, let the grout sit.
Mix The Grout
Regarding tile installation or repair projects, mixing the grout is one crucial step that cannot be overlooked. The process remains the same whether it’s a large-scale project or a small amount of grout. It is essential to follow the correct procedures to ensure a professional and durable finish. To begin, gather the necessary materials: a clean bucket, a mixing paddle, water, and the grout itself.
Note that different types of grout may require different mixing ratios, so consult the manufacturer’s instructions. Pour the correct grout amount of water into the bucket and slowly add the grout powder while continuously stirring with the grout mixing paddle. For proper adhesion and easy application, the grout should have a thick paste consistency, not too runny or too dry.
Let The Grout Slake
When working with grout, it is important to follow proper procedures for a successful outcome. One crucial step is letting the grout slake. This means allowing the grout mixture to rest and hydrate before use. To do this, mix a small amount of grout with water according to the instructions.
Once mixed, leave it undisturbed for around 10 to 15 minutes. This allows the grout particles to absorb the water and reach maximum hydration fully. Slaking the grout ensures a consistent and workable mixture, preventing dry grout or clumpy patches that can affect the strength and appearance of the finished installation.
Mix The Grout Again
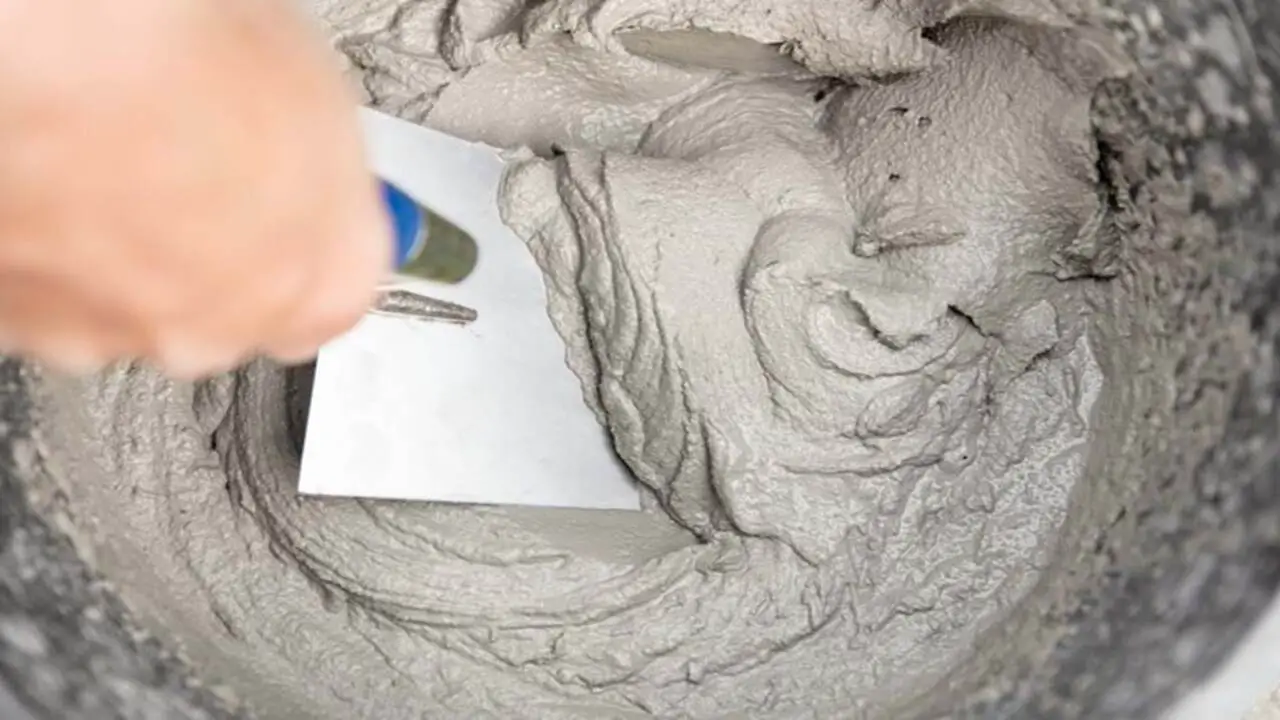
Gather the necessary materials to mix grout: a clean mixing container, a grout mixing tool, and the appropriate amount of grout powder. Ensure the container is residue-free. Measure the grout powder as instructed. Add it to the container, then slowly pour in the recommended water amount.
Stir the mixture in a circular motion with the mixing tool until the powder is evenly mixed with the water. Maintain a smooth consistency resembling creamy peanut butter. Adjust by adding small amounts of water if needed. Darker grouts can add a touch of sophistication and depth to any tile installation. You should thoroughly clean the entire joint before applying grout.
Test Grout Consistency
Regarding ensuring the quality and durability of your grouting work, one crucial step is to test the consistency of the grout before application. This is particularly important when you only mix a small amount of grout for a specific project.
By testing the grout consistency, you can determine if it suits the task and make any necessary adjustments. Gradual water additions to small amounts of grout ensure a smooth and easy mixing process. A tile job involves meticulous planning and precise execution to ensure a flawless result. Quarts of water are essential when mixing small amounts of grout, as they help achieve the right consistency.
Adjust Grout Consistency
Following a precise and systematic approach is crucial when adjusting grout consistency for small amounts. Grout, a mixture of cement, sand, and water, fills gaps between tiles, providing stability and enhancing aesthetics. However, achieving the ideal consistency can be challenging with smaller quantities.
Start by getting high-quality grout and measuring accurately to avoid wastage. Add water gradually while mixing to control consistency and prevent it from being too runny or dry. We mix a specific quantity of grout for a particular project or task to create a batch of grout.
Things To Be Careful About While Mixing Grout
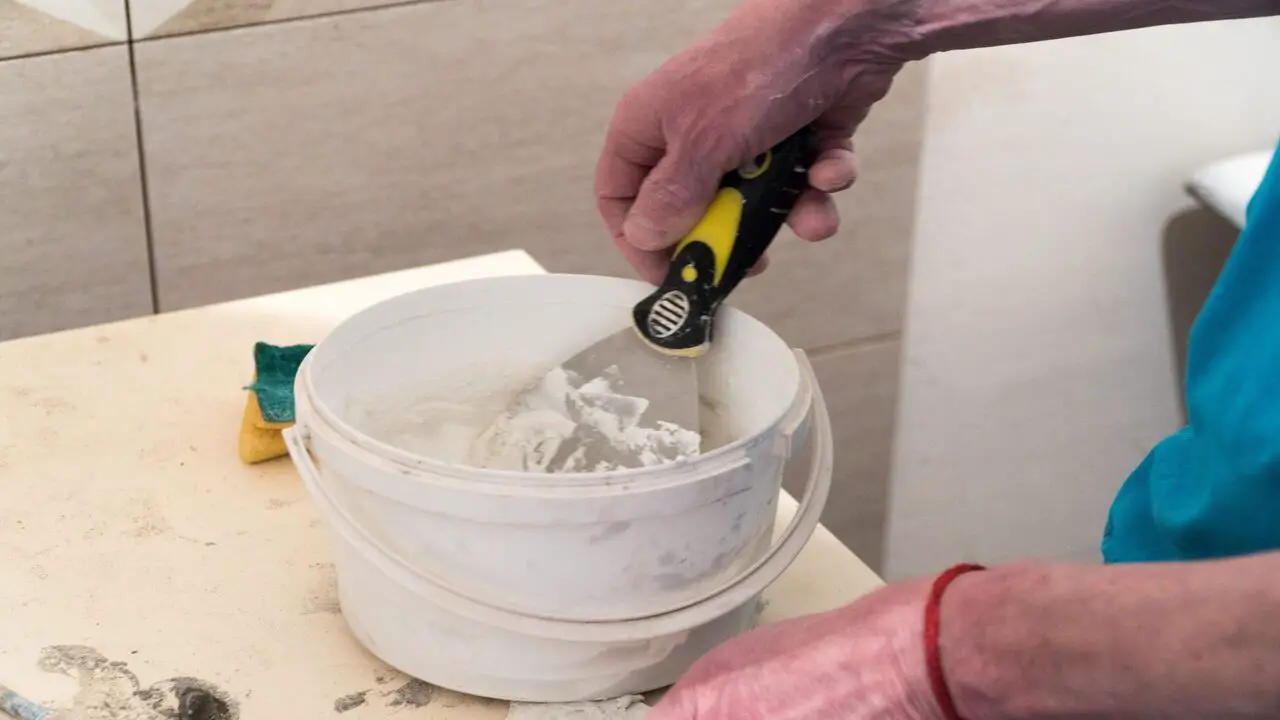
Adding grout to tile or stone can be daunting, but with a little preparation and patience, it can be a breeze! First, make sure to properly dry the grout you’re using. Water to powder” refers to the ratio of water and powder used to mix grout. It is crucial to follow this ratio precisely for optimal results.
This will help to ensure a smooth finish and avoid any potential problems. Mixing grout evenly can be difficult, so follow the directions carefully. When spreading the grout, use a trowel or float to help you evenly distribute it.
Last but not least, grout is a type of cement used to fill in cracks and gaps in tile or stone. So, if you’re unsure how to mix grout, don’t hesitate to ask a professional.
Conclusion
It is a matter of concern how to mix small amount of grout. Mixing small amounts of grout can be simple and efficient with the right techniques. By following the steps outlined, you can save time and resources while achieving smooth and consistent.
Always use proper safety equipment and thoroughly clean your tools for the best results. With practice and attention to detail, you can easily become a pro at mixing small amounts of grout for any home improvement project.
An expert in tile installation can provide valuable guidance on effectively mixing a small amount of grout. The sponge with water is essential for mixing small amounts of grout. Elbow grease is essential when mixing a small amount of grout.
FAQ:
[rank_math_rich_snippet id=”s-10a6b0df-691b-464d-8625-9a144a7d7a60″]

I am passionate about home engineering. I specialize in designing, installing, and maintaining heating, ventilation, and air conditioning systems. My goal is to help people stay comfortable in their homes all year long.


