Thinking about composting but feel a bit lost about where to start, especially with European conditions in mind? You’re not alone! Many of us want to be kinder to the planet and give our gardens a super-boost, but the organic compost journey can seem a little complex. Don’t worry, I’m here to help simplify things. This guide is all about making organic compost accessible and easy for you, no matter where you are in Europe. We’ll break it down step-by-step, showing you how to create fantastic compost right in your own backyard or even on your balcony. Get ready to transform your kitchen scraps and garden waste into nutrient-rich gold!
This guide is your friendly neighborly advice for all things organic compost in Europe. We’ll cover what it is, why it’s brilliant, and how you can easily make your own, even if you’re a complete beginner. Ready to turn your waste into wonder?
What Exactly is Organic Compost?
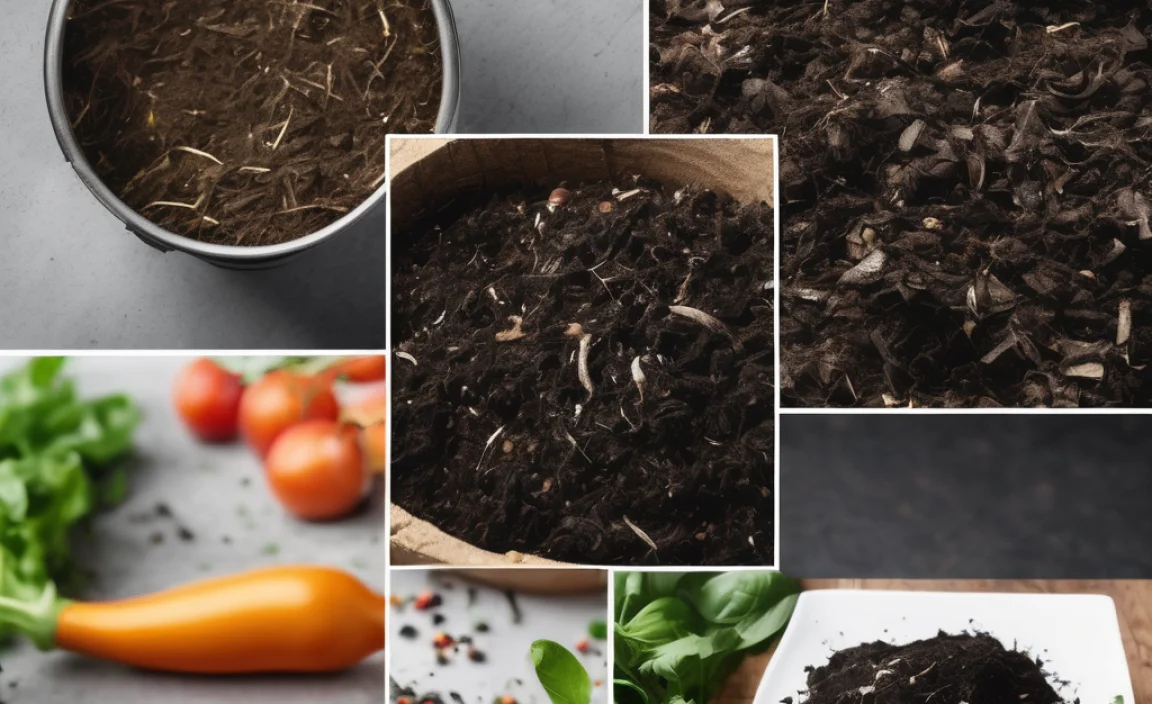
Simply put, organic compost is decomposed organic material, like kitchen scraps and yard waste. It’s a natural way to recycle and create a super-powered fertilizer for your plants. Think of it as nature’s way of creating rich, dark soil from things we’d otherwise throw away.
It’s called “organic” because it’s made from natural, non-synthetic materials. This means no artificial chemicals or fertilizers are involved. The result is a healthy, earthy-smelling product that works wonders for your soil’s structure, water retention, and nutrient content. This is vital for healthy plant growth and a thriving garden.
Why Compost Organically in Europe? The Big Benefits
Composting organically is a fantastic choice for many reasons, especially here in Europe where environmental consciousness is growing. It’s good for your garden, good for your wallet, and great for Mother Earth!
For Your Garden and Plants:
- Nutrient Boost: Compost is packed with essential nutrients that plants love. It releases them slowly, feeding your plants steadily over time.
- Healthier Soil: It improves soil structure, making it easier for roots to grow and for water and air to penetrate. This is great for both sandy and clay soils.
- Disease Prevention: Healthy soil thanks to compost can help plants resist diseases and pests naturally.
- Better Water Retention: Soil with compost holds moisture better, meaning you’ll water less often, which is a big win during drier European summers.
For Your Wallet and the Planet:
- Reduce Waste: Composting diverts a significant amount of household waste from landfills. This is crucial as many European countries are aiming to reduce landfill waste. Landfills produce methane, a potent greenhouse gas, so reducing waste is a direct climate action.
- Save Money on Fertilizers and Soil Improvers: Why buy expensive bags of compost or fertilizer when you can make your own for free?
- Support Local Ecosystems: Healthy soils are the foundation of ecosystems. By improving your soil, you’re contributing to a healthier local environment.
- Reduce Your Carbon Footprint: Less waste going to landfill means fewer greenhouse gas emissions.
Getting Started with Organic Compost in Europe: What You Need
The great news is you don’t need a huge garden or loads of fancy equipment to start composting. Whether you have a sprawling garden or a small balcony, there’s a composting method for you. Let’s look at the basics.
Composting Bins and Setups: Your Options
The type of bin you choose depends on your space and how much waste you produce. Here are some popular choices:
- Open Compost Pile: If you have plenty of garden space, this is the simplest method. Just heap your materials in a corner. It’s easy but can look a bit messy and might attract critters if not managed well.
- Compost Bins (Closed Bins): These are very common in European gardens. They can be made of wood, plastic, or recycled materials. They help retain heat and moisture, speed up decomposition, and keep things tidy. Many garden centres across Europe offer various styles.
- Tumbler Composters: These are rotating bins that make turning (aerating) compost much easier. They often compost faster than static bins and are good for keeping pests out.
- Worm Composting (Vermicomposting): Perfect for smaller spaces, balconies, or even indoors. Special composting worms (like red wigglers) break down food scraps into nutrient-rich worm castings. You can buy worm bins or even build your own.
- Bokashi Composting: This is an anaerobic (without air) fermentation method that uses a special inoculant and a sealed bin. It can handle meat and dairy, which are usually avoided in traditional composting. The end product needs to be buried to finish decomposing, making it ideal if you have garden space or can give it to a community garden. Check out resources from your local municipality; they often have guides on waste management and composting specific to your region.
Essential Tools (Keep it Simple!)
You really don’t need much to get started. Here are a few helpful items:
- A Pitchfork or Garden Fork: For turning and aerating your compost pile. This is crucial for speeding up decomposition and preventing bad smells.
- A Spade or Shovel: To move compost around and to dig a spot to bury finished compost.
- A Watering Can or Hose: Compost needs to be moist, like a wrung-out sponge.
- Kitchen Caddy: A small container with a lid for collecting food scraps in your kitchen before taking them to the main compost bin. Many European homes use these as part of their recycling efforts.
- Gloves: To keep your hands clean.
The Magic Recipe: What to Compost and What to Avoid
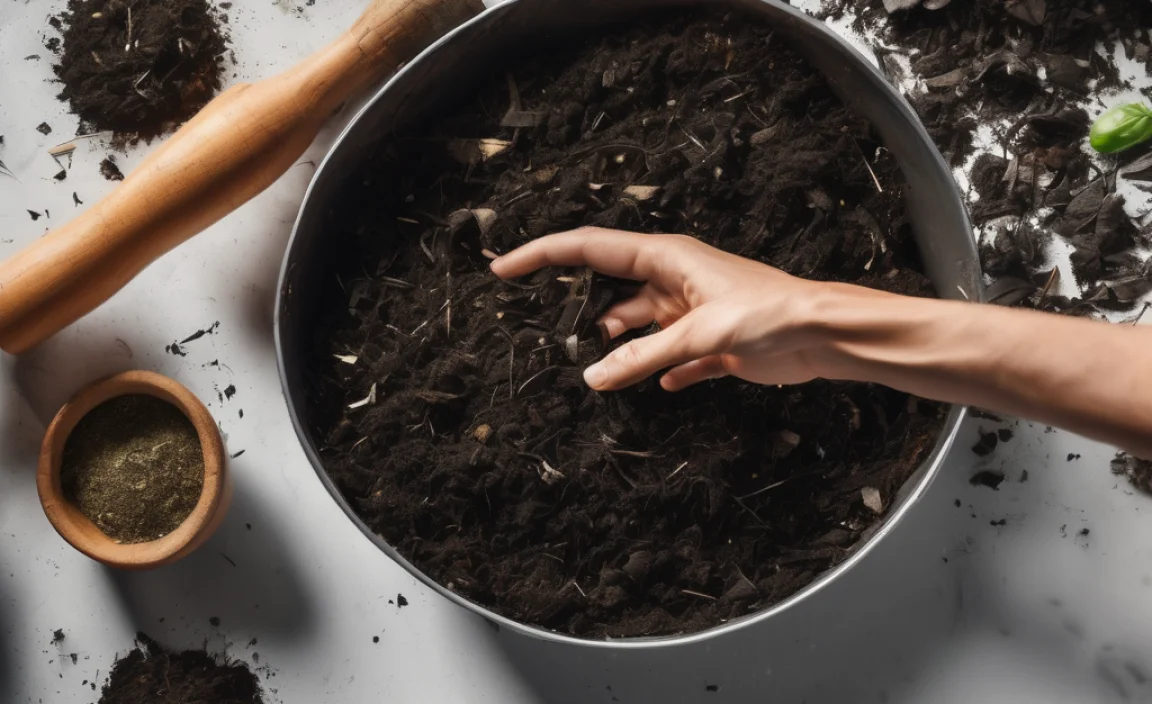
Composting is all about getting the right balance of “greens” and “browns.” Think of greens as nitrogen-rich materials and browns as carbon-rich materials. Getting this mix right is key to fast, effective composting.
The “Greens” (Nitrogen-Rich):
- Fruit and vegetable scraps
- Coffee grounds and tea bags (remove staples)
- Grass clippings (in thin layers to avoid matting)
- Plant trimmings (non-diseased)
- Eggshells (crushed)
The “Browns” (Carbon-Rich):
- Dry leaves
- Shredded newspaper and cardboard (avoid glossy or coloured inks)
- Straw and hay
- Wood chips and small twigs
- Sawdust (from untreated wood)
What to Leave Out (Generally):
- Meat, fish, and bones: These can attract pests and cause unpleasant odors.
- Dairy products: Similar to meat, they can smell and attract unwanted visitors.
- Oily or greasy foods: They slow down decomposition and can cause smells.
- Diseased plants: You don’t want to spread plant diseases in your garden.
- Weeds that have gone to seed: The seeds might survive the composting process and sprout in your garden.
- Pet waste (from dogs and cats): Can contain harmful pathogens.
- Treated wood or ash from treated wood: Chemicals can be harmful.
Tip: If you’re using a Bokashi system, you can often include meat, dairy, and oily foods. Always check the specific instructions for your Bokashi bin.
How to Make Organic Compost: A Simple Step-by-Step Guide
Ready to start? Here’s a straightforward way to build your compost pile or fill your bin.
Step 1: Choose Your Location and Bin
Find a spot that’s reasonably accessible, has good drainage, and ideally gets some sun (this helps heat the pile) but isn’t in scorching direct sun all day. For a bin, ensure it’s on bare soil if possible, which allows beneficial organisms to enter.
Step 2: Start Layering!
Begin with a base layer of “browns” like twigs or straw (about 4-6 inches thick). This helps with drainage and airflow at the bottom.
Then, start alternating layers of “greens” and “browns.” Aim for a ratio of about 2 parts browns to 1 part greens. For example:
- A few inches of fresh grass clippings (green)
- Followed by a few inches of dry leaves or shredded cardboard (brown)
- A layer of kitchen scraps (green)
- Then more brown material to cover them.
Why cover greens? This helps prevent smells and discourages flies.
Step 3: Add Water
Each time you add a new layer, or at least every week or two, water your compost. It should feel like a damp sponge – moist but not soaking wet. If it’s too dry, decomposition slows down. If it’s too wet, it can become slimy and smelly.
Step 4: Aerate (Turn) Your Compost
This is where your pitchfork comes in handy! Turning your compost regularly (ideally every 1-2 weeks for faster results, but less often is fine for slower composting) introduces oxygen. This helps the microbes that do the decomposition work and prevents the pile from becoming anaerobic (which causes bad smells).
- Move material from the outside to the inside of the pile.
- Break up any clumps.
- Ensure all materials are mixing well.
Step 5: Be Patient!
Composting takes time. Depending on your method, the materials you use, and how often you turn and water, compost can be ready anywhere from 2-3 months to a year. You’ll know it’s ready when it looks and smells like dark, crumbly soil.
Troubleshooting Common Composting Issues
Even seasoned composters run into a few hiccups now and then. Here’s how to fix common problems:
Problem: My compost smells bad (like rotten eggs or ammonia).
Cause: Too much green material (nitrogen) and not enough air, or it’s too wet.
Solution:
- Add more “brown” materials like dry leaves, shredded cardboard, or straw.
- Turn the pile thoroughly to aerate it.
- If it’s very wet, add more browns to absorb excess moisture.
Problem: My compost isn’t heating up or breaking down.
Cause: Not enough green material, too dry, or needs turning.
Solution:
- Add more “green” materials (kitchen scraps, grass clippings).
- Add water if it feels dry.
- Turn the pile to mix materials and encourage microbial activity.
Problem: There are flies or fruit flies.
Cause: Exposed food scraps.
Solution:
- Always cover fresh kitchen scraps with a layer of “brown” material.
- Ensure your bin lid is on securely if you have one.
- For persistent issues, consider a tumbler or Bokashi system which are more enclosed.
Problem: My compost is still full of un-decomposed large pieces.
Cause: Material wasn’t broken down enough initially, or the compost hasn’t decomposed long enough.
Solution:
- Chop or shred larger items before adding them.
- Continue composting until fully decomposed.
- You can sieve the finished compost to remove larger bits and put them back into a new compost batch.
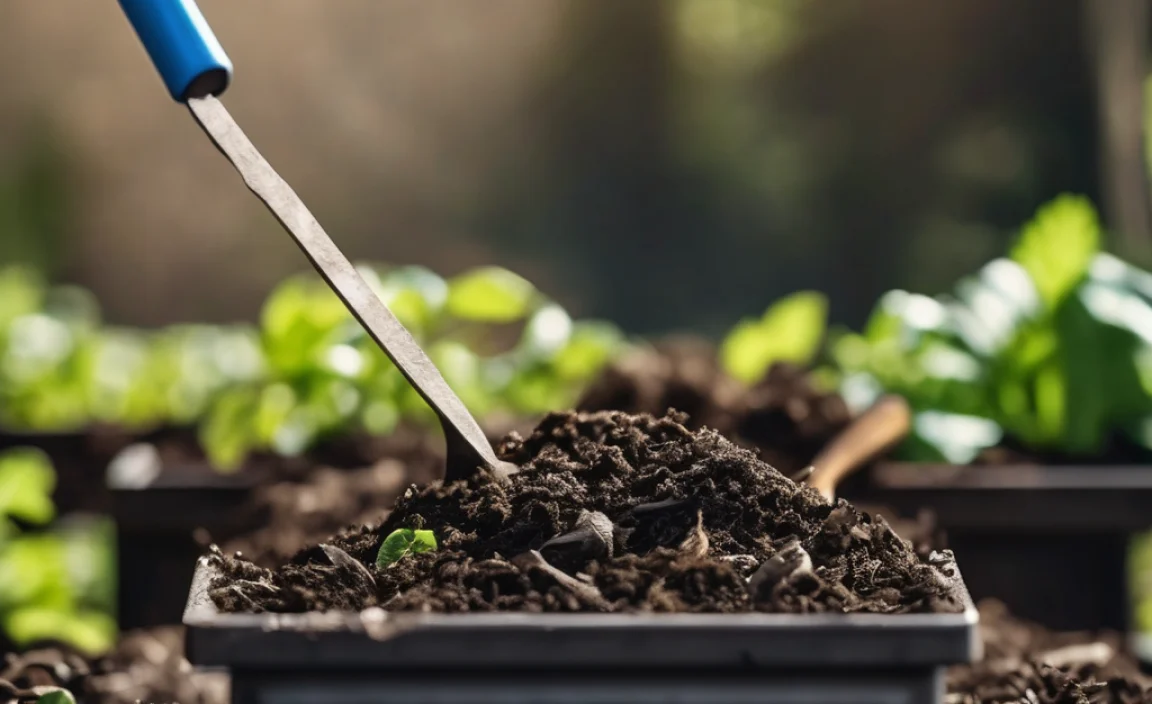
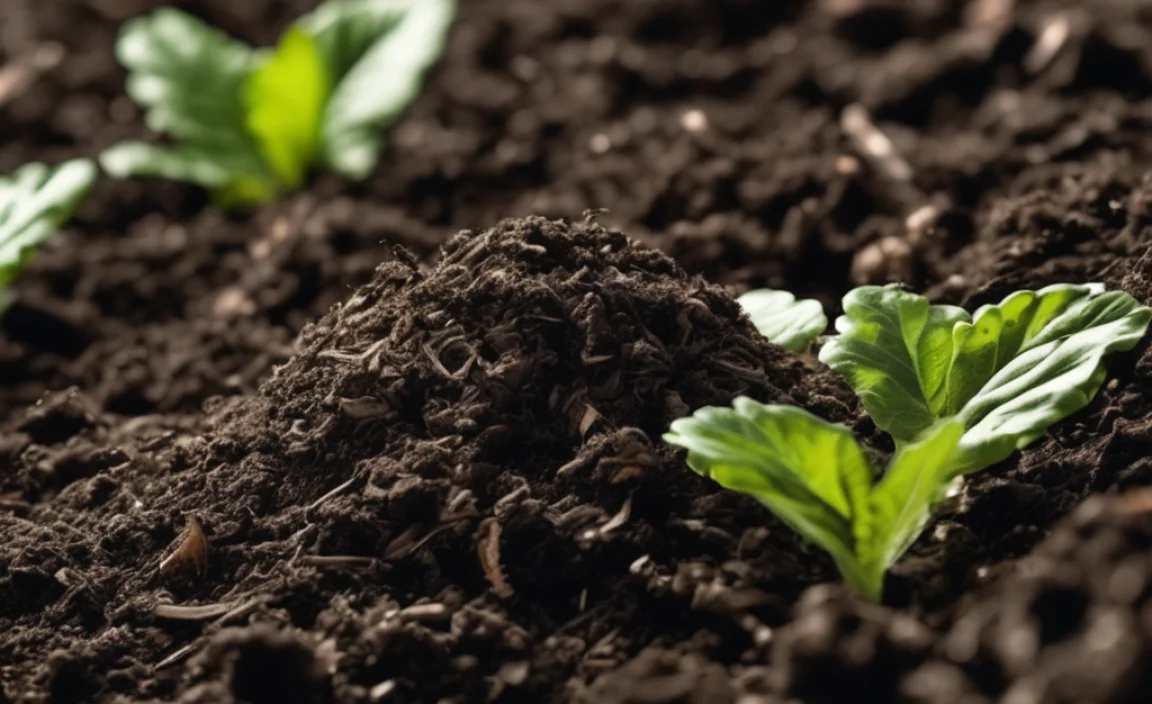
Using Your Finished Organic Compost
Once your compost is dark, crumbly, and smells earthy, it’s ready to use! Here are a few ways to incorporate this garden gold:
- Soil Amendment: Dig compost into your garden beds before planting new vegetables or flowers. Mix about 2-4 inches into the top 6-8 inches of soil. This is excellent for improving soil structure and fertility.
- For Container Gardens: Mix compost with potting soil for your pots and planters. A common ratio is 1 part compost to 2 parts potting soil, but you can adjust based on your plants’ needs.
- As a Top Dressing: Spread a thin layer of compost around existing plants, trees, and shrubs. This provides nutrients and helps retain moisture.
- For Lawns: Rake a thin layer over your lawn in spring or autumn to enrich the soil and promote a healthier green.
- Seed Starting Mix: For very fine seeds, you might want to sieve your compost to remove larger particles. Mix it with perlite or sand for a very light seed-starting medium.
A great resource for gardening practices and soil health, including composting, is often found on government agricultural or environmental websites. For instance, the European Commission’s information on waste management highlights the importance of reducing waste, which composting directly supports.
Composting in Different European Climates
Europe has a diverse range of climates, but organic composting is adaptable to most. Here’s a quick look:
Colder Climates (Northern Europe, Alpine Regions):
- Challenge: Slower decomposition during winter.
- Solution: Insulate your compost bin, use a compost tumbler (which retains heat better), or a worm bin indoors. If you have an open pile, pile up extra brown materials in autumn to add during winter. Focus on building a good compost pile in warmer months. Consider Bokashi if your outdoor composting season is very short.
Temperate Climates (Western and Central Europe):
- Challenge: Can get quite wet in autumn/winter.
- Solution: Ensure good drainage for your bin. Use plenty of brown materials to balance moisture. Turning regularly is key. Most standard composting methods work well year-round, with a slight slowdown in winter.
Warmer/Drier Climates (Southern Europe):
- Challenge: Compost can dry out too quickly.
- Solution: Keep your compost bin in a shadier spot. Water more frequently, ensuring it stays moist like a wrung-out sponge. Add materials that retain moisture, like grass clippings or shredded paper. Building a larger pile can help it retain moisture better.
Table: Pros and Cons of Different Composting Systems
To help you choose the best method for your situation:
| Composting System | Pros | Cons |
|---|---|---|
| Open Compost Pile | Simple, free, good for large volumes of garden waste. | Can be unsightly, slower decomposition without turning, may attract pests. |
| Closed Compost Bin | Tidy, retains heat and moisture, discourages pests, common and affordable. | Requires some turning, can become anaerobic if not managed. |
| Compost Tumbler | Easy to turn, faster decomposition, enclosed to deter pests, neat. | Higher initial cost, can have limited capacity. |
| Worm Composting (Vermicomposting) | Excellent for small spaces/apartments, produces nutrient-rich worm castings, fast for food scraps. | Requires specific worms, cannot handle large volumes or all food types, sensitive to temperature extremes. |
| Bokashi Composting | Can compost meat/dairy/oils, very fast fermentation, compact system. | Requires specific Bokashi bran, end product needs further decomposition (burying), not “finished” compost in the traditional sense. |
Quick Summary: Your Organic Compost Checklist
To recap, here’s what to remember about getting started with organic compost in Europe:
- Understand the Balance: Aim for a mix of “greens” (nitrogen) and “browns” (carbon).
- Choose Your Method: Select a system that fits your space and waste type.
- Layer Correctly: Start with browns, alternate greens and browns.
- Keep it Moist: Like a wrung-out sponge.
- Aererate Regularly: Turn your compost to give it air.
- Be Patient: Good compost takes time.
- Troubleshoot: Smell? Dry? Pests? There’s usually an easy fix.
- Use it Wisely: Enrich your soil, pots, and lawns.
Related Posts

I am passionate about home engineering. I specialize in designing, installing, and maintaining heating, ventilation, and air conditioning systems. My goal is to help people stay comfortable in their homes all year long.