Removing stripped screws can be very frustrating. Have you ever tried to take out a screw, but its head is damaged? This happens to many people. When this happens, you need a special tool. This tool is called a screw extractor.
Using a screw extractor can save the day. It helps you get out those stubborn screws easily. Wouldn’t it be great to fix things around your home without stress? Learning how to remove stripped screws with a screw extractor can make your life easier.
Have you ever seen a screw with a rounded-off head? It can be tough to remove. With a screw extractor, you can remove the screw safely. Many people face this problem when fixing furniture or appliances. Knowing how to use a screw extractor can help you tackle these challenges.
Key Takeaways
- Removing stripped screws with a screw extractor is easy.
- A screw extractor is a special tool for tough screws.
- Follow simple steps to use a screw extractor.
- Always wear safety gear when using tools.
- Practice makes perfect with screw extractors.
Understanding Stripped Screws
Stripped screws can be tricky. They occur when the screw head gets damaged. This damage happens from using the wrong tool. It can also happen if you apply too much force. Once the head is stripped, a normal screwdriver won’t work. It’s important to understand this problem.
When faced with a stripped screw, many feel helpless. They might think they need to replace the entire item. But that’s not true! There are ways to fix this problem without buying new items. Using a screw extractor is one effective solution.
- A stripped screw has no grip for a screwdriver.
- Too much force can strip screw heads.
- Stripped screws can occur in wood or metal.
- Many people face this problem at home.
- Understanding the cause helps prevent it.
Fixing stripped screws saves time and money. You learn to handle tools better. This can make you feel more confident. You can fix things on your own.
Fun Fact or Stat: Stripped screws are one of the most common repair issues.
What Causes Stripped Screws?
Stripped screws happen for many reasons. Sometimes, people use the wrong size tool. Other times, they apply too much pressure. This can wear down the screw head. When this happens, no tool can grip it.
Imagine trying to open a bottle cap with a spoon. It’s hard, right? This is similar to using the wrong tool on a screw. It’s essential to use the right tools for the job. You can save yourself a lot of hassle.
Using the right screwdriver helps. It grips better and reduces the risk of stripping. Always check your tools before starting a project. This simple step can prevent many headaches.
How to Spot a Stripped Screw
Recognizing a stripped screw is essential. Look for a screw with a rounded or flat head. It may also look shiny or worn out. These are signs that it is stripped. You can’t grip it with a screwdriver.
When you try to turn it, it may just spin in place. This can make you feel frustrated. But don’t worry! There are ways to fix it.
You can use various methods to remove these screws. Knowing how to spot them will help you act quickly. Always look closely before attempting to remove a screw. This will save you time.
Prevention Tips for Stripped Screws
Preventing stripped screws is easier than you think. First, choose the right screwdriver. It should match the screw size and type. Using the right tool reduces the chance of stripping.
Be gentle when tightening screws. Don’t use too much force. If a screw feels stuck, back off and try again. You can also try lubricating the screw before removal. This can help it turn more smoothly.
Always keep your tools in good shape. Dull or worn-out tools can strip screws easily. Regularly check your tools to ensure they are working well. This simple maintenance can save you a lot of trouble.
Fun Fact or Stat: About 40% of DIY projects involve dealing with stripped screws.
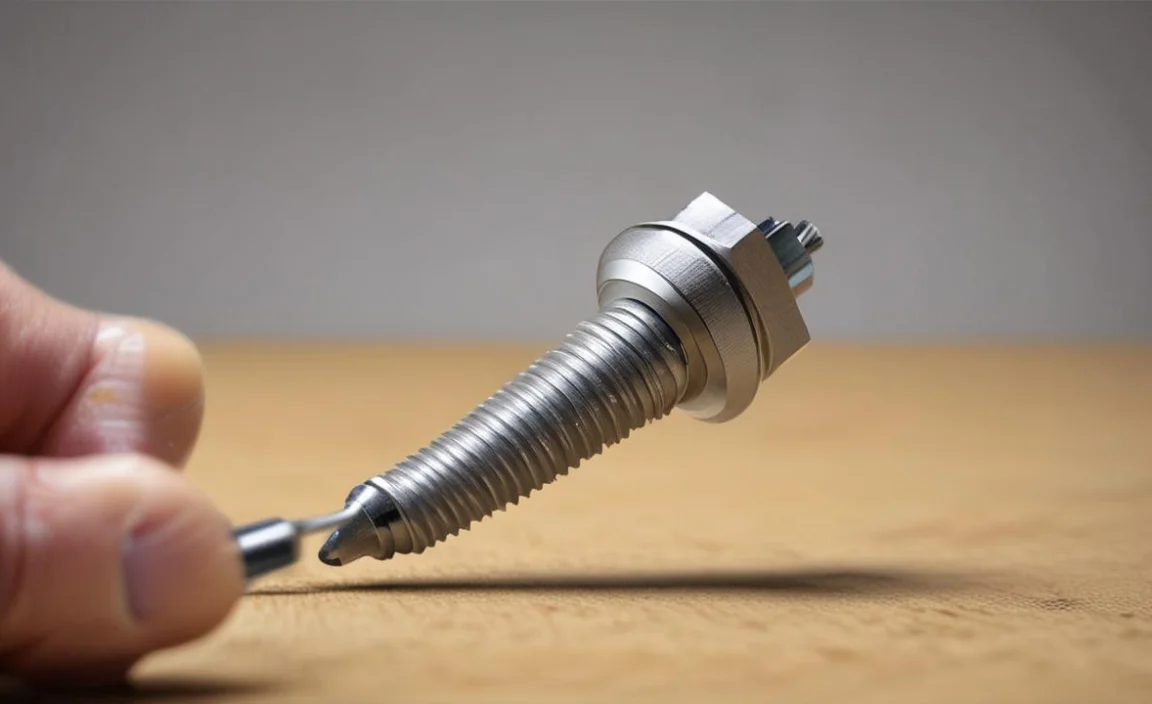
Using a Screw Extractor
A screw extractor is a clever tool. It helps you remove stripped screws easily. You can find it in most hardware stores. Using a screw extractor is not difficult. It requires a few simple steps.
First, select the right size extractor for your screw. The extractor should fit snugly into the screw head. Next, you will need a drill to create a small hole. This hole will allow the extractor to grip the screw well.
After drilling, insert the extractor and twist it counterclockwise. The extractor will catch the screw and pull it out. It may take some effort, but you will succeed!
- A screw extractor is specifically made for stripped screws.
- Always drill a pilot hole before using it.
- Use the right size extractor for the best results.
- Turn counterclockwise to remove the screw.
- Practice on scrap materials if you’re unsure.
Using a screw extractor can make you feel powerful. You will be able to fix things confidently. It also teaches you valuable skills for future projects. Mastering this tool can make you a DIY champion!
Fun Fact or Stat: Screw extractors were invented over 100 years ago.
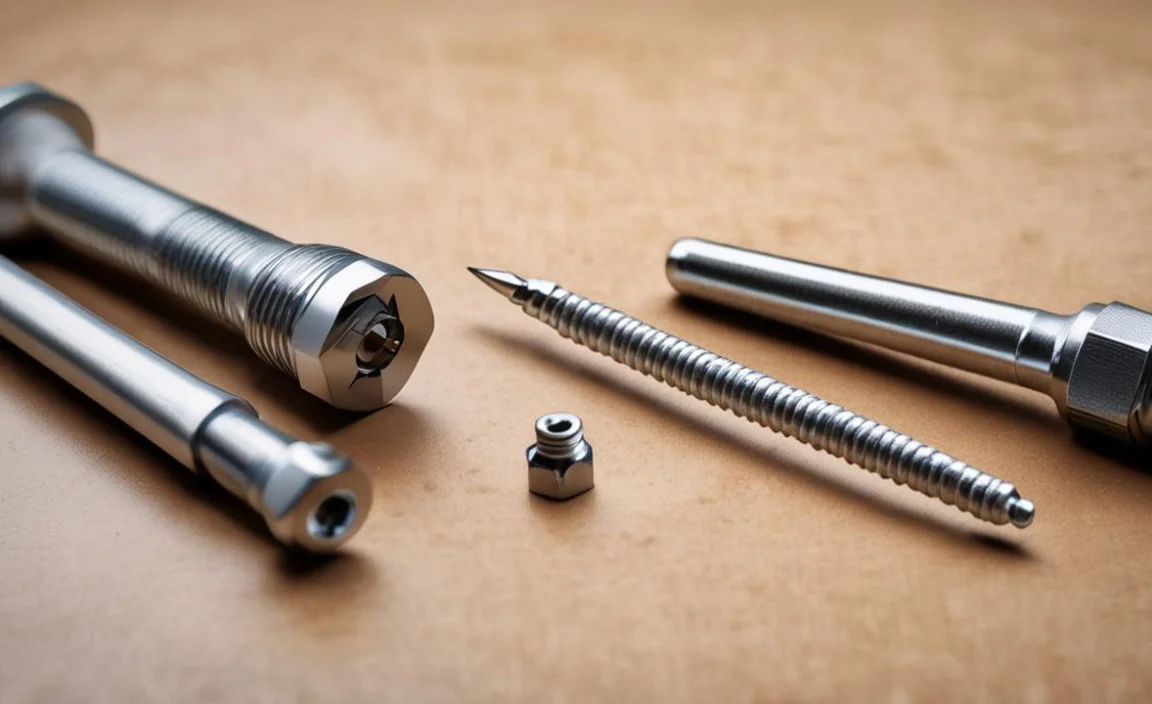
Choosing the Right Screw Extractor
Choosing the right screw extractor is important. They come in different sizes and styles. Look for a set that includes multiple sizes. This will help you tackle various stripped screws.
You want to find a strong and durable extractor. Quality matters! A weaker extractor can break while you’re working. This can make your job much harder.
Consider reading reviews before buying. Many people share their experiences online. They can help you find the best one for your needs.
Finding the right extractor can save you time and stress. It will make your repairs smoother and more efficient. Don’t skip this step!
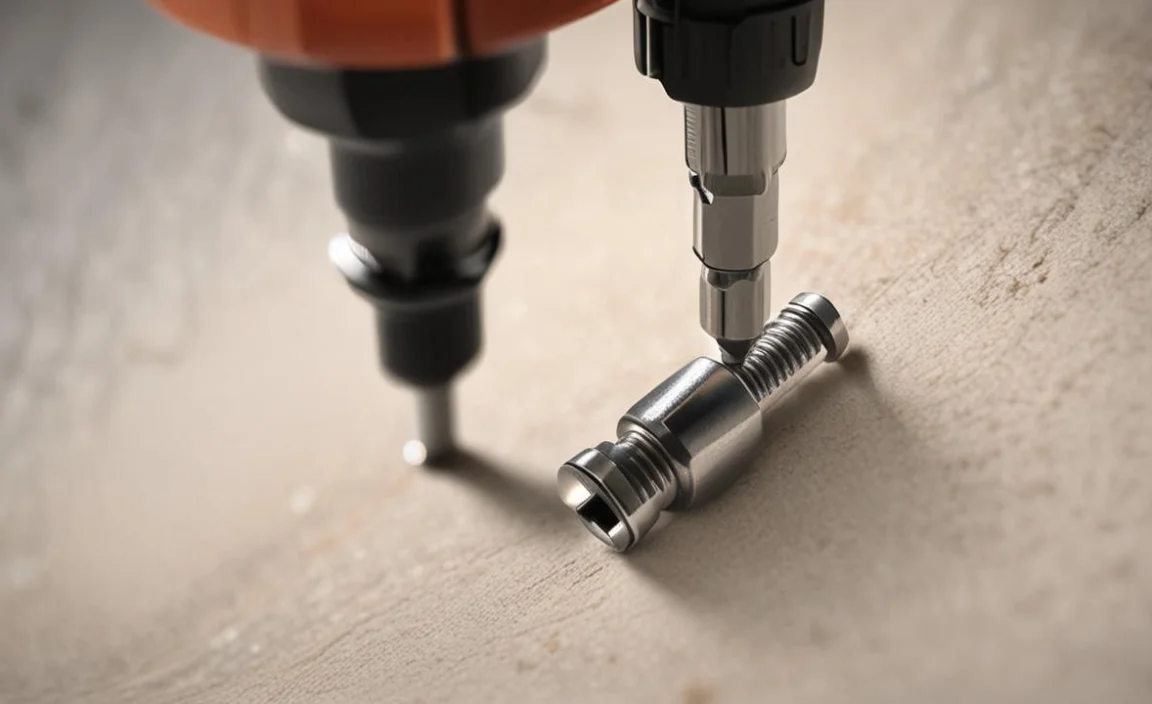
Step-by-Step Guide for Using a Screw Extractor
Using a screw extractor is straightforward. First, gather your tools. You will need the extractor, a drill, and a bit.
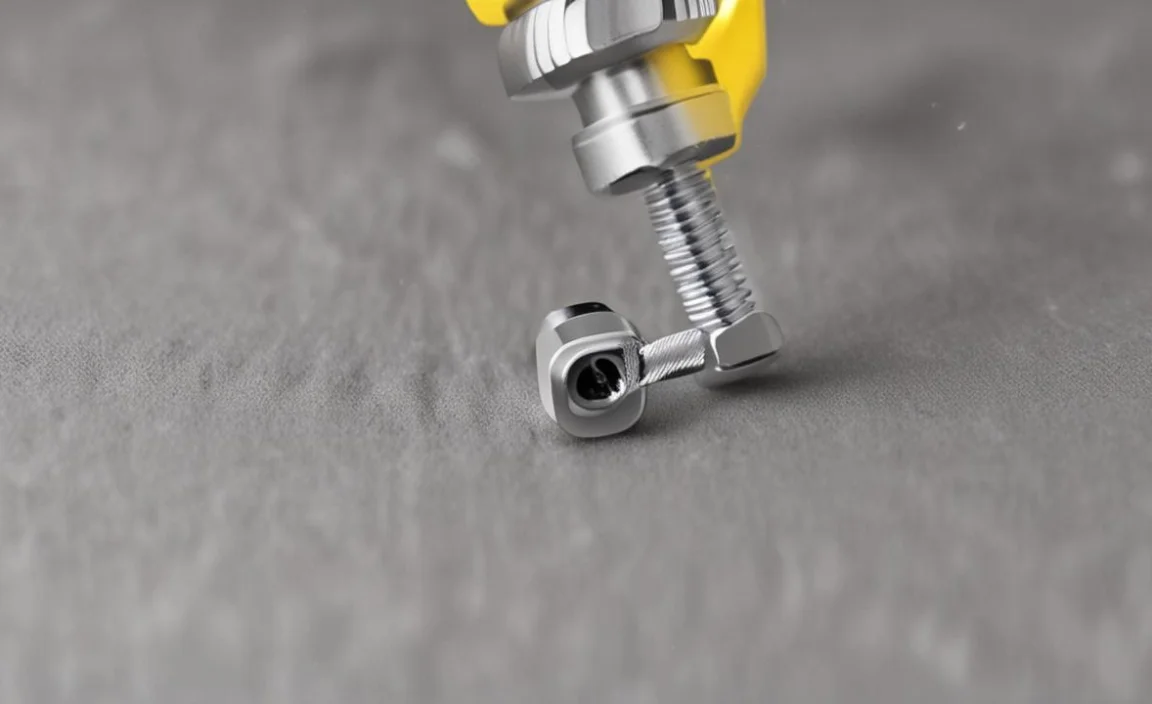
Start by drilling a small hole in the stripped screw. The hole should be deep enough for the extractor to grip. Next, insert the extractor into the hole. It should fit tightly.
Now, carefully turn the extractor counterclockwise. You should feel resistance as it grips the screw. Keep turning until the screw loosens. Remove it completely and celebrate your success!
Practice makes perfect. If you don’t succeed on the first try, try again. It may take some time to get used to the process.
Safety Tips When Using a Screw Extractor
Safety should always come first. When using tools, wear safety glasses. They protect your eyes from dust and debris.
Keep your hands and fingers clear of the drill bit. This will prevent accidental injuries. Always work slowly and carefully, especially if you’re new to using tools.
Make sure your workspace is clean and organized. This helps you avoid accidents while working.
If you’re unsure, ask an adult for help. They can guide you and ensure your safety. Following these tips will make your projects safer and more enjoyable.
Fun Fact or Stat: Nearly 90% of injuries at home involve tools!
Alternatives to Screw Extractors
Screw extractors are great, but they are not the only option. Sometimes, you can use other methods to remove stripped screws. Options like rubber bands or pliers can work well.
For example, a rubber band can provide extra grip. Place it over the screw head and try turning it with a screwdriver. It often gives you the friction needed to remove the screw.
You can also try using needle-nose pliers. If there is enough of the screw head showing, this method can work. Grip the head firmly and turn counterclockwise.
However, these alternatives may not always work. If they fail, you may need to use a screw extractor.
- Rubber bands can give extra grip when turning screws.
- Pliers can work for exposed screw heads.
- Sometimes, a hammer can help loosen stuck screws.
- Heat can expand metal and help with removal.
- Always try gentle methods first before using tools.
Finding different methods to remove stripped screws can be helpful. Experiment with different techniques based on your situation. This will help you become more resourceful. You can tackle any repair without fear!
Fun Fact or Stat: Using rubber bands for grip is an old trick!
Using Heat to Remove Stripped Screws
Using heat can be effective for stubborn screws. Sometimes, metal screws get stuck due to rust or corrosion. Heat can help loosen them up.
You can use a heat gun or a lighter. Apply heat to the screw for a few seconds. Be careful not to burn yourself or surrounding items.
Once you heat the screw, try turning it again. The expansion from the heat may help it loosen.
Always keep safety in mind when using heat. Work in a well-ventilated area. Avoid flammable materials nearby.
This method can save you time and effort. It’s a handy trick to have in your toolbox!
Using Other Tools for Stripped Screws
You might have other tools at home to remove stripped screws. One option is a Dremel tool. This tool can cut a new groove in the screw head.
Once you have a groove, you can use a flat-head screwdriver. This can help you remove the screw effectively.
Another option is to tap the screw with a hammer. Sometimes a few light taps can loosen it enough to turn.
Always remember to be gentle when using these methods. You want to avoid causing more damage to the surrounding area.
Having multiple tools allows you to tackle various issues. You can choose the best solution for your situation.
When to Call a Professional
Sometimes, you may need to call a professional. If a stripped screw is particularly stubborn, don’t hesitate. Professionals have experience and tools to handle tough situations.
If you feel uncomfortable using tools, it’s better to ask for help. Professionals can save you time and frustration. They can prevent further damage to your items.
Knowing when to ask for help is important. You don’t have to do everything on your own. There is no shame in asking for assistance.
Calling a professional can lead to a quick fix. It may be worth the cost for peace of mind.
Fun Fact or Stat: Many DIYers learn from professionals first!
Common Mistakes When Removing Stripped Screws
Making mistakes is part of learning. However, there are common mistakes to avoid. One mistake is not using the right size extractor. This can lead to more trouble and frustration.
Another mistake is applying too much force. This can cause the screw to break or become even more stuck. Instead, take your time and apply gentle pressure.
Failing to drill a hole before using an extractor is also common. You must create a spot for the extractor to grip.
Always take a moment to think before you act. This simple step can save you time and effort.
- Not using the right size extractor can lead to failure.
- Applying too much force can worsen the problem.
- Forgetting to drill a pilot hole is a common mistake.
- Rushing can cause accidents and injuries.
- Ignoring safety gear is a big no-no.
Learning from these mistakes can make you a skilled DIYer. Always be patient and careful. This will help you succeed in all your projects.
Fun Fact or Stat: Most DIYers make at least one mistake on every project!
How to Avoid Future Stripped Screws
Preventing future stripped screws is possible. Start by using the right tools for each project. This will make your work easier and safer.
Always check the size of your screws and tools. A good match reduces the chance of stripping.
Use just enough force when tightening screws. If a screw feels stuck, stop and reassess.
Finally, regularly maintain your tools. Keeping them in good condition can prevent mistakes.
By being careful and thoughtful, you can avoid many troubles. Taking these steps will make your projects smoother and more enjoyable.
Learning from Others’ Mistakes
Listening to others can help you avoid mistakes. Many DIYers share their experiences online. You can learn what not to do from their stories.
For example, one person might describe how they stripped a screw. They might say they used the wrong screwdriver. Learning from their experience can help you choose better next time.
Joining a DIY community can provide support. You can ask questions and share your own experiences. This group can help you grow your skills.
By learning from others, you can avoid common pitfalls. This can save you a lot of time and frustration.
Practicing Your Skills
Practice makes perfect! The more you work with screws, the better you will become. Start with easy projects at home.
You can practice removing screws on old furniture or appliances. This will help you get comfortable using tools.
Don’t be afraid to make mistakes. Each mistake is a chance to learn. Taking that first step is always the hardest!
As you gain experience, you will feel more confident. This can lead to tackling bigger projects.
Always remember to have fun while practicing. Each project is a new adventure!
Fun Fact or Stat: The more you practice, the better you get!
Summary
Removing stripped screws with a screw extractor is a valuable skill. Stripped screws can be frustrating, but you have options. Using a screw extractor helps you tackle these issues.
Understanding how to use this tool can save time and effort. Always remember to practice safety. By learning from mistakes, you can improve your skills.
With patience and practice, you can fix almost anything!
Conclusion
In conclusion, removing stripped screws with a screw extractor is simple. It takes practice and care, but you can do it. Always use the right tools and techniques.
Don’t be afraid to ask for help if needed. With these skills, you can tackle any repair job confidently.
Frequently Asked Questions
Question No 1: What is a screw extractor?
Answer: A screw extractor is a special tool designed to remove stripped screws. It has a unique shape that grips the screw head. You can use it after drilling a small hole to help it catch the screw. This tool makes it easier to remove stubborn screws without causing extra damage.
Question No 2: How do I use a screw extractor?
Answer: To use a screw extractor, first drill a small hole in the stripped screw. Then, insert the extractor into the hole. Turn it counterclockwise to grip the screw and remove it. Make sure to choose the right size extractor for the best results. Practice can help you get better at using this tool.
Question No 3: What if I don’t have a screw extractor?
Answer: If you don’t have a screw extractor, you can try alternative methods. Rubber bands can help increase grip on the screw. Pliers can also work if the screw head is exposed. Sometimes, using heat can help loosen the screw. If all else fails, you may need to ask a professional for help.
Question No 4: Can I prevent stripped screws?
Answer: Yes, you can prevent stripped screws! Always use the right screwdriver for the screw type. Be careful not to apply too much force when tightening. Checking your tools regularly helps them stay in good condition. Following these tips can help you avoid stripping screws during your projects.
Question No 5: Are there risks when using a screw extractor?
Answer: Like any tool, there are risks when using a screw extractor. Always wear safety glasses to protect your eyes. Be careful not to hurt your fingers while working. Using the right technique will help you avoid accidents. If you feel uncomfortable, ask someone with more experience for help.
Question No 6: What are the best practices for screw removal?
Answer: Best practices for screw removal include using the correct tools and techniques. Always drill a pilot hole before using an extractor. Take your time and apply gentle pressure. Keep your workspace clean and organized. Avoid rushing, as this can lead to mistakes or accidents. Learning these practices will make your projects easier.
