Having a functional and stable trailer floor is essential for any trailer owner. It not only ensures the safety of your cargo but also provides a smooth and comfortable ride.
However, over time and with frequent use, trailer floors can become damaged and require repairs. This may seem like a daunting task, but with the right knowledge and tools, you can easily repair your trailer floor and avoid the costly expense of replacing it entirely.
Here, we will guide you through the step-by-step process of how to repair a trailer floor, from assessing the damage to completing the necessary repairs. Whether you have a horse trailer, cargo trailer, or utility trailer, the principles of repairing a trailer floor remain the same.
About Trailer Floor

A trailer floor is a large, heavy piece of metal that sits on top of the trailer’s frame. It supports the trailer’s undercarriage and helps prevent it from sinking into the mud or water. Most trailers are built with a metal floor.
However, some older models may be made of wood instead, making them prone to damage. If you own a trailer and notice any damage on the floor, it’s important to take action immediately. A damaged floor can lead to instability and potential injury, so fixing your trailer as soon as possible is essential.
How To Repair A Trailer Floor – 7 Easy Floor Repair Step
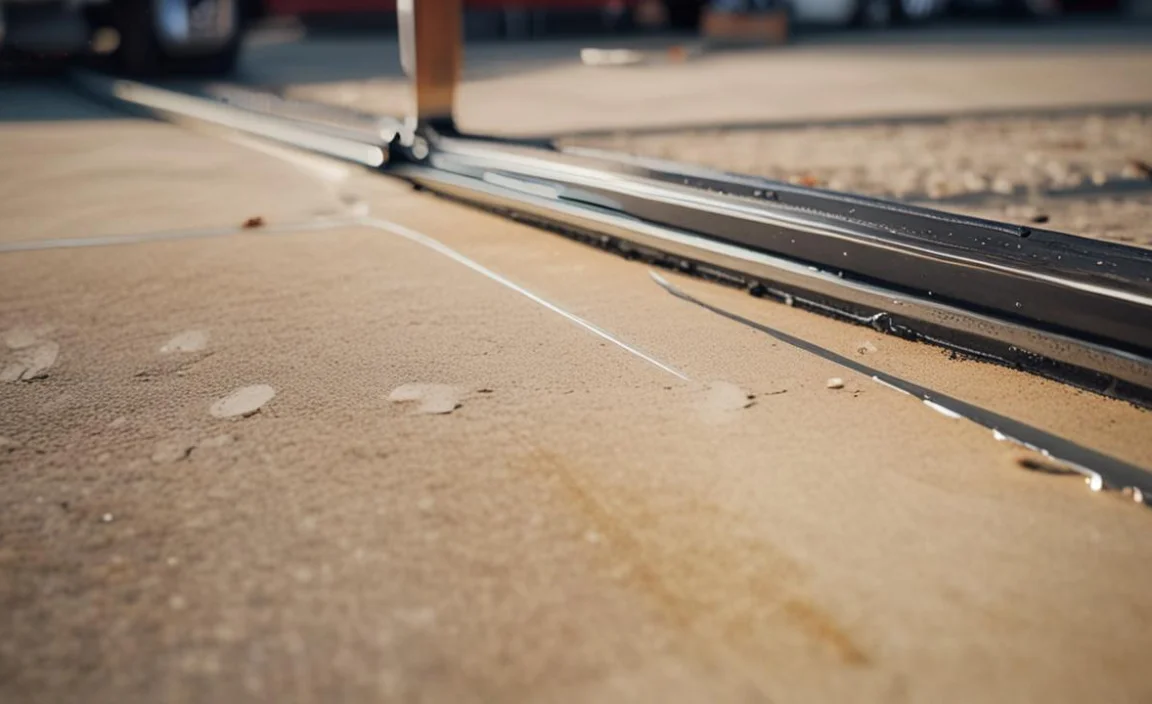
Repairing a floor trailer floor is a complex task requiring the right tools and materials. Even the best professionals can only do it with proper guidance. A good way to repair a trailer floor is to use a layer of epoxy resin to reinforce the damaged area.
It is a cost-effective method that can effectively repair the flooring of your trailer. However, you must use epoxy resin in the right ratio for optimum effectiveness. Moreover, epoxy resin does not hold water, so you must work on a clean surface.
Also, the epoxy resin must be applied to the damaged area in thin layers and allowed to dry completely before applying another layer. Repairing a trailer floor can seem daunting, but it can be done easily with the right tools and steps. Here are seven easy steps on how to repair a trailer floor:
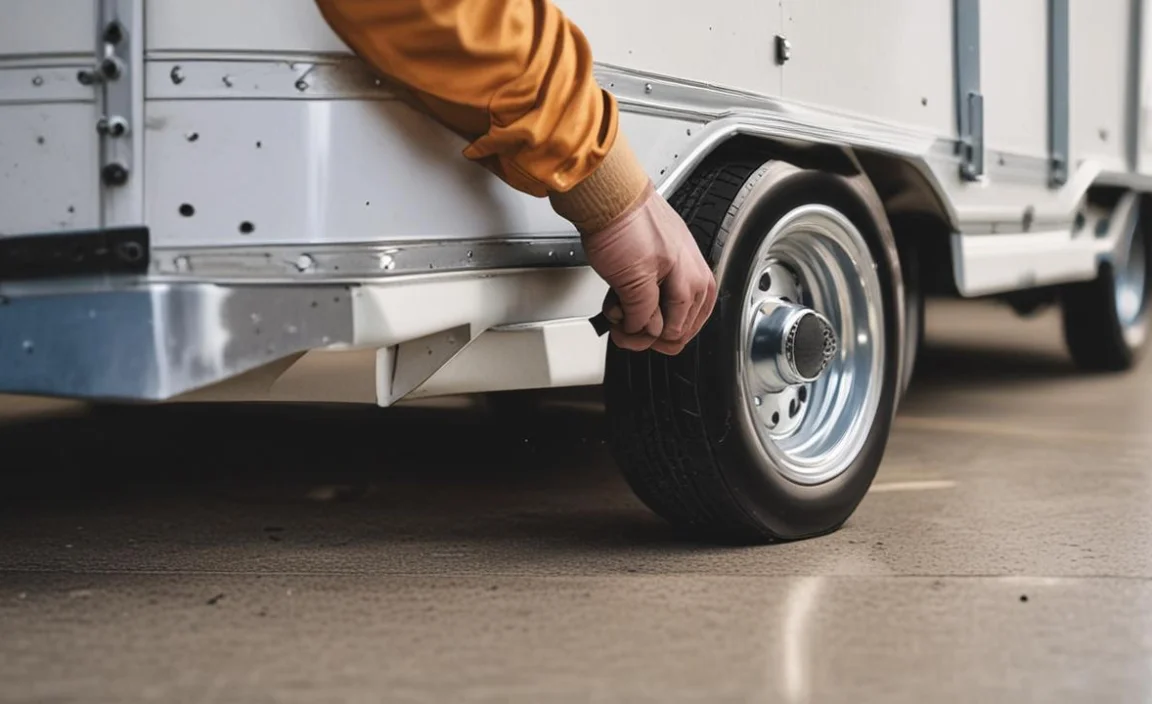
Step1. Identification Of The Issue

If you are experiencing problems with your trailer floor, it’s important to identify the issue immediately. This will help you decide whether the floor requires repair or replacement. You can easily fix minor issues by yourself, but more serious problems require the expertise of a professional trailer repair specialist.
They can assess the damage and recommend the best action for your circumstances. If you are experiencing any issues with your trailer floor, take care of them as quickly as possible to ensure your vehicle’s and its occupants’ safety.
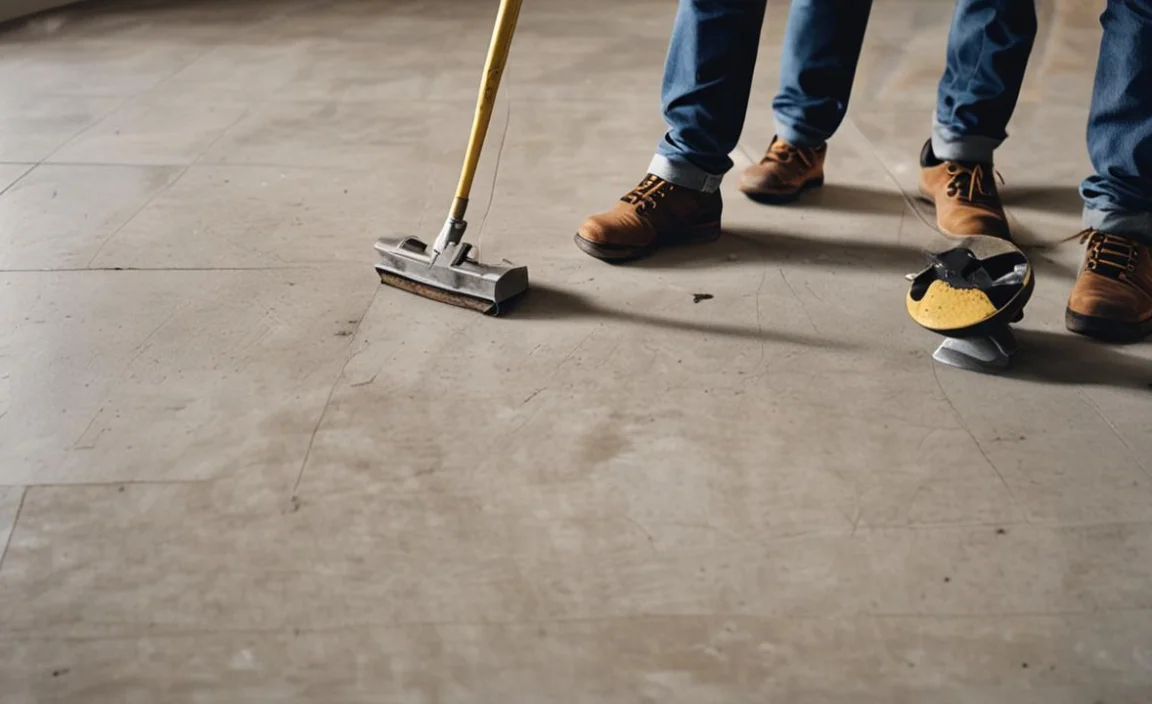
Step2. Inspection Of The Area
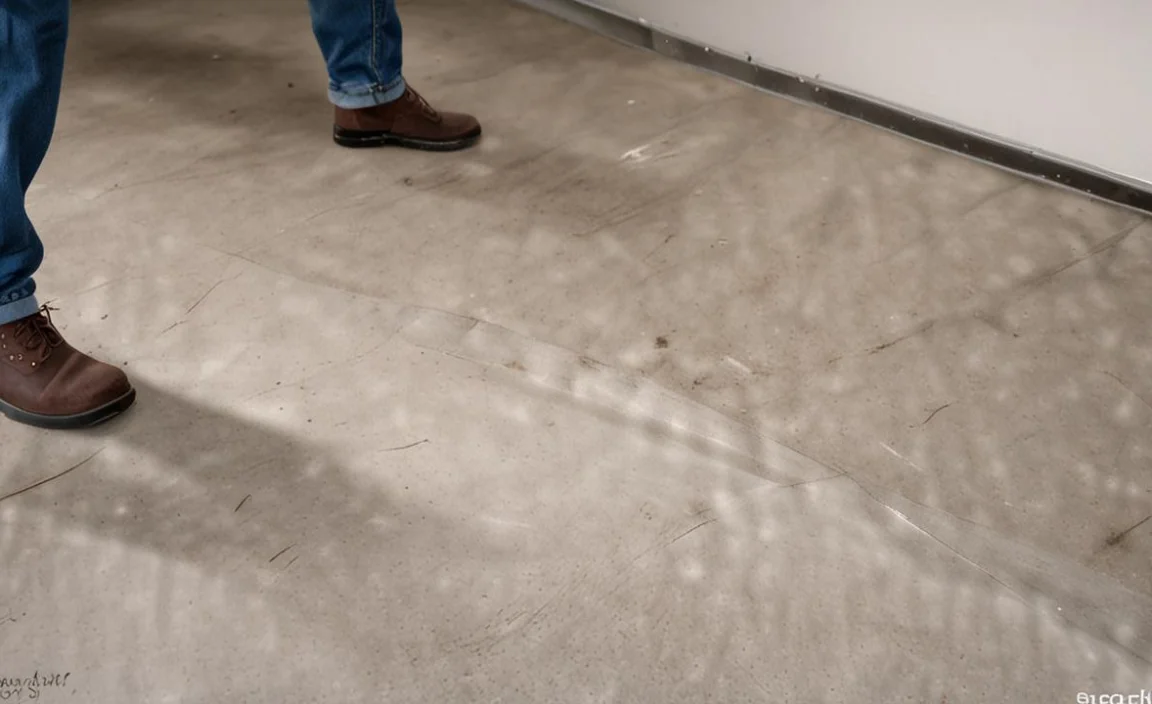
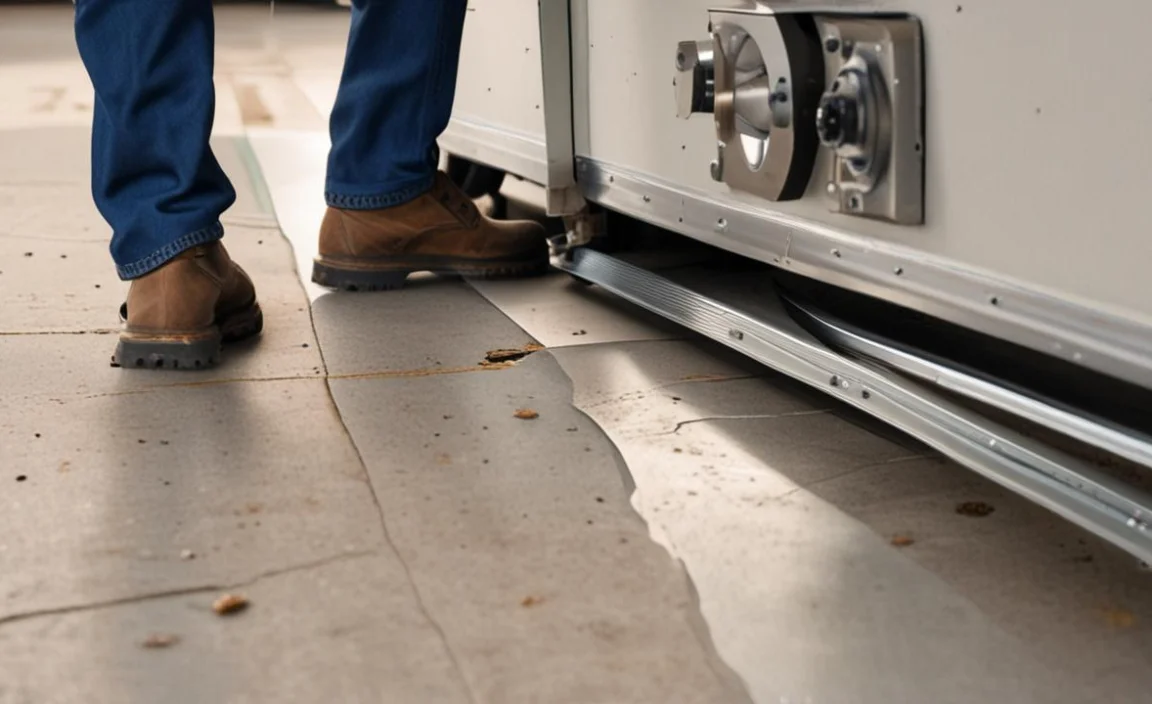
Before you begin the repair, it’s important to inspect the area where the flooring has damage on it. Whether a small hole or a large crack, you must take note of everything you need to repair. You must remove any debris or rocks that may have fallen onto the flooring.
After removing the obstruction, you must clean the area of any dirt or grease. Next, coat the affected area with a sealant. This glue or chemical can help protect the floor from future damage and keep it waterproof. Once the sealant has dried, you can re-install the flooring easily and confidently.
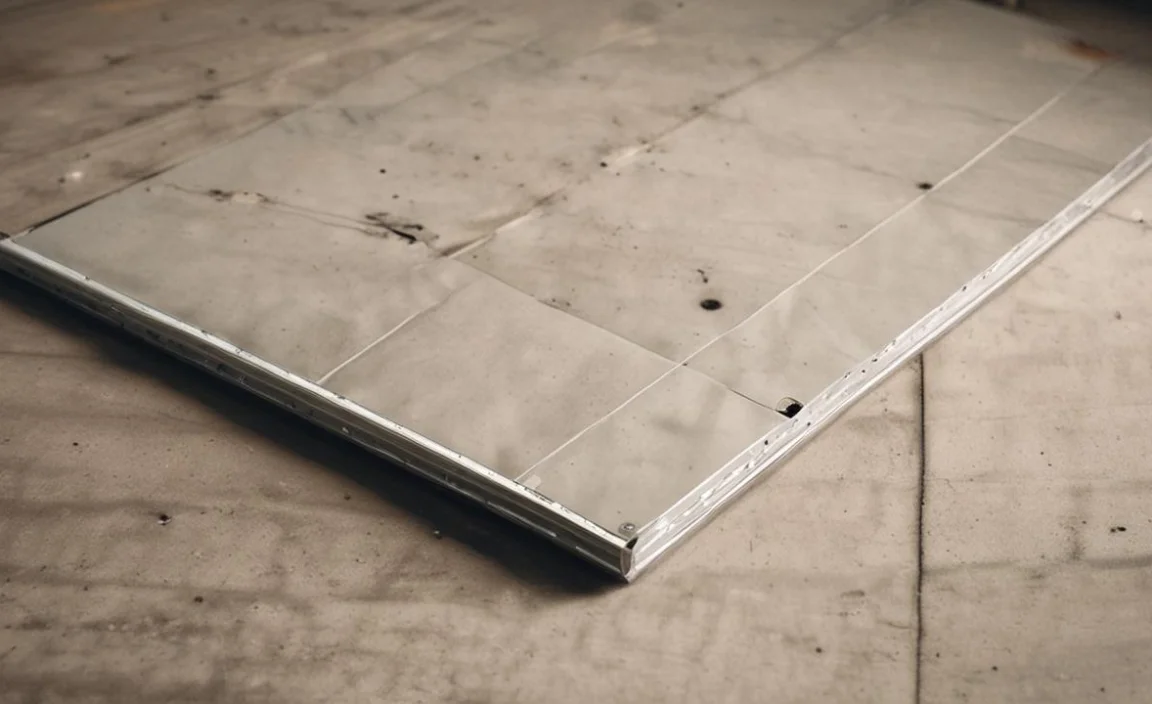
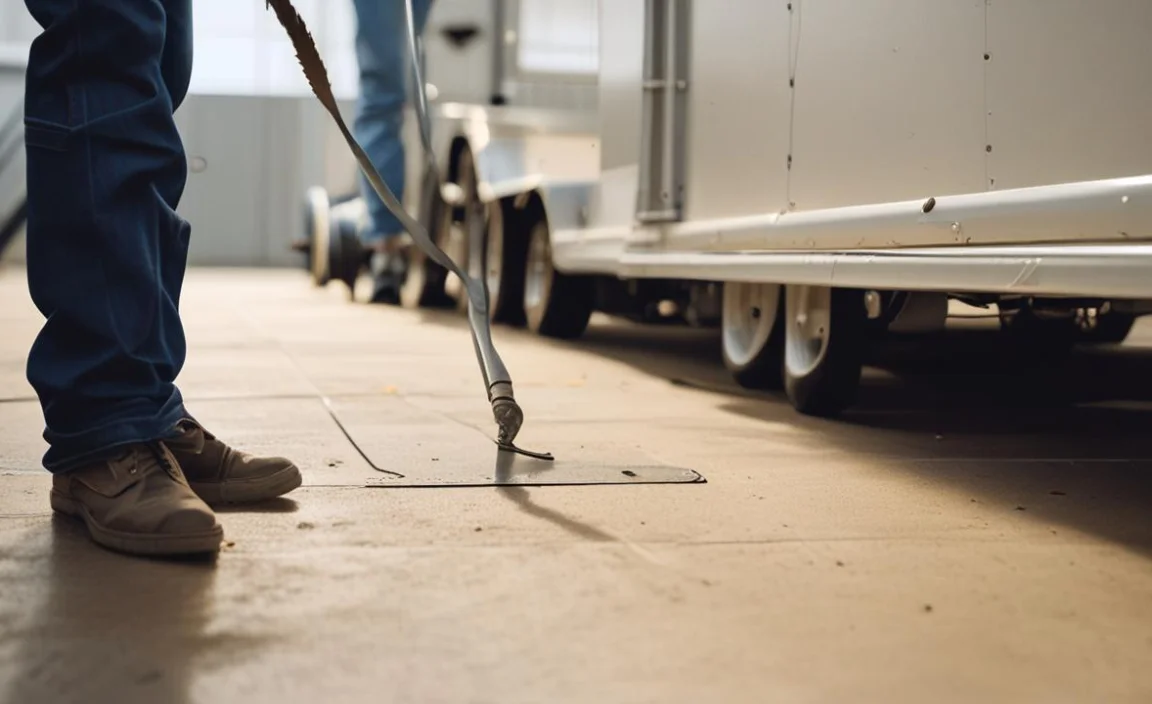
Step3. Replacement Of Damaged Or Defective Components

If your trailer floor is defective, you must replace the component to repair the floor. When replacing a trailer floor’s damaged or defective portion, it is important to use the correct repair procedures for each damaged or defective component.
The most common damaged or defective components are the floor joists, subfloor, and tongue and groove boards. If you want to ensure that your trailer floor stays in good condition, it’s important to replace damaged or defective components promptly. This will help prevent further damage and keep your trailer ready for use.
The replacement process requires the removal of the damaged or defective component, installation of a new component, and re-attachment of the floor joists and subfloor. After replacing damaged or faulty components of a trailer floor, you must ensure tightening all fasteners properly. This will help ensure that the trailer remains safe and secure while used.
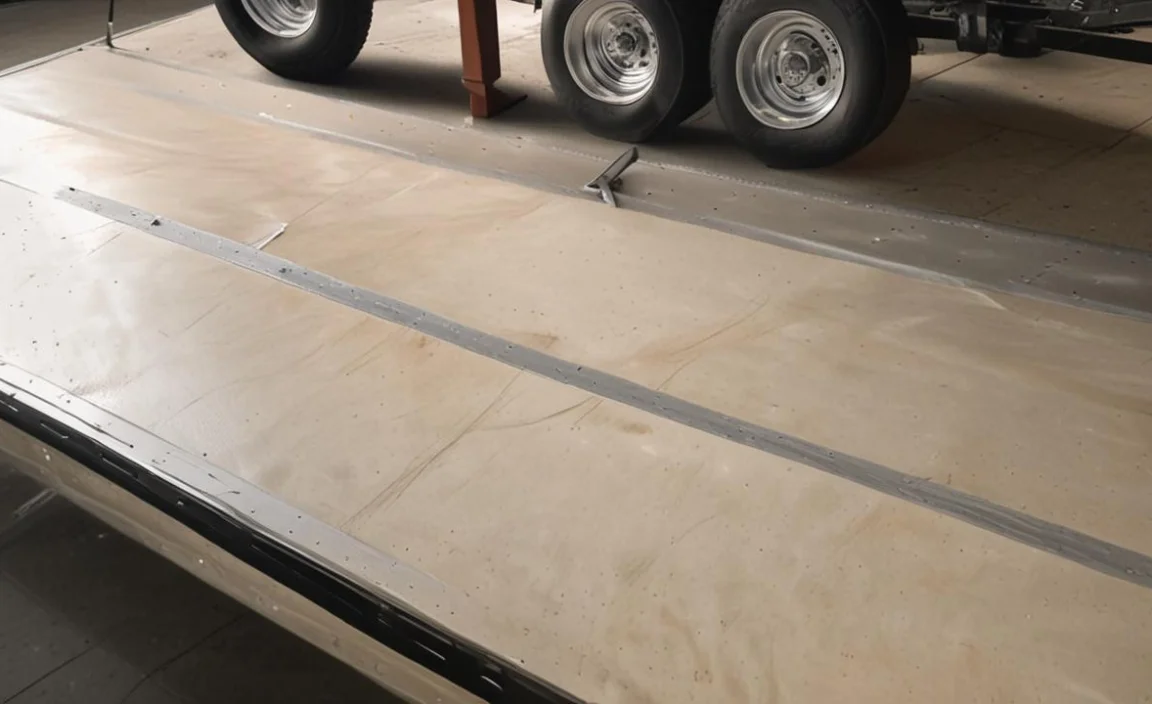
Step4. Adjustment And Final Testing
Adjustment and final testing are necessary before starting repairs on your trailer floor. The adjustment process compensates for any variances in the trailer’s flooring. We use the final test to ensure that the adjustment process has succeeded. If adjustments or final testing are unsuccessful, you may have to repeat the test. To adjust your trailer’s current floor, you must use a tool such as a trailer alignment tool.
This allows you to adjust the trailer’s suspension while keeping the wheels in place. A qualified technician can perform the adjustment process, but it is often simpler and more effective to do it yourself with the help of a trailer alignment tool.
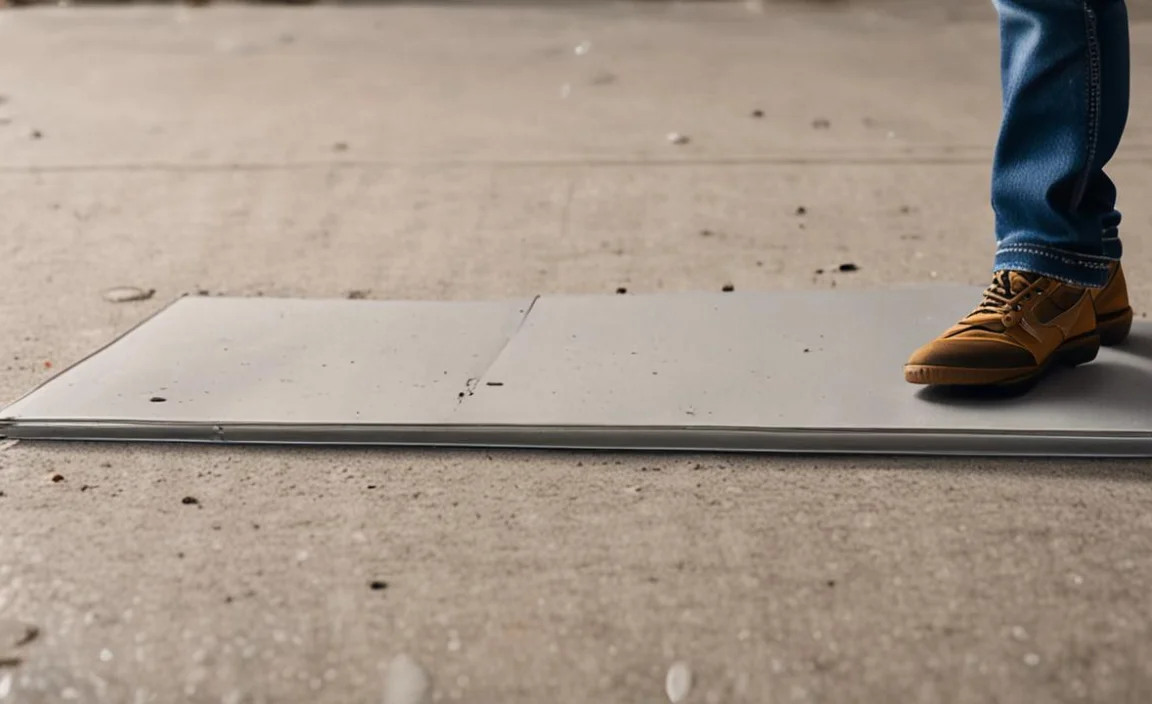
Step5. Patching And Filling Holes
Trailer floor repairs can be expensive and time-consuming, so doing them correctly the first time is essential. The most common type of trailer floor repair is patching and filling holes. This involves sealing the hole with a patch and applying a filler flooring material to strengthen the area.
Each type of repair has advantages and disadvantages; however, patching is generally less expensive than filling but may only last for a short time. Both patching and filling create a more permanent repair that is less likely to leak than a filling repair, but it depends on the type of damage and the repair technique used. It is important to assess the damage and choose the best repair carefully.
Step6. Replace Panels And Hardware
To ensure that your trailer floor repair job is properly done and to save money in the long run, it is important to take the time to thoroughly check the panels and hardware before replacing them. This will allow you to ensure the floor’s symmetrical after the repair.
And it is replacing any rusted or corroded screws or nails. In addition, replace damaged or missing panels and hardware with new ones if possible. While it may be easier to replace all the damaged pieces at once, it is best to replace just those that need them so that the floor looks restored and symmetrical after the repair. Also, replace rusted or corroded screws and nails before replacing them.
Step7. Checking For Leaks
If you notice any water or liquid seeping from your trailer, it is important to inspect the floor for damage. There may be holes in the floor that need to be patched, or the mat may be damaged and unable to absorb water properly.
If you discover a leak, the first step is to check for damage in the flooring system. This may include checking the flooring for signs of wear or tear. Once you have found the source of the leak, repairing it will require a few simple steps, such as patching holes in the flooring or replacing damaged mats.
What Type Of Flooring Is Best For An Rv?
It is important to consider factors such as durability, maintenance, and aesthetics. One popular option for RV flooring is vinyl or luxury vinyl tile (LVT). This type of flooring is water-resistant, easy to clean, and can withstand the wear and tear of RV travel. Another good choice is laminate flooring, which offers durability and easy maintenance, similar to vinyl.
Additionally, some RV owners opt for carpet tiles, as they can be easily replaced if damaged. Ultimately, the best flooring for an RV will depend on personal preference and the specific needs of the vehicle. It is recommended to consult with a professional or RV manufacturer for further guidance in selecting the right flooring for your RV.
Floor Repair Replacement Cost
The cost of floor repair or replacement can vary depending on several factors, such as the type of flooring material, the extent of damage, and the labor involved. Generally, the average cost for floor repair or replacement ranges from $500 to $5,000.
However, this is just a rough estimate, and the actual cost can be higher or lower based on your specific needs and location. It is recommended to consult with a professional flooring contractor to get an accurate estimate for your particular situation.
Rv Floor Repair Tips
RV floor repair is a crucial aspect of maintaining the structural integrity and functionality of recreational vehicles.
As RVs are exposed to various weather conditions, road vibrations, and general wear and tear, it is not uncommon for the flooring to sustain damages over time. RV entire floor repair involves identifying and addressing any issues such as water damage, soft spots, or delamination in the flooring.
- Identify the damaged areas on the RV floor
- Remove any furniture or fixtures on top of the damaged floor
- Inspect the subfloor for any signs of water damage or rot
- Cut out the damaged section of the crappy floor design using a circular saw or jigsaw
- Replace the damaged subfloor with a new piece of plywood or composite material
- Ensure the new subfloor is properly secured and level with the surrounding floor
- Apply a waterproofing sealant or primer to protect the new subfloor from future damage
- Install new flooring material such as vinyl, laminate, or carpet over the repaired area
- Test the repaired floor by walking on it and checking for any signs of instability or creaking.
- Regularly inspect the RV floor for any signs of new damage or wear and address them promptly.
Replacing Rotted Wood Flooring In A Travel Trailer
Over time, exposure to moisture and other elements can cause the wood flooring in your camper to rot, compromising its structural integrity and overall safety. In such cases, it becomes necessary to replace the rotted wood flooring with a more suitable alternative, such as vinyl or laminate flooring.
Vinyl flooring is an excellent choice for replacing rotted wood flooring in a travel trailer due to its durability and resistance to water damage. Not only is vinyl flooring easy to clean and maintain, but it also provides a sleek and modern look to your camper floor.
However, caution with tools must be exercised when using tools to remove the old flooring and install the vinyl floor in the doorway. It is essential to follow proper precautions and safety guidelines to avoid any accidents or damage to the camper’s structure.
Replacing Trailer Floor
It is crucial to consider the proper techniques and materials to ensure a durable and safe outcome. If the wood floor is showing signs of rot, decay, or structural damage, it is imperative to proceed with a replacement. Replacing a trailer floor involves working with wood framing and installing a new wooden floor. It is essential to choose high-quality wood that can withstand the heavy loads and constant use that trailers endure.
This involves removing and replacing the damaged flooring with a new layer of plywood cut or solid wood flooring. You have seen how to repair your trailer bamboo floor in the above guide. Now, you know everything about trailer floor repair. Remember to switch to high-quality products and get the best results. If you face any trouble repairing your trailer floor, call a professional who can fix this issue without fail.
Conclusion
Repairing a trailer floor can be a daunting task, but with the right tools and techniques, it is achievable. Make sure to thoroughly inspect the floor for any damage and replace any rotten or weakened boards. Secure the new boards properly and reinforce them with additional support if necessary. Regular maintenance and inspection can prevent major floor damage in the future.
With these tips on how to repair a trailer floor, you can confidently and successfully repair your trailer floor, ensuring a safe and sturdy ride for your trailer. If you encounter any major issues or feel unsure about the process, do not hesitate to consult a professional for assistance. Remember, safety should always be the top priority when it comes to repairing a trailer floor.
