Tying down cargo so it doesn’t shift can feel tricky. You want to make sure your gear stays put, whether it’s on a trailer, in the back of a truck, or even just strapped to a roof rack. A loose load can be messy, damage your items, or worse, become a safety hazard on the road. Don’t worry, though! Learning how to use a ratchet tie-down is simpler than you think. We’ll walk you through it, step-by-step, so you can secure your cargo with confidence. Get ready to master this handy skill!
How to Tie a Ratchet Tie Down: Your Essential Guide
Hey everyone, Troy D Harn here from TopChooser! If you’ve ever looked at a ratchet tie-down and felt a little intimidated, you’re not alone. They might seem a bit complex at first glance, with all those straps and moving parts. But honestly, once you get the hang of it, they’re incredibly effective and surprisingly easy to use. Think of them as super-powered straps that keep your cargo locked down tight.
Using a ratchet tie-down properly is a game-changer for anyone who hauls things regularly. Whether you’re moving furniture, securing equipment for a job, or prepping for a road trip with a loaded vehicle, having reliable tie-downs means peace of mind. You won’t have to worry about your stuff bouncing around, getting damaged, or causing a problem for other drivers.
We’re going to break down the process into simple, actionable steps. No confusing jargon, just practical advice to help you tie down your cargo safely and securely. We’ll cover what you need, how to do it, and some handy tips to make sure you’re doing it right every time. Let’s get started and make sure your cargo stays put!
Why Use Ratchet Tie-Downs?
Before we dive into the “how-to,” let’s quickly chat about why ratchet tie-downs are such a popular and useful tool. Unlike simple bungee cords or basic ropes, ratchet tie-downs offer superior security and tension. Here’s what makes them great:
- Superior Tension: The ratchet mechanism allows you to apply significant tension to the strap, meaning your cargo won’t shift or loosen during transit. This is crucial for heavier or more valuable items.
- Security: Once tightened, they hold firm. This reduces the risk of your cargo moving, falling, or becoming damaged.
- Versatility: They can secure a wide range of items, from furniture and appliances to landscaping equipment and vehicles.
- Ease of Use (Once Learned): While they have a mechanism, it’s designed for straightforward operation. We’ll make sure you get that.
- Protection: The webbing is typically made of strong polyester, designed to be durable and resistant to abrasion and weathering, protecting your cargo and the tie-down itself.
What You’ll Need

The good news is you don’t need a whole workshop full of tools to use a ratchet tie-down. Here’s what you’ll primarily be working with:
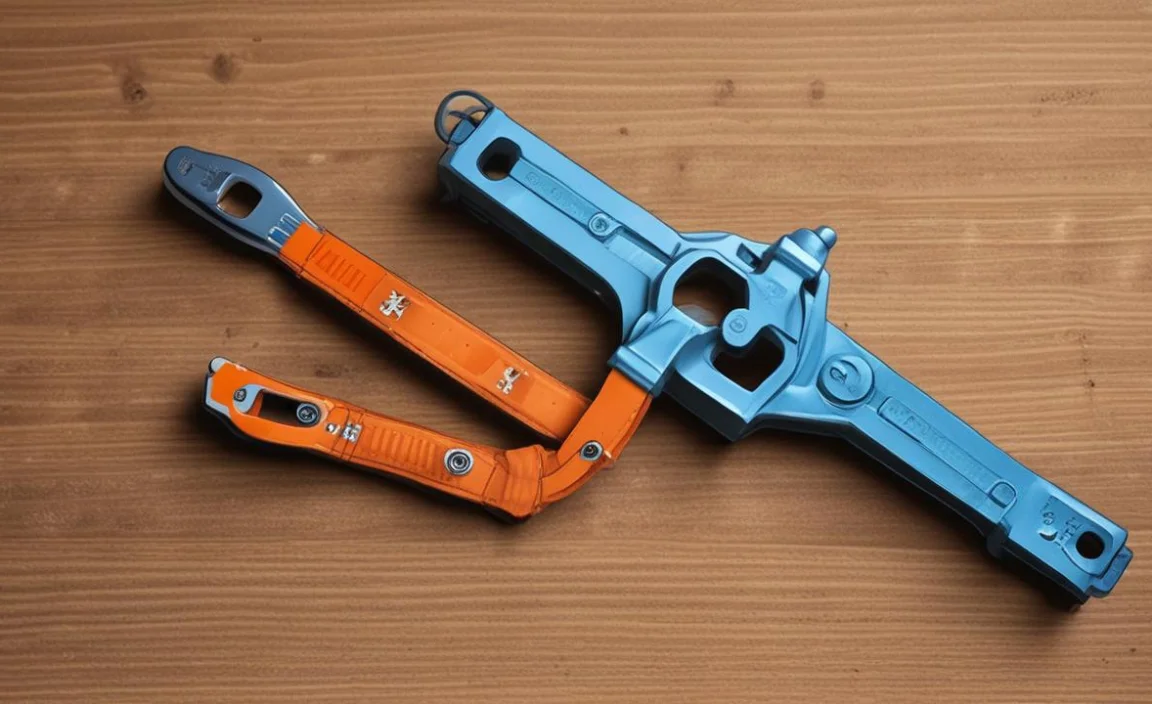
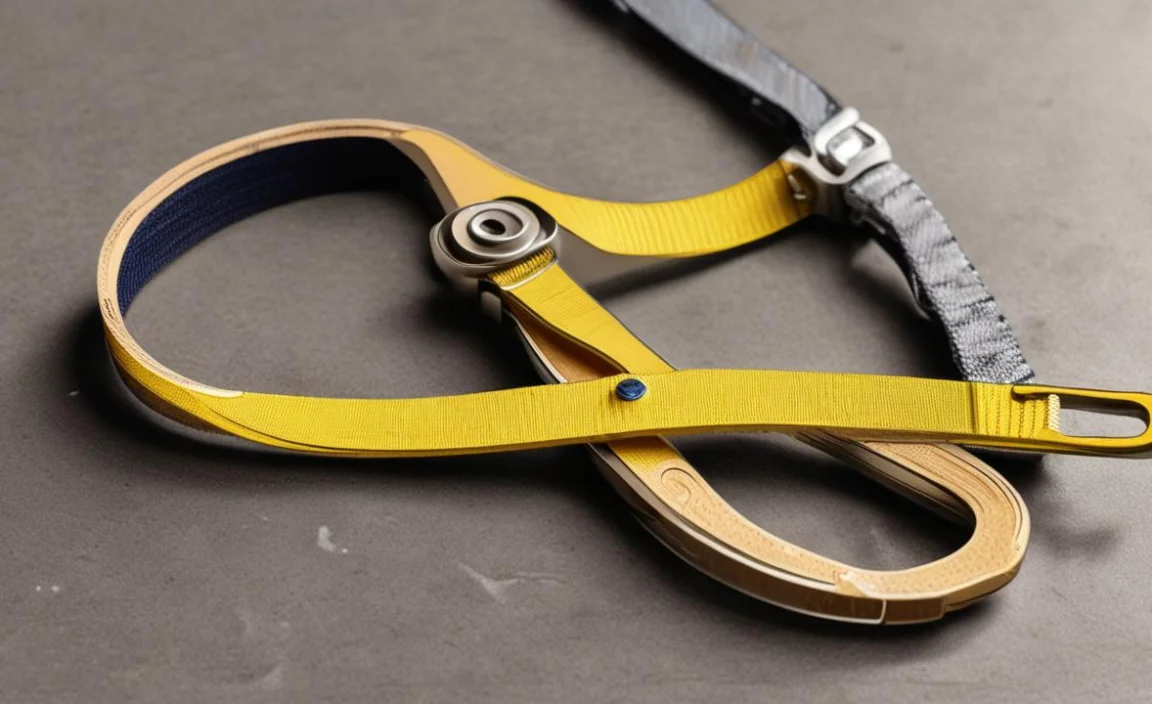
- Ratchet Tie-Down Straps: These are the star of the show! They consist of a webbing strap with a ratchet mechanism on one end and a hook or loop on the other.
- Cargo to Secure: Obviously! Make sure it’s placed where you want it before you start strapping.
- Anchor Points: Your vehicle (truck bed, trailer frame, roof rack) or a secure structure needs strong attachment points. These could be D-rings, cargo hooks, stake pockets, or specialized tie-down bars. Ensure these points are rated for the weight you’re securing. For trailers, checking the Federal Motor Carrier Safety Administration (FMCSA) regulations on cargo securement is a good idea, especially for larger loads.
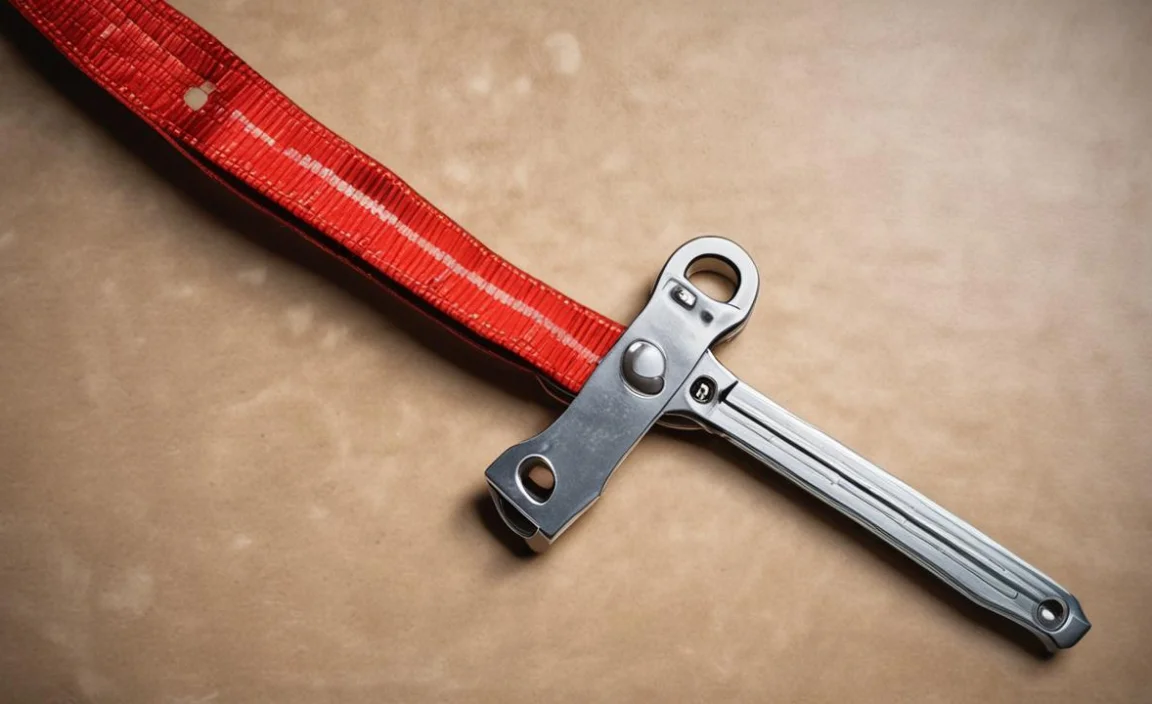
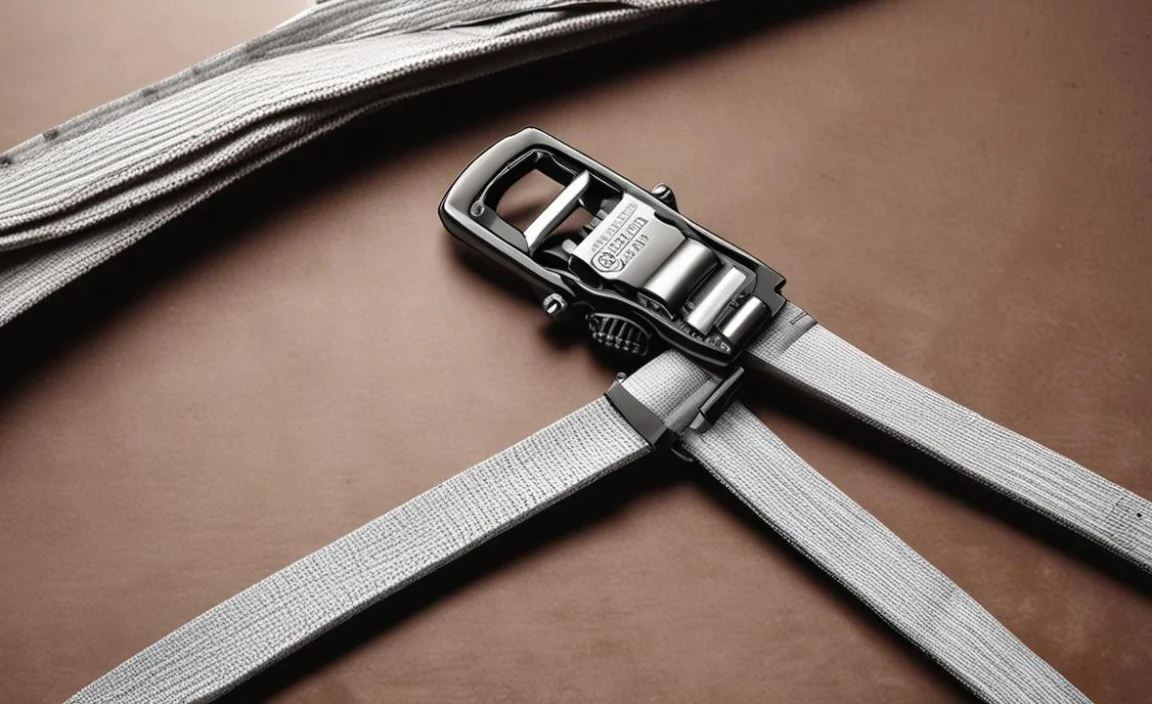
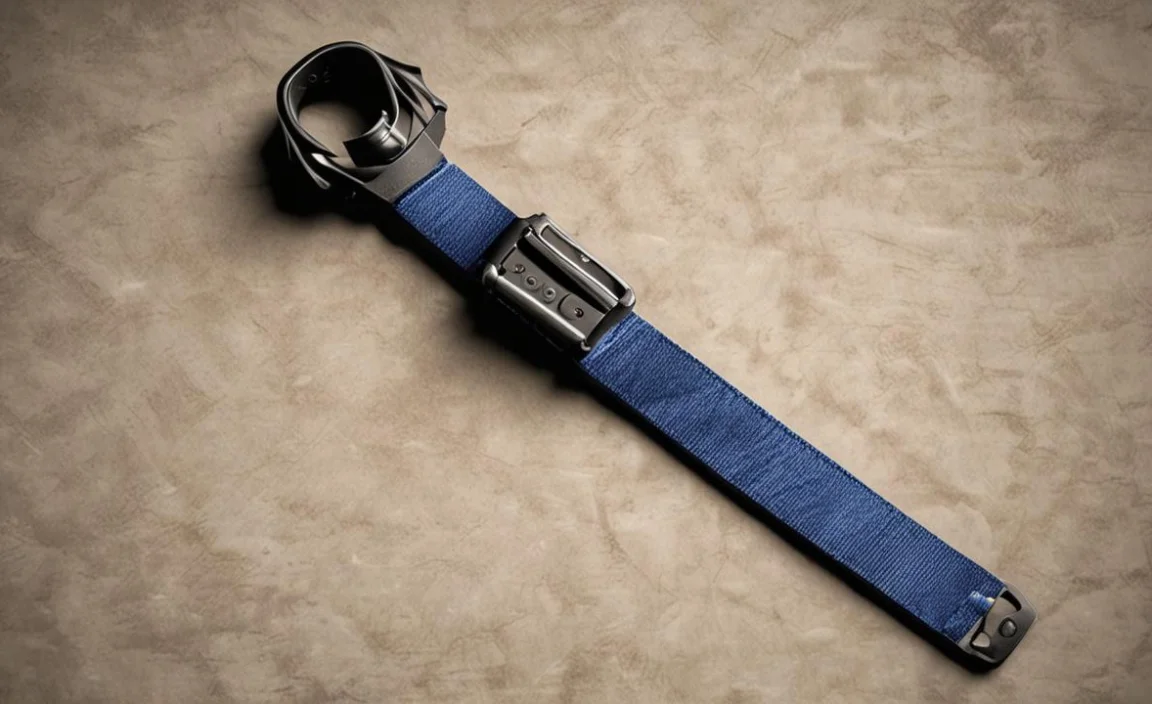
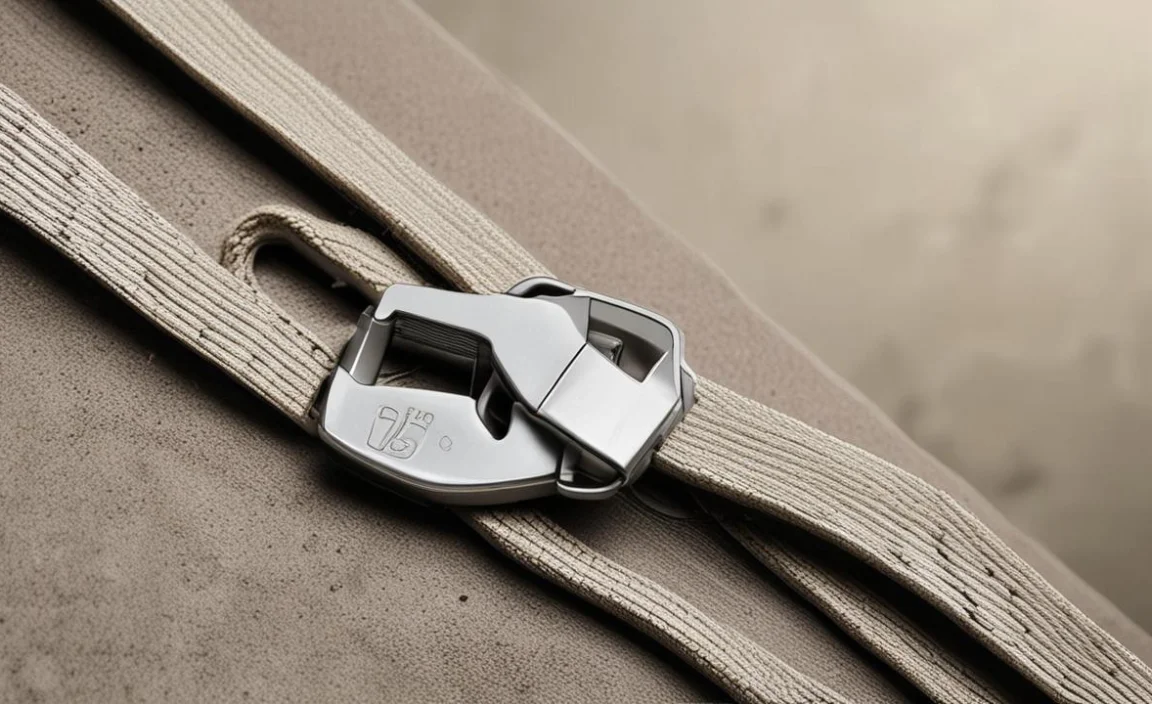
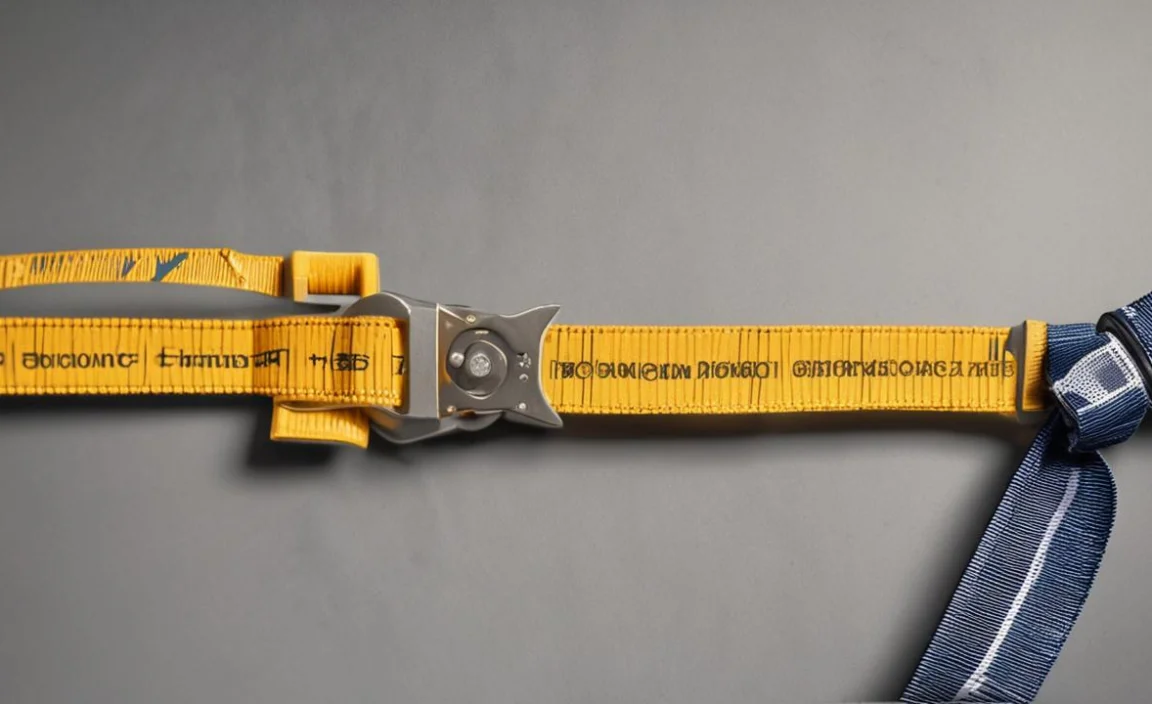
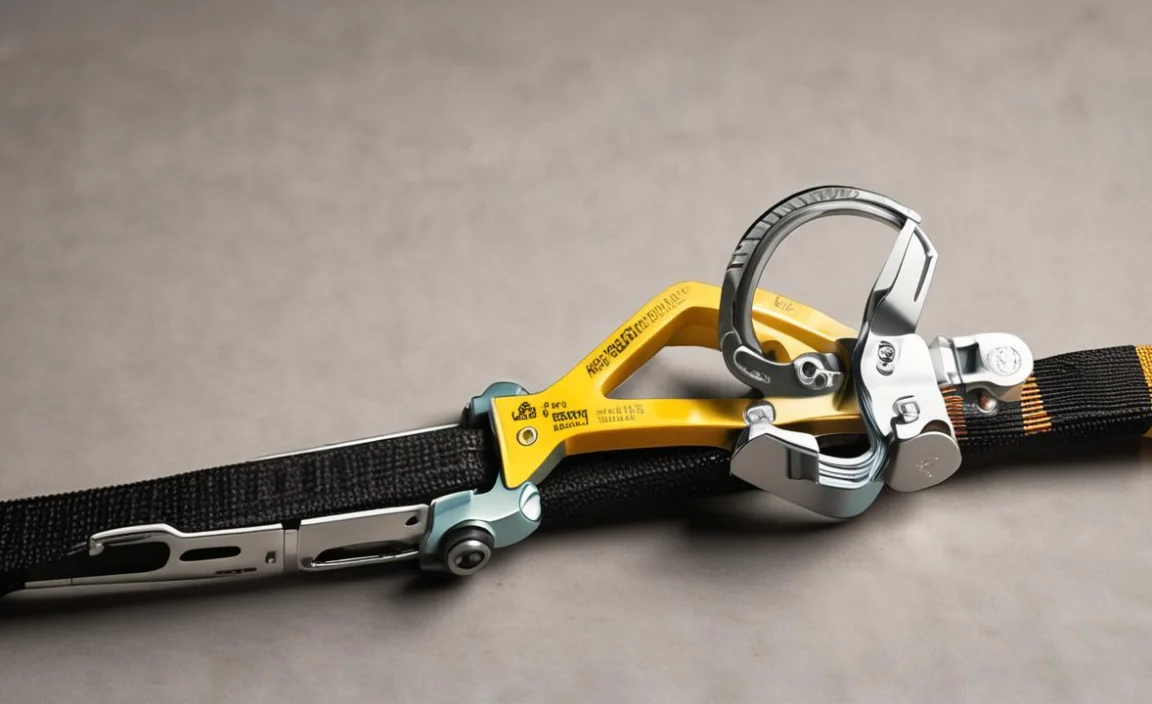
Understanding the Parts of a Ratchet Tie-Down
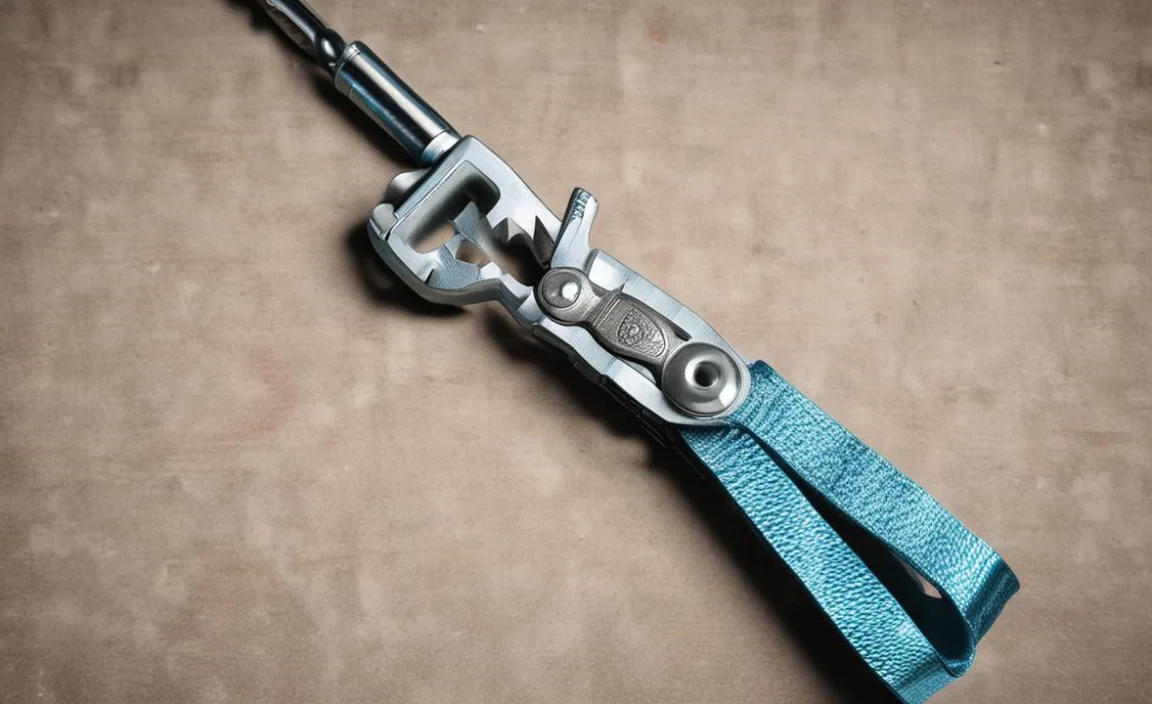
Let’s get familiar with the main components. Knowing these terms will make the steps much clearer.
| Part | Description |
|---|---|
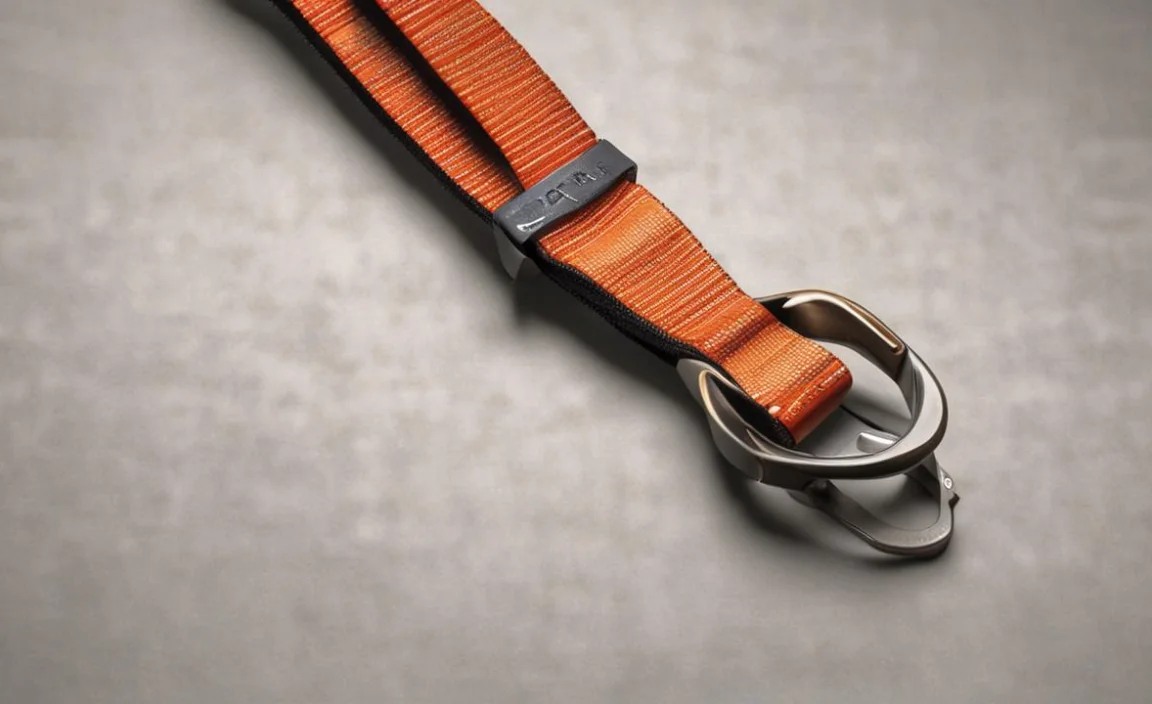
| Webbing Strap | The strong polyester material that wraps around or through your cargo. |
| Ratchet Mechanism | The device with a pawl and gears that tightens the strap. It has a handle you pump and a release lever. |
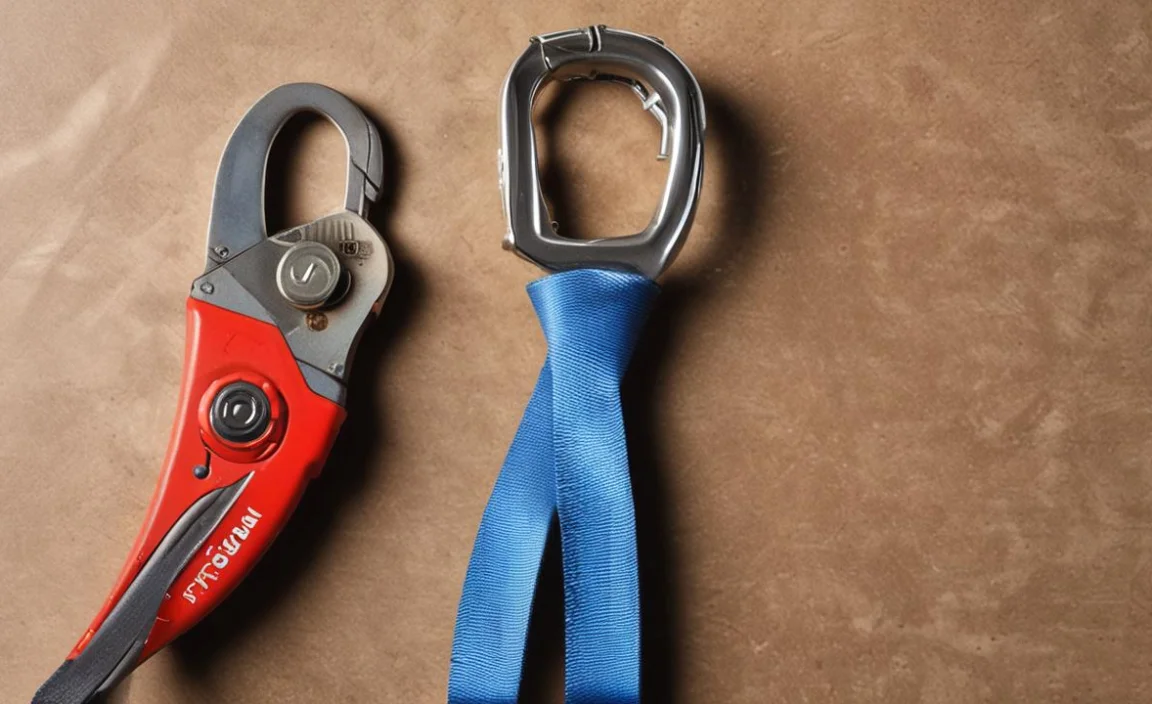
| Hook/End Fitting | The metal end of the strap that attaches to your anchor point. Usually a J-hook, S-hook, or a loop. |
| Ratchet Handle | The part of the mechanism you push up and down to tighten the strap. |
| Release Lever | A small lever or button on the ratchet mechanism used to loosen the strap. |
Step-by-Step: How to Use a Ratchet Tie-Down
Alright, let’s get down to business. Follow these steps, and you’ll be securing your cargo like a pro in no time. We’ll assume you’re using a common style with hooks on both ends and a ratchet mechanism on one.
Step 1: Position Your Cargo
Before you even touch the tie-down, make sure your cargo is precisely where you want it. Once tied down, moving it can be difficult. Ensure it’s stable and won’t shift easily on its own. If you’re stacking items, try to make the stack as compact and stable as possible.
Step 2: Locate Your Anchor Points
Identify the strong, secure points on your vehicle or trailer where you’ll attach the tie-downs. These should be sturdy and rated for the weight you’re hauling. Common examples include D-rings in a truck bed, stake pockets along the sides of a trailer, or specialized tie-down bars. Never attach tie-downs to plastic bumpers or flimsy parts of a vehicle.
Step 3: Attach the First Hook
Take one end of the tie-down strap, usually the end with the hook, and attach it firmly to an anchor point. Make sure the hook is fully seated and not just hanging on the edge of the anchor point.
Step 4: Route the Strap
Now, take the other end of the strap (the one with the ratchet mechanism) and loop it under, through, or around your cargo. You want the strap to make contact with the item you’re securing in a way that keeps it from moving. Avoid routing the strap over sharp edges if possible, as this can fray the webbing. If you must cross an edge, consider using edge protectors. Guide the strap towards the second anchor point.
Pro Tip: When routing the strap, try to create a path that distributes pressure evenly. If you’re securing a flat object, run the strap across its surface. For irregularly shaped items, find the most stable points to make contact.
Step 5: Attach the Second Hook and Pull Through the Ratchet
Attach the second hook to its anchor point. Now, you should have a loose loop of webbing running from hook to hook, passing over or around your cargo. If your strap has two hooks and a separate ratchet piece, you’ll attach one hook, then feed the strap through the ratchet mechanism, and then attach the second hook. For the common integrated models, you’ll attach one hook, then feed the loose end of the strap through the slot in the ratchet drum. Pull the loose end of the strap through the ratchet drum as far as you need to get some initial snugness, but not tight yet.
Make sure to feed the strap through the ratchet mechanism in the correct direction. Most ratchet mechanisms have an arrow indicating the direction to pull the strap for tightening. You want to pull the loose end of the strap through the ratchet drum.
Step 6: Start Ratcheting
This is where the magic happens! Hold the ratchet mechanism steady with one hand. With your other hand, start moving the ratchet handle up and down in a pumping motion. Each pump should pull more webbing through the ratchet, tightening the strap.
You’ll feel the strap getting tighter with every pump. The ratchet mechanism has a pawl that catches the gear, allowing it to move in only one direction – tightening. Continue pumping until the strap is snug against your cargo.
Important Safety Note: Do not over-tighten! While you want the cargo secure, excessive tension can damage your cargo, the tie-down strap, or even the anchor points on your vehicle. Listen for the webbing to almost “sing” or feel it become very firm. Generally, stop when you can’t easily push the strap into the cargo anymore. For very delicate items, use less tension and perhaps more tie-downs.
Step 7: Lock the Ratchet and Check
Once you’ve achieved the desired tension, let go of the ratchet handle. It should stay in place. Some ratchets have a locking mechanism; ensure yours is engaged or locked if it does. Give the strap a good tug to make sure it’s held firmly. If it slips, you need to readjust.
Step 8: Secure Loose Ends
Most tie-downs give you a bit of excess strap hanging past the ratchet. You don’t want this flapping around. You can:
- Tuck it securely under the strap already tightened.
- Wrap it around the ratchet mechanism itself.
- Use a zip tie or a bungee cord to secure the excess, keeping it from becoming a nuisance or a hazard.
Step 9: Repeat for Other Tie-Downs
Depending on the size and nature of your cargo, you’ll likely need more than one tie-down. Use a symmetrical pattern. If you’re securing a box, use tie-downs on opposite corners. For longer items like lumber, use multiple tie-downs spaced along the length. A good rule of thumb is to use at least two tie-downs for most loads, and more for heavier or awkward items.
Step 10: Final Inspection
Before you hit the road, do a thorough check. Push and pull on your cargo. Does it feel solid? Are all hooks securely attached? Is the webbing taut? Make a mental note to re-check your tie-downs after a few miles of driving, as cargo can settle and straps can stretch slightly.
Tips for Safe and Effective Cargo Securement
Here are some extra pointers to make sure your cargo stays put and you stay safe:
- Know Your Working Load Limit (WLL): Every tie-down strap has a Working Load Limit (WLL) stamped on its tag. This is the maximum weight the strap is designed to carry safely. Never exceed this limit. The total WLL of all your tie-downs should be at least half the weight of the cargo. For example, if you’re hauling 1000 lbs, you need tie-downs with a combined WLL of at least 500 lbs. A single strap might have a WLL of 500 lbs and a breaking strength of 1500 lbs; the WLL is the safe working number. For more in-depth guidance, the Department of Transportation (DOT) provides resources on cargo securement best practices.
- Inspect Straps Before Use: Look for any signs of wear, such as cuts, tears, fraying, or chemical damage. If a strap looks compromised, don’t use it!
- Protect from Edges: Use corner protectors or pieces of carpet/rubber under the strap where it meets sharp edges of your cargo or vehicle to prevent cutting or abrasion.
- Consider Climate: Extreme heat or cold can affect the strength of straps. UV exposure also degrades webbing over time. Store tie-downs out of direct sunlight when not in use.
- Don’t Mix and Match: Try to use tie-downs of the same type and capacity for a load.
- Proper Storage: Roll or coil your tie-downs neatly after use. Avoid kinking the webbing or storing them with sharp objects.
When to Use Ratchet Tie-Downs vs. Other Methods
Ratchet tie-downs are fantastic, but they aren’t always the best tool for every job. Here’s a quick comparison:
| Tie-Down Type | Pros | Cons | Best For |
|---|---|---|---|
| Ratchet Tie-Downs | High tension, secure hold, good for heavy/awkward items, durable. | Can over-tighten and damage cargo, takes a bit more effort to release. | Furniture, equipment, vehicles, landscaping supplies, anything that needs to be held tight. |
| Bungee Cords | Quick, easy, flexible, good for light loads and preventing minor shifting. | Low tension, can snap/break easily, not secure for heavy items, can damage paint if hooks are rough. | Tarps, securing loose items that don’t need much force, temporary cargo. |
| Rope/Knot Tying | Very versatile, can tie almost anything, readily available. | Requires knot-tying skill, can loosen over time, friction can cause wear, tension can be inconsistent. | Bundling items, lighter loads where precise tension isn’t critical, general utility around the house. |
| Cargo Straps (Cam Buckle) | Easy to tighten, gentler tension than ratchets, good for lighter loads. | Less tension than ratchets, can slip if not perfectly aligned. | Kayaks, canoes, lighter furniture, things that shouldn’t be overly compressed. |
When to Untie Your Cargo
Always untie your cargo once you’ve reached your destination and are ready to unload. Leaving straps attached can lead to:
- Exposure to the elements, which can degrade the strap.
- Being tempted to leave cargo secured when it should be unloaded.
- Straps getting tangled or damaged later.
How to Release a Ratchet Tie-Down
Releasing is just as important as securing. You’ll need to release the tension before you can unhook.
- Locate the Release Lever: Find the small lever on the ratchet mechanism.
- Push and Hold: Push this lever down or in (depending on the design) while simultaneously pushing the ratchet handle down towards the strap. You might need to push the handle slightly past the resting point.
- Let the Strap Release: As you hold the lever and push the handle, the ratchet will disengage, and the strap will spool back into the mechanism, releasing tension. Keep your hands clear!
- Continue Releasing: Continue this process until the strap is completely loose.
- Unhook: Once loose, you can unhook the ends.
It might take a couple of tries to get the feel for releasing. If it’s stiff, ensure you’re pushing the release lever fully down and moving the handle correctly. Some mechanisms can be a bit stubborn when dirty or new.
FAQ: Your Ratchet Tie-Down Questions Answered
Q1: How tight should a ratchet tie-down be?
A1: Tight enough that the cargo doesn’t move when you push or pull on it, but not so tight that you risk damaging your cargo, the strap, or anchor points. Listen for a slight “humming” sound from the strap as a sign of good tension.
Q2: Can I use ratchet tie-downs for securing a car?
A2: Yes, ratchet tie-downs specifically designed for vehicle transport (often called auto-haulers or car straps) are used for this. Always ensure the tie-downs and anchor points are rated sufficiently for the vehicle’s weight. Check automotive forums or trailer supply stores for guidance on vehicle-specific tie-down methods.
Q3: What is the difference between working load limit (WLL) and breaking strength?
A3: Breaking strength is the absolute maximum load a strap can withstand before failing. Working Load Limit (WLL) is a much lower, safer limit that accounts for shock, wear, and friction. Always use the WLL as your guide for safe use.
Q4: How many ratchet tie-downs do I need for a load?
A4: As a general rule, you need enough tie-downs so their combined Working Load Limit (WLL) is at least half the weight of your cargo. For
