Feeling like your kitchen scraps are just piling up? Want to give your garden a boost without breaking the bank? You’re not alone! Many of us want to compost, but think it’s too complicated or expensive. Well, I’ve got a secret for you: vermicomposting, or worm composting, is surprisingly easy and incredibly affordable. Think of it as turning your trash into garden treasure with a little help from some wiggly friends.
This guide will show you exactly how to start vermicomposting cheaply, making it super simple to manage. We’ll cover everything from gathering your supplies to feeding your worms and using that amazing worm castings. Get ready to transform your waste into something wonderful!
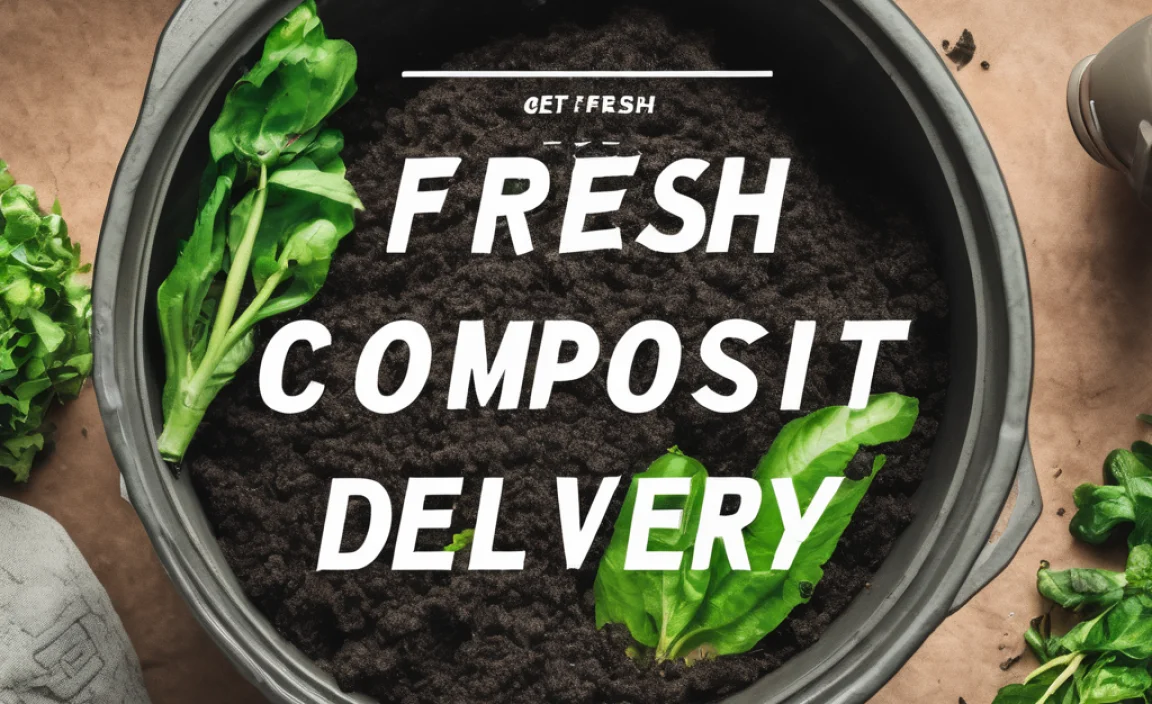
Vermicomposting Cheap: Your Step-by-Step Guide to Wiggly Wonders
Hey there, green thumbs and budget-conscious DIYers! Troy D Harn here from TopChooser, ready to chat about something amazing: vermicomposting. If you’ve ever looked at your banana peels and coffee grounds and thought, “There’s got to be a better way than the trash can,” then you’re in the right place. Vermicomposting is basically composting with worms. And the best part? You can do it for next to nothing!
We’re going to walk through how to set up your own “worm farm” without spending a fortune. It’s simpler than you think, and the rewards – like nutrient-rich compost for your plants – are huge. Let’s dig in and make composting easy and cheap!
Why Vermicompost on a Budget? The Big Benefits
Before we get our hands dirty, let’s talk about why vermicomposting is such a brilliant idea, especially when you’re trying to save money. It’s not just about reducing landfill waste; it’s about creating something valuable!
- Eco-Friendly Waste Reduction: A massive chunk of household waste is organic material that can be composted. Worm composting diverts this from landfills, where it produces harmful methane gas.
- Super Soil Food: The end product, called worm castings or vermicast, is a powerhouse of nutrients for your plants. It’s like a natural fertilizer that also improves soil structure, helping plants grow stronger and healthier with less need for chemical fertilizers.
- Cost Savings: Forget expensive bagged fertilizers and soil amendments. Worm castings are free food for your garden! Plus, you’ll be reducing your waste disposal fees if you pay by weight.
- Indoor & Small Space Friendly: Unlike traditional compost piles that need a backyard, a worm bin can live indoors (garage, basement, under the sink) or on a small balcony. This makes it perfect for apartment dwellers and those with limited outdoor space.
- Educational & Rewarding: It’s a fantastic way to connect with nature, teach kids about decomposition and sustainability, and feel a real sense of accomplishment from creating something so beneficial.
The Core Essentials: What You Truly Need (The Cheap Way!)
When I say “cheap,” I mean it! We’re going to focus on repurposing and finding affordable options for everything you need to get your worm farm up and running. The goal is to keep costs minimal, so you can experience the joys of vermicomposting without the financial worry.
Your Worm Bin: A Repurposed Home for the Wrigglers
You don’t need a fancy, store-bought worm bin. Many common household items can be transformed into a perfect home for your worms. The key is to have a container that can hold the bedding and food, allow for drainage, and provide ventilation.
Budget-Friendly Bin Options:
- Plastic Storage Totes: This is the most popular and easiest DIY option. Look for opaque totes (around 10-20 gallons) at dollar stores, thrift shops, or even use one you already have. Opaque bins are best because worms prefer darkness.
- Old Wooden Crates or Drawers: If you have an old dresser drawer or a wooden crate lying around, these can often be adapted. You might need to line them with something to prevent the bedding from falling out.
- Buckets: Larger food-grade buckets (like those from delis or bakeries) can also work.
What to Look For in a Bin:
- Size: A 10-20 gallon container is usually sufficient for a beginner’s household worm bin.
- Lid: Essential to keep moisture in and pests out.
- Drainage: This is crucial! Worms need a moist environment, but not a soggy one.
- Ventilation: Worms need to breathe.
Preparing Your Cheap Worm Bin: Step-by-Step
This is where we get handy! Modifying a plastic tote is the easiest and cheapest way to go. Grab your bin, a drill, and let’s get started.
- Drill Drainage Holes: In the bottom of your plastic tote, drill about 8-12 small holes (about 1/4 inch in diameter) spaced evenly. These will allow excess moisture to drain out.
- Drill Ventilation Holes: Drill about 8-12 more holes around the top sides of the tote, just below the lid line. You can also drill a few holes in the lid itself. Again, about 1/4 inch is good.
- Create a Worm Tea Catcher (Optional but Recommended): If you want to collect the liquid that drains out (worm tea, a fantastic liquid fertilizer!), you can place a second, identical tote underneath the first one. The holes in the bottom of the first bin will allow liquid to drip into the second bin. Make sure the second bin does not have drainage holes. If you don’t want to use two bins, you can buy a cheap plastic drip tray or use an old baking tray.
- Prepare the Lid: Ensure the lid fits snugly. You can drill some ventilation holes in the lid as mentioned in step 2.
Bedding: The Worms’ Comfy Home
Worms don’t just live in dirt; they live in moist, fluffy bedding that mimics their natural environment. You need materials that hold moisture, allow airflow, and are easily digestible for the worms. Again, we’re aiming for free or nearly free!
Excellent Cheap Bedding Options:
- Shredded Newspaper: Black and white print is best. Avoid glossy or colored paper. Tear or shred it into thin strips.
- Shredded Cardboard: Similar to newspaper, tear or shred plain cardboard (like from shipping boxes).
- Coconut Coir (Coco Peat): This is often sold for pet bedding or gardening. It can be a good option if you can find it affordably in bulk or on sale. It retains moisture well.
- Dried Leaves: Collect dry leaves from your yard in the fall. They are excellent for adding carbon.
- Peat Moss: Can be used, but it’s less sustainable and can be pricey.
What NOT to Use for Bedding:
- Anything shiny, glossy, or heavily inked.
- Materials treated with chemicals.
- Manure from herbivores that you don’t know the source of (can contain pathogens).
- Pine needles or wood chips can be too acidic or slow to break down.
How to Prepare Your Bedding:
- Take your chosen bedding material (e.g., shredded newspaper).
- Place it in a large bucket or tub.
- Add water and mix until it’s as damp as a wrung-out sponge. It should be moist but not dripping when you squeeze it.
- Fluff it up so it’s airy.
- Fill about 2/3 to 3/4 of your prepared worm bin with this damp bedding.
The Composting Crew: Your Wiggly Workers
You need actual composting worms, not the kind you dig up in your garden for fishing. These specialized worms are bred for composting and are much more efficient. But how to get them cheaply?
Types of Composting Worms:
- Red Wigglers (Eisenia fetida): These are the most popular, hardy, and efficient composting worms. They reproduce quickly and thrive in worm bins.
- European Nightcrawlers (Eisenia hortensis): Also good, but Red Wigglers are usually recommended for beginners.
Getting Worms on a Budget:
- Buy a Small Starter Culture: You can often buy a small “starter” culture of about 1/4 pound of worms online from reputable breeders. This might seem like an upfront cost, but they reproduce quickly! Look for sales.
- Ask Fellow Gardeners: Do you know anyone who already vermicomposts? They might be happy to share a small amount of their worm population with you – it’s a common practice among worm ranchers! A little goes a long way.
- Check Local Gardening Groups: Sometimes local organic gardening clubs or forums have members who sell or give away worms.
How many worms do you need to start? A 1/4 pound (about 100-250 worms) is a good starting point for a beginner’s bin. They will multiply as they get more food and space.
Setting Up Your Worm Bin: Putting It All Together
Now that you have your bin, bedding, and worms, let’s get them settled in their new home. It’s a simple process that takes just a few minutes.
- Fill the Bin: Place your prepared, damp bedding into the worm bin, filling it about 2/3 to 3/4 full. Fluff it up nicely.
- Add Your Worrms: Gently place your composting worms on top of the bedding. Don’t bury them; let them burrow down on their own.
- Give Them a Little Food (Optional First Day): You can leave them for a day without food to help them acclimate. The next day, you can bury a small amount of food under the bedding in one corner.
- Add the Lid: Put the lid on your bin.
Feeding Your Worms: What They Love (and What to Avoid!)
Feeding your worms is the core activity of vermicomposting. They will eat your food scraps and turn them into valuable castings! The key is to feed them appropriately. Remember, worms are sensitive creatures, so start slow and learn what works.
Great Foods for Worms (The “Greens”):
- Fruit and vegetable scraps (apple cores, carrot peels, lettuce, melon rinds)
- Coffee grounds and filters
- Tea bags (staples removed)
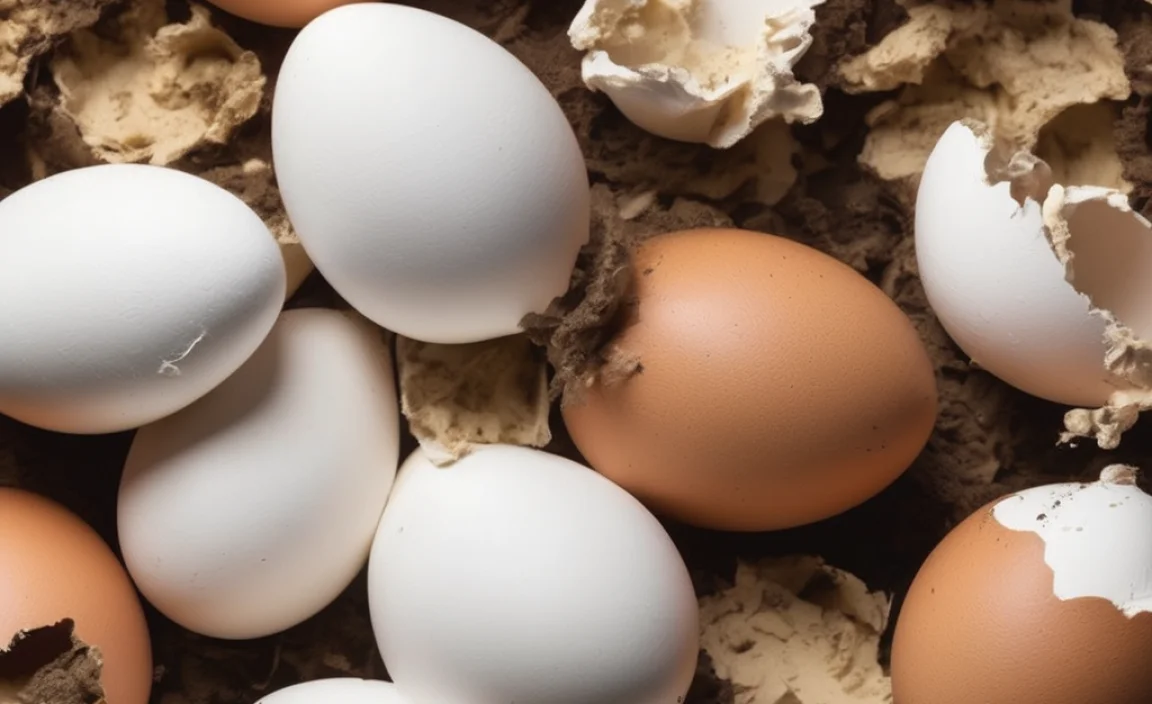
- Crushed eggshells (rinsed, then crushed; helps with grit and adds calcium)
- Cooked pasta and rice (plain, no sauces or oils)
- Bread scraps (in moderation)
Foods to Avoid or Limit (Challenging for Worms):
- Meat, Dairy, and Oily Foods: These can attract pests and cause odors.
- Citrus Fruits: Too acidic for most composting worms in large quantities. Small amounts are usually fine.
- Spicy Foods: Worms don’t like them.
- Onions and Garlic: Can be too potent.
- Diseased Plants: Avoid feeding these, as it could potentially spread issues.
- Processed Foods: Generally too artificial and can disrupt the bin’s ecosystem.
How to Feed Your Worms:
Frequency: Start by feeding once a week. You’ll learn how quickly your worms eat their food. If the food is gone within a few days, you can feed a bit more or more often. If food is left over, reduce the amount.
Preparation: The smaller you chop the food scraps, the faster the worms can process them. Burying the food under the bedding is a good practice. You can rotate where you bury the food so the worms spread out and process everything evenly.
Quantity: A general rule of thumb is that worms can eat about half their weight in food per day. So, if you have 1 pound of worms, they can eat about 1/2 pound of food daily. Start small, especially when you’re new!
Maintaining Your Cheap Worm Bin: Simple Tips
Vermicomposting boxes are pretty low maintenance, which is part of their charm. The most important things are moisture, temperature, and aeration. And, of course, feeding the residents!
Moisture Levels
Your bedding should always feel like a wrung-out sponge. If it’s too dry, your job is to add a little water. If it’s too wet, you need to add more dry bedding material (like shredded newspaper or cardboard) and perhaps aerate the bin gently. The drainage holes are your friends here!
Using the worm tea catcher is also a good indicator. If you’re getting a lot of liquid, your bin is probably too wet.
Temperature
Red wigglers like temperatures between 55-77°F (13-25°C). If your bin gets too hot (above 85°F/30°C), the worms can die, and if it gets too cold (below 40°F/4°C), they can go dormant or die. This is why keeping them in a shaded spot, a garage, or indoors is often best.
Aeration
Every few weeks, gently turn or fluff the top layer of bedding with a garden trowel or your hands. This helps introduce oxygen, which the worms need, and prevents compaction.
Hatching Worm Cocoons
Eventually, you’ll notice small, lemon-shaped cocoons in your bin. These are worm eggs! Your worm population will grow naturally if conditions are right. Leave them be; they’ll hatch on their own.
Harvesting Your “Black Gold”: Worm Castings and Worm Tea
This is the payoff! After a few months, your worms will have transformed your food scraps into nutrient-rich worm castings, and you might have collected some liquid worm tea too. These are pure gold for your garden!
Harvesting Worm Castings
There are a few simple ways to harvest:
- The “Migration” Method: The easiest way for beginners. Stop feeding one side of the bin for a couple of weeks. Worms will migrate to the side with fresh food. Once most have moved, you can scoop out the castings from the empty side.
- Light Method: Dump the bin’s contents onto a tarp or plastic sheet under a bright light. Worms hate light, so they will burrow down. Scrape off the top layer of castings, wait a bit for more worms to burrow down, and repeat.
- Sifting: You can use a screen (like a window screen or a hardware cloth) to sift the castings. This separates out any larger uncomposted material and the worms themselves.
How to Use Worm Castings:
- Top Dressing: Sprinkle a layer around the base of your plants, houseplants, or in your garden beds.
- Mixing into Soil: Mix into potting soil for containers or into garden beds at a ratio of about 1 part castings to 4-5 parts soil.
- Worm Tea Brew: While harvested castings are great, you can also make a liquid fertilizer called worm tea.
Harvesting and Using Worm Tea
If you’re using the two-bin system, the liquid that collects in the bottom bin is your worm tea. If you only have one bin, you can periodically drain off excess liquid yourself (though good bins shouldn’t produce much). Worm tea is a fantastic liquid plant food.
To Use: Dilute worm tea with water at a ratio of 1 part tea to 10 parts water. Water your plants with this solution or use it as a foliar spray.
Important Note: Be cautious if you are collecting worm tea from a single bin without drainage that collects stagnant liquid. This collected stagnant liquid can be harmful to plants. Freshly drained liquid or properly brewed worm tea is best.
Common Vermicomposting Problems (and Cheap Fixes!)
Even the simplest systems can run into minor issues. Don’t worry; most problems are easy to fix!
| Problem | Cause | Cheap Fix |
|---|---|---|
| Bad Odor (like rotten eggs or ammonia) | Bin is too wet; too many acidic foods; overfeeding; anaerobic conditions (lack of air). | Add more dry bedding (newspaper, cardboard). Don’t feed for a week. Gently aerate the bin. Remove any uneaten food. Ensure good drainage and ventilation. |
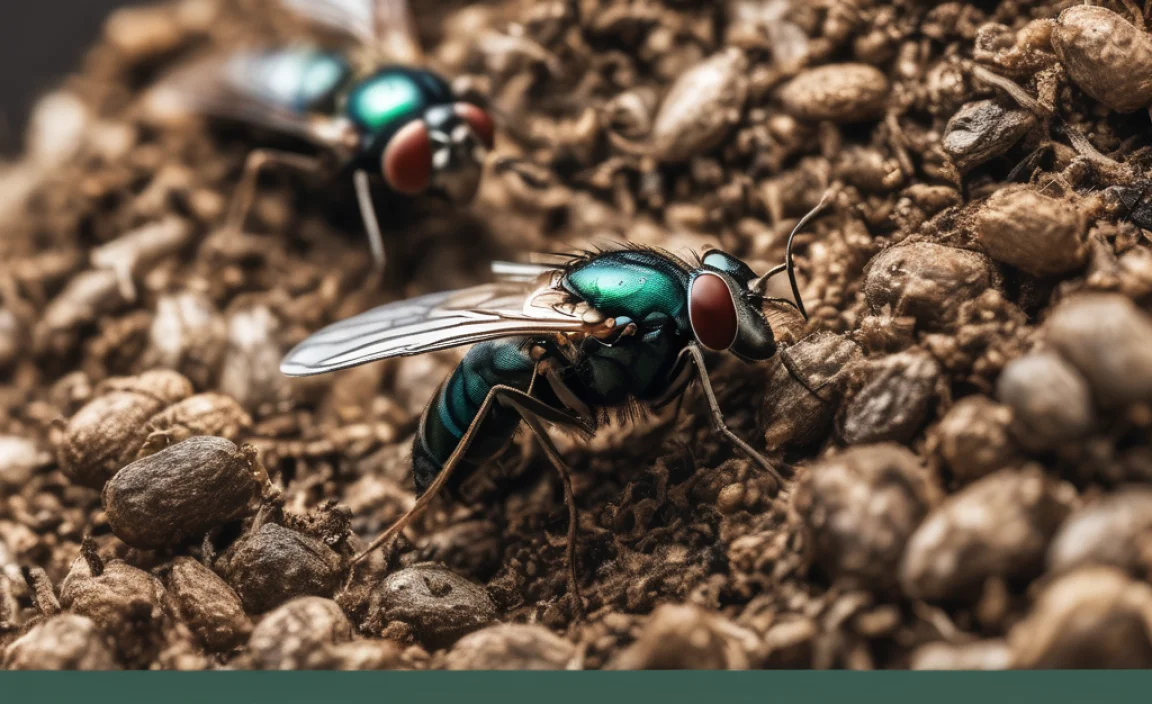
| Fruit Flies or Gnats | Exposed food scraps on the surface; bin too wet. | Bury all food scraps deep into the bedding. Add a layer of dry bedding on top. Try a worm fly trap (a small dish with apple cider vinegar and a drop of dish soap). |
| Worms Trying to Escape | Bin conditions are unfavorable (too wet, too dry, too acidic, too many uneaten scraps, lack of oxygen, too much light). | Check and adjust moisture, temperature, and pH. Ensure good ventilation. Bury food properly. Make sure the bin isn’t exposed to excessive light. |
| Slugs or Mites | Can be normal, but large numbers can be a problem. | For mites, ensure the bin isn’t too wet. They often disappear on their own. For slugs, remove them manually or try to attract them away with a bait dish. |
| Smell of Ammonia | Too much nitrogen-rich “green” material, not enough “brown” carbon material. | Add more shredded newspaper or cardboard (“browns”). Reduce the amount of kitchen scraps. |
Beyond the Basics: Maximizing Your Cheap Vermicomposting System
Once your worm bin is running smoothly, you might want to think about how to get even more out of it, or maybe expand. Remember, the goal is to keep it cheap!
- Start a Second Bin: If you find you’re producing more scraps than your first bin can handle, or you want to harvest more castings more frequently, simply replicate the process with another cheap tote.
- Use Your Harvest Wisely: Don’t just dump all your castings at once. Apply them strategically where your plants need them most. Think of it as a special treat for your garden.
- Learn From Your Worms: Observe your worms. How quickly do they eat? What kind of bedding do they seem to prefer? The more you watch, the better you’ll understand their needs and how to optimize your bin.
- Share the Wealth: If your worm population booms, consider sharing excess worms or castings with friends, neighbors, or local gardening groups. It’s a great way to build community and preach the gospel of cheap, efficient composting!
External Resources for Deep Dives:
- For scientifically backed information on composting, including vermicomposting, the U.S. Environmental Protection Agency (EPA) offers extensive resources on composting methods and benefits.
- The Gardening Know How website is a fantastic resource offering practical, easy-to-understand advice on various gardening topics, including detailed vermicomposting guides for beginners.
Conclusion: Your Cheap & Cheerful Composting Journey
There you have it! Vermicomposting doesn’t have to be complicated or expensive. By repurposing common household items and focusing on the essential needs of your composting worms, you can create a fantastic system that fertilizes your plants and reduces waste, all on a budget. It’s truly one of the most rewarding and cost-effective ways to give back to your garden and the planet.
You’ve learned how to set up your bin cheaply, find your wriggly workhorses, feed them the right things, and harvest that magical black gold. Any minor hurdles you might encounter are usually easy to overcome with a little adjustment. So, embrace the simplicity, enjoy the process, and watch your garden thrive thanks to your tireless team of worms!
Happy vermicomposting, and happy gardening!
Frequently Asked Questions About Cheap Vermicomposting
How many worms do I really need to start?
You can start with as little as 1/4 pound of composting worms (like Red Wigglers). This is usually enough to begin processing household scraps from one or two people. They reproduce quickly, so a small starter culture will grow into a productive population over time.
If my bin smells, is vermicomposting a bad idea for me?
Not at all! A foul smell usually indicates a problem that’s easily fixable, like the bin being too wet, overfed, or lacking air. It doesn’t mean your worm farm is a lost cause. Simply add dry bedding (like shredded newspaper), stop feeding for a week, and gently aerate the bin. Proper balance is key, and it’s a learning process!
Can I put all my kitchen scraps in the worm bin?
Almost! Worms love fruit and vegetable scraps, coffee grounds, and tea bags. However, it’s best to avoid meat, dairy, oily foods, citrus, and spicy foods. These can attract pests, become too acidic, or just not break down well in a worm bin. Stick to the basics for best results.
How often do I need to feed my worms?
Start by feeding them about once a week. Observe how quickly they eat the food. If their food is gone within a few days, you can feed them a bit more often or give them a larger amount. If food is left over for a week, you’re likely feeding too much or too often, so cut back.
Do the worms need light or darkness?
Composting worms, like Red Wigglers, prefer darkness. Your worm bin should be kept in a dark or dimly lit area, such as a garage, basement, or under the sink. If you use a clear bin, you might need to cover it with a dark cloth or paint the outside.
What’s the difference between compost and worm castings?
Compost is the general term for decomposed organic matter, often made in larger piles or bins through microbial action. Worm castings (or vermicast) are the excrement of composting worms. They are incredibly nutrient-rich and biologically active, making them a superior soil amendment and fertilizer for plants.
How do I know when my worm bin is ready for harvesting?
You’ll know it’s time to harvest when the original bedding and food scraps have largely broken down into dark, crumbly material (worm castings), and you see significantly less recognizable “food” in the bin. This typically takes about 3-6 months, depending on the size of your bin, the number of worms, and how much you feed them.

I am passionate about home engineering. I specialize in designing, installing, and maintaining heating, ventilation, and air conditioning systems. My goal is to help people stay comfortable in their homes all year long.