Dealing with pet waste can be a smelly chore, and nobody wants that in their yard or home. If you’ve ever wondered how to handle pet waste responsibly, especially if you’re looking for eco-friendly options, you’re in the right spot. It might seem tricky, but there’s a smart way to turn that waste into something useful. We’ll walk through a simple, step-by-step process to get you composting, making your life and your pet’s waste management much easier.
In-Vessel Composting Pets: Your Genius Survival Guide

Hey everyone, Troy D Harn here from TopChooser! Today, we’re tackling a topic that might sound a little… unique, but it’s a super practical solution for many folks: in-vessel composting for pet waste. Whether you have a cat who’s a master of her litter box or a dog who does his business in the backyard, managing waste is a constant part of pet ownership. Instead of sending it all to the landfill, we can use a clever method called in-vessel composting to turn it into valuable compost. Sounds good, right?
This guide is all about making it easy. We’ll break down what in-vessel composting is, why it’s a fantastic option for pet owners, and exactly how you can set it up at home. No confusing jargon, just clear steps and helpful tips. Let’s get our hands (figuratively, of course!) dirty and learn how to tackle pet waste the smart, eco-friendly way.
What Exactly is In-Vessel Composting for Pets?
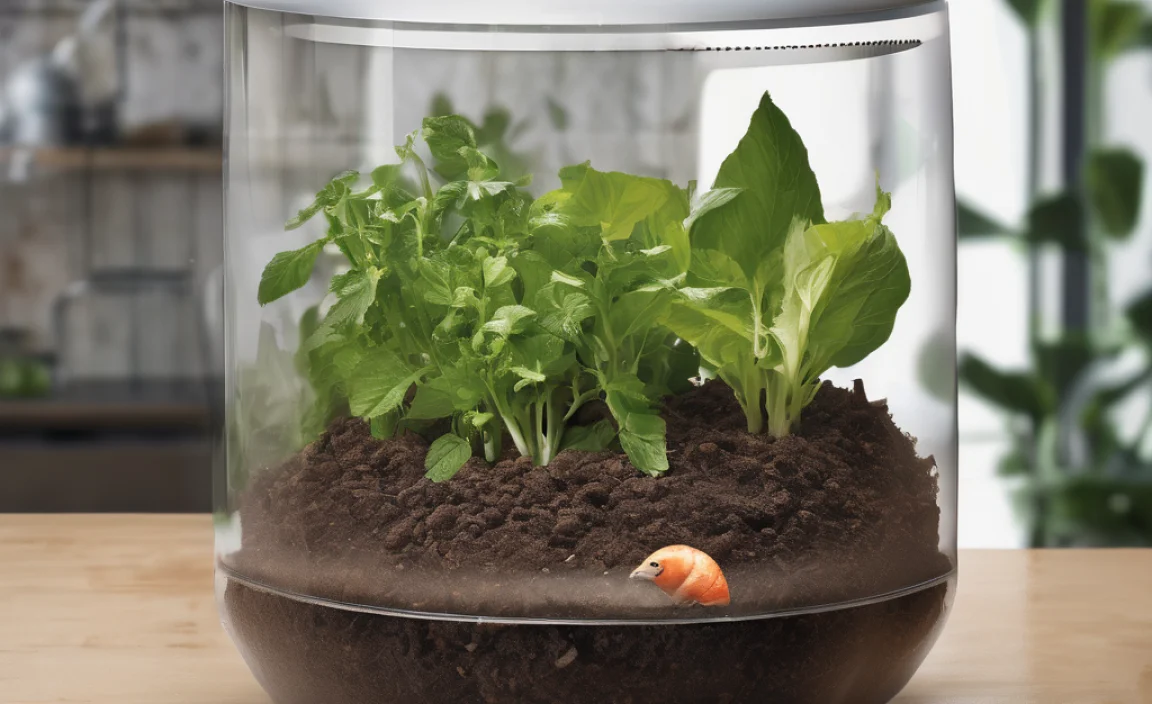
Think of “in-vessel” as composting inside a container. Instead of a sprawling compost pile in your backyard, you’re using a sealed bin or tumbler. This is key for pet waste because it helps control odors and critters, while also ensuring the composting process is efficient and safe. When we talk about composting pet waste, we’re specifically referring to materials like dog feces and cat litter. It’s a way to recycle organic materials and reduce waste, turning something you might consider garbage into nutrient-rich soil amendment.
This method is particularly useful because it contains the process. A well-managed in-vessel system breaks down waste effectively. It’s a controlled environment that helps speed up decomposition. We’re aiming for a healthy mix of “greens” (nitrogen-rich materials like pet waste) and “browns” (carbon-rich materials like leaves or sawdust) inside the vessel to get things cooking. This balance is crucial for successful composting.
Why Compost Pet Waste? The Big Wins
You might be asking, “Why go through the trouble of composting my pet’s waste?” It’s a fair question! The benefits are pretty significant, both for you and for the planet. Let’s break down the main advantages:
- Reduces Landfill Waste: Pet waste makes up a surprising amount of trash. Composting diverts this from landfills, where it can take a very long time to decompose and can contribute to methane gas emissions.
- Creates Valuable Compost: Properly composted pet waste can be transformed into nutrient-rich compost. This finished product is excellent for improving soil health in non-edible gardens, ornamental plants, or even for adding to your lawn.
- Minimizes Odor and Pests (with the right system): A sealed in-vessel system is designed to keep smells contained and prevent animals from digging into it. This makes it a much more pleasant solution than open piles.
- Environmentally Friendly: You’re closing the loop, turning waste into a resource. It’s a fantastic way to be more sustainable in your daily life.
- Cost-Effective: While there’s an initial investment in a composting system, over time, you save money on trash bags and potentially on soil amendments for your garden.
It’s about being a responsible pet owner and a good steward of the environment, all rolled into one straightforward process. The key is understanding that not all pet waste is created equal when it comes to composting, and the method needs to be handled correctly to be safe and effective.
Is All Pet Waste Compostable? What You Need to Know
This is a crucial point! Not all pet waste is automatically suitable for composting for use in your garden. The biggest consideration is the type of pet and their diet:
- Dog and Cat Waste: This is the primary focus for in-vessel composting. However, it’s important to note that due to potential pathogens like E. coli and Salmonella, compost made from dog and cat feces should ideally not be used on food crops. It’s best reserved for ornamental plants, flower beds, or lawns that won’t be used for edible gardening.
- Diet Matters: If your pet has a very specific or unusual diet (e.g., raw meat-heavy diets), some experts advise extra caution.
- Herbivore Waste: Waste from herbivores like rabbits, guinea pigs, chickens, or horses is generally easier and safer to compost and can be used on edible gardens more readily after proper composting.
For our purposes today, focusing on dog and cat waste, the in-vessel method is still fantastic. We just need to be mindful of where we use the finished compost. Safety first!
Choosing Your In-Vessel Composting System
When it comes to in-vessel composting, you have options. The best choice for you will depend on your space, budget, and the amount of waste you generate. Here are the most common types:
1. Tumbler Composters
These are sealed drums that rotate on an axle. You add your materials, close the lid, and then turn the drum regularly. This tumbling action aerates the compost and mixes it, speeding up decomposition significantly.
- Pros: Fast composting, excellent aeration, contained (keeps pests out), easier to turn than large bins.
- Cons: Can be pricier, might require manual turning (depending on the model), can get heavy when full.
2. Stationary Enclosed Bins
These are typically large, closed plastic bins with a lid and often a door at the bottom for harvesting finished compost. Some have built-in aerators, while others rely on manual turning with a compost aerator tool.
- Pros: Good at containing odors and pests, often more affordable than tumblers, can hold a larger volume.
- Cons: Aeration can be less efficient if not managed properly, turning can be more labor-intensive, slower than tumblers.
3. DIY Composters
You can also build your own in-vessel system. This often involves modifying large plastic bins or constructing a wooden bin with a lid. They require careful planning to ensure proper ventilation and containment.
- Pros: Most budget-friendly, customizable to your needs.
- Cons: Requires DIY skills, may not be as effective at odor/pest control without careful design, takes more effort to set up.
For beginners, a good quality tumbler or a stationary bin designed for continuous composting is often the easiest starting point. Look for robust construction and features that make aeration and turning simple.
What Goes In? Building Your Compost Recipe
Successful composting is all about balance. You need to mix the right ingredients, often referred to as “greens” and “browns,” in the right proportions. For pet waste, it’s your primary “green” ingredient.
Greens (Nitrogen-Rich)
- Pet Waste (dog feces, cat litter – see note below)
- Kitchen scraps (fruit and vegetable peels, coffee grounds, tea bags)
- Grass clippings (in moderation)
Important Note on Cat Litter: If you use clay-based cat litter, it will not compost. Opt for compostable cat litters made from recycled paper, wood, corn, or wheat. These will break down. Mixing cat waste directly into your compost bin with compostable litter is the way to go.
Browns (Carbon-Rich)
- Dry leaves
- Shredded newspaper or cardboard (avoid glossy paper)
- Sawdust or wood chips (untreated wood)
- Straw or hay
The Ideal Ratio: The Magic Mix
A good starting point for a balanced compost mix is roughly 2 parts Browns to 1 part Greens. This might seem like a lot of browns, but they are essential for:
- Aeration: Browns add air pockets, preventing the pile from becoming dense and waterlogged.
- Odor Control: They help absorb excess moisture and mask any odors from the green materials.
- Carbon Source: Microorganisms need carbon to thrive and break down the nitrogen-rich greens.
When adding pet waste, make sure you’re covering it with a generous layer of browns to help with odor and decomposition. You’re aiming for a moist, but not soggy, texture throughout the composting process.
Setting Up Your In-Vessel Composter: Step-by-Step
Ready to get started? Here’s a simple guide to setting up and using your in-vessel composter effectively.
Step 1: Choose the Right Location
Place your composter in a convenient spot that’s:
- Accessible: Easy to get to for adding waste and turning.
- Partially Shaded: Direct sun can dry out the compost too quickly, while full shade might keep it too cool.
- Level Ground: Especially important for tumblers to rotate smoothly.
- Away from Water Sources: Avoid areas prone to flooding.
Step 2: Start with a Base Layer
Begin by adding a layer of bulky brown material at the bottom. This could be twigs, straw, or wood chips. This helps with drainage and air circulation from the start.
Step 3: Add Your First Batch of Materials
Start layering your greens and browns. If you’re primarily composting pet waste, add a good amount of pet waste, then immediately cover it with 2-3 times its volume of brown materials (shredded leaves, cardboard, sawdust).
Step 4: Maintain Moisture Levels
Your compost pile should feel like a wrung-out sponge – moist, but not dripping wet. If it’s too dry, add a little water. If it’s too wet, add more brown materials. Tumblers are great because you can sometimes see condensation inside, which is a good sign.
Step 5: Aerate and Turn Regularly
This is where the “in-vessel” partreally shines.
- For Tumblers: Rotate the drum every few days. Aim for at least 3-4 full rotations per week.
- For Stationary Bins: Use a compost aerator tool or a pitchfork to mix the contents every week or two. The goal is to ensure everything gets exposed to oxygen.
Regular turning is vital for speeding up decomposition and preventing anaerobic (low-oxygen) conditions, which can lead to foul odors.
Step 6: Keep Adding and Balancing
Continue adding your pet waste and other kitchen scraps (greens) and always cover them with plenty of browns. The key is continuous layering and ensuring your brown-to-green ratio stays balanced.
Step 7: Harvesting Your Compost
Composting times vary depending on your system, the weather, and how actively you manage it. It can take anywhere from 1 to 6 months. You’ll know your compost is ready when it:
- Looks dark and crumbly.
- Smells earthy and pleasant (not foul).
- No longer resembles the original materials you put in.
For stationary bins, you might harvest from the bottom door. For tumblers, you’ll empty the entire batch when it’s ready.
Troubleshooting Common Composting Issues
Even with the best intentions, you might run into a few bumps along the road. Here’s how to fix them:
- Smelly Compost: This is usually a sign of too much green material or not enough air.
- Fix: Add more brown materials (leaves, sawdust, shredded cardboard) and turn or aerate the pile thoroughly. Ensure your lid is on securely.
- Compost is Too Wet: Like a soggy sponge.
- Fix: Add plenty of dry brown materials and mix them in. Ensure drainage is adequate.
- Compost is Too Dry: Doesn’t smell like earth, if anything, it might smell ammoniac.
- Fix: Add water. If you have a tumbler, this can be tricky. Try adding moist materials like kitchen scraps and then turning. For stationary bins, just add water and mix.
- Pests (Rodents or Flies): Usually happens if the bin isn’t sealed well or if food scraps are left exposed.
- Fix: Ensure your bin is sealed. Always cover fresh green waste with a thick layer of brown material. If using a stationary bin, a compost aerator can help mix in waste quickly.
- Slow Decomposition: The process is just taking too long.
- Fix: Check moisture and aeration. Ensure you have enough “greens” (nitrogen). If your bin is getting too cold, try adding some fresh, active compost or manure from a known source to introduce more microorganisms.
Remember, composting is a natural process, and it’s okay to learn as you go. Don’t get discouraged if you have to make adjustments!
Safety First: Using Your Finished Compost
As mentioned earlier, it’s critical to be mindful of how you use compost derived from dog and cat waste. Due to potential pathogens, it’s generally recommended to use this compost for ornamental plants, decorative trees, shrubs, and lawns where children or pets might play but won’t be ingesting directly from the soil. It’s not recommended for vegetable gardens or fruit bushes.
A well-managed in-vessel composting process will kill off many harmful pathogens due to the heat generated during decomposition. Reputable sources like the Environmental Protection Agency (EPA) provide guidance on safe composting practices. The key is to achieve and maintain high temperatures for a sufficient period. If you’re unsure about the temperature of your compost, err on the side of caution and use it only on non-edible plants.
What About Commercial Pet Waste Composters?
There are specialized commercial composting systems designed specifically for pet waste, often called “dog waste digesters” or “pet waste composters.” These systems typically rely on aerobic decomposition facilitated by specialized microbes. They often involve a sealed underground chamber where you add pet waste and a compost activator. Over time, beneficial microbes break down the waste.
These systems often require less active management than a typical compost bin and are designed for odor control. However, they can be more expensive upfront. They are a great option if you want a set-it-and-forget-it solution for your dog’s waste, especially if you have a larger yard or multiple dogs. Make sure to research specific products and their suitability for your needs and local climate.
Composting Materials Comparison for Pet Waste
Here’s a quick look at how different materials fare in composting. Understanding this helps you make the best choices for your in-vessel system.
| Material Type | Compostability | Notes for In-Vessel Pet Composting |
|---|---|---|
| Dog Feces | Yes (with caution) | Primary “green” ingredient. Needs ample “browns” to balance and cover. Use finished compost on non-edibles. |
| Cat Feces | Yes (with caution) | Use with compostable litter only. Similar to dog feces regarding usage of finished compost. |
| Clay Cat Litter | No | Does not break down. Will clump and ruin compost. Avoid. |
| Compostable Cat Litter (Paper, Wood, Corn, Wheat) | Yes | Excellent for mixing with cat waste. Acts as a “brown” or “green” depending on its natural composition, but generally helps with absorption and structure. |
| Grass Clippings | Yes | Good “green.” Add in moderation to avoid matting. |
| Vegetable Scraps | Yes | Good “green.” Adds moisture and nutrients. |
| Shredded Newspaper/Cardboard | Yes | Excellent “brown.” Essential for balancing pet waste. |
| Dry Leaves | Yes | Best “brown” material. Provides carbon and aeration. |

I am passionate about home engineering. I specialize in designing, installing, and maintaining heating, ventilation, and air conditioning systems. My goal is to help people stay comfortable in their homes all year long.


