Worm Composting Tips: Genius, Essential Advice for Beginners
Thinking about starting worm composting, also known as vermicomposting? It might sound a little… squirmy, but don’t let that stop you! Many folks find it a bit intimidating at first, wondering if they’ll accidentally harm the worms or end up with a smelly mess. But what if I told you it’s actually super simple and incredibly rewarding? We’re going to break it all down, step-by-step, so you can create your own nutrient-rich compost with minimal fuss. Get ready to turn kitchen scraps into garden gold!
What is Worm Composting and Why Should You Care?
So, what exactly is worm composting? Simply put, it’s a way to create amazing fertilizer (called vermicast or worm castings) by letting specific types of worms munch on your food scraps. Unlike traditional composting that relies on heat and microbes, vermicomposting uses the digestive power of worms to break down organic matter.
Why is this so awesome? Well, for starters, it’s a fantastic way to reduce waste. Instead of tossing those apple cores and coffee grounds into the trash, you can recycle them into something hugely beneficial for your plants. Worm castings are packed with nutrients that help your soil retain moisture, improve its structure, and give your plants a serious health boost. It’s like giving your garden a superfood smoothie!
Plus, you can do it right at home, even if you live in an apartment with no garden space! A worm composting bin is compact and can be kept indoors or on a balcony. It’s a sustainable practice that’s good for your wallet and the planet.
The Genius of Worm Composting: Key Benefits
You might be wondering what makes worm composting truly “genius.” It’s all about the output and the process. Let’s dig into the main advantages:
- Nutrient-Rich Compost: Worm castings are one of the most potent and beneficial soil amendments available. They release nutrients slowly, making them less likely to burn delicate plant roots compared to synthetic fertilizers.
- Waste Reduction: Diverting food scraps from landfills significantly reduces methane gas production, a potent greenhouse gas.
- Improved Soil Health: Castings enhance soil structure, aeration, and water-holding capacity. They also introduce beneficial microbes that can suppress plant diseases.
- Easy Indoor/Small Space Option: Unlike large outdoor compost piles, vermicomposting bins are manageable, odorless, and can be kept almost anywhere.
- Fun and Educational: It’s a fantastic way for families to learn about decomposition, ecosystems, and sustainable living.
Essential Gear: What You Need to Get Started
Don’t worry, setting up your worm farm doesn’t require a ton of fancy equipment. Here’s what you’ll need:
The Worm Bin
This is where your worms will live and work. You have a few options:
- DIY Bin: The most budget-friendly option! You can create a bin from opaque plastic storage totes. Grab two identical totes, one with a lid. Drill several small holes (about 1/8-inch) in the bottom of one tote for drainage. Then, drill more holes in the lid for airflow. You can also drill a few holes near the top of the sides of the bottommost tote for more ventilation. Most people find a 10-20 gallon bin is a good size to start.
- Commercial Bins: These are readily available online or at garden centers. They often come with multiple stacking trays, making harvesting easier. They are a bit more expensive but offer convenience and a streamlined design.
The Bedding
This is what your worms will burrow into and live in. It needs to be moist, airy, and provide shelter. Good bedding materials include:
- Shredded newspaper (black and white print only!)
- Shredded cardboard
- Coconut coir (often sold as “coir bricks” for reptile or gardening use)
- Peat moss (use sparingly, and be mindful of sustainability)
- A mix of these is usually best! Think of it as a worm’s cozy blanket.
The Worms!
This is arguably the most important ingredient! You can’t just grab earthworms from your garden. You need specific types that thrive in composting bins. The two most common and best for beginners are:
- Red Wigglers (Eisenia fetida): These are the workhorses of the worm composting world. They are prolific eaters and reproduce quickly.
- European Nightcrawlers (Eisenia hortensis): A bit larger than red wigglers, they also do a great job but might eat a little slower.
You can purchase composting worms online from reputable suppliers. A common starting amount is about 1 pound of worms. They might seem shy at first, but they’ll get to work!
Food Scraps
This is what you’ll be feeding your wormy friends. They love most fruits and vegetables, but there are a few things to avoid (more on that later!).
Setting Up Your Worm Bin: Step-by-Step
Ready to build your worm oasis? Here’s how to get it done:
- Prepare Your Bin: If you’re DIYing, make sure your holes are drilled and the bin is clean. If you’ve bought a commercial bin, follow the manufacturer’s instructions. If using a stacking system, set up the bottom collection tray and the first working tray.
- Prepare Your Bedding: Take your chosen bedding materials (like shredded newspaper and coconut coir) and place them in a separate bucket. Add water until the bedding is damp, like a wrung-out sponge. It should feel moist but not dripping when you squeeze it. This is crucial for worm survival!
- Fluff the Bedding: Add the damp bedding to your worm bin. Loosen it up so it’s airy – worms need oxygen! Aim for about 4-6 inches of bedding depth for a standard bin.
- Add Your Worms: Gently place your composting worms on top of the bedding. They will likely burrow down quickly to escape the light. This is normal!
- Initial Feeding: Bury a small amount of food scraps (like a handful of chopped fruit peels) in one corner of the bin, under the bedding. This gives them something to explore and eat right away.
- Add the Lid: Place the lid on your bin to keep out pests and moisture in. Ensure airflow holes are not blocked.
That’s it! Your worm bin is officially open for business.
Feeding Your Worms: The Do’s and Don’ts
Feeding time is one of the most interactive parts of worm composting. But just like us, worms have their preferences and things that don’t agree with them. Consistency and moderation are key!
What Worms Love to Eat (The “Do’s”):
- Fruit scraps (peels, cores, seeds)
- Vegetable scraps (stems, leaves, peels, ends)
- Coffee grounds and paper filters
- Tea bags (staples removed)
- Crushed eggshells (helps with grit in their gizzards and neutralizes acidity)
- Plain, cooked pasta and rice (in small amounts)
- Oatmeal and other plain cereals (small amounts)
What Worms Don’t Like (The “Don’ts”):
Avoiding these will keep your worms happy and your bin odor-free:
- Meat, poultry, fish, and bones: These can attract pests and create odors.
- Dairy products: Similar to meat, these can get stinky and attract unwanted visitors.
- Oily, greasy foods: These can coat the bedding and make it difficult for worms to breathe.
- Citrus peels (in large amounts): While small amounts are okay, too much can make the bin too acidic.
- Spicy foods: Worms don’t seem to like them.
- Onion and garlic (in large amounts): These can be too strong for worms.
- Diseased plants: You don’t want to introduce pathogens.
- Pet waste (dog/cat feces): These can contain pathogens harmful to humans.
How to Feed:
- Chop it Up: Smaller pieces break down faster. Chop your food scraps into smaller bits, especially for your new worms.
- Bury It: Always bury the food scraps under the bedding. This helps prevent odors and discourages fruit flies.
- Rotate Feeding Spots: Don’t feed in the same spot every time. Rotate and bury the food in different areas of the bin. This encourages worms to move throughout the entire bin.
- Start Slowly: Don’t overwhelm your new worms. Begin with a small amount of food (about half a pound per pound of worms per week) and gradually increase as they multiply and consume more.
- Observe: If you feed them and the food is still there after a week or two, you’re feeding too much. If it disappears quickly, you can increase the amount.
Maintaining Your Worm Farm: Keeping Everyone Happy
A healthy worm farm is a happy worm farm! Here are the key things to monitor:
Moisture Levels
Your bedding should consistently feel like a wrung-out sponge. Too dry? Lightly mist with a spray bottle of water and mix it in. Too wet? Add more dry bedding or fluff up the existing material to allow for evaporation. If it’s persistently wet, you might need to check your drainage holes or add more carbon-rich bedding (like shredded newspaper).
Temperature
Worms are sensitive to extreme temperatures. Ideal temperatures for most composting worms (like Red Wigglers) are between 60°F and 80°F (15°C to 26°C). Keep your bin out of direct sunlight, extreme heat, and freezing cold. If it gets too hot, you might need to move it to a cooler spot or add some frozen water bottles to the bin. If it’s too cold, move it indoors.
Aeration
Worms need oxygen. Ensure the airflow holes in your bin are open. Occasionally, you can gently fluff the top layer of bedding with a hand fork or trowel, being careful not to disturb the worms too much.
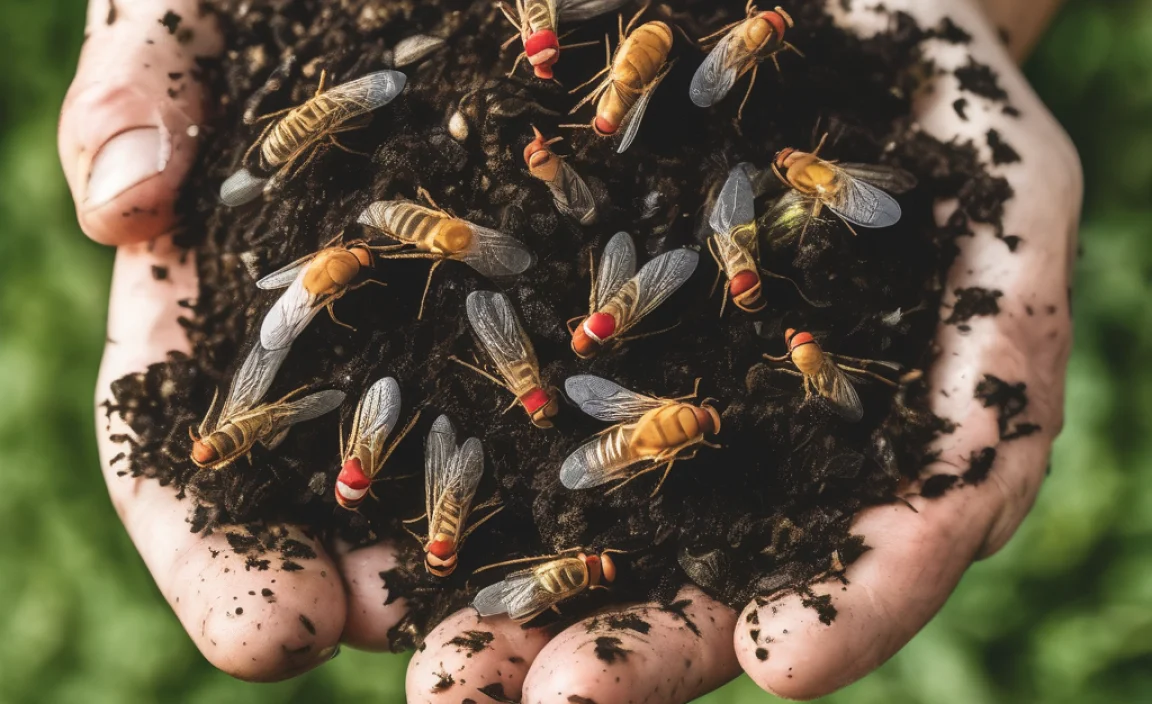
Mites and Fruit Flies
A few little mites or occasional fruit flies are normal, but a large infestation suggests something is off. Often, it means the bin is too wet, or you’re overfeeding.
- Fruit Flies: Bury food scraps deeply, avoid feeding citrus and high-sugar items, and ensure the lid fits snugly. A small dish of apple cider vinegar near the bin can also help trap them.
- Mites: These are often harmless decomposers themselves. If they become overwhelming, it usually points to an imbalance, often due to too much moisture or acidic conditions. Adding more dry, carbon-rich bedding and ensuring good airflow can help.
Avoiding Odors
A well-maintained worm bin should smell earthy, like a forest floor. If it smells foul or sour, it’s a sign of anaerobic conditions (lack of oxygen) or that you’re feeding it things it can’t process quickly enough.
- If it smells like ammonia, you’re likely feeding it too many nitrogen-rich scraps (like grass clippings or leafy greens). Add more carbon-rich bedding (shredded paper/cardboard) and aerate.
- If it smells rotten, you’re probably overfeeding or adding things like meat/dairy. Stop feeding for a week or two, add dry bedding, and aerate thoroughly.
Harvesting Your Worm Castings: Gold!
This is the moment you’ve been waiting for – collecting your worm castings! There are several methods, and the best one depends on your bin type.
Methods for Harvesting:
1. The “Migration” Method (Great for Stackable Bins):
If you have a bin with multiple stacking trays, this is easiest. Once the bottom tray is full of compost, you’ll start feeding only in the top tray. The worms will naturally migrate downwards through the holes to access the fresh food and bedding, leaving the lower tray with mostly finished compost.
- Add fresh bedding and food scraps only to the top tray.
- When the lower tray is nearly empty of worms, you can harvest its contents.
- You might have a few stragglers, but that’s okay. You can pick them out or just add them back to the working bin.
2. The “Light” Method:
Worms dislike light. Dump the contents of your bin onto a plastic sheet or tarp under a bright light (like a lamp or even direct sunlight). The worms will burrow deeper to escape the light. Scrape off the top layer of castings, and the worms will burrow again. Repeat until you have a concentrated layer of worms at the bottom, then you can easily scoop out the finished compost.
3. The “Sifting” Method:
You can use a worm composting sieve or a simple hardware cloth screen with a frame. Dump your bin contents onto the screen. Gently shake or push the material through. The larger worm bits, un-composted food, and cocoons will remain on top, while the fine castings will fall below. You can then mix un-composted material back into your working bin.
Processing and Using Your Castings:
Once harvested, your castings might be a little moist. You can spread them out on a tray to dry slightly if needed, but don’t let them dry out completely. Earthworm castings are best used:
- As a top dressing for potted plants.
- Mixed into potting soil for seedlings (about 10-20%).
- Sprinkled around the base of garden plants.
- Brewed into a “compost tea” for an extra liquid boost for your plants.
Troubleshooting Common Worm Composting Problems
Even with the best intentions, you might run into a few hiccups. Here’s how to tackle them:
| Problem | Possible Cause | Solution |
|---|---|---|
| Foul Odors (Rotten Egg/Ammonia) | Overfeeding, anaerobic conditions, too much nitrogen | Stop feeding, add dry carbon bedding, aerate bin, reduce feeding size. |
| Fruit Flies | Food scraps exposed, bin too wet | Bury food deepest in bedding, reduce moisture, check lid seal, use fruit fly traps. |
| Worms Trying to Escape | Bin too wet, too dry, wrong pH (too acidic), lack of oxygen, or bin is too new/unsettled | Adjust moisture, add crushed eggshells for pH, aerate, ensure enough bedding, provide time to settle. |
| Slimy Bedding | Too wet, too much finely chopped food, not enough air | Add dry shredded newspaper/cardboard, aerate bin, reduce fine food items. |
| Worms Not Eating Much | Bin is new, temperature too extreme, wrong food, or simply not hungry (especially after a large feeding) | Be patient, check temperature, only feed suitable items, feed smaller amounts. |
Frequently Asked Questions About Worm Composting
Let’s clear up some common questions beginners have:
Q1: How many worms do I need to start?
A: For a common 10-20 gallon bin, starting with about 1/2 to 1 pound of Red Wigglers is a good amount. They will multiply as they have a good

I am passionate about home engineering. I specialize in designing, installing, and maintaining heating, ventilation, and air conditioning systems. My goal is to help people stay comfortable in their homes all year long.