Ever look at your compost bin and wonder what’s really going on in there? It’s like a secret underground party, and the guests are tiny, but mighty! These invisible workers, the compost microbes, are the superheroes turning your kitchen scraps and yard waste into black gold for your garden. If you’ve ever felt a bit lost on how to encourage them, you’re in the right place. We’re going to break down the world of compost microbes step by step. You’ll see how easy it is to support these little guys. Let’s get started!
Compost Microbes Step by Step: Your Essential Guide to a Thriving Pile
Hey there, fellow home improvers and garden enthusiasts! Troy D Harn here from TopChooser. If you’re diving into composting or looking to supercharge your existing pile, you’ve probably heard about the unsung heroes: compost microbes. These microscopic organisms are the real MVPs of decomposition, working tirelessly to transform your waste into nutrient-rich compost. But how do you make sure they’re happy and doing their best work? It might sound complicated, but I promise, it’s simpler than you think. We’ll walk through everything you need to know, step by step, so you can create a compost ecosystem that thrives.
What Exactly Are Compost Microbes?
Think of your compost pile as a bustling city, and microbes are its essential workforce. These aren’t just one type of organism; it’s a whole community! We’re talking about:
- Bacteria: These are the most numerous and play a huge role, especially in the initial heating-up phase of composting. They love moist, oxygen-rich environments.
- Fungi: These are a bit tougher and can break down materials that bacteria struggle with, like wood chips and tougher plant matter. You might see them as white, web-like threads (mycelium) in your compost.
- Actinomycetes: These are like a hybrid between bacteria and fungi. They’re responsible for that lovely, earthy smell of finished compost and help break down complex materials.
- Protozoa and Nematodes: These are microscopic animals that eat bacteria and fungi, helping to regulate the microbial populations and further break down organic matter.
Together, these tiny powerhouses break down organic materials, consuming nutrients and releasing energy in the form of heat. This process is what transforms your scraps into valuable fertilizer.
Why Are Microbes So Important for Composting?
Without these amazing microorganisms, composting would be a very slow, smelly, and inefficient process. They are the engine that drives decomposition. Here’s why they’re critical:
- Speed: Microbes multiply rapidly in the right conditions, speeding up the breakdown of organic matter significantly.
- Nutrient Cycling: They unlock essential nutrients in the organic materials, making them available in a form that plants can use.
- Heat Generation: The metabolic activity of aerobic microbes (those that need oxygen) generates heat. This heat is crucial for killing weed seeds and pathogens.
- Odor Control: A healthy, aerobic compost pile with active microbes will smell earthy and pleasant. Unpleasant odors usually signal an imbalance, often due to anaerobic conditions (lack of oxygen).
- Structure Improvement: As microbes break down materials, they contribute to the crumbly, soil-like structure of finished compost.
The Key Ingredients for Happy Compost Microbes
To get your microbial party in full swing, you need to provide the right party favors! These are the essential elements that create a hospitable environment for your compost crew:
- Food (Greens and Browns): Microbes need a balanced diet, just like us!
- Greens (Nitrogen-rich): These are your fresh, moist materials like fruit and vegetable scraps, coffee grounds, tea bags, grass clippings, and fresh plant trimmings. They provide nitrogen, which fuels microbial growth.
- Browns (Carbon-rich): These are your dry, woody materials like dead leaves, straw, shredded cardboard, paper, twigs, and sawdust. They provide carbon, which is the energy source for microbes, and also help with airflow.
A good ratio is generally about 2-3 parts Browns to 1 part Greens by volume. Too much green leads to a slimy, smelly mess. Too much brown slows things down considerably.
- Water (Moisture): Microbes need a moist environment to live and work. Think of a damp sponge – not dripping wet, but not dry either. If your pile is too dry, microbial activity slows down. If it’s too wet, it can become waterlogged, leading to anaerobic conditions and bad smells.
- Air (Oxygen): Most of the beneficial composting microbes are aerobic, meaning they need oxygen to survive and thrive. Turning your compost pile regularly, or using a bin designed for good airflow, is key to providing oxygen. Without it, anaerobic microbes take over, which can lead to foul odors and slower decomposition.
- Temperature: While microbes work across a range of temperatures, a hot compost pile (130-160°F or 55-70°C) indicates really active aerobic decomposition. This high heat speeds up the process and kills off pathogens and weed seeds.
- Particle Size: Smaller pieces have more surface area for microbes to work on. Chopping up large kitchen scraps or running over leaves with a mower can significantly speed up the composting process.
Step-by-Step: Building Your Compost Microbe Haven
Let’s get practical! Here’s how you can create and maintain an ideal environment for your compost microbes using a common backyard compost bin.
Step 1: Choose Your Compost Bin
You have options! For beginners, a simple stationary bin or a tumbling composter works well. Tumblers are great for easy turning and faster results.
- Stationary Bins: These can be purchased or built. They hold more material and are good for a steady supply of compost.
- Tumbling Composters: These are sealed drums on an axle that you can rotate. They make turning easy and can speed up the process.
- Open Piles: Simple and free, but can be less tidy and may attract pests if not managed carefully.
Step 2: Gather Your Materials (Greens & Browns)
Start collecting! Keep a small bin in your kitchen for food scraps (greens) and a large pile or bin outside for yard waste (browns).
Good Greens:
- Fruit and vegetable scraps
- Coffee grounds and filters
- Tea bags
- Grass clippings (in thin layers, otherwise they mat and go anaerobic)
- Plant trimmings (non-diseased)
- Eggshells (crushed)
Good Browns:
- Dry leaves
- Straw or hay
- Shredded newspaper or plain cardboard (avoid glossy or colored inks)
- Sawdust (from untreated wood, in moderation)
- Twigs and small branches (chopped)
- Pine needles
What to Avoid (Generally):
- Meat, bones, and dairy products (attract pests, can cause odors)
- Oily foods
- Diseased plants
- Weeds that have gone to seed
- Pet waste (from carnivores)
- Treated wood or coal ash
Step 3: Layer Your Bin
Think of building a lasagna! Start with a base layer of browns for airflow at the bottom.
- Base Layer: Add a 4-6 inch layer of coarse browns like twigs or straw. This helps with drainage and air circulation.
- Alternate Layers: Add a layer of greens (about 2-4 inches), then a thicker layer of browns (about 4-6 inches).
- Moisten: Lightly water each layer as you add it. You want it damp, like a wrung-out sponge.
- Ratio is Key: Aim for that 2-3 parts Browns to 1 part Greens ratio. It’s okay to eyeball it as you get more experienced.
Step 4: Monitor Moisture Levels
This is crucial for microbe health. Reach into the pile: if it feels dry, add water. If it’s soggy and smells sour, add more browns and turn it to incorporate air.
Troubleshooting Moisture:
- Too Dry: Pile may not heat up. Add water gradually while turning.
- Too Wet: Smells like ammonia or rotten eggs. Add dry browns (leaves, shredded cardboard) and turn thoroughly to aerate. Cover the pile during heavy rain if needed.
Step 5: Provide Air (Turning)
This is where you become best friends with your microbes! Turning introduces oxygen, which aerobic microbes love.
- Frequency: Aim to turn your compost pile at least once a week, or every couple of weeks. Tumblers make this super easy.
- How to Turn: Use a pitchfork or compost aerator tool to mix the materials from the outside to the inside and vice-versa. Break up any clumps.
- Look for Signs: If your pile is heating up nicely (you can feel the warmth when you turn it), the microbes are happy!
A good compost aerator tool can make this job much easier. Check out options from brands like Gardens Alive! to see what fits your needs. These tools are designed to fluff up piles without the heavy lifting of a full turn.
Step 6: Maintain the Right Temperature (Optional but Beneficial)
While not strictly necessary for decomposition, a hot pile (130-160°F / 55-70°C) is the most efficient. This heat is generated by active aerobic microbial populations.
To achieve hot composting:
- Ensure you have a good mix of greens and browns.
- Maintain proper moisture levels (damp sponge).
- Turn the pile regularly to provide oxygen.
- Build a pile that is at least 3x3x3 feet (1 cubic meter); smaller piles often don’t insulate themselves enough to heat up effectively.
You can monitor the temperature with a compost thermometer. For most backyard composters, achieving consistent high heat isn’t always necessary; your microbes will still do the job, just perhaps a bit slower.
Common Compost Microbe Problems and Solutions
Even with the best intentions, things can sometimes go sideways. Here are common issues and how to fix them:
Problem 1: Bad Odors (Ammonia, Rotten Eggs)
Cause: Lack of oxygen (anaerobic conditions), too much nitrogen (too many greens). This means your aerobic microbes are struggling, and anaerobic microbes are taking over.
Solution:
- Add Browns: Mix in plenty of dry, carbon-rich materials like shredded paper, cardboard, or dry leaves.
- Turn Thoroughly: Aerate the pile by turning it well to introduce oxygen.
- Check Moisture: If the pile is waterlogged, remove excess water by adding browns and turning.
Problem 2: Pile Isn’t Heating Up or Decomposing
Cause: Too dry, not enough nitrogen (greens), pile is too small, or not enough oxygen.
Solution:
- Add Water: Moisten the pile until it feels like a damp sponge.
- Add Greens: Introduce more nitrogen-rich materials.
- Add More Material: If the pile is too small, add more organic matter to help it build mass and insulate for heating.
- Turn the Pile: Ensure good airflow.
Problem 3: Slimy Pile
Cause: Too wet, too many greens, lack of airflow, and poor material breakdown.
Solution:
- Add Browns: This is your go-to for sliminess – lots of dry browns to absorb excess moisture.
- Turn: Aerate thoroughly.
- Break Up Clumps: Ensure materials aren’t matted down.
Problem 4: Pests (Flies, Rodents)
Cause: Exposed food scraps, meat/dairy products, or easily accessible bins.
Solution:
- Bury Food Scraps: Always cover fresh kitchen scraps with a layer of browns.
- Avoid Problematic Items: Don’t add meat, bones, dairy, or oily foods.
- Use a Covered Bin: A bin with a lid or a tumbler can deter pests.
- Maintain a Hot Pile: Hot compost piles are less attractive to pests.
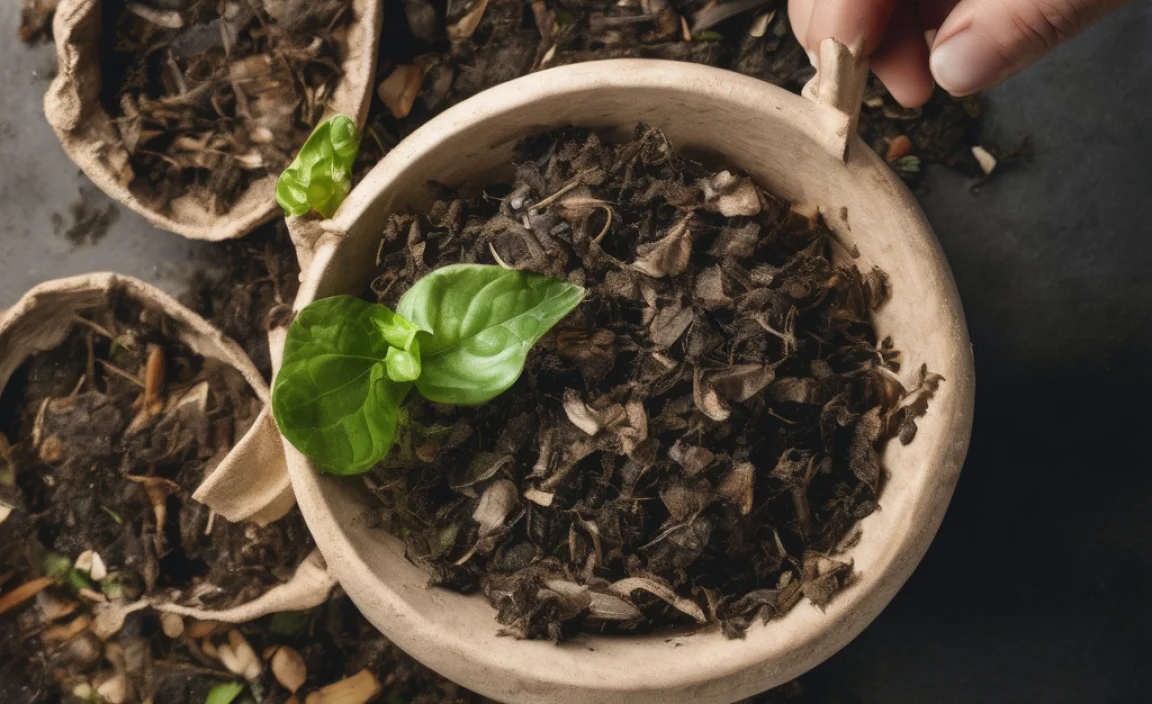
What to Look for in Finished Compost
When your compost is ready, it will look and smell completely different from the materials you started with. You’ll know it’s ready when:
- It has a dark, crumbly texture.
- It smells earthy and fresh, like a forest floor.
- You can no longer recognize the original materials you put in.
- The temperature has cooled down to ambient levels.
The time it takes can vary widely, from a few months in a well-managed hot compost system to a year or more in a cooler, less frequently turned pile. Patience is a virtue here!
The Role of Worms in Composting
While we’re focusing on microbes, it’s worth mentioning worms! Red Wiggler worms are fantastic composters themselves, especially for kitchen scraps. They create compost often called “worm castings” or “vermicompost.”
Worms and microbes have a symbiotic relationship:
- Worms eat decaying organic matter.
- As they eat, they break down the material into smaller pieces, increasing surface area for microbes.
- Worm castings are rich in beneficial microbes and nutrients.
You can add worms to your compost bin or set up a separate worm bin (vermiculturing). It’s a great way to process food scraps quickly and efficiently.
Compost Microbe Basics: A Quick Summary Table
Here’s a handy table to recap the essential elements for your compost microbes:
| Element | Microbe Need | How to Provide It | Signs of Success | Signs of Trouble |
|---|---|---|---|---|
| Food (Greens & Browns) | Balanced diet for energy & growth | Mix ~2-3 parts Browns to 1 part Greens | Steady decomposition, heating | Pile too wet/slimy (too many greens) or too dry/slow (too many browns) |
| Water (Moisture) | Essential for all life processes | Keep pile damp like a wrung-out sponge | Moist to touch, no foul odors | Too dry (slows down), too wet (sour/ammonia smell, anaerobic) |
| Air (Oxygen) | Needed by aerobic microbes | Turn the pile regularly, use aerated bin | Earthy smell, good heating | Rotten egg/ammonia smell, slow decomposition |
| Temperature | Optimal for fast decomposition (130-160°F / 55-70°C) | Build large pile, balance greens/browns, turn regularly | Pile heats up significantly | Pile remains cool (might be too small, dry, or lack greens) |
Understanding Different Composting Methods Through Microbe Lenses
Different composting methods rely on slightly different microbial communities being dominant, or on humans assisting them in different ways.
- Aerobic Composting: This is what we’ve largely discussed – using oxygen-loving microbes. Hot composting (thermophilic) relies heavily on a robust aerobic community to generate heat. Cold composting is slower and also relies on aerobics, but without the high heat.
- Anaerobic Composting (Less Common for Home): This happens when there’s a lack of oxygen. It’s much slower and often results in foul odors. Some industrial processes use anaerobic digestion, but it’s generally avoided in home composting because it’s less efficient and smellier.
- Vermicomposting: As mentioned, this uses the digestive systems of worms, which are teeming with specific gut microbes, to process

I am passionate about home engineering. I specialize in designing, installing, and maintaining heating, ventilation, and air conditioning systems. My goal is to help people stay comfortable in their homes all year long.