Hey there, neighbor! Ever look at your kitchen scraps and think, “There’s got to be a better way than tossing these?” Or maybe you’ve got a tiny urban garden patch and wish you could give your plants a super-boost without buying bags of expensive soil? You’re not alone! Many of us in the city think composting is a big, messy job only for folks with sprawling backyards. But guess what? It’s totally doable, even in the smallest urban spaces. We’re going to break down how to make your own nutrient-rich compost soil, right where you live. It’s easier than you think, and your plants (and your wallet) will thank you!
Compost Soil Urban: Your Genius Step-by-Step Guide
Living in the city doesn’t mean you have to miss out on the magic of composting. Creating your own compost soil, often called “black gold,” is a fantastic way to reduce waste and give your plants the best possible start. It mimics how nature works, turning everyday organic materials into a superfood for your soil. Whether you have a balcony, a small yard, or even just a sunny windowsill, there are ways to compost. Let’s dive into making your urban compost journey a success!
Why Compost in the City? The Big Benefits
Composting isn’t just for rural homesteaders; it’s a game-changer for urban dwellers. Think about it: less trash heading to the landfill, and a free, nutrient-packed amendment for your container plants, window boxes, or that tiny garden plot. It improves soil structure, making it drain better and hold moisture – perfect for those hotter city days. Plus, it’s incredibly rewarding to give new life to your food scraps and yard waste!
Reducing Waste, Naturally
- Kitchen Scraps: Fruit peels, vegetable trimmings, coffee grounds, and eggshells are staples.
- Yard Debris: Small amounts of grass clippings, leaves, or plant trimmings can be added.
- Paper Products: Uncoated paper towels, newspaper, and cardboard (shredded) are good too.
Boosting Your Plants
- Nutrient-Rich: Compost provides essential nutrients for healthy plant growth.
- Improved Soil Structure: It helps sandy soils retain water and heavy clay soils drain better.
- Beneficial Microbes: Introduces a living ecosystem into your soil, fighting off pests and diseases naturally.
Saving Money
Buying bags of potting soil and fertilizer can add up quickly. Making your own compost means you’re essentially getting top-quality soil and plant food for free! It’s a win-win for your garden and your budget.
Choosing Your Urban Composting Method
The biggest hurdle for urban composters is space. But don’t worry, there are several methods that are perfect for city living. We’ll cover the most popular and effective ones:
1. The Contained Bin System
This is probably the first thing people imagine when they hear “compost bin.” It’s a sealed container that keeps things tidy and can help speed up the composting process. These come in various shapes and sizes, from simple plastic bins to tumblers.
Pros:
- Keeps pests out.
- Contain odors well.
- Can look neat and tidy.
- Tumblers make turning easy.
Cons:
- Can be more expensive upfront.
- Some types require manual turning.
- Smaller capacity than open piles.
2. The Worm Composting (Vermicomposting) System
Yes, worms! This is a fantastic method for small spaces like apartments or balconies. Red wiggler worms eat your food scraps and excrete nutrient-rich castings – that’s pure compost gold! You’ll need a special worm bin, which you can buy or even DIY.
For more on worm composting, check out the EPA’s guide which touches on different composting methods, including vermicomposting.
Pros:
- Excellent for small spaces.
- Produces high-quality compost (worm castings) quickly.
- Relatively low odor if managed properly.
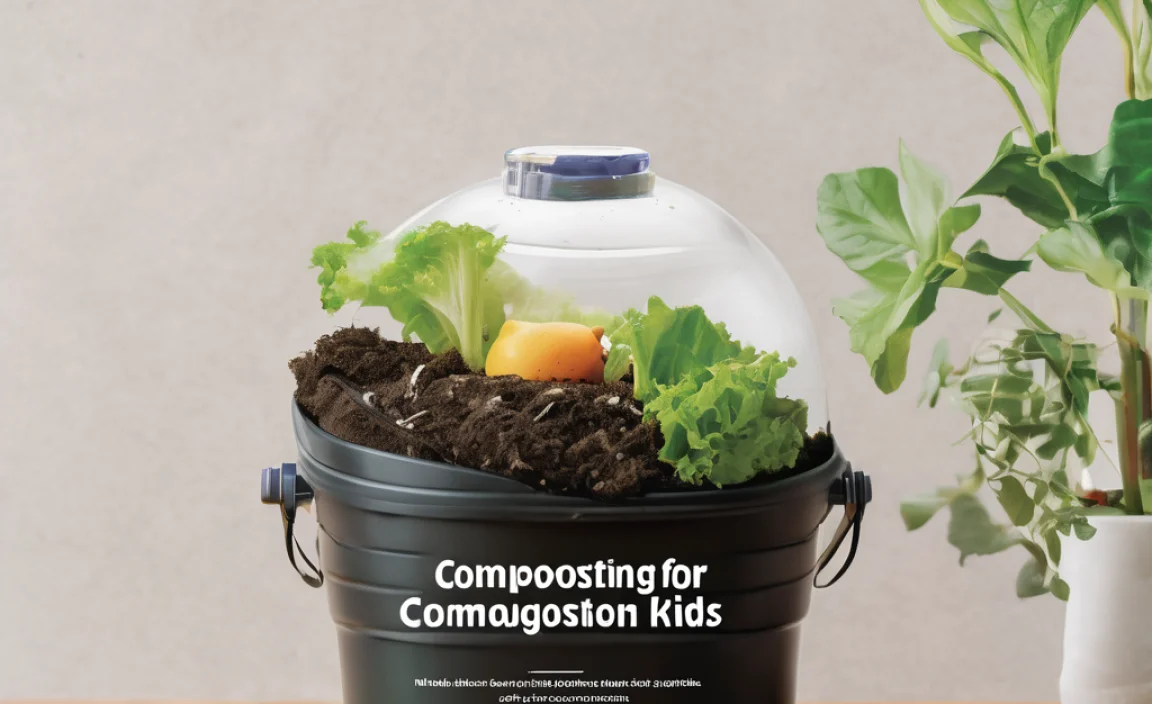
- Engaging and educational, especially for kids.
Cons:
- Requires specific types of worms.
- Can’t process as much material as traditional composting.
- Needs to be kept at a moderate temperature.
3. The Bokashi System
Bokashi is a bit different. It’s a fermentation process, not traditional decomposition. You use a special airtight bin and an inoculated bran (with effective microorganisms). This method pickles your food waste, including things like meat, dairy, and oils, which you can’t usually compost traditionally. The fermented material then needs to be buried or added to a traditional compost pile to finish breaking down.
Pros:
- Can compost meat, dairy, and oils.
- Quick process with minimal odor.
- Uses a compact, airtight bin.
- Produces a nutrient-rich liquid fertilizer (“Bokashi tea”).
Cons:
- Requires purchasing the Bokashi bran.
- The pickled waste needs further decomposition.
- Can be a two-step process.
4. The Small-Scale Pile/Bin (for Balconies/Patios)
Even without a fancy bin, you can create a mini compost pile or use a DIY bin made from pallets or wire mesh. This works best if you have a slightly larger balcony or patio where a small, contained pile is acceptable. It requires more attention to moisture and turning compared to sealed bins.
Pros:
- Can be very cost-effective if DIY.
- Allows for larger volumes than worm bins.
- Mimics traditional composting more closely.
Cons:
- May attract pests if not managed well.
- Can become smelly if it gets too wet or unbalanced.
- Needs space and some effort to turn.
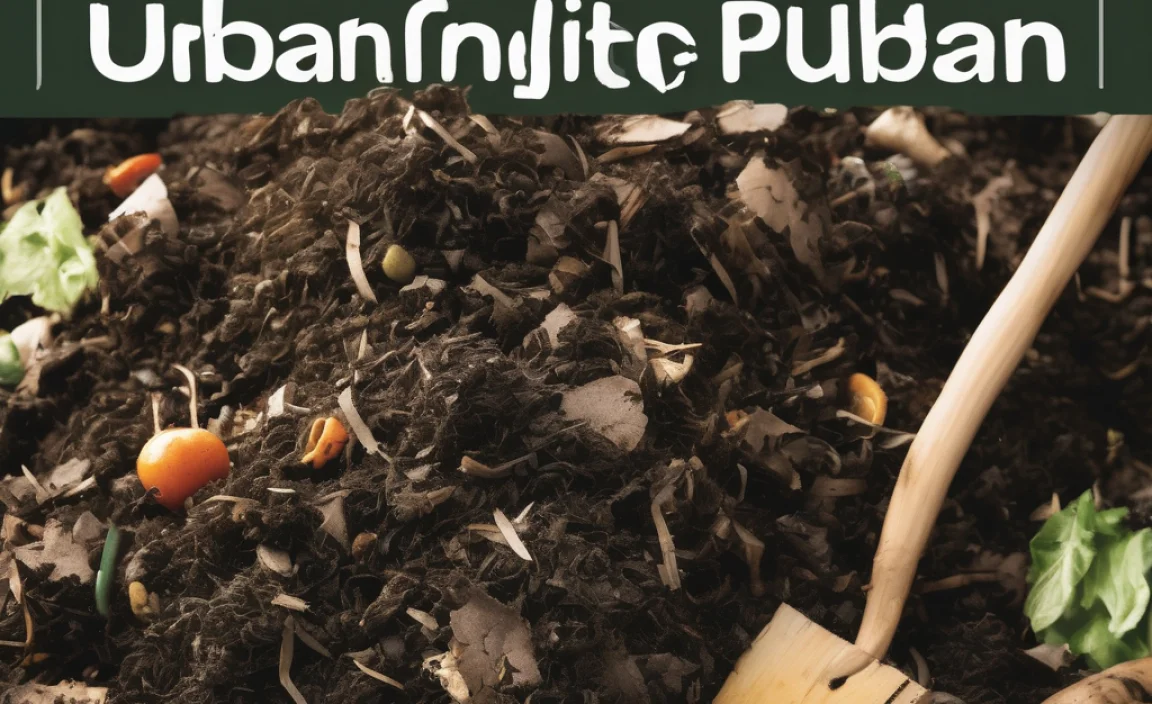
What Can You Compost? The “Greens” and “Browns” Explained
All composting relies on a balance of two main ingredients: “greens” and “browns.” Think of them as nitrogen-rich (greens) and carbon-rich (browns) materials that feed the microbes doing the hard work of decomposition.
“Greens” (Nitrogen-Rich)
These materials are moist and break down quickly, providing nitrogen for the microbes.
- Fruit and vegetable scraps
- Coffee grounds and tea bags
- Grass clippings (in moderation)
- Plant trimmings (non-woody)
- Eggshells
“Browns” (Carbon-Rich)
These materials are drier and provide carbon, which the microbes need for energy. They also help with airflow and prevent the pile from getting too wet and smelly.
- Dried leaves
- Shredded newspaper and cardboard (non-glossy)
- Straw or hay
- Small twigs and wood chips
- Paper egg cartons
What NOT to Compost (Especially in Small Urban Settings)
There are a few things that are best avoided in most urban compost setups. These can attract pests, create bad odors, or contain pathogens.
- Meat, fish, and bones: Attract pests and can smell.
- Dairy products: Attract pests and can smell.
- Oily or greasy foods: Slow down decomposition and can cause odors.
- Diseased plants: Can spread disease to your garden.
- Weeds that have gone to seed: You’ll end up with weeds in your compost.
- Pet waste (dog or cat): Can contain harmful pathogens.
- Chemically treated wood or yard waste: Can contaminate your compost.
Setting Up Your Urban Compost Bin: A Practical Guide
Ready to get started? Let’s set up your system. We’ll focus on a common contained bin, but the principles apply to most methods.
Step 1: Choose Your Location
Find a spot that’s:
- Convenient: Easy to get to for adding scraps and harvesting compost.
- Partially Shaded: Too much direct sun can dry out the pile, while full shade might keep it too cool and wet.
- Well-Ventilated: Good airflow is key.
- Stable: Place it on a flat, sturdy surface like a patio, balcony, or leveled ground. If on a balcony, be mindful of weight limits and drainage.
Step 2: Select Your Bin
A store-bought compost bin with a lid and ventilation holes is a great starting point. You can find many at garden centers or online. For a DIY option, a large rubber tote with holes drilled in it, or a wooden pallet bin are good choices. For vermicomposting, you’ll need a specialized worm bin.
Step 3: Get Your Materials Ready
Start collecting your kitchen scraps in a small container with a lid on your counter. Keep a separate bin or bag for your “browns,” like shredded paper or dried leaves. Having these ready makes it easy to maintain the right balance.
Step 4: Start Layering (The “Lasagna” Method)
A good compost mix starts with a base layer. Think of it like making lasagna!
- Base Layer (Browns): Start with a few inches of coarse brown material like small twigs, shredded cardboard, or straw. This helps with aeration at the bottom.
- First Green Layer: Add a layer of your kitchen scraps (vegetable peels, coffee grounds).
- First Brown Layer: Cover the green layer with dry brown materials (shredded newspaper, leaves). aim for roughly a 2:1 or 3:1 ratio of browns to greens by volume.
- Moisten: Lightly mist each layer with water. It should be damp like a wrung-out sponge, not soaking wet.
- Repeat: Continue layering greens and browns, ending with a brown layer on top to help deter pests and odors.
Step 5: Maintain Your Compost
Composting is a living process. Here’s how to keep it happy:
- Aerate (Turn): Regularly mixing your compost helps introduce oxygen, which the microbes need to work efficiently. For a bin, this might mean using a compost aerator tool or a small garden fork. Tumblers make this easy. Aim to turn it every 1-2 weeks.
- Moisture Check: Feel the compost. If it’s dry, add a little water. If it’s too wet and soggy, add more brown material and turn it.
- Add Materials: Keep adding your kitchen scraps and browns. Burying new scraps within the pile helps them break down faster and reduces odors.
Troubleshooting Common Urban Composting Problems
Even the best intentions can run into a few snags. Here are common issues and how to fix them:
Problem: My compost smells bad (like ammonia or rotten eggs).
- Cause: Too much green material, not enough airflow, or too wet.
- Solution: Add more brown materials (shredded paper, dried leaves) to balance the greens. Turn the pile to introduce air. If it’s too wet, add more browns and turn it more frequently.
Problem: My compost isn’t breaking down. It’s just sitting there.
- Cause: Too dry, not enough nitrogen (greens), or compost microbes aren’t active enough.
- Solution: Check for moisture. If dry, add water and mix. Ensure you have a good mix of greens and browns. You can add a bit of finished compost or soil from a healthy garden to introduce beneficial microbes.
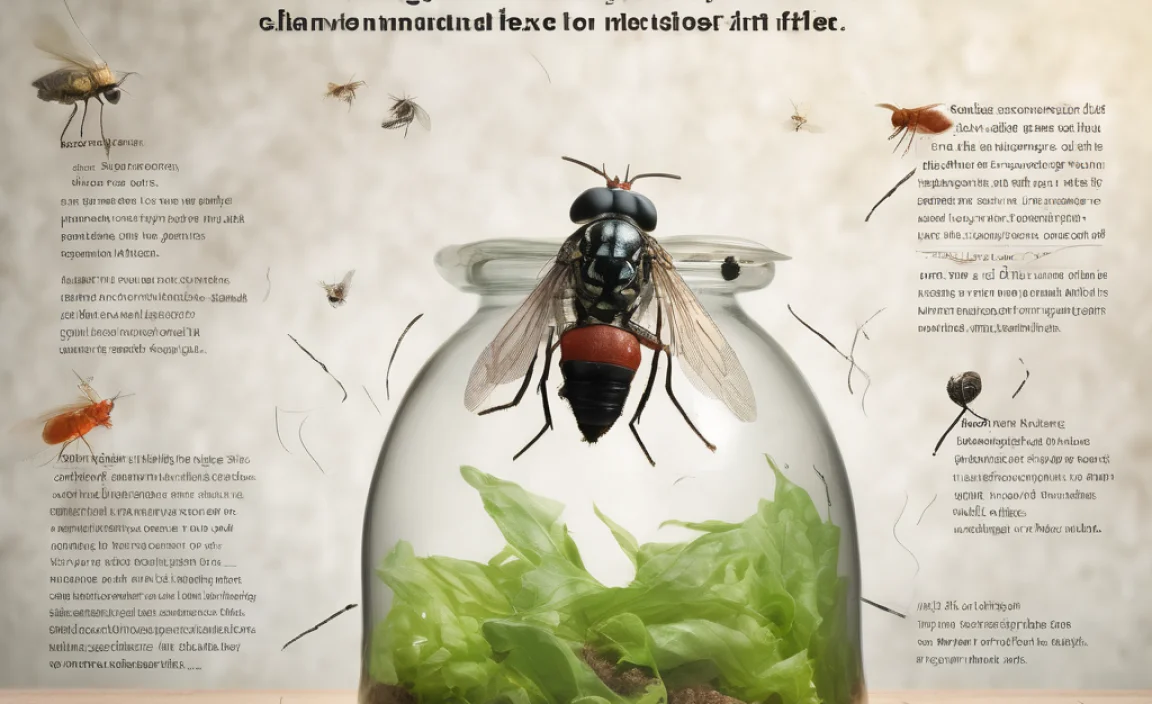
Problem: I’ve got fruit flies or other pests.
- Cause: Exposed food scraps, bin lid not sealed properly.
- Solution: Always bury fresh kitchen scraps under a layer of brown material. Make sure your bin lid is secure and undamaged. For persistent issues, consider a tumbler bin or a Bokashi system if it’s suitable for your needs.
Problem: My compost is too hot or too cold.
- Cause: Too large a pile can overheat, too small or too much shade can keep it too cool.
- Solution: For hot piles, turn them to release heat and moisture. For cool piles, add more green materials (nitrogen) and turn. Ensure your bin is in a good location with some sun exposure but not baking all day.
When is Compost Ready? The Magic Moment
Your compost is ready when it looks, smells, and feels like rich, dark soil. You shouldn’t be able to identify the original ingredients anymore. It will be crumbly, earthy-smelling, and a uniform dark brown color.
In an urban setting, depending on your method and how actively you manage it, compost can be ready anywhere from 2-3 months (for tumblers or well-managed piles) to 6-12 months (for less managed bins or worm bins). Worm castings are typically ready much faster.
How to Use Your Urban Compost Soil
Once your compost is ready, you’ve got a versatile ingredient for your urban garden:
- Soil Amendment: Mix it into your existing potting soil for containers or garden beds. A general rule is to mix 1 part compost to 2 or 3 parts soil.
- Top Dressing: Sprinkle a layer of compost around the base of your plants. This slowly releases nutrients and helps retain moisture.
- Seed Starting: For very fine compost, you can mix it with other materials for a custom seed-starting mix.
Think of it as a slow-release fertilizer and a soil conditioner all in one! Your plants will love the boost.
Quick Summary Table: Urban Composting Tools & Materials
| Category | Essential Items | Optional Items |
|---|---|---|
| Composting System | Compost bin (contained, tumbler, worm bin, or DIY) | Bokashi bin and bran |
| Tools | Kitchen compost caddy (small bin with lid) | Compost aerator tool, pitchfork, or shovel for turning |
| Materials – Greens | Fruit & vegetable scraps, coffee grounds, tea bags, eggshells | Grass clippings, fresh plant trimmings |
| Materials – Browns | Shredded newspaper, cardboard, dry leaves | Straw, small twigs, wood chips |
| Watering | Water source (hose, watering can) | Mister for fine spray |
| Harvesting | Trowel or small shovel | Sieve or screen for sifting compost |
Maintaining the Right Moisture Level
Moisture is crucial for composting. Too dry, and the decomposition process slows to a crawl. Too wet, and the pile can go anaerobic, leading to unpleasant smells and attracting unwanted guests.
The “Swung-Out Sponge” Test: Grab a handful of compost from the center of your pile. Squeeze it firmly. A few drops of water should come out, and the material should hold its shape loosely. If it drips heavily, it’s too wet. If it crumbles apart, it’s too dry. Adjust by adding browns if too wet, or water if too dry.
Understanding Carbon-to-Nitrogen Ratio (C:N)
While we’ve simplified it to “greens” and “browns,” the scientific principle is the Carbon-to-Nitrogen ratio. Microbes need both carbon (for energy) and nitrogen (for protein and reproduction). A good target for successful composting is a C:N ratio of about 25:1 to 30:1 by weight. This is why we emphasize the brown-to-green ratio – browns are high in carbon, greens are high in nitrogen.
Urban Pro Tip: You don’t need to measure this precisely for basic urban composting! Just aim for significantly more browns than greens by volume. If your pile is smelling funky, it’s a signal you need more browns and better airflow. If it’s dry and slow, you might need more greens and moisture.
What to do if you don’t have outdoor space?
If a balcony or patio isn’t an option, don’t fret! Consider these:
- Indoor Worm Bin: As mentioned, worm bins are compact and can live happily under a sink, in a closet, or a spare corner.
- Bokashi: This system can be done entirely indoors. The pre-composted material can then sometimes be processed by municipal composting programs or donated to urban farms that accept it.
- Community Composting: Many cities have community gardens or composting facilities that accept household scraps. Check with your local resources, like local government waste management sites or community groups, to find options near you.
FAQ: Beginner Questions About Urban Composting
Q1: How much space do I really need for urban composting?
A1: You can start composting with as little space as a small corner of your countertop for kitchen scraps and space for a compact bin on a balcony, patio, or even indoors (for worm or Bokashi systems). A standard contained bin is usually around 2×2 feet.
Q2: Will my compost bin attract rats or other unwanted pests?
A2: If you use a well-sealed bin, use only approved materials, and bury food scraps properly, pest problems are rare. Tumblers and Bokashi systems are excellent at deterring pests. Avoid adding meat, dairy, and oily foods, as these are the biggest attractants.
Q3: How often do I need to “turn” my compost?
A3: For faster, more efficient composting, turning every 1-2 weeks is ideal. If you have a tumbler, a few spins every few days works. If you have a stationary bin and turn it less often (e.g., once a month), it will still compost, just a bit slower.
Q4: My compost looks like it’s not working. What could be wrong?
A4: Check the moisture level – it might be too dry. Also, verify that you have a good balance of “greens” (nitrogen) and “browns” (carbon). Adding more greens or a bit of finished compost can kickstart the process.
Q5: Can I compost something if I’m not sure it’s compostable?
A5: When in doubt, leave it out! It’s better to err on the side of caution. Stick to the well-known compostable items like fruit and vegetable scraps, coffee grounds, and paper materials until you become more confident with identifying compostable vs. non-compostable items.
Q6: How long does it take to make compost?
A6: It varies! Actively managed systems and tumblers can produce compost in 6-12 weeks. Slower, more passive methods might take 6-12 months. Worm castings are usually ready in 3-6 months.
Conclusion: Your Urban Garden’s Best Friend
So there you have it! Composting in the city is not just possible; it’s incredibly beneficial. You’re not just Tossing scraps anymore; you’re becoming a soil alchemist, transforming waste into life for your plants. With the right setup and a little attention, you’ll be well on your way to creating rich, nutrient-dense compost that will make your urban garden thrive. It’s a rewarding practice that helps the environment, saves you money, and gives you the satisfaction of growing healthier, happier plants. Give it a try – your plants will definitely thank you!

I am passionate about home engineering. I specialize in designing, installing, and maintaining heating, ventilation, and air conditioning systems. My goal is to help people stay comfortable in their homes all year long.