Hey there! Feeling the pinch of a budget but still want to go green? A compost toilet can seem like a big project, but guess what? It doesn’t have to cost a fortune. We’re talking about a super simple, incredibly affordable way to handle waste, save water, and even create some garden gold. Stick with me, and I’ll show you exactly how to build a functional, budget-friendly compost toilet that anyone can manage. Ready to get started?
Compost Toilet Cheap: Your Essential Budget Solution
Let’s face it, plumbing can be a headache and expensive! Whether you’re setting up an off-grid cabin, a tiny home, an RV, or just want to conserve water at your main residence, a compost toilet is a fantastic alternative. And the best part? You don’t need deep pockets to get one. This guide is all about making a compost toilet accessible and affordable, showing you how to build one yourself with basic materials and a little elbow grease. We’ll break it down step-by-step, so no need to worry if you’re not a seasoned DIYer. You’ve got this!
Why Go Compost Toilet? The Budget-Friendly Benefits
Before we dive into the “how-to,” let’s chat about why this is such a smart move, especially when you’re watching your wallet.
- Massive Water Savings: Traditional flush toilets are thirsty! They use gallons of precious water with every flush. A compost toilet uses none. Especially if you’re in an area with water restrictions or just want to lower your utility bill, this is a game-changer.
- Reduced Sewage/Septic Load: If you rely on a septic system, reducing the water you flush can significantly extend its lifespan and reduce costly pumping or repairs. For those not connected to municipal sewage, it means less to process or manage.
- “Black Gold” for Your Garden: Properly managed, the end product of a compost toilet (the composted humanure) is a rich, nutrient-dense fertilizer. It’s an incredible way to contribute back to the earth and boost your garden’s health – all from waste!
- Off-Grid Capability: For cabins, boats, or tiny homes where traditional plumbing isn’t feasible or desired, a compost toilet is a reliable, self-contained sanitation solution.
- Environmental Friendliness: You’re diverting waste from landfills and conserving water. Plus, you’re turning potential pollution into a valuable soil amendment. It’s a win-win for you and the planet.
- Simplicity and DIY Appeal: Unlike complex plumbing, the core concept of a compost toilet is straightforward. This makes it a perfect DIY project, saving you significant labor costs.
Understanding the Basics: How Compost Toilets Work
At its heart, a compost toilet speeds up the natural decomposition process of human waste. Instead of flushing it away with water, you use a “carbon-rich” material to absorb moisture and odor, and to kickstart the composting. Think of it like your backyard compost bin, but for humanure.
There are two main types of DIY compost toilets, and for a budget-friendly approach, we’re focusing on the simplest:
- Simple / Batch System: This is the most budget-friendly and easiest to build. It typically involves a container where waste and bulking material are added, and the contents are left to compost over time before being emptied.
- Continuous System: These are more complex and often commercially made, with separate chambers for liquid and solid waste, and a more involved composting process. While effective, they are usually more expensive and harder to DIY on a super tight budget.
For our cheap and cheerful guide, we’re aiming for a robust batch system. It’s proven, effective, and incredibly wallet-friendly.
Gathering Your Cheap Compost Toilet Supplies
The beauty of a budget compost toilet is that it uses readily available and often inexpensive materials. You can even scavenge or repurpose some items!
Essential Components:
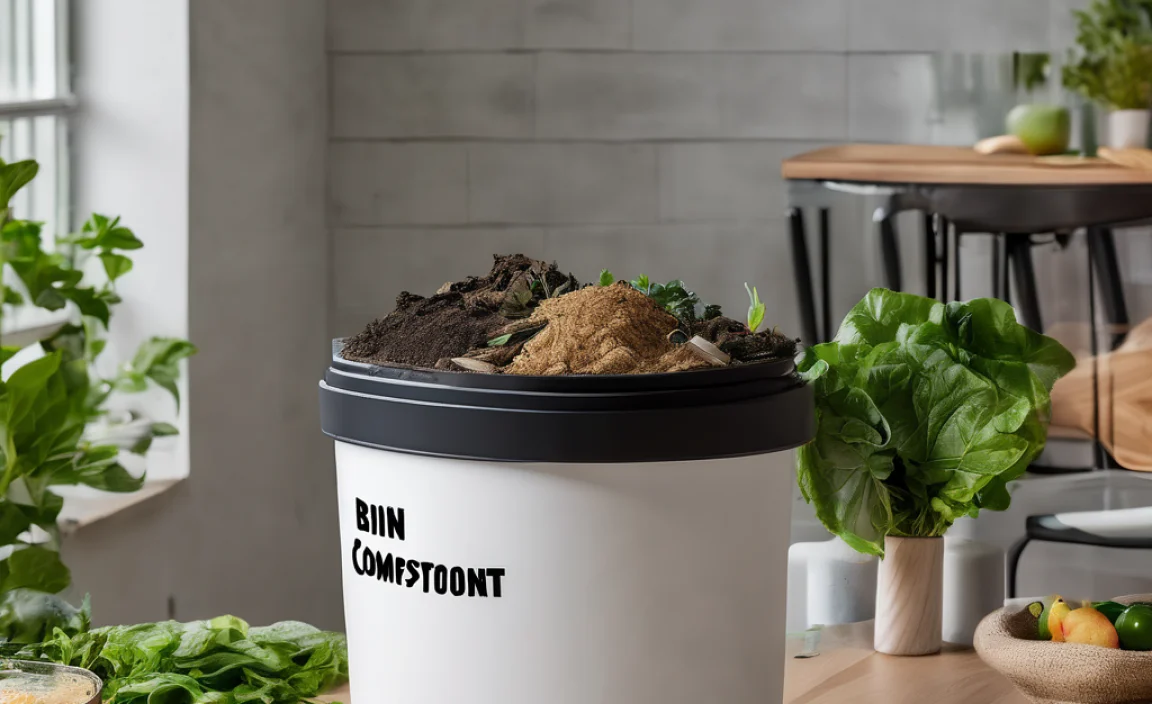
- A Sturdy Container: This is the main “toilet.” Look for a 5-gallon bucket (food-grade is a good idea if available, but not strictly necessary for the builder). These are incredibly cheap, durable, and widely available. You’ll need at least one, and a second one for “aging” the compost is highly recommended.
- A Toilet Seat and Lid: You can often buy a basic, sturdy plastic toilet seat for under $20. Alternatively, you might find a used one for free or very cheap.
- Bulking Material: This is crucial for absorbing moisture, controlling odor, and providing carbon. Excellent budget options include:
- Sawdust: Often available for free from local woodworkers or sawmills. Make sure it’s untreated wood.
- Shredded Newspaper or Cardboard: Free if you have old papers or boxes. Shred them up!
- Coconut Coir (Peat Moss Alternative): While not always free, it’s often affordable in bulk and works very well. It can be a bit pricier than sawdust or paper, so weigh your options.
- Pine Needles or dry leaves: Great if you have easy access to them, but ensure they are dry.
- A Way to Attach the Seat: Usually, the seat comes with bolts. If not, you’ll need a few screws or bolts to secure it to the bucket lid or directly to the bucket rim.
- Optional: A “Urine Diverter” (DIY Version): While not strictly necessary for a simple budget system, diverting urine can significantly help manage odors and moisture in the solid waste. A simple DIY version can be made from PEX tubing or a cut plastic bottle. We’ll cover this later as an option.
- Optional: A Sturdy Base or Stand: For comfort and stability, you might want to build a small wooden box or stand for your bucket. Scrap wood is perfect for this. Check out resources like This Old House’s guides on simple woodworking projects for inspiration on building basic structures.
Tools You’ll Likely Need:
- Drill with various bits (for attaching the seat if needed, or for a urine diverter)
- Saw (if building a stand)
- Screwdriver or wrench (for attaching the seat)
- Shovel or trowel (for managing compost)
- Gloves (essential for hygiene)
- Measuring tape (if building a stand)
Building Your Cheap Compost Toilet: Step-by-Step
Let’s get building! This is straightforward, and we’ll use the simplest, most cost-effective method.
Step 1: Prepare Your Bucket and Lid
If you’re just using a standard 5-gallon bucket, the lid is your primary interface. You want to attach the toilet seat directly to the bucket lid. Some bucket lids have a rim that’s perfect for this. If it feels a bit flimsy, you might want to reinforce it. You can do this by screwing a thin piece of plywood or a plastic cutting board onto the underside of the lid, creating a more rigid surface for the seat.
Pro Tip: If you’re mounting the seat directly to the bucket rim (without using the lid as a base), you’ll need to ensure the bucket rim is clean and level. You can then use screws that go through the toilet seat’s mounting holes and into the plastic rim of the bucket. This requires precise drilling.
Step 2: Attach the Toilet Seat
Most toilet seats come with bolts and nuts. Align the seat’s mounting holes with where you want to attach it on the lid or bucket rim. Drill pilot holes if necessary. Then, feed the bolts through, and secure them with the nuts. Tighten them firmly so the seat doesn’t wobble. Some people use wing nuts for easier removal if they need to clean the lid thoroughly.
Step 3: The “Carbon Chamber” – Your Bulking Material
This is where the magic happens. Before you use the toilet the first time, and after every single use, you need to add bulking material. This material is key to keeping odors down and absorbing moisture. You’ll want to keep a good supply of your chosen bulking material (sawdust, shredded paper, etc.) right next to your compost toilet.
Initial Fill: Start with a few inches of your bulking material at the bottom of the bucket. This creates a base layer.
After Each Use: This cannot be stressed enough: after you deposit any solid waste, cover it completely with a generous handful (or two!) of your bulking material. Think of it as tucking your waste in with a cozy carbon blanket. A small, lidded bin of your bulking material next to the toilet is perfect for this. You can even use a small scoop.
Liquid Waste: If you’re not diverting urine, it will go into the main bucket to be absorbed by the bulking material. This can lead to a slightly higher moisture content, so make sure you have enough absorbent material. If you’re composting the solids, separating urine can make the process easier and less smelly.
Step 4: Optional – Building a Simple Stand/Base (Recommended)
While you can just put the bucket on the floor, it’s much more comfortable and stable to have it at a standard toilet height. This is where your scrap wood comes in!
A basic stand can be a simple box or a frame. You want it tall enough so that when the bucket is inside, the top of the seat is at a comfortable height (around 15-18 inches from the floor). You can make a simple box with an opening on top for the bucket. Another option is a U-shaped support that the bucket sits in, with panels on the sides and front.
DIY Stand Idea:
- Measure the height you want your finished toilet to be (e.g., 17 inches).
- Measure the diameter of your bucket.
- Cut scrap wood (like 2x4s or plywood) to create a frame or box. For example, four legs and some bracing, topped with a piece of plywood with a hole cut out for the bucket lid.
- Ensure the structure is stable and can support weight.
- You can leave the front open for easy bucket removal or cut a hinged door.
Resources like Lowe’s often have simple DIY furniture guides that can be adapted for a toilet stand.
Step 5: Optional – DIY Urine Diverter
Urine is sterile and mostly water, so it doesn’t need to compost. Separating it can reduce odors and make the solid waste drier, which is better for composting. This is a bit more advanced but can be done cheaply.
Method 1 (Simple Funnel): You can buy a large plastic funnel and attach it to the front of the bucket lid, angled slightly forward. You’ll need to cut a hole in the lid for this. Run a tube from the funnel into a separate collection container (like a jug or another bucket). Secure the funnel well with screws and sealant.
Method 2 (Cut Bottle Diverter): Some people cut the bottom off a milk jug or soda bottle and attach it with screws and sealant to the underside of the toilet seat. The opening of the bottle is then directed forward, with a tube attached to its neck, leading to a collection jug. This is a bit trickier to position correctly.
If you implement a urine diverter, ensure the tube leading to the collection container is secure and doesn’t kink.
Managing and Composting Your Waste
This is the part that might seem a bit daunting, but it’s really manageable and crucial for making your compost toilet work safely and effectively.
The “Batch” System Explained
With a simple batch system, you fill one bucket until it’s about 2/3 to 3/4 full. Once it reaches that point, you stop using it for a period to allow the contents to compost. While one bucket is “aging,” you switch to your second bucket (or a spare bucket with a seat simply placed on top).
How Long to Age?
This is key for safety. To ensure any pathogens are neutralized, the composted material needs time. A minimum of 6-12 months is generally recommended, and longer is even better. During this aging period, the solids and carbon material break down significantly. The key is for the material to dry out and be composted thoroughly.
Important Note: The material in a properly managed compost toilet is often referred to as “humanure.” For safety reasons, especially when you are new to this and on a budget, always err on the side of caution with aging times. You can learn more about safe humanure composting from resources like Joseph Jenkins’ Humanure Handbook. He’s a leading voice in this area, and his work is invaluable for safe practice.
Emptying and Composting the Solids
Once a bucket has been filled and set aside for its aging period (at least 6 months), it’s time to process it. The goal is to turn it into safe, usable compost.
- Location: Choose a dedicated composting area away from your house, water sources, and garden beds where you grow edible plants. A large compost bin or a designated pile is ideal.
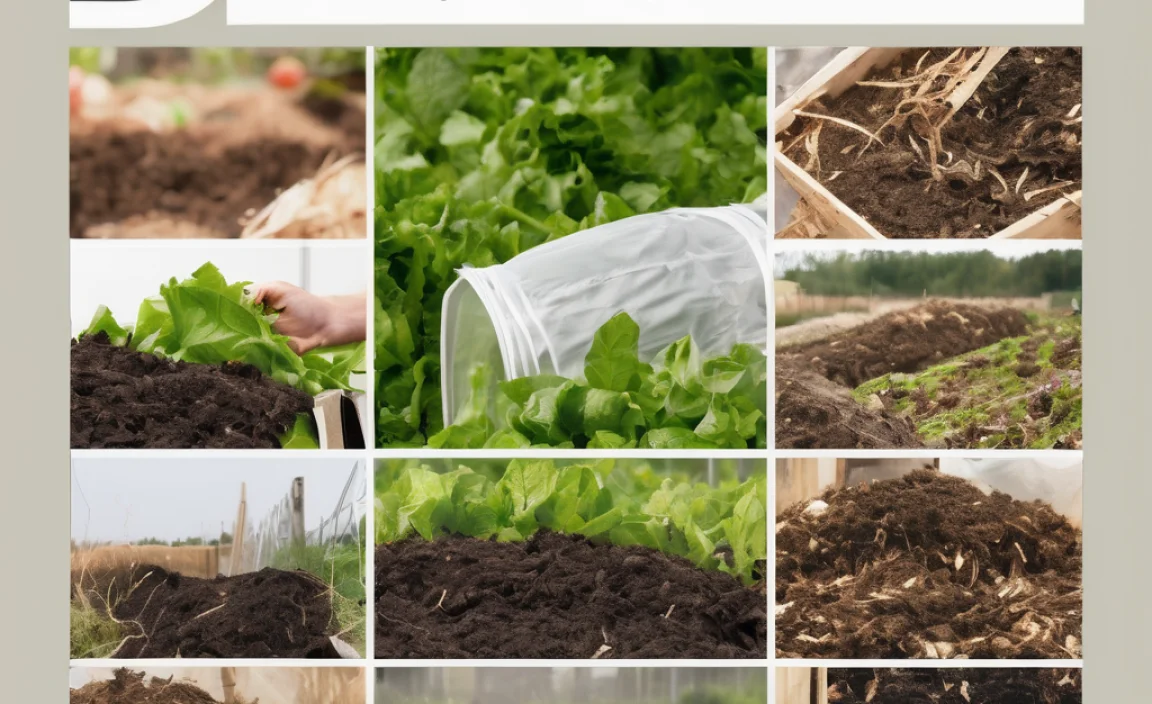
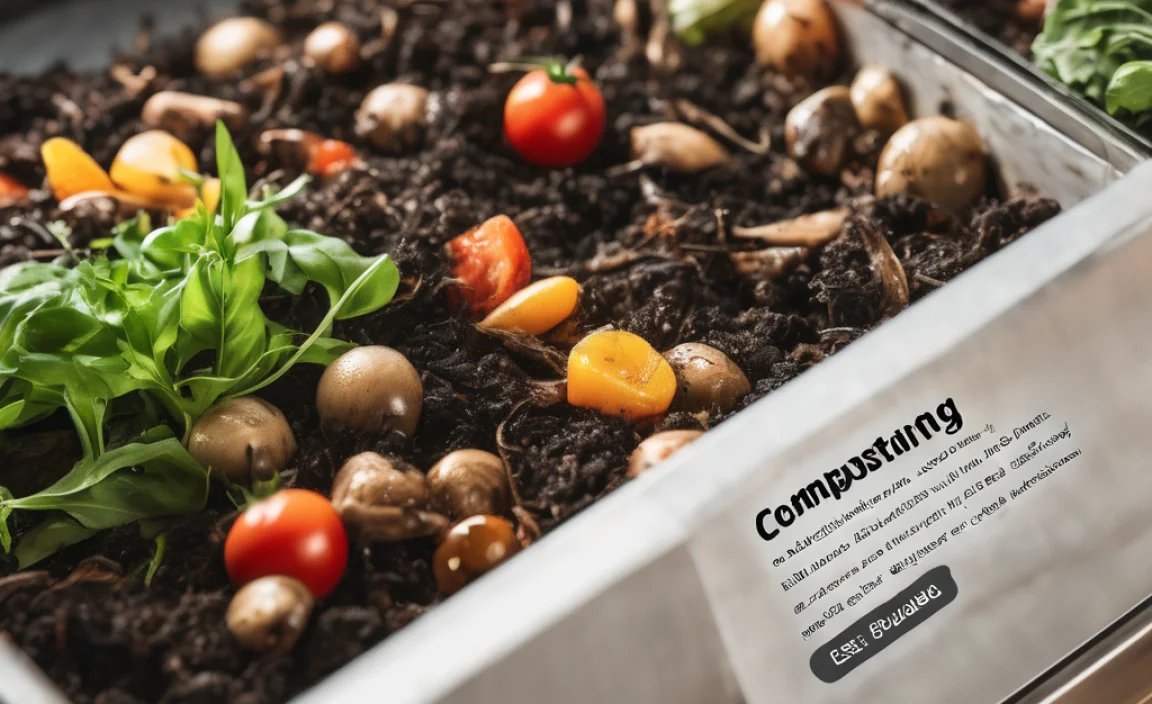
- Add to Compost Pile: Carefully empty the contents of the aged bucket into your compost pile. Mix it in well with other garden waste (leaves, grass clippings, kitchen scraps – but no meat or dairy).
- Turn Regularly: Continue to turn your active compost pile regularly to aerate it and help the decomposition process along.
- Compost Finish: The material will continue to break down. It should eventually look like dark, crumbly soil. When you can no longer recognize the original waste, and it has a pleasant, earthy smell, it’s ready.
Using the Compost: This finished compost is fantastic for flowers, ornamental plants, trees, and shrubs. If you are very confident in your aging and composting process, and have allowed ample time (well over a year is safest), some people use it on food gardens, but always do your research and prioritize safety.
Managing Urine Collection
If you’re collecting urine separately, you’ll need a jug or a larger container. Urine itself can be used as a nitrogen-rich fertilizer, but it needs to be diluted with water (about 10:1 or 20:1 water to urine ratio) before being applied to plants. Pouring concentrated urine directly on plants can burn them.
Empty the urine collection jug regularly. If it smells strongly, it might be starting to break down. Dilute it well before use. Some people simply pour diluted urine onto established trees or ornamental plants.
Budget Breakdown: How Cheap Can It Get?
Let’s look at some price ranges. Remember, these are estimates and can fluctuate wildly depending on what you can find for free or second-hand.
| Item | Estimated Cost (Low End) | Estimated Cost (Mid-Range DIY) | Notes |
|---|---|---|---|
| 5-Gallon Bucket | $0 – $5 (Used/Free) | $5 – $10 (New) | Food-grade is ideal but not essential for builder. |
| Toilet Seat & Lid | $0 – $15 (Used/Basic Model) | $20 – $40 (New, Sturdier Model) | Look for sales or clearance sections. |
| Bulking Material (Sawdust, Shredded Paper) | $0 (Free) | $5 – $20 (for initial supply, if buying coir) | Sawdust is often free from local mills. |
| Plywood/Wood for Stand | $0 (Scrap Wood) | $10 – $30 (if buying new lumber) | Check for usable scraps at construction sites (with permission) or lumber yards. |
| Screws/Fasteners | $0 – $5 (Scrap bin) | $5 – $10 | You likely have some in your toolbox. |
| Optional: PEX Tubing/Funnel for Diverter | $0 – $10 (Repurposed parts) | $15 – $30 (New parts) | Can be simplified or skipped. |
| TOTAL ESTIMATE | $0 – $35 | $60 – $145 | This is highly flexible based on what you source for free! |
As you can see, it’s entirely possible to build a functional compost toilet for less than $50, especially if you’re resourceful. The most significant ongoing cost is simply your bulking material, which can be kept extremely low if you have free access to sawdust or shred your own paper.
Pros and Cons of a Cheap DIY Compost Toilet
Like any budget solution, there are trade-offs. Here’s a quick rundown.
Pros:
- Extremely Low Cost: This is the biggest draw. You can build one for a fraction of the price of a commercial unit or traditional plumbing.
- Water Conservation: Saves a lot of water.
- Environmental Benefits: Reduces waste going to landfill or septic systems.
- DIY Friendly: Simple construction means less stress and more accomplishment.
- Off-Grid Ready: Works anywhere, no hookups needed.
- Educational: Great way to learn about waste processing and composting.
Cons:
- Requires Active Management: You must add bulking material after every use.
- Odor Potential: If not managed properly (lack of bulking material, too much liquid), odors can be an issue.
- Composting Time: You need a second bucket and significant aging time (6-12+ months) before the material is safe to fully compost and use.
- Aesthetics: It’s a bucket with a seat. It’s functional, not fancy. Building a nice cover or stand helps.
- Disposal Concerns: You need a plan and a suitable location for the compost pile.
- Urine Management: If not diverted, it can increase moisture and potential odor issues.
Safety and Hygiene First!
This is paramount. While a compost toilet can be safe and effective, you must follow best practices:
- Always use bulking material after solid deposits. This is non-negotiable for odor control and pathogen suppression.
- Allow sufficient aging time for composted solids before they are fully processed. Refer to reputable sources like the CDC’s guidance on composting toilets for safety considerations.
- Wash your hands thoroughly after using and managing the compost toilet.
- Keep the toilet area clean and well-ventilated.
- Don’t overfill buckets; a 2/3 to 3/4 full bucket is ideal for composting.
- If you have a compromised immune system, consult with a healthcare professional before using or managing a compost toilet.
Conclusion: Your Affordable Path to Sustainability
Building a compost toilet on a budget is not just possible; it’s a rewarding and practical project. By using simple materials like buckets and readily available bulking agents, you can create a functional, water-saving sanitation system for a fraction of the cost of conventional methods.
Remember, the key to success lies in consistent management – adding that critical bulking material after every use – and patience, allowing ample time for safe composting. This isn’t just about saving money; it’s about adopting a more sustainable lifestyle and connecting with natural processes. So gather your supplies, embrace the DIY spirit, and start building your very own cheap compost toilet today. You’ll be amazed at how accessible and effective this eco-friendly solution can be!
Frequently Asked Questions About Cheap Compost Toilets
Q1: Will my cheap compost toilet smell?
A1: If managed correctly, it shouldn’t. The bulking material (sawdust, shredded paper) is key to absorbing moisture and odors. If you notice smells, it usually means you need to add more bulking material or address moisture levels. Urine diversion can also significantly reduce potential smells.
Q2: How do I actually compost the waste safely?
A2: Proper composting takes time! You need to let the contents of a filled bucket sit undisturbed for at least 6-12 months (longer is better) in a separate aging area. Then, mix it into an active compost pile and let it break down completely until it looks and smells like earth. Always refer to safe humanure composting guidelines.
Q3: Can I use just one bucket?
A3: While you can technically use one bucket if you empty it very frequently and manage the composting separately (which is difficult and less safe for beginners), most people use two buckets. One is in use, and the other is aging. This ensures continuous use of your toilet and proper composting time.
Q4: What kind of bulking material is best?
A4: Sawdust from untreated wood is excellent and often free. Shredded newspaper or cardboard also works well. Coconut coir is effective but usually costs more. The goal is fine, dry, carbon-rich material that absorbs moisture and air.
Q5: Do I need a urine diverter?
A5: It’s not strictly necessary for a basic, cheap system, but it’s highly recommended. Separating urine makes the solid waste drier, which aids composting and significantly reduces potential odors and slime build-up.
Q6: How often do I need to empty the solids bucket?
A6: This depends on usage. For a single person, a bucket might fill up in several weeks to a month or two. Once it’s about 2/3 to 3/4 full, you switch to your second bucket and let the full one start its aging process.

I am passionate about home engineering. I specialize in designing, installing, and maintaining heating, ventilation, and air conditioning systems. My goal is to help people stay comfortable in their homes all year long.


