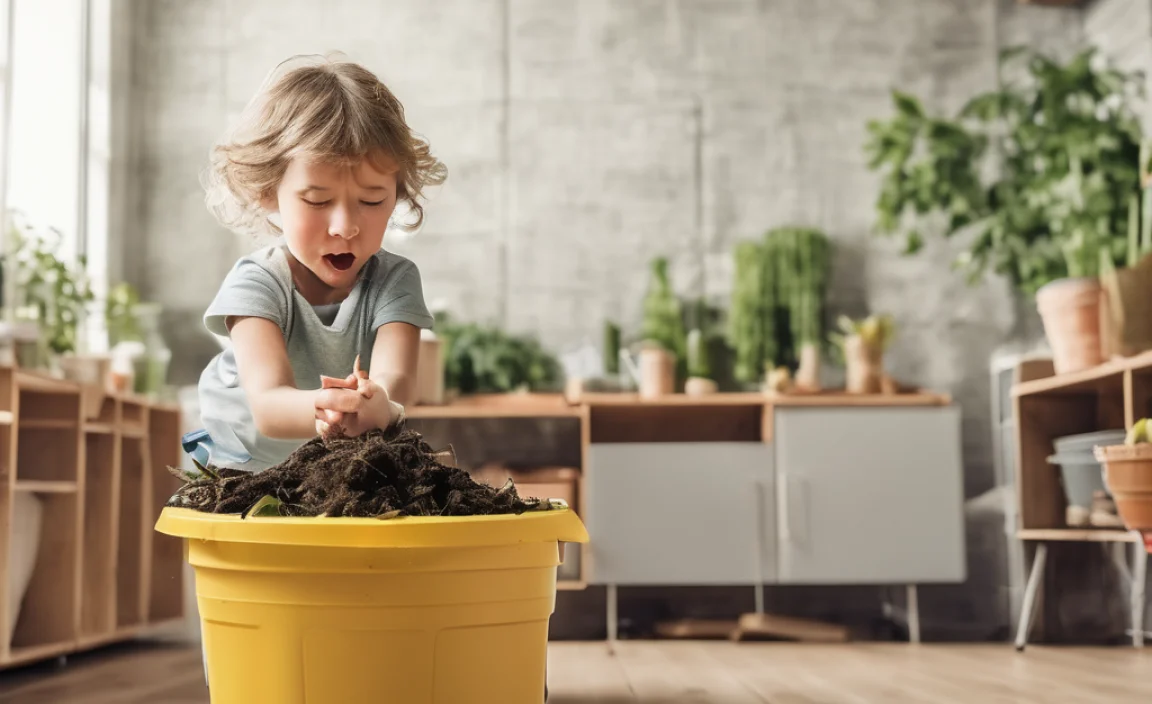
Why Composting for Kids is a Win-Win
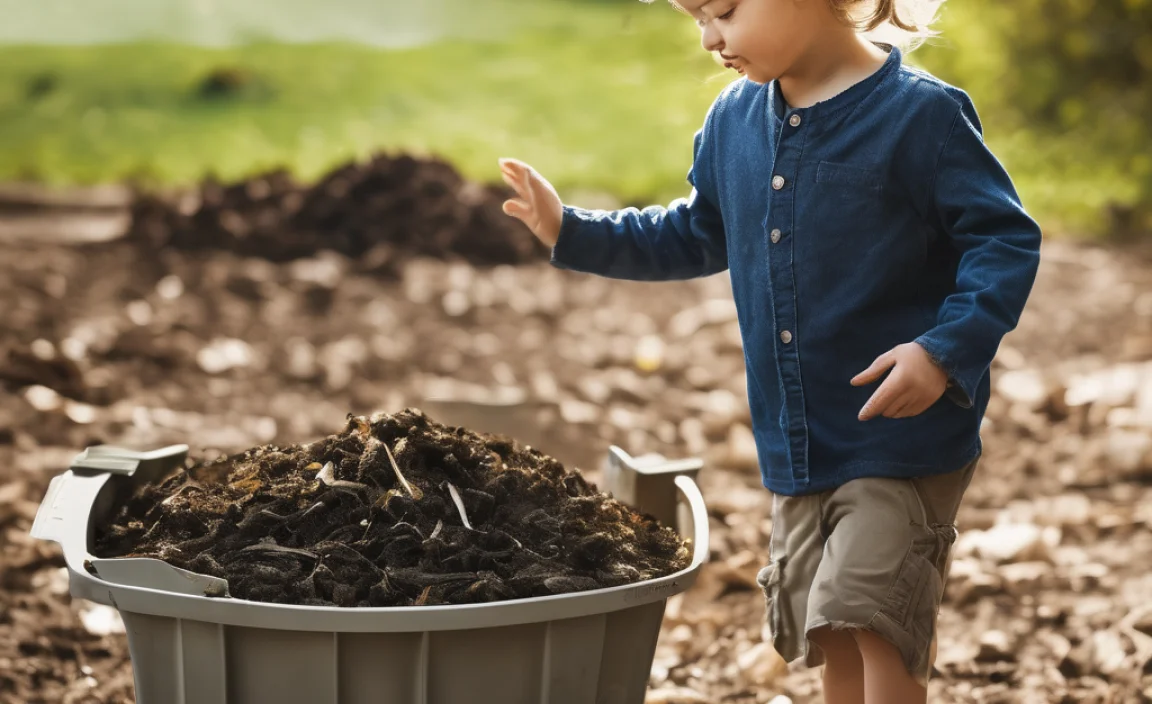
Getting kids involved in composting is more than just a fun project; it’s a fantastic learning experience. They get to see firsthand how waste can be transformed into something beneficial for the soil. It teaches them about nature, recycling, and where their food comes from. Plus, it’s a hands-on way to learn about science – think decomposition and microorganisms!
The biggest hurdle for many parents is the fear of smell and pests. It’s a valid concern, but with a little know-how, you can easily prevent your compost bin from becoming a stinky spotlight. It’s all about balance and understanding what your compost pile likes and dislikes.
Understanding Compost Smells: The “Greens” and “Browns” Secret
The key to a stink-free compost bin is a good balance between “greens” and “browns.” Think of them as the fuel for your compost fire. Too much of one, and you can get funky smells. Too little, and your compost might not break down efficiently.
What are “Greens”?
Greens are materials that are rich in nitrogen. They are usually moist and tend to break down quickly. When they’re in excess without enough browns, they can get slimy and create that ammonia-like smell.
- Fruit and vegetable scraps
- Coffee grounds and tea bags
- Grass clippings (in thin layers!)
- Plant trimmings
- Eggshells
What are “Browns”?
Browns are materials that are rich in carbon. They are usually dry and provide the air pockets your compost needs. They help absorb excess moisture from the greens and balance out the nitrogen.
- Dried leaves
- Shredded newspaper and cardboard (non-glossy)
- Straw or hay
- Wood chips or sawdust (untreated wood)
- Paper towels and napkins (unsoiled by grease or chemicals)
The Magic Ratio
A good rule of thumb for a balanced, odor-free compost pile is to aim for roughly 2 to 3 parts browns to 1 part greens by volume. This ratio helps ensure there’s enough carbon to absorb excess nitrogen, and enough air can circulate to prevent anaerobic (stinky) decomposition.
Choosing the Right Compost Bin for Kids
When composting with kids, the type of bin you use can make a big difference in managing odors and making it accessible for little ones. There are a few great options:
Option 1: The Tumbler Composter
Tumblers are enclosed barrels that you can spin. This makes turning the compost easy – which is great for kids to help with and crucial for aeration. Because they are sealed, they tend to keep smells in and pests out. They also heat up faster, speeding up decomposition.
Pros for kids: Easy to turn, contained, keeps critters out, less exposed smell.
Cons: Can be an initial investment, might require adult help to fill if heavy.
Option 2: The Stationary Bin (Enclosed)
These are typically plastic bins with a lid and often a door at the bottom for accessing finished compost. If you choose one with a lid, it will help contain most odors. Ensure it has good ventilation holes.
Pros for kids: Relatively easy to add scraps through a top opening, contained, good for smaller spaces.
Cons: Turning can be harder (might need a compost aerator tool), lid needs to be kept on to minimize smell.
Option 3: Worm Composting (Vermicomposting)
This is a fantastic option for composting indoors or on a small balcony. Red wiggler worms do the work for you! Worm bins are usually pretty compact and, when managed correctly, produce virtually no odor. Kids are often fascinated by the worms!
Pros for kids: Engaging with live creatures, produces nutrient-rich worm castings, very little smell if managed right, suitable for small spaces.
Cons: Requires specific types of worms (red wigglers, not earthworms), sensitive to temperature, can’t handle large volumes of food scraps.
For a beginner-friendly guide on setting up a worm bin, check out this resource from the Environmental Protection Agency (EPA). They offer great tips on composting basics.
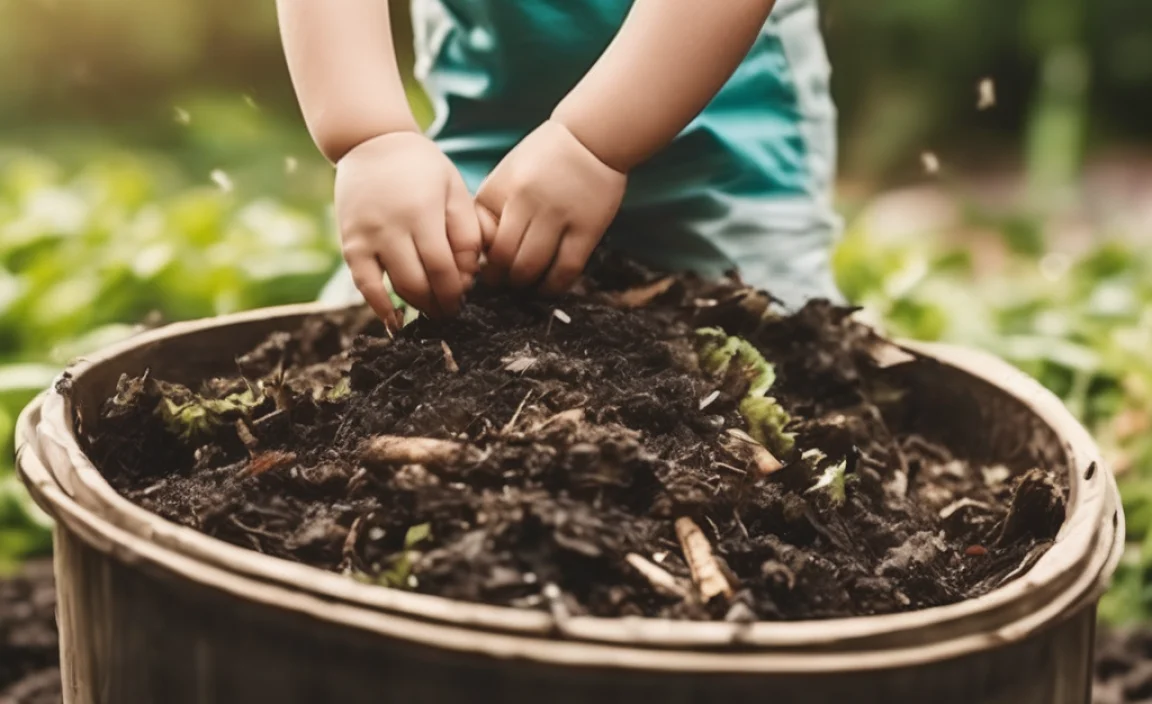
Step-by-Step: Composting with Kids, Stink-Free!
Let’s get composting! Here’s how to make it a pleasant experience for everyone.
- Set Up Your Bin: Choose a location for your bin that is easily accessible but not right next to your main living area. A spot with partial shade is often ideal. If using a tumbler, assemble it according to instructions. If using a stationary bin, ensure it’s ready to go.
- Gather Your Materials: Start collecting compostable materials from your kitchen and yard. Keep a small lidded container in your kitchen for food scraps to make it easy to transport them to the main bin. Encourage kids to rinse out their containers when they’re done.
- Layering is Key: When you start your compost bin, begin with a layer of “browns” (like dried leaves or shredded cardboard) about 4-6 inches thick. Then, add your first layer of “greens” (food scraps). Follow this by another layer of browns.
- Add Greens and Cover: When your kids add their fruit peels or veggie scraps (greens), always remind them to cover it with a layer of browns. This is the #1 trick to avoid smells and deter pests. Think of the browns as a blanket for the food scraps.
- Keep it Moist, Not Soaked: Your compost pile should be as damp as a wrung-out sponge. If it’s too dry, decomposition slows down. If it’s too wet, it can become anaerobic and smelly. If it’s dry, add a little water. If it’s soggy, add more browns.
- Aerate Regularly: This means giving your compost pile oxygen. If you have a tumbler, give it a spin every few days. For stationary bins, use a compost aerator tool or pitchfork to turn the pile every week or two. This is where kids can pitch in with supervision!
- What NOT to Compost (Especially with Kids): To keep things simple and stink-free, avoid adding these:
- Meat, dairy, and oily foods: These attract pests and can smell quite bad.
- Diseased plants: They can spread illness to healthy plants.
- Weeds that have gone to seed: You don’t want to spread more weeds.
- Pet waste (dog or cat): Can contain harmful pathogens.
- Chemically treated yard waste: Avoid pesticides and herbicides.
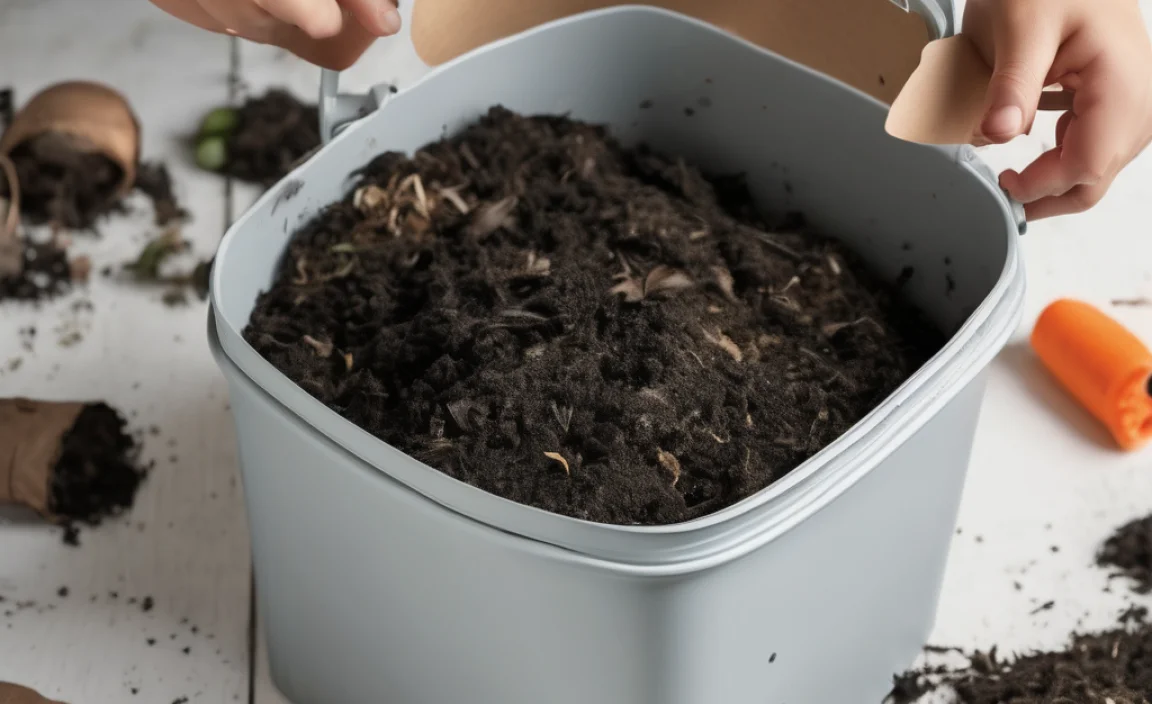
- Harvesting Your Compost: In a few months to a year, you’ll have rich, dark compost! The bottom layers will be ready first. You can use a garden fork to tease it out, or if you have a bin with a door, access it from there. Kids will be amazed to see the “finished product.”
Troubleshooting Common Odor Issues
Even with the best intentions, sometimes a compost pile can get a little whiffy. Don’t get discouraged! Here’s how to fix it:
Issue 1: Ammonia Smell (Like Cat Urine)
Cause: Too many greens (nitrogen-rich materials) and not enough browns (carbon-rich materials).
Solution: Add a generous amount of browns. Pile on dried leaves, shredded newspaper, or cardboard. Turn the pile to mix them in. This adds carbon to balance the nitrogen and helps absorb excess moisture.
Issue 2: Rotten Egg Smell (Sulfur Smell)
Cause: The pile is too wet and lacks oxygen (anaerobic conditions). This happens when food scraps aren’t covered enough or the pile is compacted.
Solution: Turn the pile thoroughly to introduce air. Add more browns to absorb excess moisture and create air pockets. Ensure you’re covering all food scraps with a layer of browns.
Issue 3: Generally “Off” or Sour Smell
Cause: Often a combination of too much moisture and not enough turning, leading to pockets of anaerobic decomposition.
Solution: Turn the pile well, ensuring you’re mixing the wet and dry materials. Add a layer of browns. Make sure the pile isn’t waterlogged; if it is, add a lot of browns to soak up excess liquid.
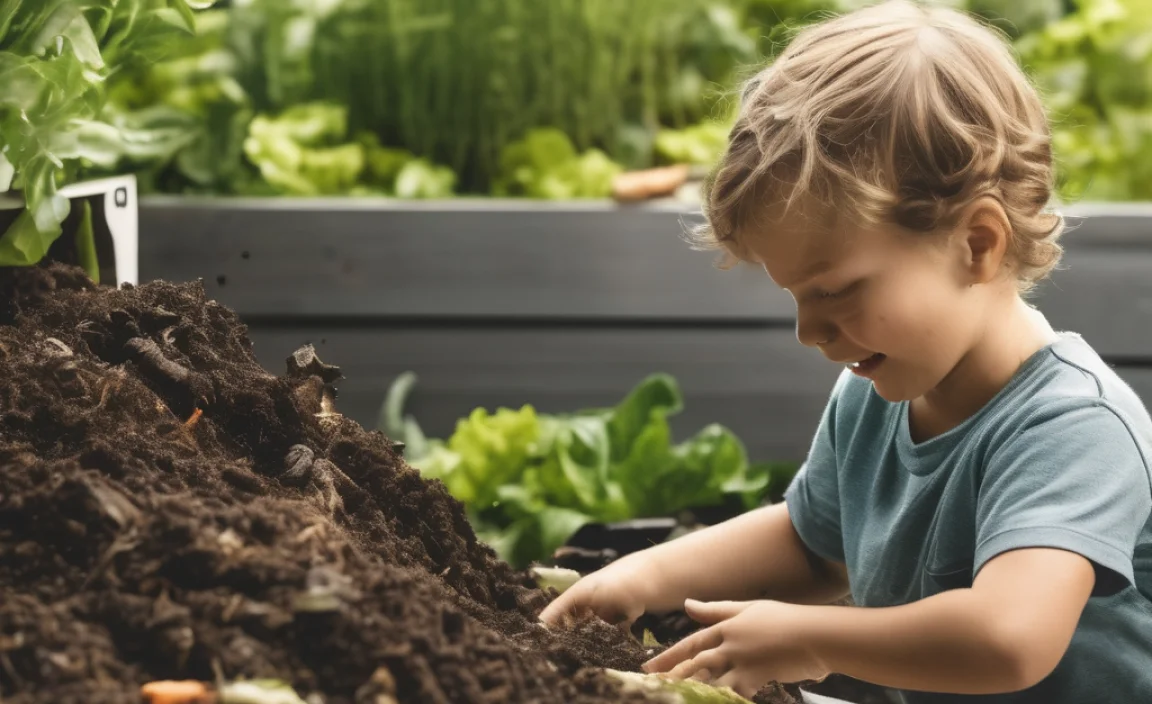
Tips for Keeping Kids Engaged and Odor-Free
Making composting fun for kids is key. Here are some ideas to keep them interested and ensure things stay pleasant:
- Compost Detectives: Let them be “compost detectives” who check if the food scraps are properly covered with browns.
- Scrap Safari: Make collecting kitchen scraps a fun “safari” where they go on the hunt for suitable items to add.
- Build a Buddy System: Have them name their compost bin or create a “compost mascot.”
- Sensory Exploration (with caution): Older kids might enjoy gently feeling the warmth of an active compost pile or observing the different textures of finished compost. Always wash hands thoroughly afterward!
- Visual Aids: Use charts showing “Greens” and “Browns” with pictures so kids can easily identify what goes where.
- Regular Turning Fun: If using a tumbler, make “spinny time” an exciting part of their routine. For larger bins, make turning a family activity.
The “What Goes Where” Cheat Sheet
Here’s a quick reference table to make composting straightforward:
| Goes IN (Greens – Nitrogen Rich) | Goes IN (Browns – Carbon Rich) | STAY OUT (for Odor Control & Safety) |
|---|---|---|
| Fruit & Veggie Scraps | Dried Leaves | Meat, Bones, Dairy |
| Coffee Grounds & Tea Bags | Shredded Newspaper/Cardboard (no gloss) | Oils & Greasy Foods |
| Grass Clippings (thin layers) | Straw or Hay | Diseased Plants |
| Plant Trimmings | Wood Chips/Sawdust (untreated) | Weeds with Seeds |
| Eggshells (crushed) | Paper Towels (unsoiled) | Pet Waste (cat/dog) |
| Yard Waste like weeds without seeds | Toilet Paper Rolls (shredded) | Treated Wood |
Why Aeration is Non-Negotiable for Odor Control
We’ve mentioned it a few times, but it bears repeating: aeration is your best friend against compost odors. When compost materials break down without enough oxygen, a type of bacteria takes over that produces foul smells. This is called anaerobic decomposition. It’s the same process that makes swamps smell and why a neglected compost pile can become an eyesore and a nose-sore.
Introducing oxygen – either by tumbling, turning with a fork, or using an aerator tool – cultivates aerobic bacteria. These friendly microbes break down organic matter efficiently, with minimal odor, and generate heat, which further speeds up the composting process.
Making sure air can circulate through the pile is crucial. This is precisely why layering browns is so important – they create those vital air pockets. Don’t let your compost pile become a dense, wet mat. Regular aeration is your shield against foul smells and a direct pathway to healthy, nutrient-rich compost.
For more in-depth information on the science behind composting and aeration, you can consult resources from university extension offices, such as those provided by University of Minnesota Extension, which offers detailed guides on effective composting techniques.
Conclusion
See? Composting for kids doesn’t have to be intimidating or smelly. By understanding the balance of greens and browns, choosing the right bin, and remembering to aerate and cover those kitchen scraps, you’re well on your way to a successful and odor-free composting journey. You’ll be amazed at how something as simple as turning food scraps into rich soil can teach your children valuable lessons about the environment and sustainability.
It’s a rewarding process that benefits your garden and your family’s minds. So, grab those scraps, grab your kids, and get ready to make some amazing compost. Happy (and stink-free) composting!
Frequently Asked Questions
Q1: My compost bin smells like ammonia. What did I do wrong?
A: That’s an easy fix! It means you have too many “greens” (nitrogen-rich materials) and not enough “browns” (carbon-rich materials). Add a good layer of browns like dry leaves, shredded newspaper, or cardboard to balance it out. Give it a good turn to mix everything in.
Q2: Can I compost meat scraps or dairy products?
A: It’s best not to, especially when you’re starting out or composting with kids. Meat, dairy, and oily foods are more likely to attract pests and can create really unpleasant smells. Stick to fruits, vegetables, coffee grounds, and yard waste for a cleaner experience.
Q3: How often should I turn my compost pile?
A: For a standard bin, aiming to turn it about once a week or once every two weeks is a good practice. If you have a tumbler, several spins every few days will do the trick. Turning aerates the pile and speeds up decomposition.
Q4: My compost is too dry and not breaking down. What should I do?
A: Add some water! Your compost should feel like a well-wrung-out sponge – moist but not dripping. If it’s too dry, decomposition will slow to a crawl. Add water little by little, mixing it in as you go, until it reaches the right moisture level.
Q5: How do I know when my compost is ready?
A: Finished compost will look and smell like rich, dark soil. You won’t be able to recognize the original food scraps or yard waste. It should also be crumbly and smell earthy, not sour or rotten.
Q6: Is worm composting (vermicomposting) really smell-free?
A: When managed correctly, yes! Worm bins are very efficient and usually have minimal to no odor. The key is to feed the worms the right kinds of food (mostly fruit and veggie scraps) and not to overfeed them, which can lead to slimy, smelly conditions.
Related Posts
- Eliminate Compost Accelerator Odor Instantly!
- Best Single-Stage 15 Gallon Air Compressor: Proven Power
- Boost Yields: Top Compost Tips for Thriving Farms
- Cut In-Vessel Composting Costs: Save Big Today!

Am I Leaking Amniotic Fluid or Urine? Smart Test- Anaerobic Composting Cheap: Genius Affordable Method
Compost Toilet Odor: Genius Solutions for Effortless Control- Kitchen Compost In Europe: Essential Guide

I am passionate about home engineering. I specialize in designing, installing, and maintaining heating, ventilation, and air conditioning systems. My goal is to help people stay comfortable in their homes all year long.