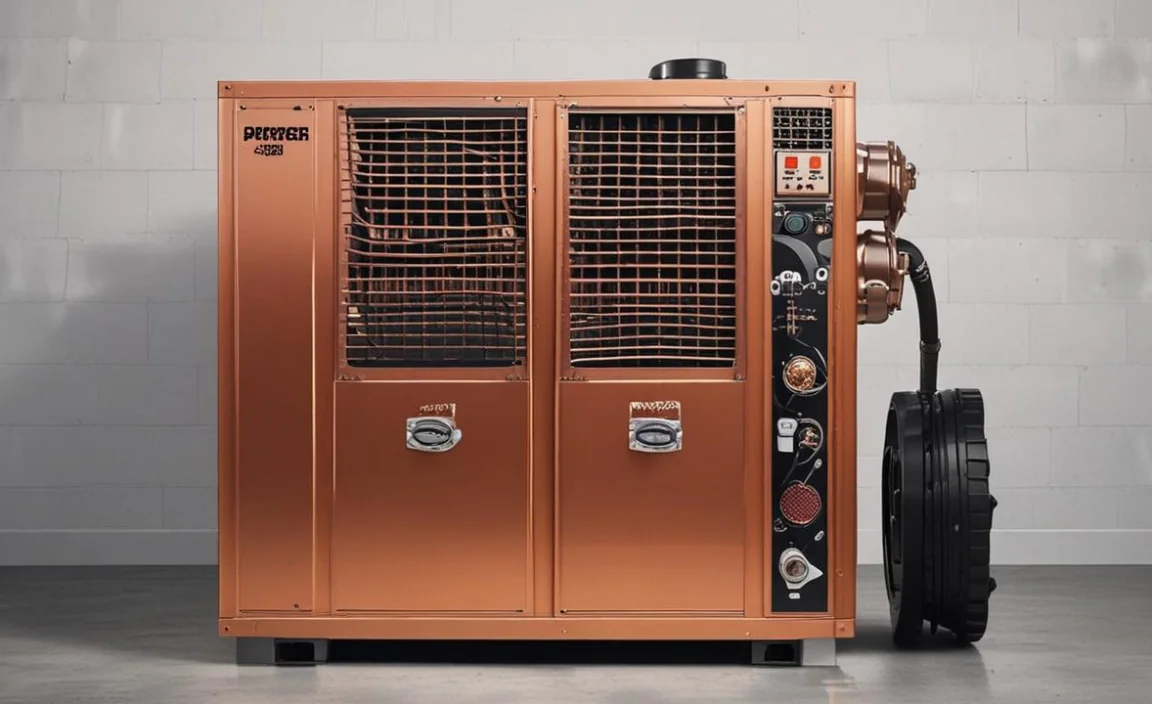
Air compressors are important tools for many jobs. They help us power tools, inflate things, and even paint. But did you know they can get hot? This heat can cause problems. It can damage the compressor and affect how well it works. That’s why some people use a *diy copper aftercooler for 60 gallon air compressor setup*. This device can cool the air before it enters the compressor. It helps improve performance and prolongs the life of the machine.
Many people want to save money. Building a cooler at home can save cash. It can also be a fun project. You get to learn and create something useful. Plus, it’s great to say you made it yourself!
Building a *diy copper aftercooler for 60 gallon air compressor setup* is easier than it sounds. With the right materials and steps, you can do it. Let’s explore how to create one!
Key Takeaways
- A DIY cooler can save you money and time.
- It improves the performance of your compressor.
- Copper conducts heat well, making it a great choice.
- Building a DIY copper aftercooler is a fun project.
- A proper setup is essential for your 60-gallon compressor.
Understanding the DIY Copper Aftercooler for 60 Gallon Air Compressor Setup
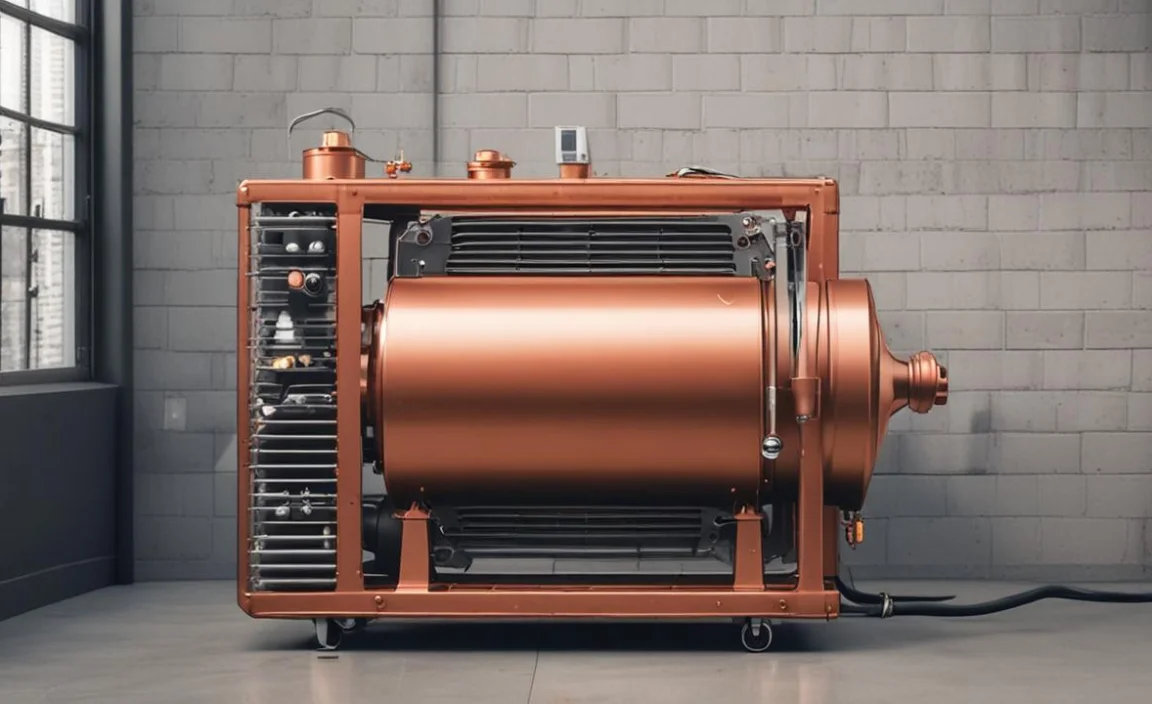
A *diy copper aftercooler for 60 gallon air compressor setup* works by cooling the air. When air gets compressed, it heats up. The cooler helps reduce this heat. This process is important because heat can cause air to expand. It can also lead to moisture build-up. The cooler helps avoid these problems.
A well-cooled air can help the compressor run smoothly. This leads to better performance and longer life. It is good to know how to make one. Here are some benefits of using a DIY cooler:
- Cools air before it enters the compressor.
- Reduces moisture in the air supply.
- Increases the efficiency of the machine.
- Prolongs the life of the air compressor.
- Can be made with affordable materials.
A *diy copper aftercooler for 60 gallon air compressor setup* helps your compressor stay cool. Cooler air means better performance. It’s also a fun project to take on. You can learn a lot while making one!
Fun Fact or Stat: DIY projects can boost your creativity and problem-solving skills!
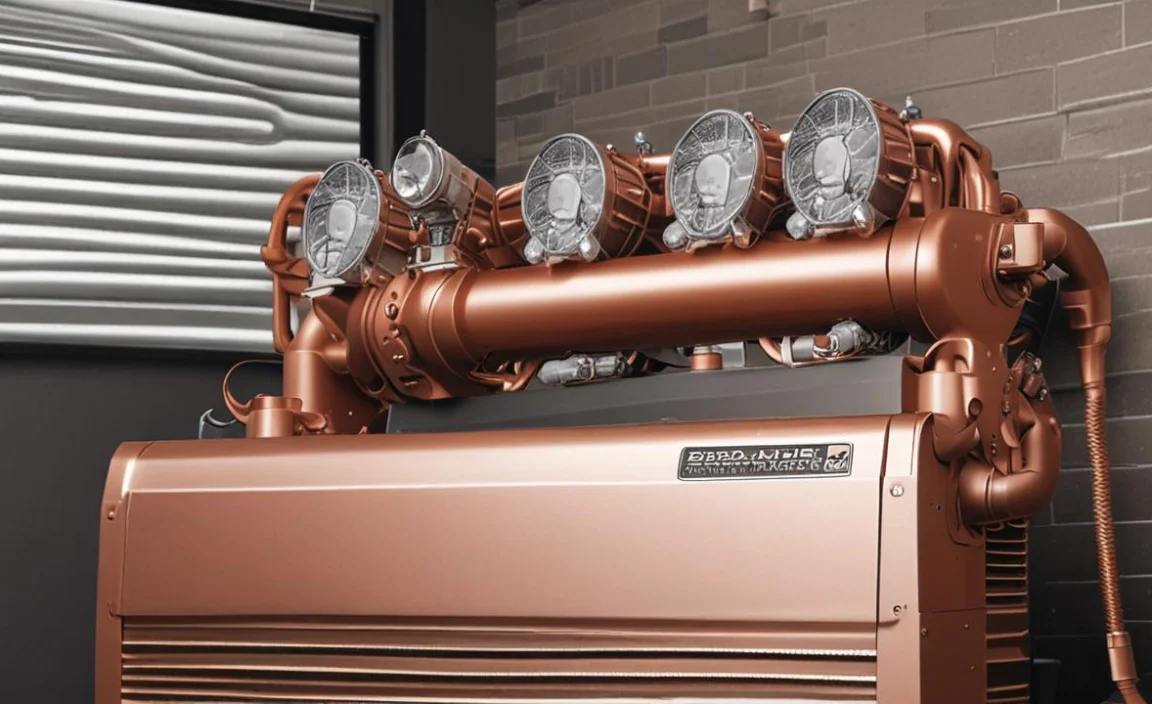
What is an Aftercooler?
An aftercooler is a special device. Its job is to cool compressed air after it leaves the compressor. Think of it like an ice pack for your air compressor. When air is compressed, it gets hot. The aftercooler cools that hot air down. This helps keep the compressor safe and working well.
You might wonder why this matters. If the air is too hot, it can lead to many issues. For example, it can cause moisture to form. This moisture can damage tools and equipment. An aftercooler stops this from happening. It helps take care of your air compressor, too.
Cooling the air makes it easier for tools to work. If tools get hot air, they can struggle. That’s why having a *diy copper aftercooler for 60 gallon air compressor setup* is so helpful.
Benefits of Building Your Own Cooler
Why build your own aftercooler? There are many good reasons! First, it’s cheaper than buying one. You can find materials at your local hardware store. Second, it’s a fun project to learn and create. You get to use your hands and mind.
Building it also allows you to customize. You can make it the right size for your compressor. This means it will work better with your setup. You can choose materials, too. Some people like copper because it is a great heat conductor.
When you build something yourself, you learn more about how it works. This knowledge helps you understand your air compressor better. A *diy copper aftercooler for 60 gallon air compressor setup* can also give you a sense of accomplishment. You can proudly show what you made!
Fun Fact or Stat: DIY projects can improve your math and science skills too!
Materials Needed for the Project
Before you start building, gather the right materials. You will need copper tubing, fittings, and a container. Copper tubing is important because it carries the air. Fittings connect different parts. You might also need screws or clamps.
Choosing the right size is crucial. The copper tube should fit well with your compressor’s output. Getting the correct size helps air flow smoothly. You might also need insulation to keep the air cool.
Tools are important too. Make sure you have a cutter for the copper tubes. You might need a wrench to tighten fittings. Having the right tools makes the job easier.
A *diy copper aftercooler for 60 gallon air compressor setup* needs careful planning. But with the right materials, you can do it!
Fun Fact or Stat: Did you know? Copper is 100% recyclable!
Step-by-Step Guide to Build Your DIY Cooler
Building your own cooler can seem tricky. But it’s simple if you follow steps. Start by measuring the space you have. This helps you know how big your cooler should be. Next, mark the spots where you will cut the copper tubing.
Cut the tubes carefully. Make sure they are straight. Then, connect the tubes using the fittings. Ensure they are tight. You don’t want air leaks. Once everything is connected, you can attach the cooler to the compressor.
Finally, check for leaks. Run the compressor for a test. If everything works well, you did it! Now you have a *diy copper aftercooler for 60 gallon air compressor setup*.
Here are some key steps to remember:
- Measure the space for the cooler.
- Cut the copper tubing to the right lengths.
- Connect the tubing with fittings.
- Attach the cooler to the compressor.
- Test for leaks before using.
Building your own cooler is rewarding. You learn a lot and help your compressor.
Fun Fact or Stat: The first copper pipes were used in ancient Egypt!
Testing Your Cooler
After building your cooler, it’s time to test it. First, hook it up to your compressor. Turn on the compressor and let it run. Check if the air is cooler when it exits. You can feel the air with your hand.
Listen for any strange noises. These can mean something is wrong. If everything sounds good, watch for any leaks. You can use soapy water to check for bubbles. If you see bubbles, that means air is escaping.
Testing ensures your *diy copper aftercooler for 60 gallon air compressor setup* works right. It’s important to do this step. You want to keep your compressor safe and running well.
If you find issues, don’t worry! You can always fix them. Just double-check your connections and seals.
Fun Fact or Stat: In ancient times, copper was used for tools and coins!
Maintaining Your DIY Aftercooler
After you build your cooler, you need to take care of it. Regular maintenance is key. First, check the connections often. Make sure nothing is loose. Tighten anything that seems weak.
Next, clean the copper tubing. Dust and dirt can build up. This can block airflow and reduce cooling. Use a soft cloth to wipe the tubes. Make sure there is no moisture inside, too. Moisture can cause rust and damage.
Also, inspect for leaks every few months. A small leak can become a big problem. Fixing it early will save you time and money.
Taking care of your *diy copper aftercooler for 60 gallon air compressor setup* will keep it efficient. A well-maintained cooler will help your compressor last longer.
Fun Fact or Stat: Copper has natural antimicrobial properties!
Comparing DIY Aftercoolers to Store-Bought Options
When deciding on an aftercooler, consider your options. You can build a *diy copper aftercooler for 60 gallon air compressor setup* or buy one. Each choice has pros and cons. Let’s look at how they compare.
| Feature | DIY Copper Aftercooler | Store-Bought Aftercooler |
|——————-|———————–|—————————|
| Cost | Usually cheaper | Can be expensive |
| Customization | Fully customizable | Limited options |
| Learning | Great learning project | No learning experience |
| Build Time | Takes time to build | Ready to use immediately |
| Maintenance | Ongoing care needed | Usually low maintenance |
As you can see, there are benefits to both options. Depending on your needs, one may suit you better. Do you want to save money and learn? A DIY cooler is a great choice!
On the other hand, if you need something fast, a store-bought cooler works well.
Fun Fact or Stat: The oldest known copper artifacts are over 10,000 years old!
Cost Considerations for DIY Projects
When building your cooler, think about costs. You want to keep it affordable. Start by writing down what you need. List materials like copper tubing, fittings, and tools.
Visit local hardware stores. Compare prices for each item. Look for sales or discounts to save money. Some people even find materials at home. Old pipes or fittings can be useful!
Building a *diy copper aftercooler for 60 gallon air compressor setup* can be cheaper than buying. Plus, you learn along the way.
After gathering costs, make a budget. Stick to it! This way, you won’t spend too much.
Fun Fact or Stat: More than 90% of people save money with DIY projects!
Is DIY Right for You?
You might wonder if DIY projects are for you. Think about what you enjoy. Do you like working with your hands? Do you enjoy learning new things? If yes, then a *diy copper aftercooler for 60 gallon air compressor setup* could be a great fit!
Building things can be very satisfying. You see your progress and feel proud. Plus, you can customize your cooler exactly how you want it.
However, if you don’t have time or interest, that’s okay too! Buying a ready-made cooler is also a good choice.
Ultimately, the decision is up to you. What matters is finding what works best for your needs.
Fun Fact or Stat: DIY projects can boost your self-esteem and confidence!
Summary
A *diy copper aftercooler for 60 gallon air compressor setup* is a smart choice. It cools the air and helps your compressor work better. Building one can save money and be fun. You get to learn while creating something useful.
By understanding how to build and maintain the cooler, you can protect your compressor. It will run efficiently for many years. Enjoy your DIY project!
Conclusion
In conclusion, a *diy copper aftercooler for 60 gallon air compressor setup* offers many benefits. It cools the air and protects your compressor. Building your own is a fun project. You learn valuable skills along the way. So, gather your materials and start building!
Frequently Asked Questions
Question No 1: What materials do I need?
Answer: You need copper tubing, fittings, and a container. Measuring tools and a cutter are also essential. Make sure you have clamps to secure everything. These materials help create a solid setup for your *diy copper aftercooler for 60 gallon air compressor setup*.
Question No 2: How do I test my cooler?
Answer: To test your cooler, connect it to the compressor and turn it on. Check if the air feels cooler when it exits. Listen for abnormal sounds, and check for leaks using soapy water. This process ensures your *diy copper aftercooler for 60 gallon air compressor setup* works properly.
Question No 3: Can I customize my cooler?
Answer: Yes! One of the best things about a *diy copper aftercooler for 60 gallon air compressor setup* is full customization. You can choose the size and shape according to your needs. This allows for a better fit and performance with your specific compressor setup.
Question No 4: How often should I maintain my cooler?
Answer: It’s good to check your cooler every few months. Look for loose connections and clean the tubes. Regular maintenance helps avoid issues and keeps your *diy copper aftercooler for 60 gallon air compressor setup* working efficiently.
Question No 5: Is DIY cheaper than buying?
Answer: Generally, building a *diy copper aftercooler for 60 gallon air compressor setup* is cheaper than buying one. You can find materials locally and save money. Plus, you learn valuable skills while creating your own cooler.
Question No 6: What if I have problems during building?
Answer: If you face problems, don’t worry! Check online for tips or ask friends for help. Often, others have faced similar issues. Remember, building a *diy copper aftercooler for 60 gallon air compressor setup* takes practice and patience!
