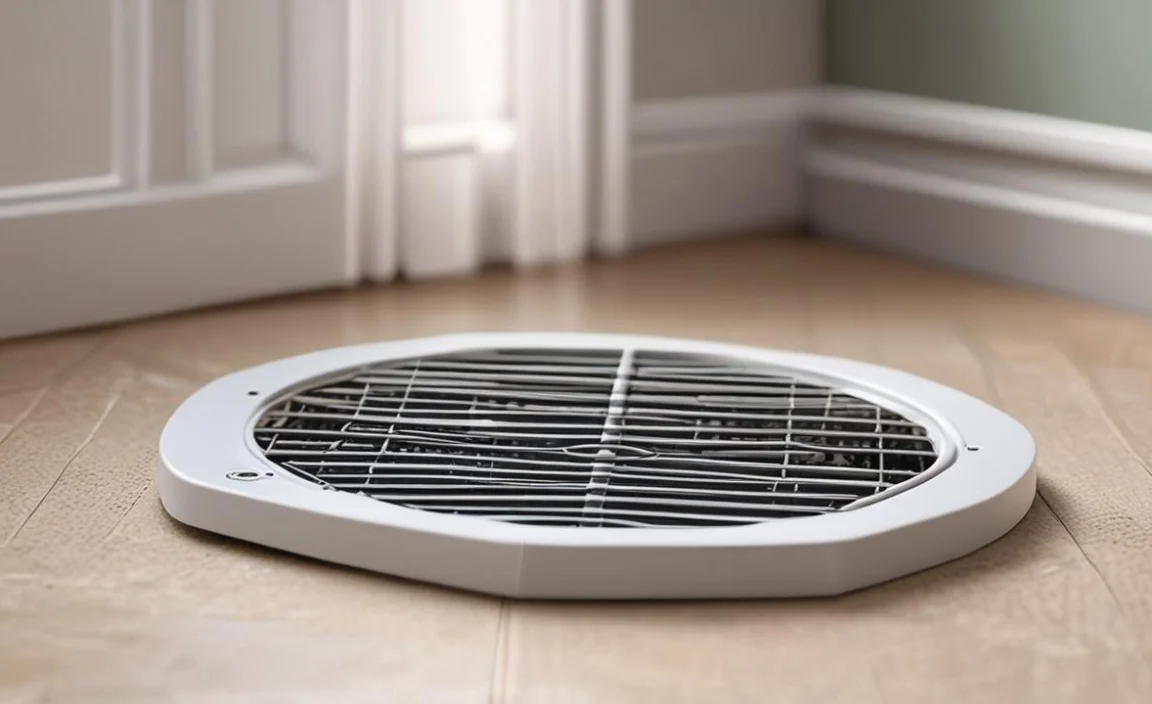
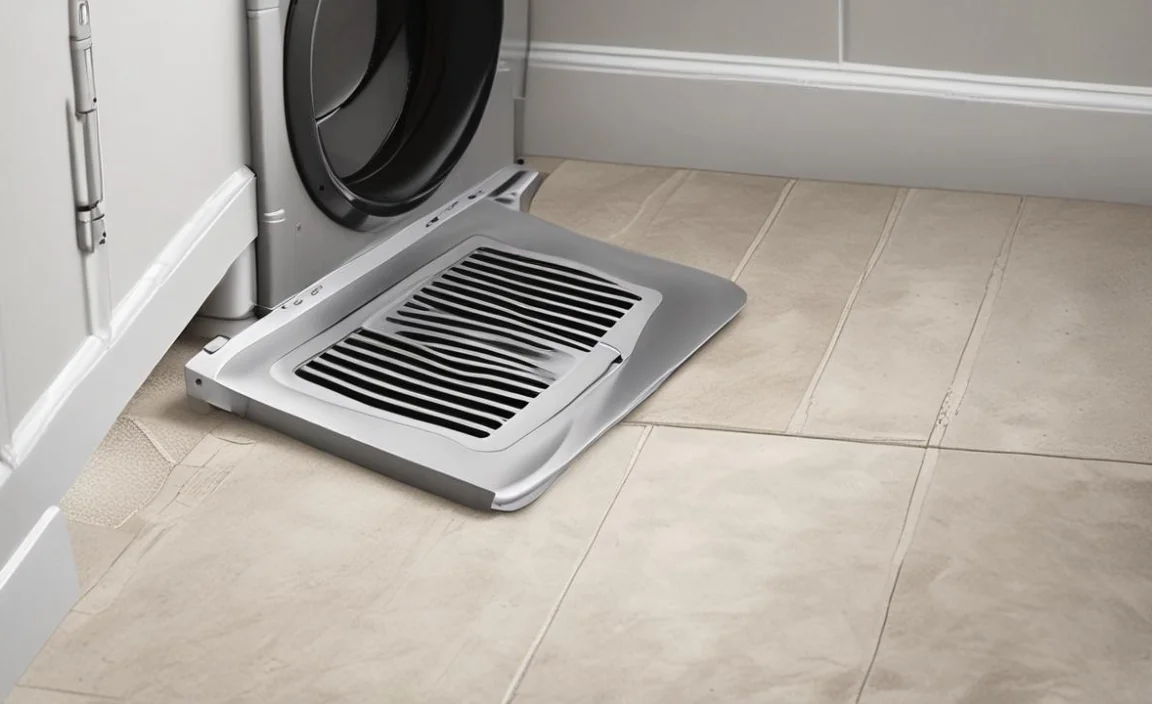
A dryer vent through floor is a convenient and efficient way to exhaust the hot and moist air from your dryer to the outside of your home.
If your laundry room is located on a lower level or in a basement, this type of venting system can save you from running a lengthy duct through the walls or ceiling of your home.
By installing a vent through the floor, you can minimize the chances of lint buildup inside the ductwork, which can pose a fire hazard. Additionally, a floor vent can help keep your laundry room cooler and more comfortable since the hot air from the dryer will be expelled outside rather than circulated throughout the room.
When installing a dryer vent floor, it is important to ensure that the venting system complies with local building codes and regulations and is properly installed to prevent any air leaks or damage to your flooring. A dryer vent floor can provide safe and efficient operation for years with proper installation and maintenance.
Types Of Dryer Vent Floor
Using rigid metal vent pipes instead of flexible plastic ducts is recommended for better airflow and to minimize lint accumulation. If you are unsure about the best venting option for your specific situation, consider consulting a professional dryer vent installer or a licensed contractor to ensure a safe and effective installation.
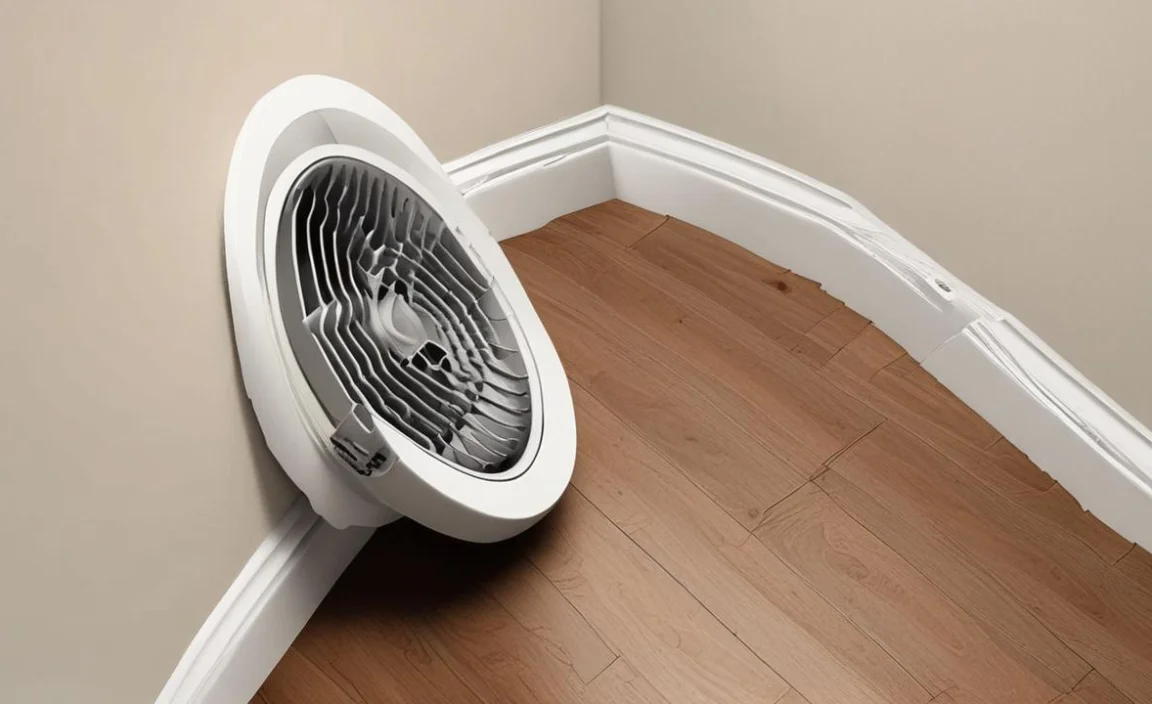
When installing a dryer vent through the floor, a few common types of configurations are typically used to ensure proper ventilation and safety. Here are the main types:
- Straight Vertical Vent: In this type of installation, the dryer vent goes straight down from the back of the dryer and exits through the floor directly below. This is the simplest and most straightforward setup. However, a longer vent pipe might require, especially if the laundry room is on an upper floor.
- Vent with Elbow: An elbow fitting can redirect the venting path if the dryer cannot be positioned directly above the floor vent. The vent hose runs horizontally from the dryer, connects to an elbow, and then extends vertically to exit through the floor.
- Periscope Vent: A space-saving solution often used when the dryer sits close to the wall behind it. It consists of two adjustable pipes that telescope within each other, allowing the vent to take a more direct route through the floor without requiring much horizontal space.
- Offset Vent: In situations where there are obstacles or structural elements in the way, an offset vent might be used. This involves using a combination of straight sections, elbows, and possibly flexible ducting to create a custom pathway for the vent to reach the floor.
Materials Required For Installation
Before installing, check your local building codes and regulations regarding dryer venting to ensure compliance with any specific requirements. Additionally, always prioritize safety and follow the manufacturer’s guidelines for the dryer vent and related materials. To install a dryer vent through the floor, you’ll need the following materials:
- Rigid Metal Ducts: Aluminium or galvanized steel ducts create a sturdy and efficient venting system.
- Vent Cover or Hood: Install a vent cover or hood with a backdraft damper to prevent drafts and outdoor elements from entering the vent when it’s not in use.
- Duct Tape or Foil Tape: Use tape to seal all connections between ducts to prevent leaks and ensure proper airflow.
- Screws or Fasteners: Securely attach the vent cover or hood to the floor to prevent shifting or coming loose.
- Vent Clamp: Use a vent clamp to secure the ducts together at joints for a secure and airtight connection.
- Drill: For creating the necessary holes in the floor to accommodate the vent ducts.
- Screwdriver: To fasten the vent cover or hood to the floor.
- Measuring Tape: To measure the dimensions for cutting the ducts to the required length.
- Safety Glasses and Dust Mask: Protect yourself from debris and dust during installation.
- Level: To ensure that the vent is installed straight and level for proper airflow.
How To Install A Dryer Vent Through Floor
Dryer vents are an essential part of any household that uses a dryer. They help to remove the hot air and moisture generated by the dryer, which can cause damage to the machine and create an uncomfortable living environment.
When it comes to dryer vents, there are two primary options: venting through the roof or venting through the floor. Venting your dryer through the floor is a great option for homeowners who want a simple, safe, and efficient way to remove hot air and moisture from their dryer. Here are some tips on how to install dryer vent through floor.
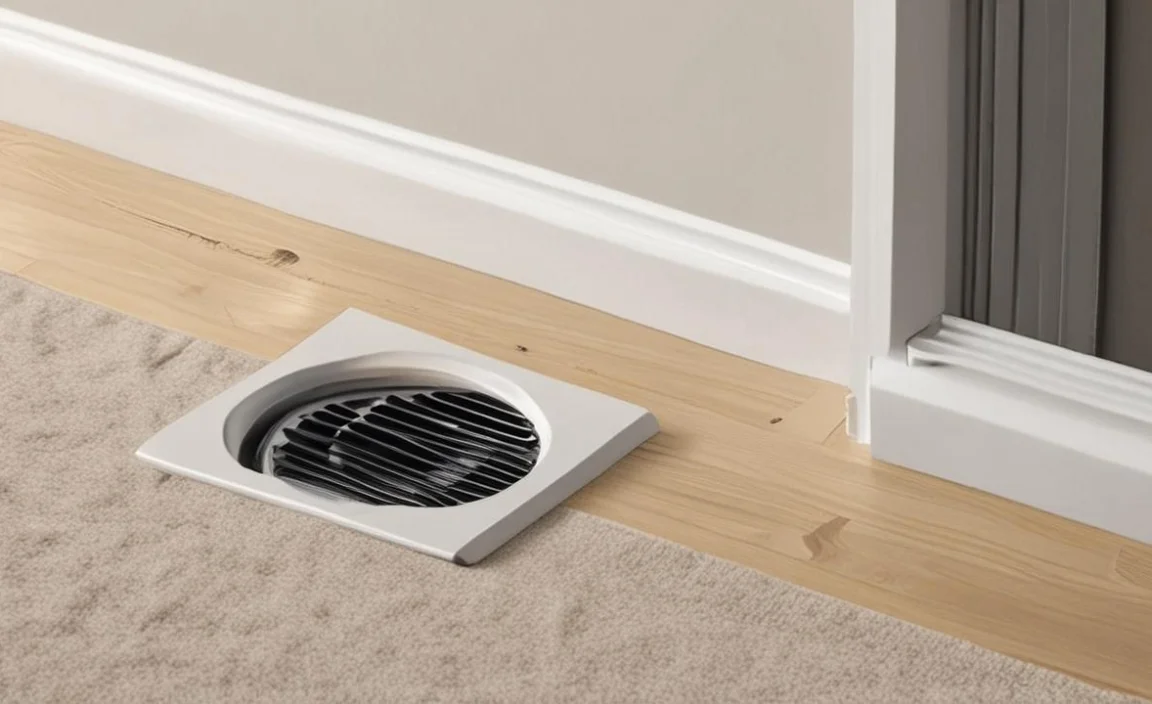
Choose The Right Location For Your Dryer Vent

Selecting the proper location for your dryer vent is crucial for its efficiency and functionality. Choose a spot with a short, direct duct run to ensure unobstructed airflow. Avoid long, convoluted paths that lead to lint buildup and decreased efficiency. Opt for an area with sufficient space and accessibility for installation and maintenance.
Ensure the vent’s exterior location is free from obstructions like bushes or fences to allow unrestricted air expulsion. Proper placement enhances your dryer’s performance and reduces the risk of fire hazards caused by lint accumulation. A well-chosen location ensures a smooth and safe operation for your dryer.
Mark The Vent Hole On The Floor

Accurate marking of the vent hole on the floor is a critical step in installing a dryer vent. Once you’ve chosen the ideal location, measure and mark the spot precisely to avoid any mistakes during cutting. Use a measuring tape and a level to ensure the marks are straight and in the right position.
Double-check the measurements to ensure the hole aligns correctly with the dryer’s vent pipe. A properly marked vent hole prevents unnecessary adjustments and ensures a clean installation. Take your time during this stage to set the foundation for a successful dryer vent installation.
Cut The Vent Hole Using A Jigsaw Or Hole Saw
Once the vent hole is accurately marked on the floor, it’s time to cut. Use a jigsaw or hole saw, depending on the vent pipe size, to create a clean opening. Prioritize safety by wearing appropriate protective gear like goggles and gloves.
Slowly and steadily cut along the marked lines, keeping the tool level stable to avoid any jagged edges or damage to the surrounding area. Take caution not to cut through any existing pipes or wires beneath the floor. A precise and well-executed cut ensures a smooth transition for the vent pipe, leading to optimal dryer performance.
Install The Vent Hood On The Exterior Of Your Home
Installing a vent hood on the exterior of your home is a crucial step in completing the dryer vent system. The vent hood acts as the outlet for the exhaust air from the dryer and prevents outdoor elements from entering the vent pipe.
Start by positioning the vent hood on the exterior wall, ensuring it’s level and aligned with the vent pipe. Secure the hood in place using appropriate screws or fasteners. Ensure that the hood includes a flapper or damper that opens when the dryer is in use and closes to prevent drafts and pests from entering when the dryer is off. A properly installed vent hood promotes efficient ventilation and protects the vent system from external elements.
Attach The Vent Pipe To The Hood And Secure It In Place
Connecting the vent pipe to the vent hood is critical in creating a secure and functional dryer vent system. Start by attaching the vent pipe to the back of the hood using screws or clamps. Ensure a tight and sealed connection to prevent any air leakage.
Use aluminium or foil duct tape to seal the joint and make it airtight. A properly secured vent pipe guarantees efficient airflow and minimizes the risk of lint buildup. Regularly inspect and maintain the connections to ensure they remain secure over time, maximizing your dryer’s performance and safety.
Cut A Hole In The Bottom Of Your Dryer For The Vent Pipe
To complete the dryer vent installation, you need to create a corresponding hole on the bottom of your dryer for the vent pipe. Measure the hole size and placement based on the vent pipe’s dimensions and location. Use caution during the cutting process to avoid damaging any internal components of the dryer.
Once the hole is cut, ensure it aligns correctly with the vent pipe. This hole serves as the exit point for the hot, moist air from the dryer, allowing it to flow through the vent pipe and out of your home. A precise and properly aligned hole ensures efficient venting and optimum dryer performance.
Connect The Vent Pipe To The Dryer
After creating the hole in the bottom of your dryer, it’s time to connect the vent pipe. Slide one end of the vent pipe into the hole on the dryer, ensuring a snug fit. Depending on the type of vent pipe, you may need clamps or screws to secure the connection.
The goal is to create a tight, stable attachment to prevent air leakage. An airtight connection allows the hot, humid air to flow smoothly through the vent pipe and out of your home. Proper installation ensures your dryer operates efficiently, dries clothes effectively, and minimizes the risk of lint accumulation.
Secure The Vent Pipe In Place With Clamps Or Tape
Securing the vent pipe in place is vital to maintaining the integrity of the dryer vent system. Depending on the type of vent pipe used, you can use metal clamps or aluminium tape to secure the connections. Position the clamps or tape at both ends of the vent pipe, ensuring they are tight and secure.
Additionally, consider using duct mastic or sealant to enhance the seal further and prevent any air leaks. Inspect the clamps or tape to ensure they remain in good condition and re-tighten as needed. A well-secured vent pipe guarantees efficient airflow, reducing the risk of lint buildup and optimizing your dryer’s performance.
Common Issues With The Floor
While installing a dryer vent through the floor can be beneficial, several common issues may arise. One prevalent problem is lint accumulation within the vent, which can restrict airflow and decrease dryer efficiency. Regularly cleaning the vent and using a lint trap or lint brush can help prevent this issue.
Another concern is improper sealing at the vent connections, causing air leaks and potential drafts. Use aluminium tape or sealant to create a secure and airtight seal. Additionally, watch for obstructions like furniture or rugs that can block the vent’s airflow, and keep the exterior vent hood clear of debris to ensure optimal performance.
Conclusion
Installing a dryer vent through floor can be a viable option for those who want to maximize their space or have no other alternative. However, it is important to consider the potential drawbacks, such as the risk of lint accumulation, potential damage to the flooring, and the possibility of obstructed airflow.
It is crucial to regularly clean and maintain the dryer vent to avoid any potential hazards. It is also recommended to consult a professional to ensure proper installation and safety measures.
Ultimately, installing a dryer vent through the floor should be based on individual circumstances and needs. With proper maintenance and care, a dryer vent through the floor can function efficiently and safely, providing a convenient solution for those needing space-saving options.
FAQ’s
[rank_math_rich_snippet id=”s-bad38076-584b-4d3f-8818-9eedfc957f94″]
